Want to learn how to make homemade vegetable broth with leftover vegetable scraps? You've come to the right place. Homemade broth is so easy to make, plus it's a great way to reduce food waste! Use it in soups and stews, or to cook legumes, grains and more.
This post is sponsored by Food Saver. All opinions are our own.
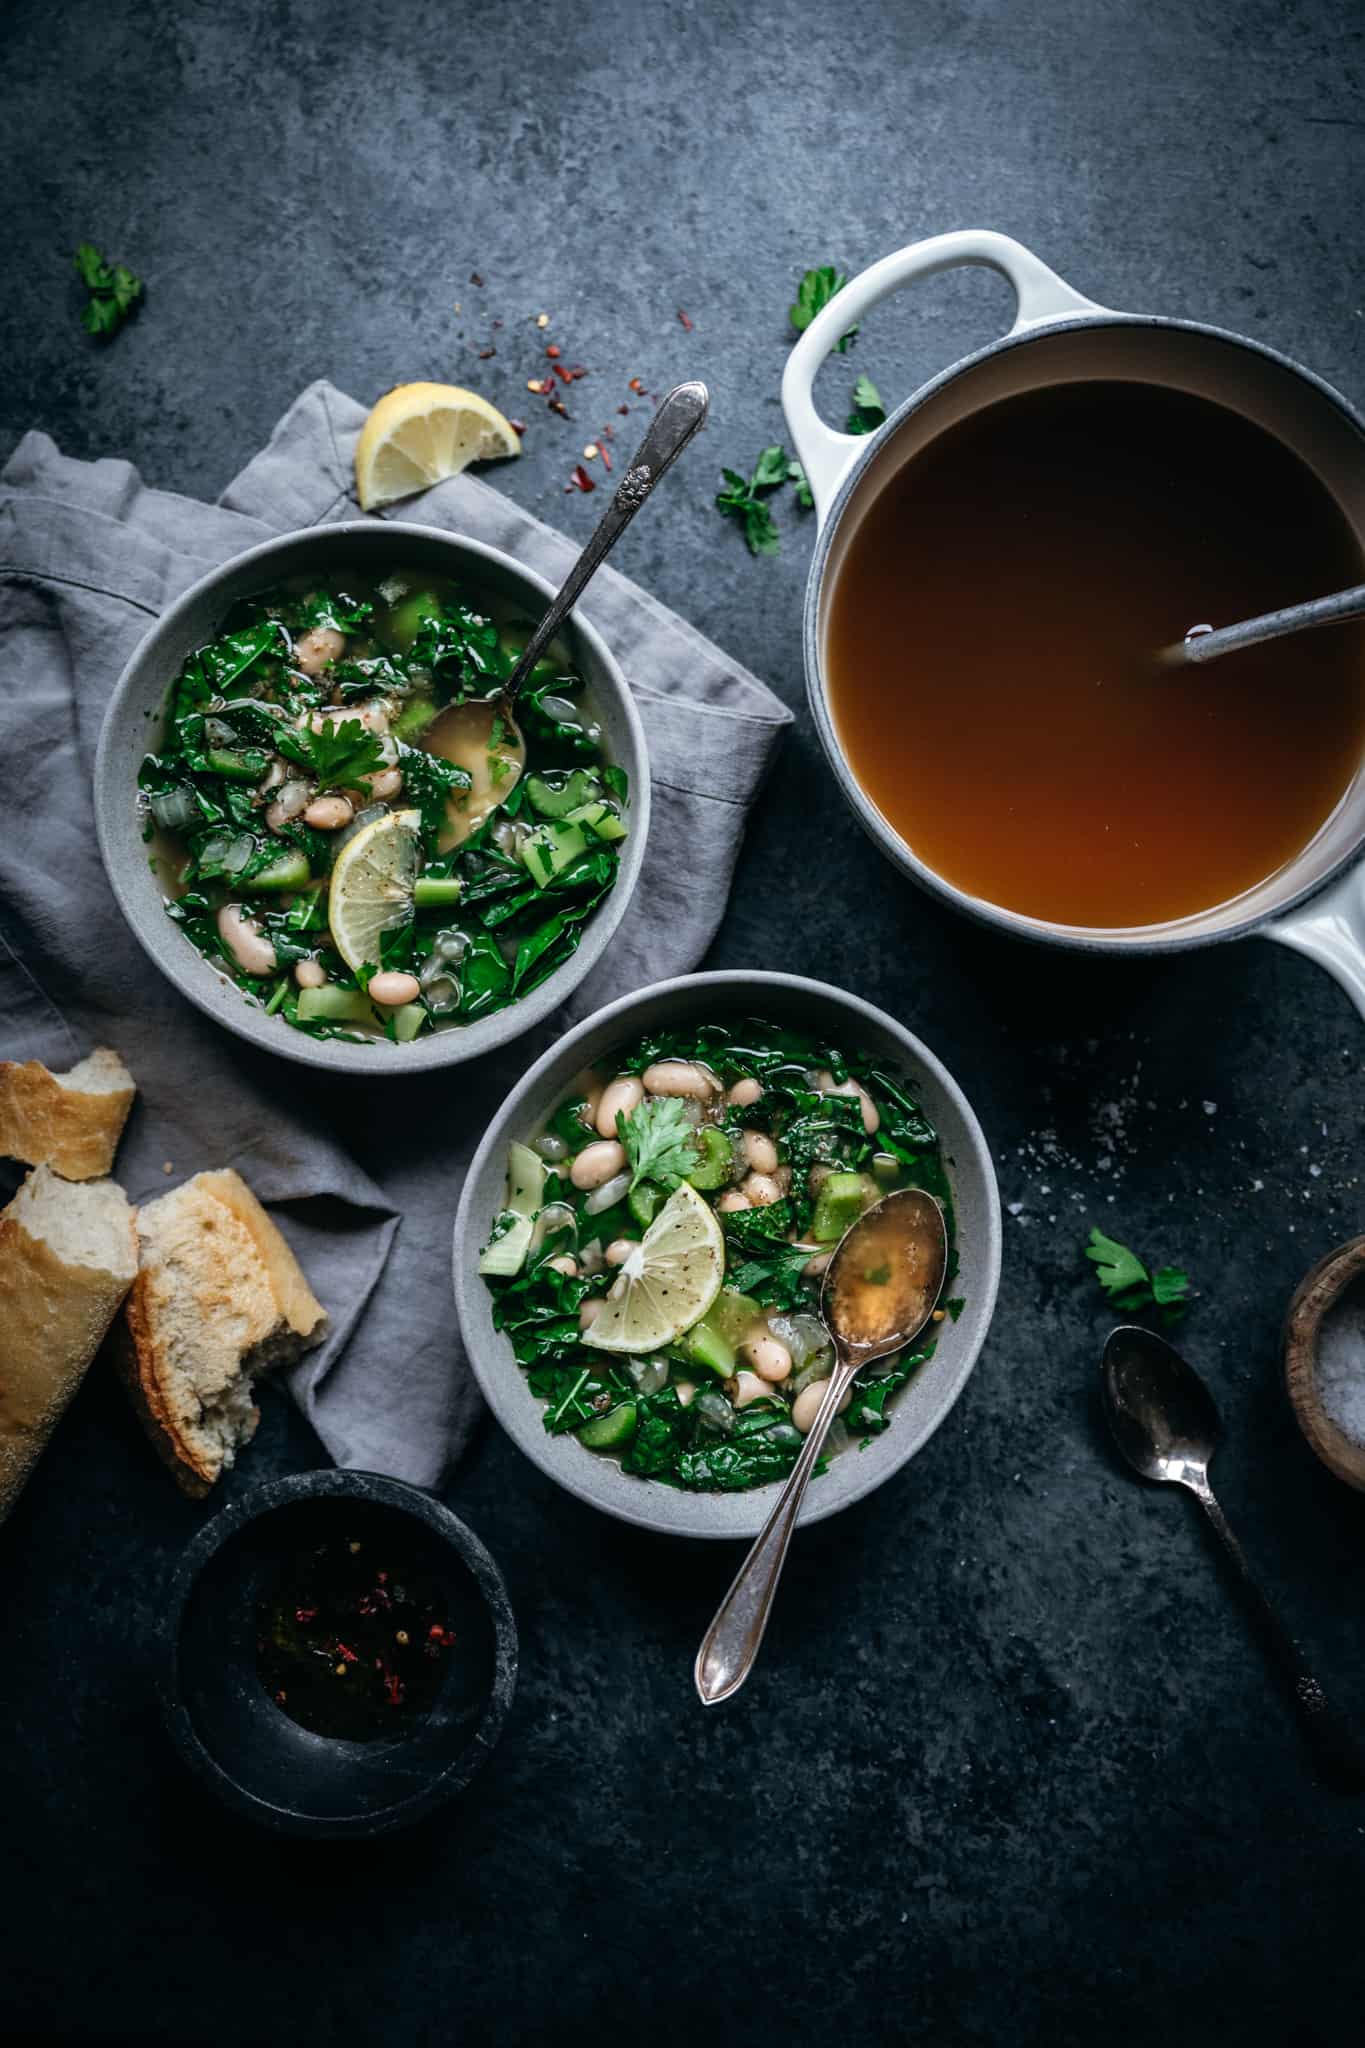
If you're anything like us, you probably go through a whole lot of vegetable scraps in any given week. In fact, if you're reading this, I'm sure you do. Sure, you could just compost your leftover veggie scraps. You could even add some to your dogs' food. (Our dogs love carrot peels and kale stems!)
Or, you could get super practical and save them up to make homemade vegetable broth! Vegetable scraps are perfect for broth. As long as you have enough volume and enough variety, they make a super flavorful broth. We've been experimenting for a while and love how easy it is to make broth.
Especially with the holidays coming up, now's the time to start stocking up on homemade broth! Here's everything you need to know to get started.
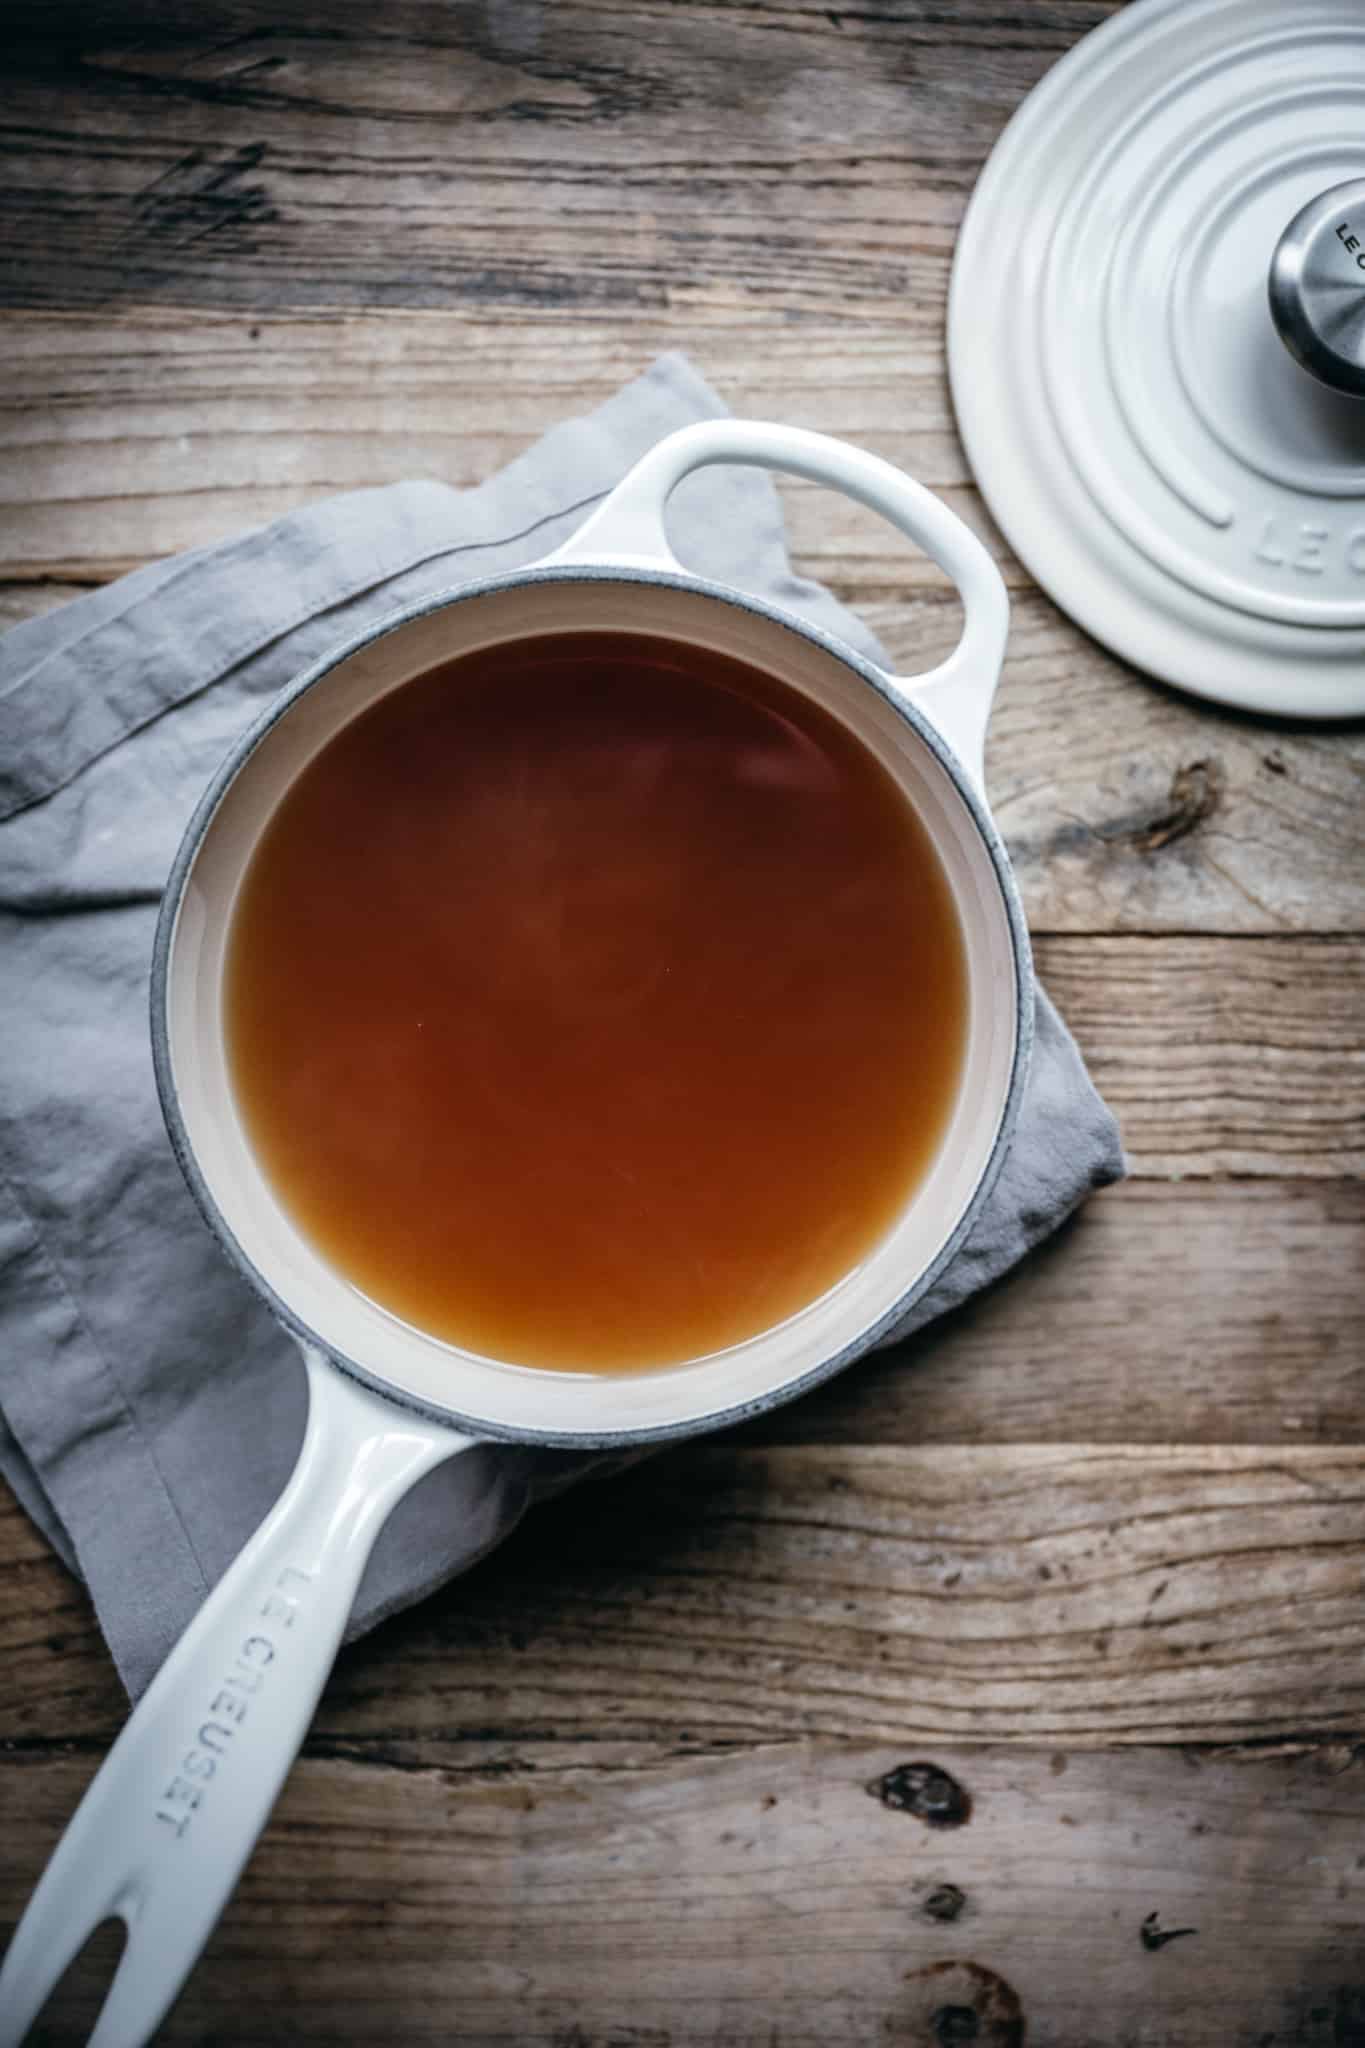
Instructions
When it comes to actually making the broth, there's not too much effort involved. However, since you're making this broth from vegetable scraps, there are a few steps you'll need to take ahead of time to ensure your broth turns out balanced and delicious.
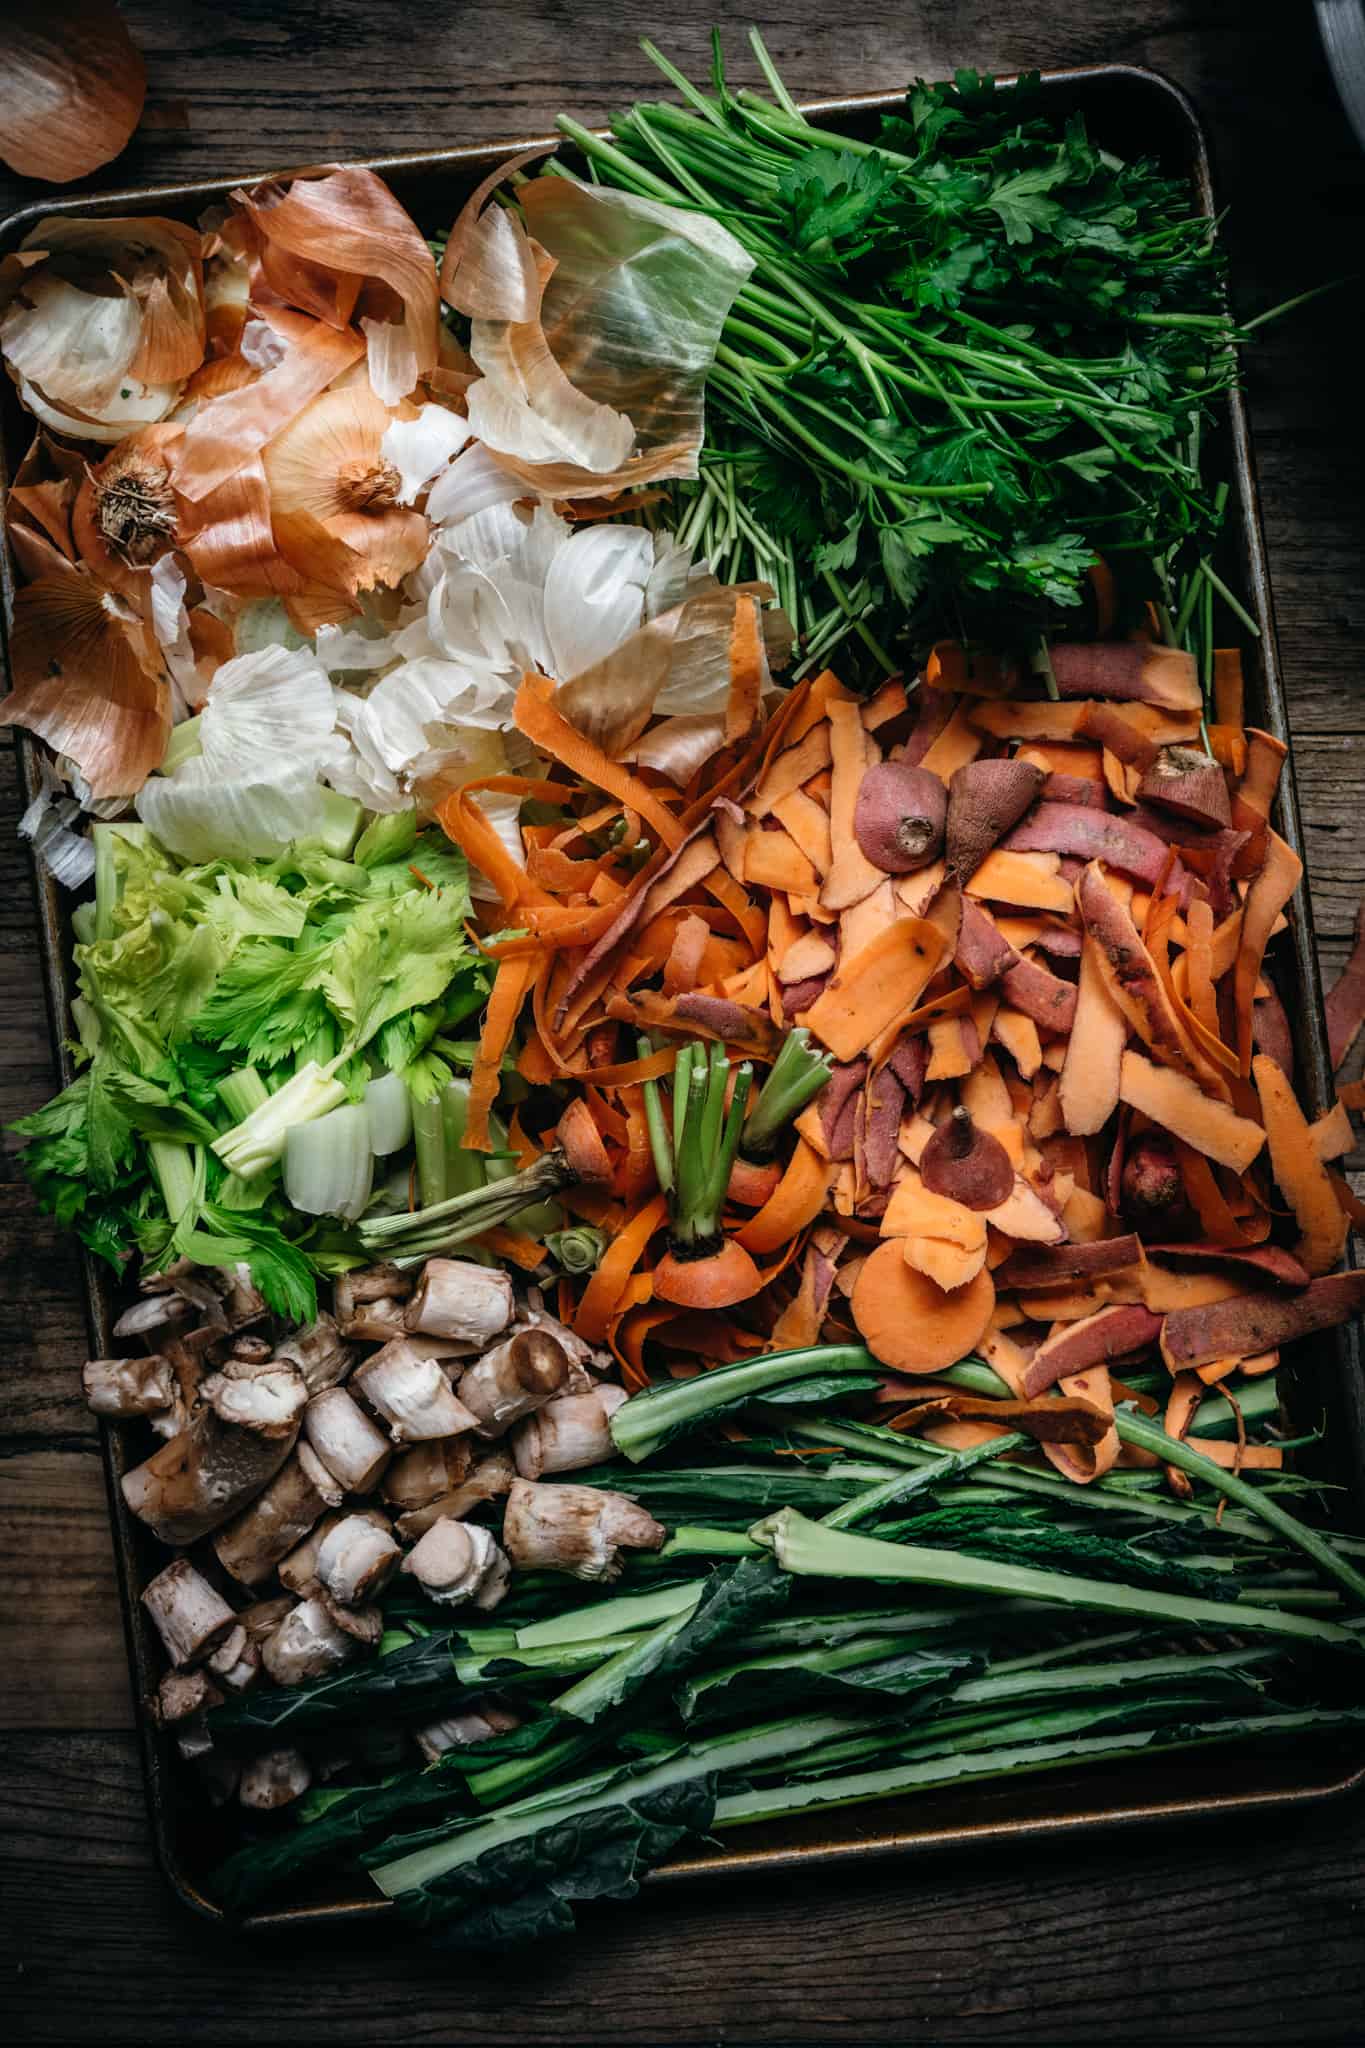
Step 1: Start saving your scraps!
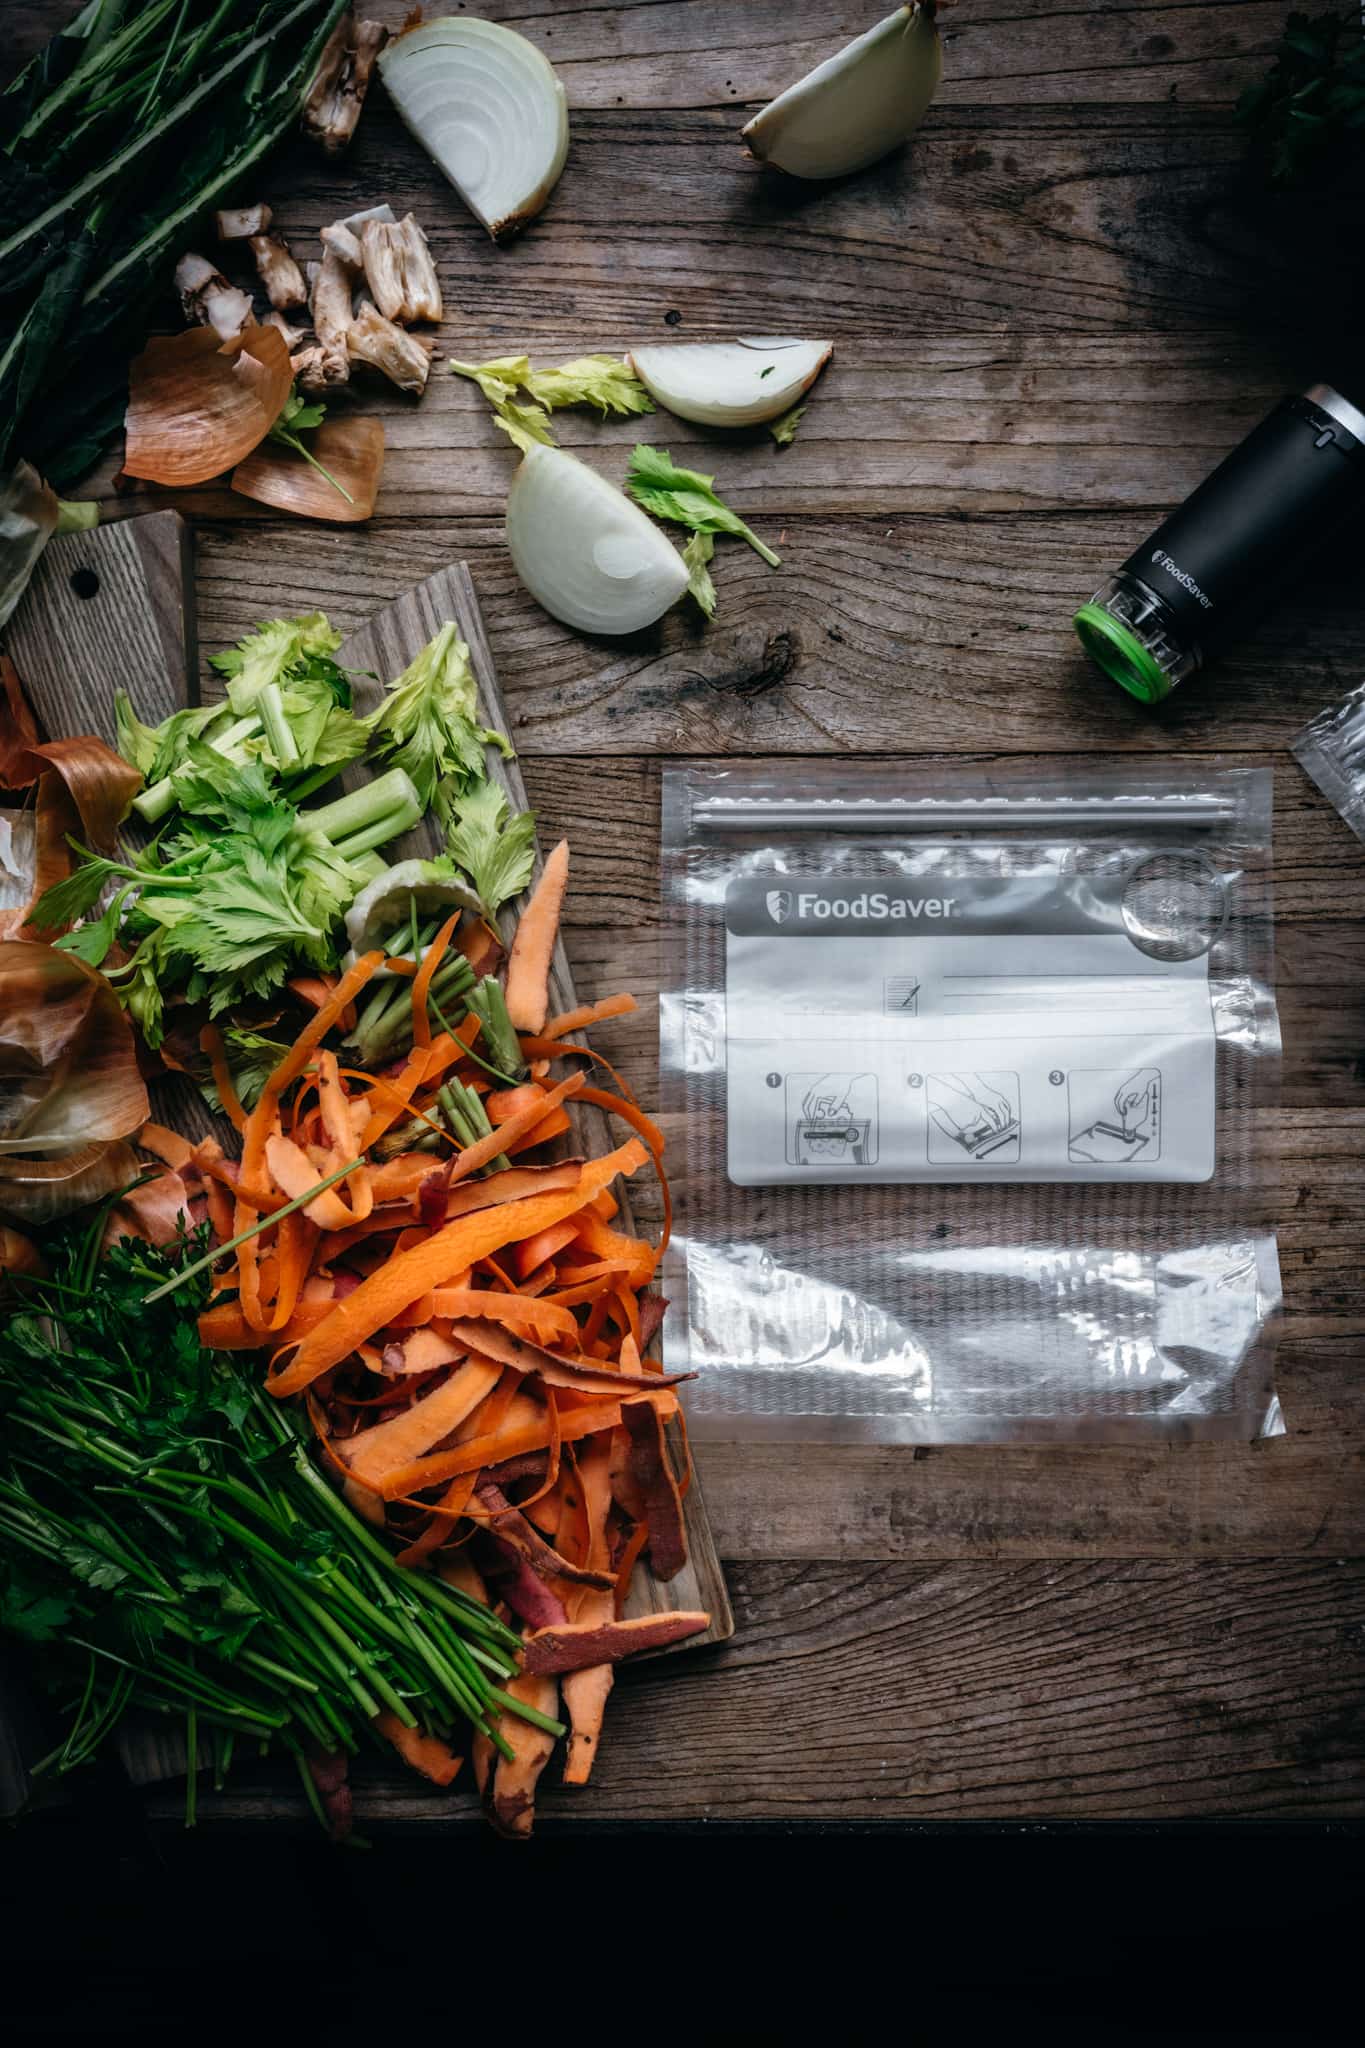
Next time you have leftover onion skins, carrot peels, kale stems, wilting herbs, flaccid celery, or tiny garlic cloves that are too annoying to peel, save them for broth!
First things first, you'll need to make sure they're clean. We typically wash the entire vegetable before using in our recipe, then pat dry with a clean towel. Ingredients like peels and skins might need an extra rinse, especially if it involves layers where dirt might be hidden (think onions).
Next, set aside a separate bowl while you're cooking to collect scraps. We also have a smaller bowl set aside for composting anything we won't be using in the broth. It makes clean-up much easier, and you'll be more likely to remember not to throw the scraps away if you have a bowl set out.
Step 2: Store your leftover scraps in the fridge or freezer
Once you're finished cooking, it's time to store your leftover scraps. If you think you'll have enough scraps to make broth in a few (1-2) days' time, they can go in the refrigerator. If you'll be waiting longer, make sure to freeze the scraps so they don't go bad. Onions and garlic don't do well in the refrigerator - it's best to freeze those scraps immediately.
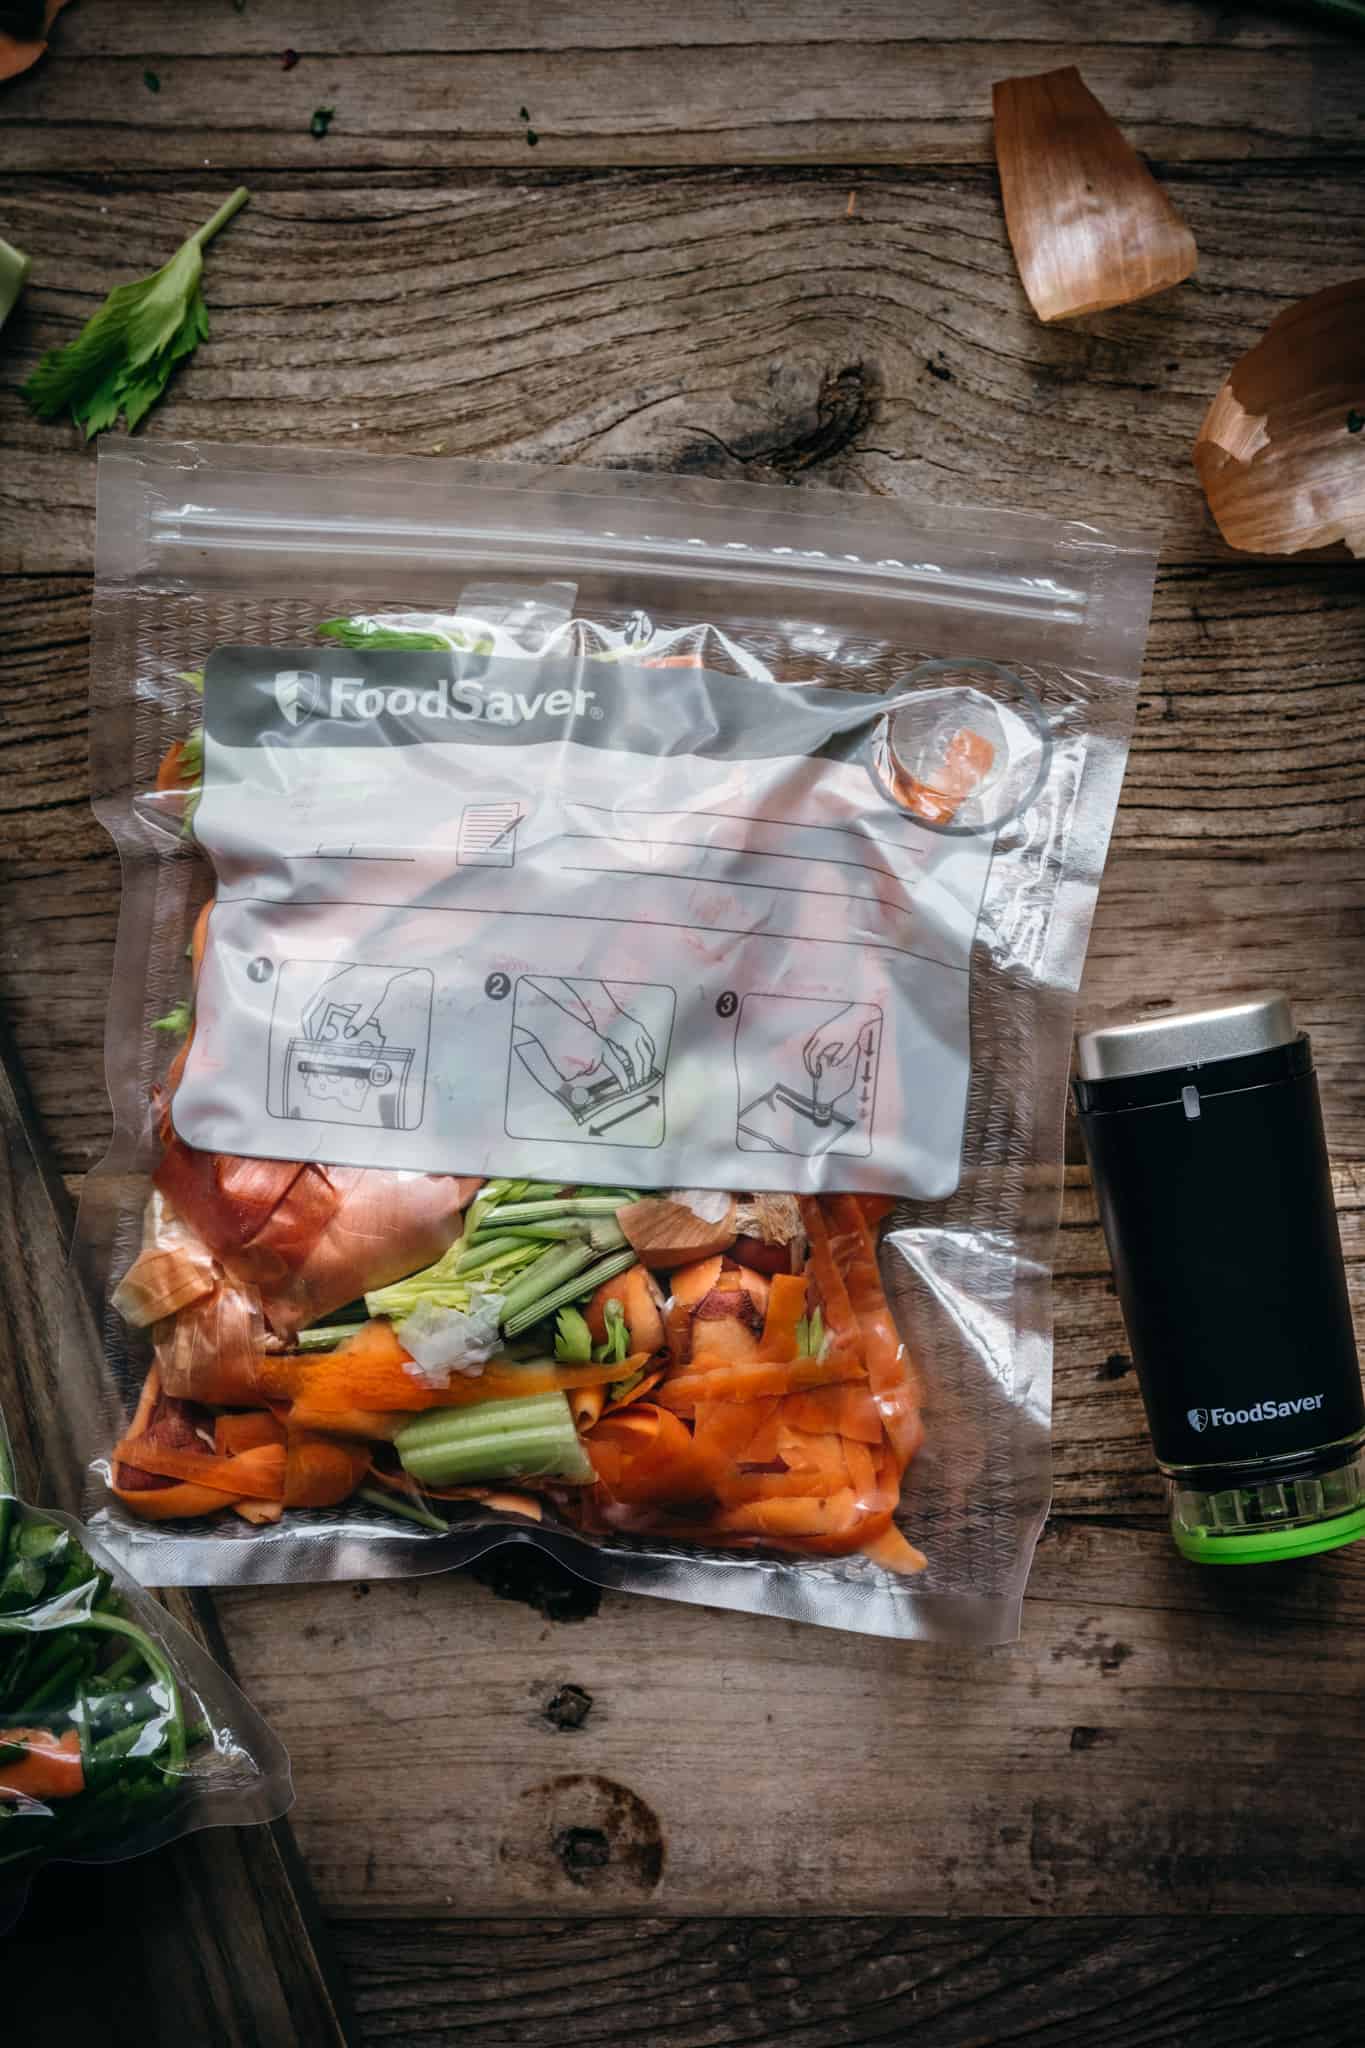
Either way, we've been using our FoodSaver Handheld Cordless Vacuum Sealer to best preserve the freshness of the vegetable scraps!
It's incredibly easy to use, affordable, and small, so it's perfect for just about any kitchen. Essentially, we sort the vegetables based on type (this makes it easier to measure quantities for the broth later on). Then, we add them to a FoodSaver bag, grab the vacuum sealer and let it do its thing.
The bags can be washed and reused over and over, so you can continue to save up scraps. When you're ready to make the broth, remove the vegetables from the freezer about 15 minutes prior to cooking. It's also helpful to write the date/contents on the plastic bag so you can easily reference in the future.
Step 3: Save a wide variety of vegetable scraps for a balanced broth
Regular homemade vegetable broth typically involves a few staple vegetable ingredients. You'll want to make sure you have a decent amount of those ingredients saved up before you start with your broth.
From there, feel free to add secondary ingredients for more flavor! Here's a quick list of our go-to broth ingredients:
- Onions: you can use any leftover parts of the onion, including the skins. Just be sure to clean them well. Yellow or red onions work perfectly fine. Note: it's best to freeze onion scraps ASAP as they go bad quickly in the fridge.
- Carrots: save carrot odds and ends, as well as cleaned peels.
- Celery: When you get to the center of a stalk of celery, add it to your scrap pile instead of tossing. You can also save the ends, which have plenty of flavor but aren't well suited for regular cooking.
- Garlic: I'm not sure about you, but I end up throwing away SO many tiny cloves of garlic that are too much of a pain to peel for a regular recipe. Save them up for use in broth!
- Ginger: ginger peels and odds & ends are perfect for use in broth. They add a ton of flavor, and let's be honest...who actually uses an entire knob of ginger? Usually mine sits in the fridge for way too long after one use.
- Leftover herbs, like parsley: Toss limp herbs (or stems) into your scrap pile for extra broth flavor.
- Mushroom scraps: if you're not using the stems, save them up for broth to add a ton of flavor.
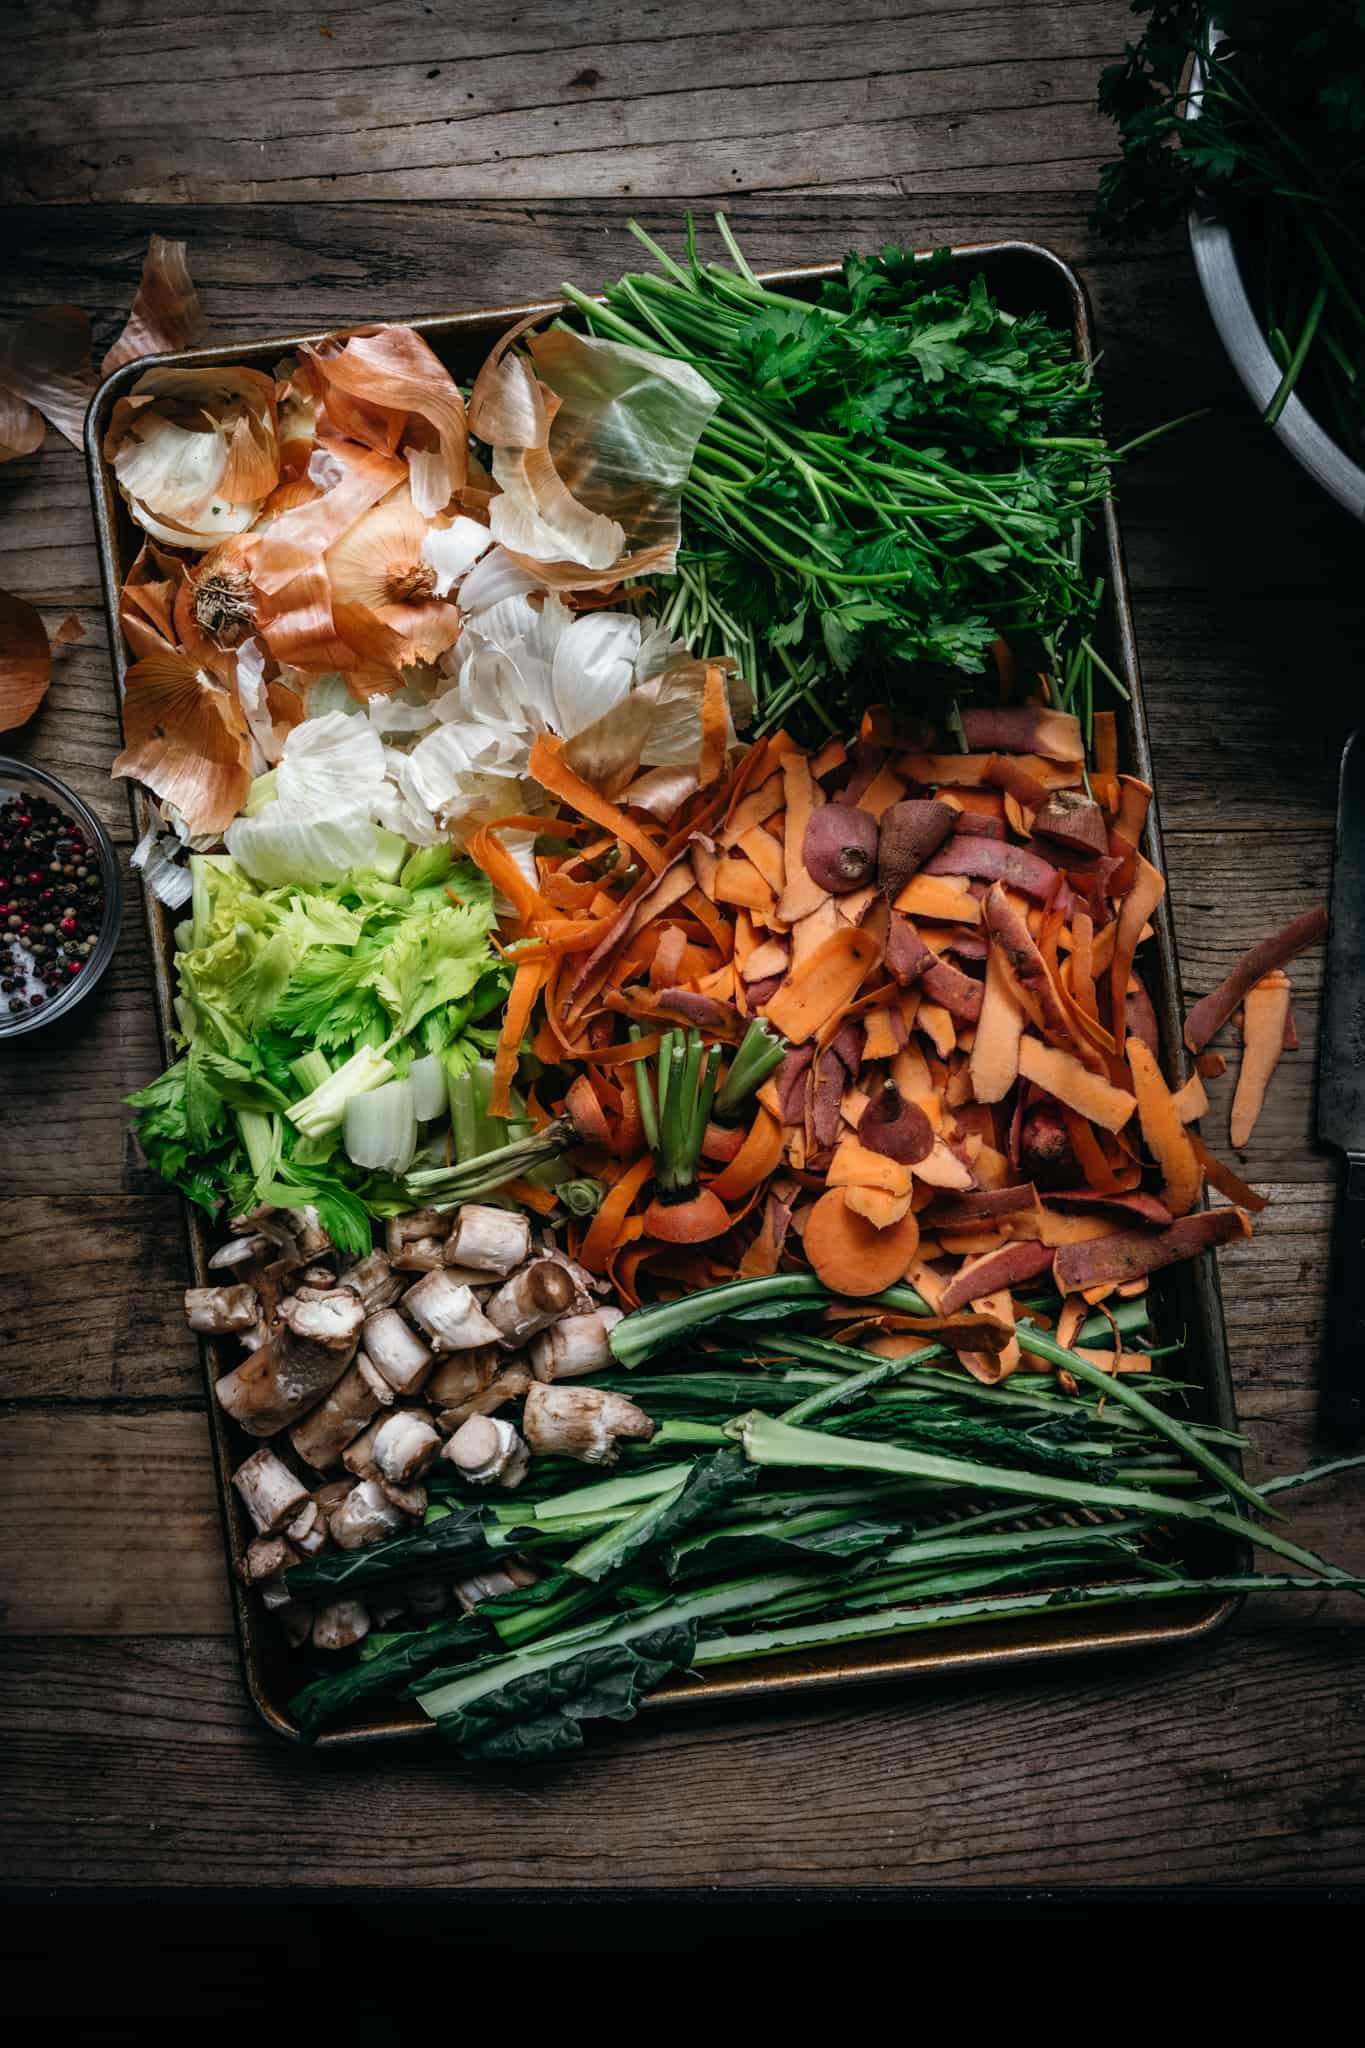
A few secondary ingredients include:
- Potato peels: regular potatoes and sweet potatoes both work.
- Beet peels & ends: a great way to add flavor and nutrients to your broth. Just be warned - they will dye the broth pink!
- Green bean ends: this broth is a great way to use up trimmings.
- Stripped kale or chard stalks: our dogs love munching on these (weird, I know), but you can also add them to broth.
- Leftover chilis or peppers: leftover jalapeño is a great way to add a kick (if you're into that), just be sure to keep it to a minimum as to not overwhelm the other flavors.
Step 4: Make and store your homemade vegetable broth
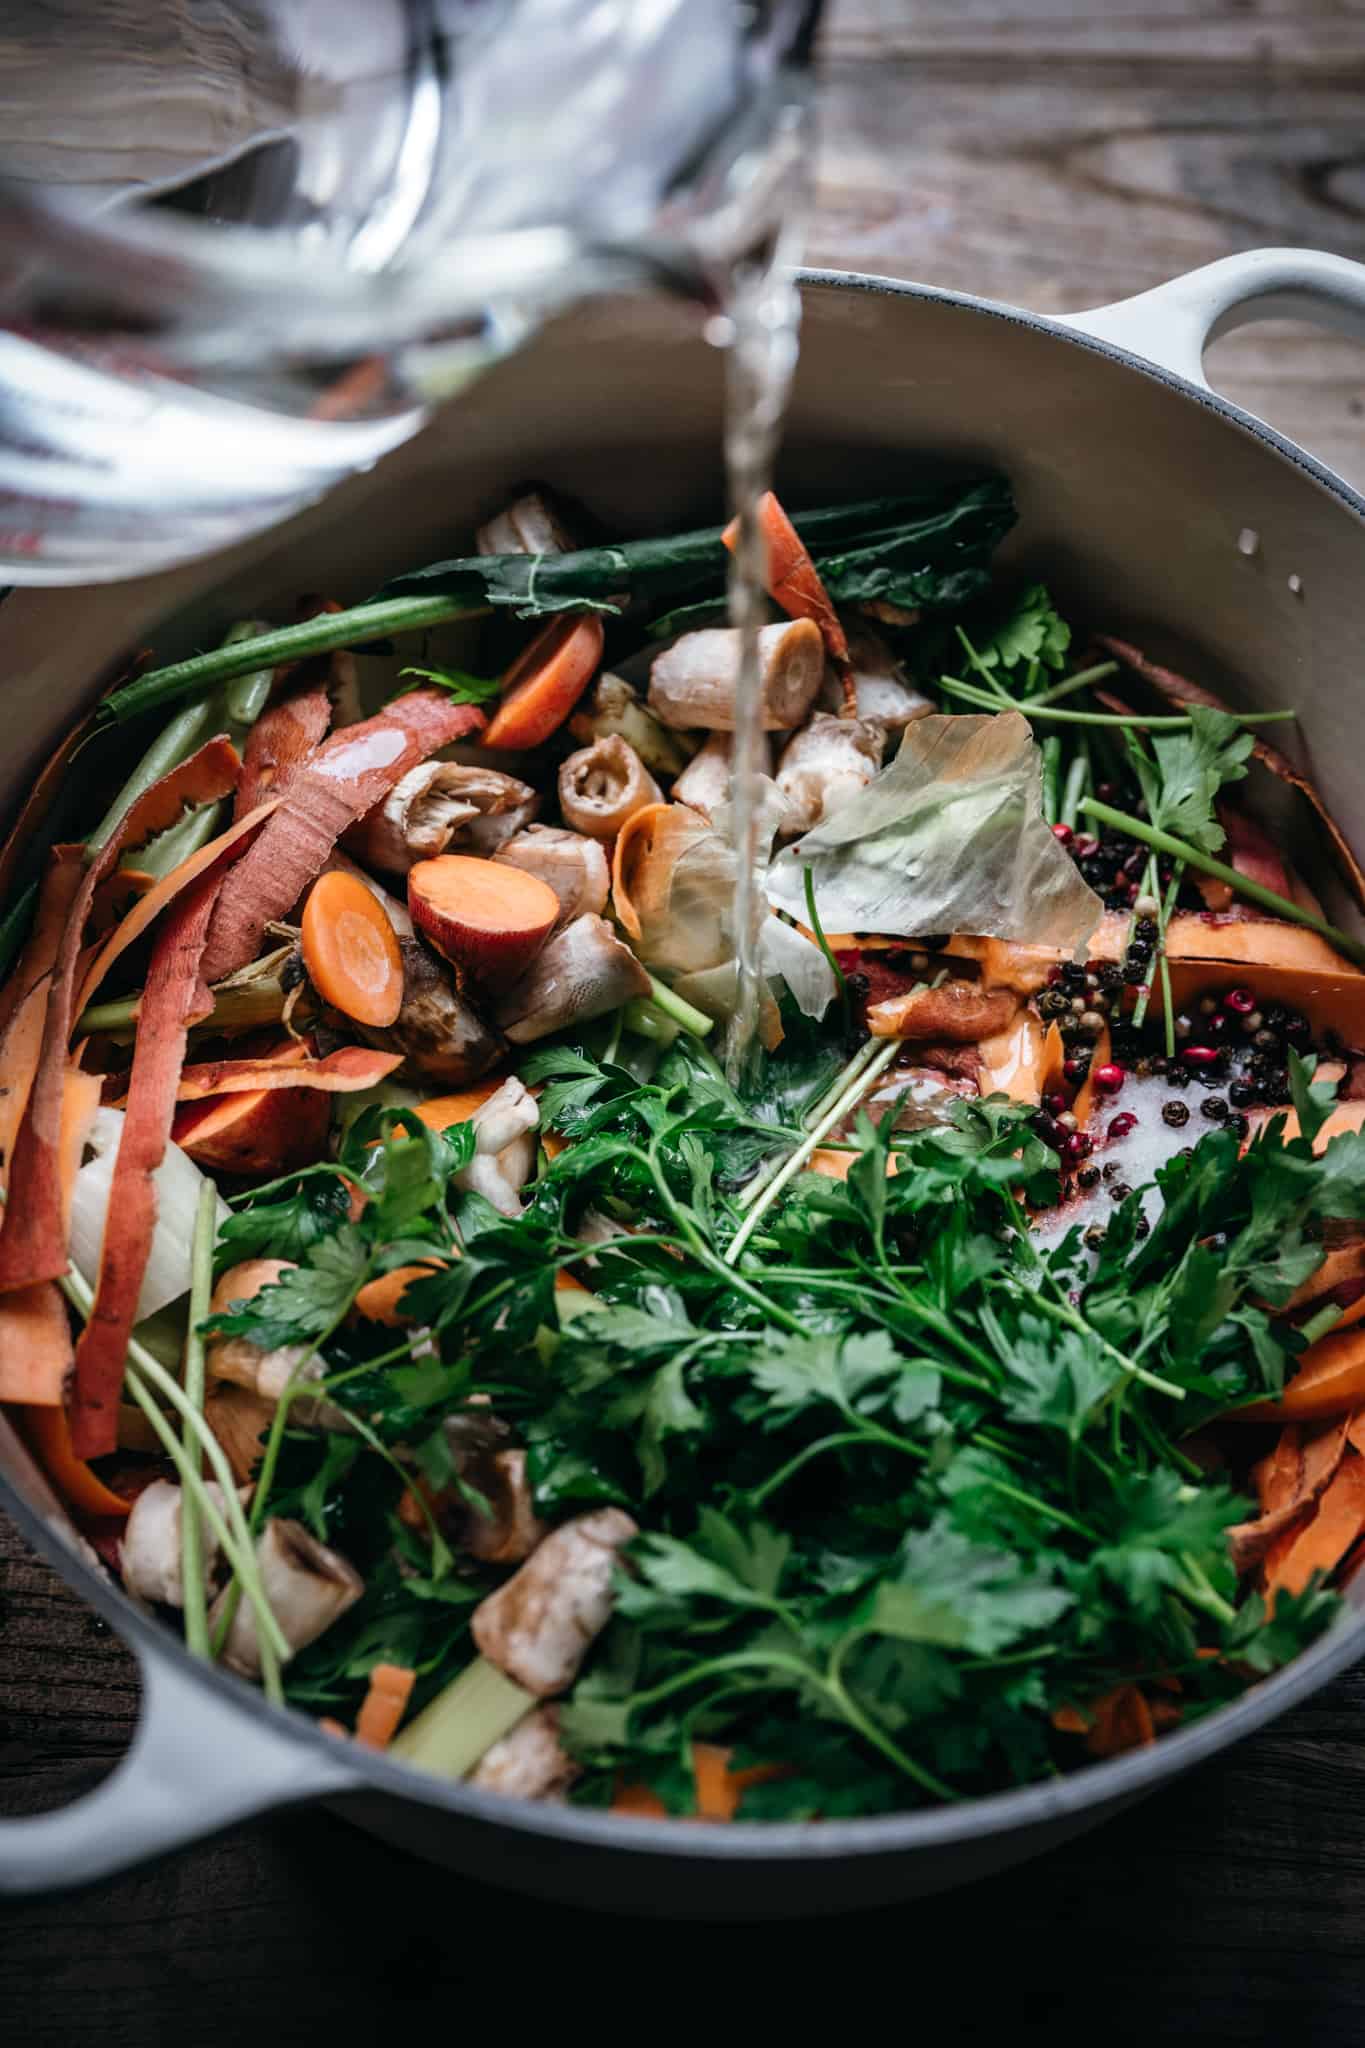
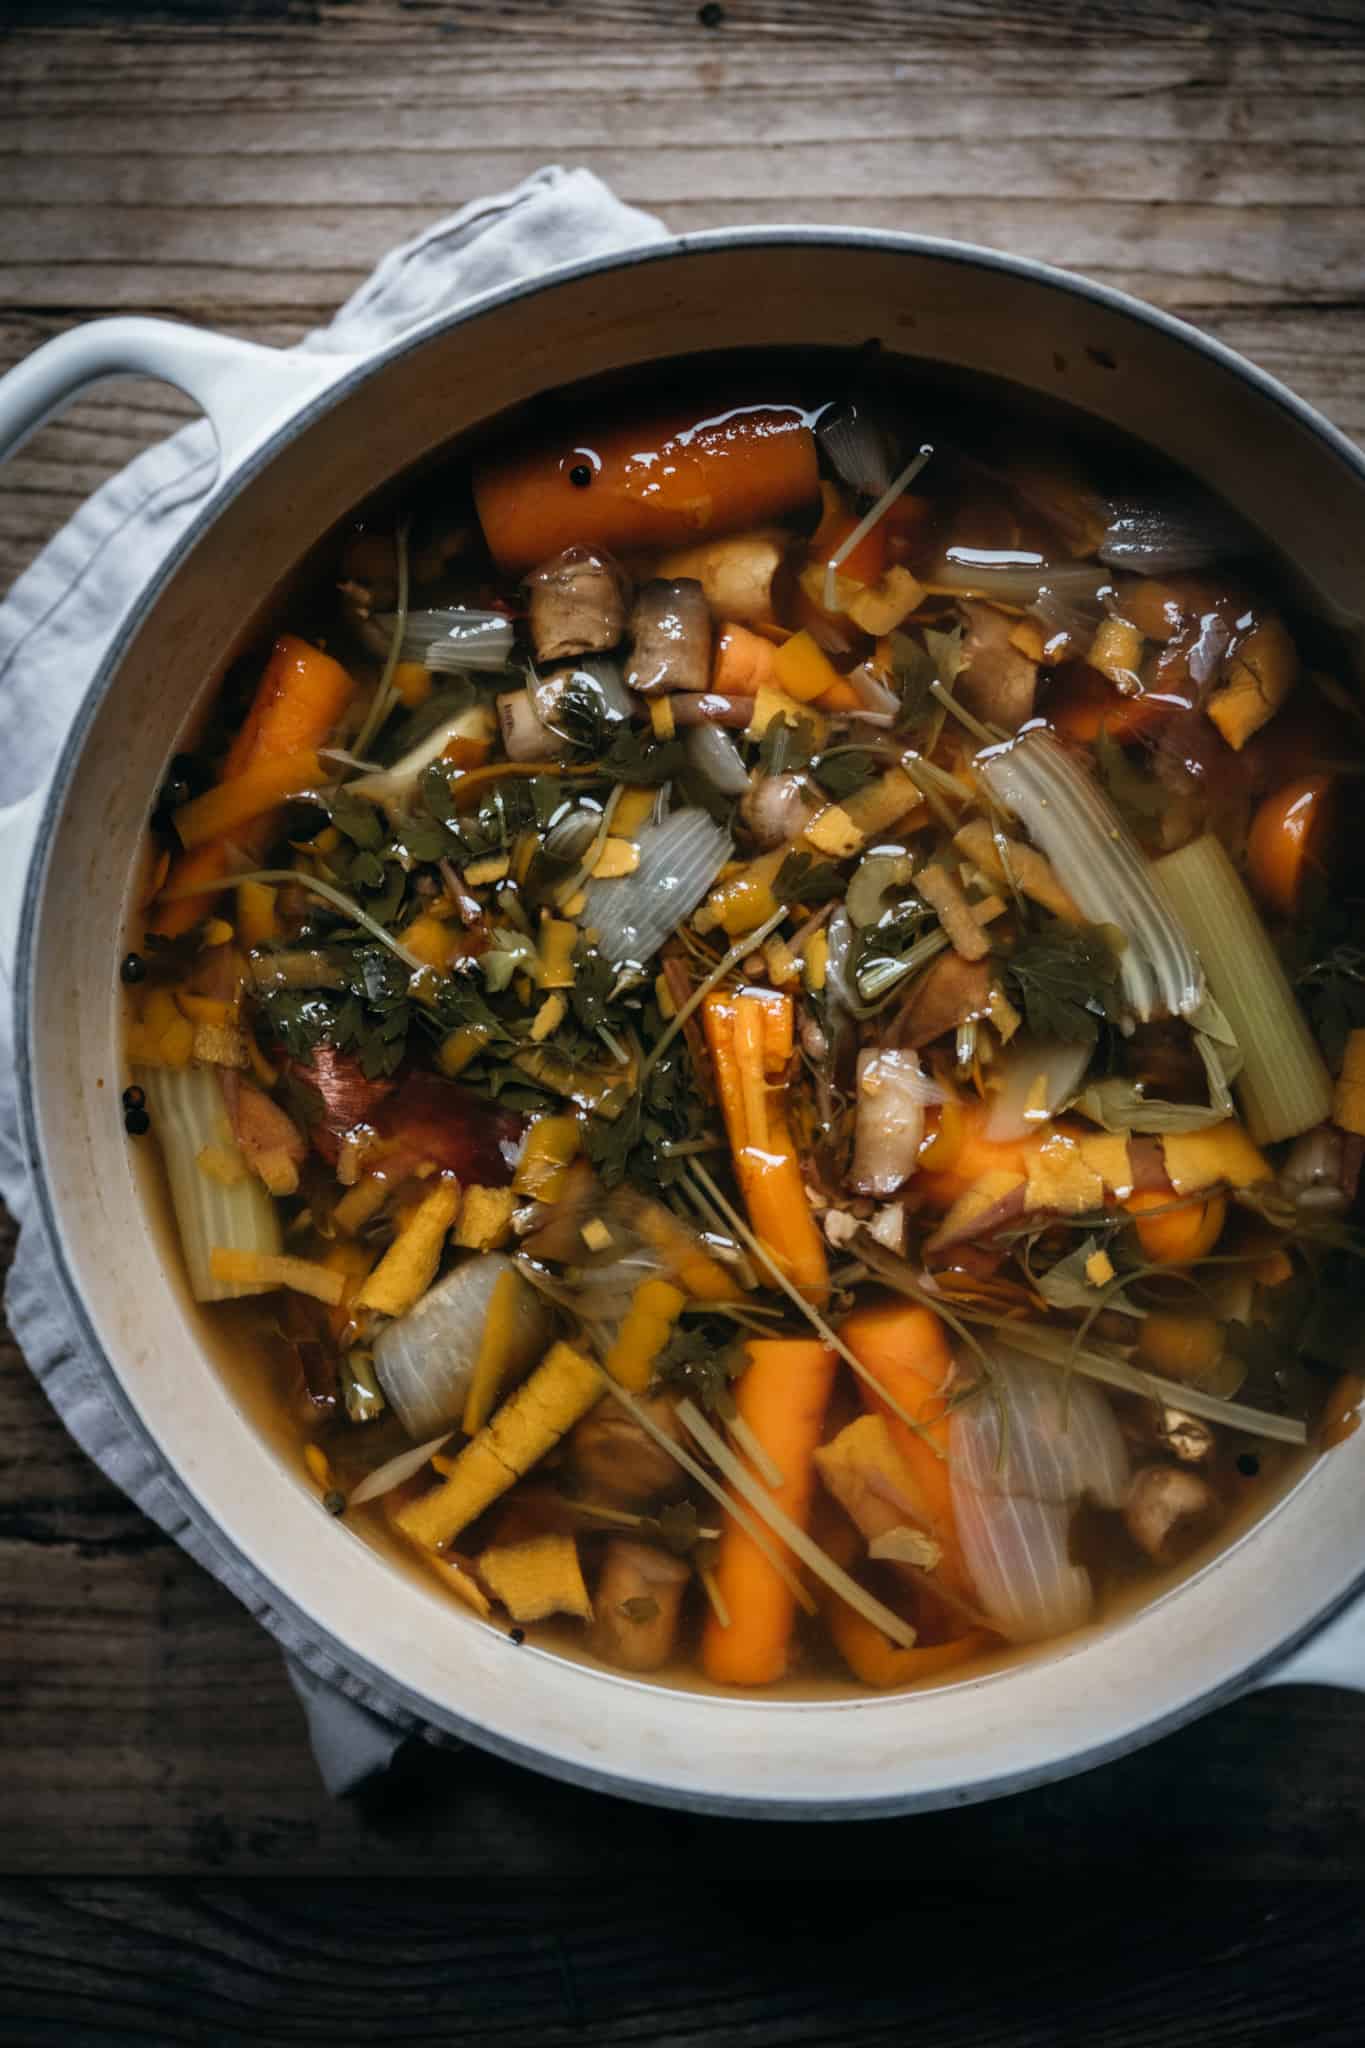
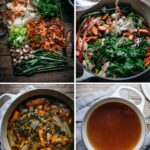
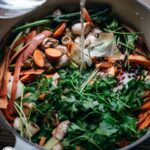
When you're ready to make your homemade vegetable broth, all you have to do is add everything to a big pot and cover with water. Yep, it's that easy! Note: you will still need to use a few whole vegetables in order to make sure there's enough flavor. We bring the broth to a boil, then reduce to a simmer for 1-1 ½ hours.
Of course, you'll need to add other ingredients for flavor, like salt, peppercorns, bay leaves, etc. When the broth is finished cooking, we suggest giving it a taste to make sure there's enough salt and flavor. You can always add more salt/peppercorns, or even a dash of soy sauce for umami flavor.
But remember - broth is meant to be relatively neutral for use in a wide range of recipes. You'll almost definitely be adding more seasoning to the final recipe.
The only exception, of course, is if you're planning to sip on the broth plain. In that case, feel free to season to your liking.
When the broth is finished, let cool, then strain to remove scraps. This may seem like a no-brainer, but make sure to strain your broth into another container!
I'm surely not the only person that's made homemade broth and then accidentally strained it into the sink because that's what our brain is trained to do. Right??
Once the broth is cool, you can store in an airtight container in the refrigerator for up to a week. To store for a longer period of time, you'll need to freeze the broth.
How to freeze
- Pour the cooled broth into ice cube trays. Freeze, then transfer to a freezer-safe container for future use. (We suggest using the Food Saver vacuum sealer to prevent freezer burn!) This is particularly helpful if you'll only need small amounts at a time.
- Mason Jars or other glass containers work well. Just be sure to leave headspace at the top (it will expand) and beware that you may deal with cracking at some point (although it has never happened to us).
- Plastic zip-top bags aren't our first choice, but they do work well for broth. Lay flat to freeze so it doesn't take up as much space once frozen. Reusable zip top bags are another great choice.
Uses for homemade vegetable broth
There are endless uses for your homemade vegetable broth. Here are a few of our favorite ways to use it up:
- The first and most obvious use is soups/stew/chilis. A few of our favorite broth-based soups include this White Bean and Kale Soup, this Super Green Vegetable Soup, and this Fall Veggie Minestrone.
- Use the broth to cook legumes and grains. Yes, you could just use water, but broth adds so much more flavorful to otherwise bland ingredients like rice and lentils. Try it in this Moroccan Carrot and Lentil Salad, this Fall Salad with Wild Rice, or these Lentil Meatballs.
- Risotto is one of my favorite uses for broth. Try this Wild Mushroom Risotto or this Butternut Squash Risotto (both vegan).
- Casserole dishes, like this Classic Gluten Free Stuffing.
- Any recipe that involves braising. Here's a great tutorial on how to braise vegetables from Williams-Sonoma.
- Serve plain with white rice when you're sick. I recently had food poisoning (not fun!) and vegetable broth + rice saved me.
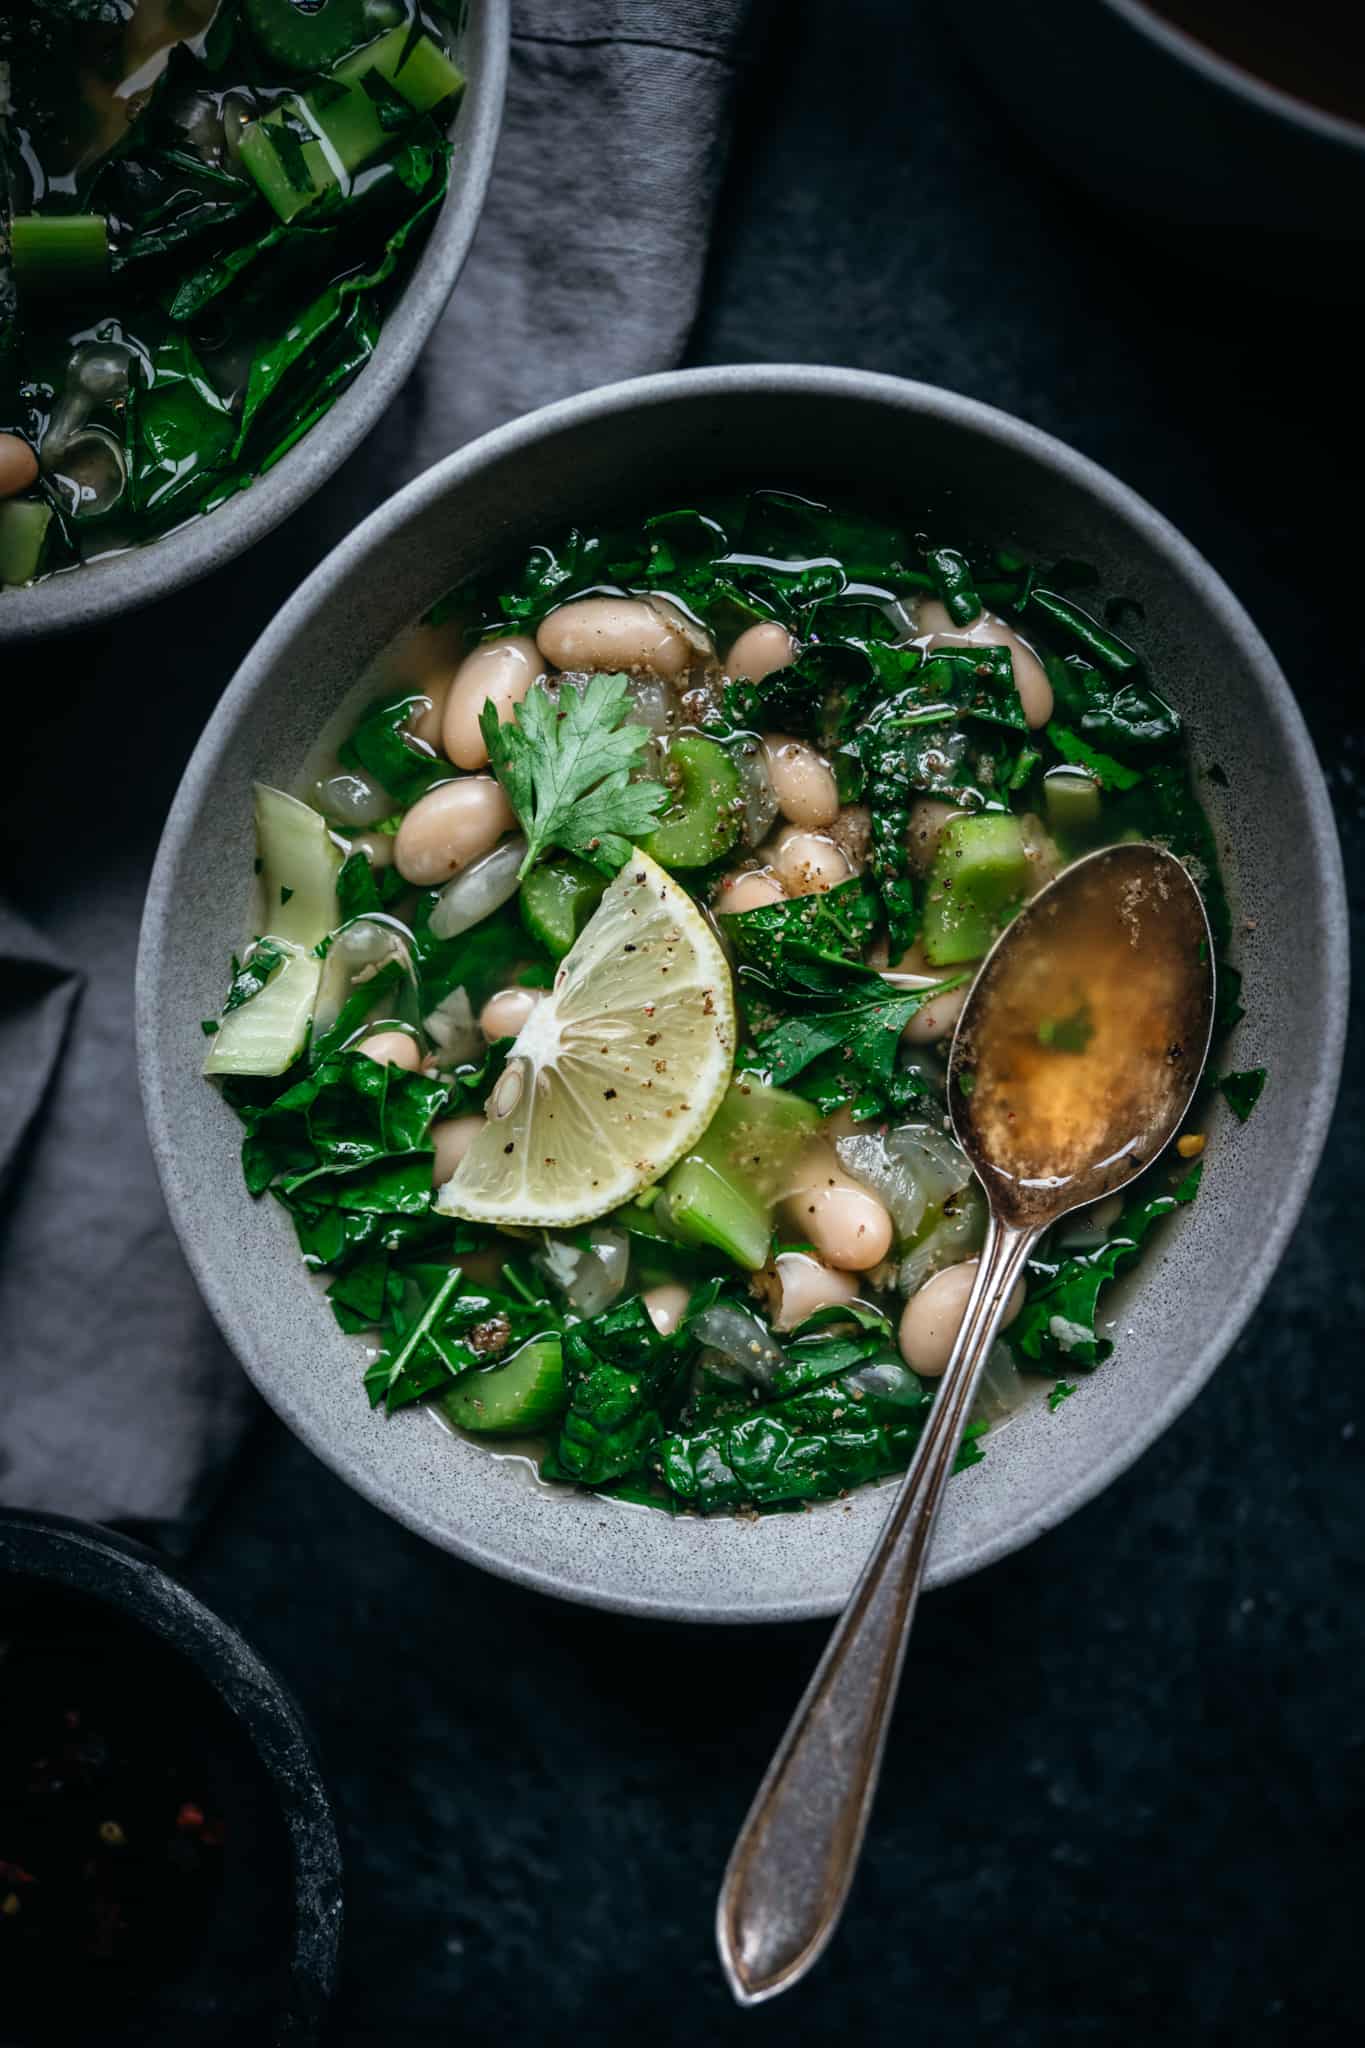
If you give this homemade vegetable broth a try, we'd love for you to leave a rating and review below! We also love to see your creations on Instagram – tag us at @crowded_kitchen so we can see what you’ve been cooking.
Print📖 Recipe
How to Make Homemade Vegetable Broth
- Total Time: 1 hour 10 minutes
- Yield: 4 quarts 1x
- Diet: Vegan
Description
Homemade vegetable broth is so easy to make, plus it's a great way to reduce food waste! Use it in soups and stews, or to cook legumes, grains and more.
Ingredients
- 18 cups water
- 6 cups total of vegetable scraps, INCLUDING the following:
- 2 large carrots, roughly diced
- 2 celery stalks, roughly diced
- 1 medium yellow onion, quartered (with skin on)
- 3-4 bay leaves
- 6-8 small cloves of garlic
- 1 small to medium bunch of parsley (leftover stems work, too)
- 1 ½ inch piece ginger, sliced into rounds
- 1 ½ tbsp peppercorns
- 2 ½ tbsp kosher salt
- More vegetable scraps to fill the 6 cups, which can include more onion, celery, carrot or garlic scraps, or sweet potato skins, kale stems, mushroom stems, green beans, other herbs, etc.
Instructions
- Measure out 6 cups of vegetable scraps, including the whole vegetables noted above in the recipe. Feel free to add any vegetable scraps you'd like. As long as you have the whole carrots, onion and celery, you can supplement with any other scraps.
- Add to a large stock pot along with salt, peppercorns, bay leaves and any other seasonings. Cover with water.
- Bring to a boil, then reduce to a simmer for 1-1 ½ hours. Remove from heat and let cool for a few minutes. Carefully strain liquid into another pot or large bowl. Compost or dispose of cooked vegetable scraps.
- Let cool completely before transferring broth to a sealed container. If using within a few days, store in refrigerator. Otherwise, store in freezer for up to 6-8 months.
Notes
Notes on how to freeze & store vegetable broth are in the blog post.
- Prep Time: 10 minutes
- Cook Time: 1 hour
- Category: Tutorial
- Method: Stovetop
Nutrition
- Serving Size:
- Calories: 129
- Sugar: 12.7 g
- Sodium: 2663.4 mg
- Fat: 0.8 g
- Saturated Fat: 0.2 g
- Trans Fat: 0 g
- Carbohydrates: 29.7 g
- Fiber: 8.4 g
- Protein: 3.6 g
- Cholesterol: 0 mg





Comments
No Comments