
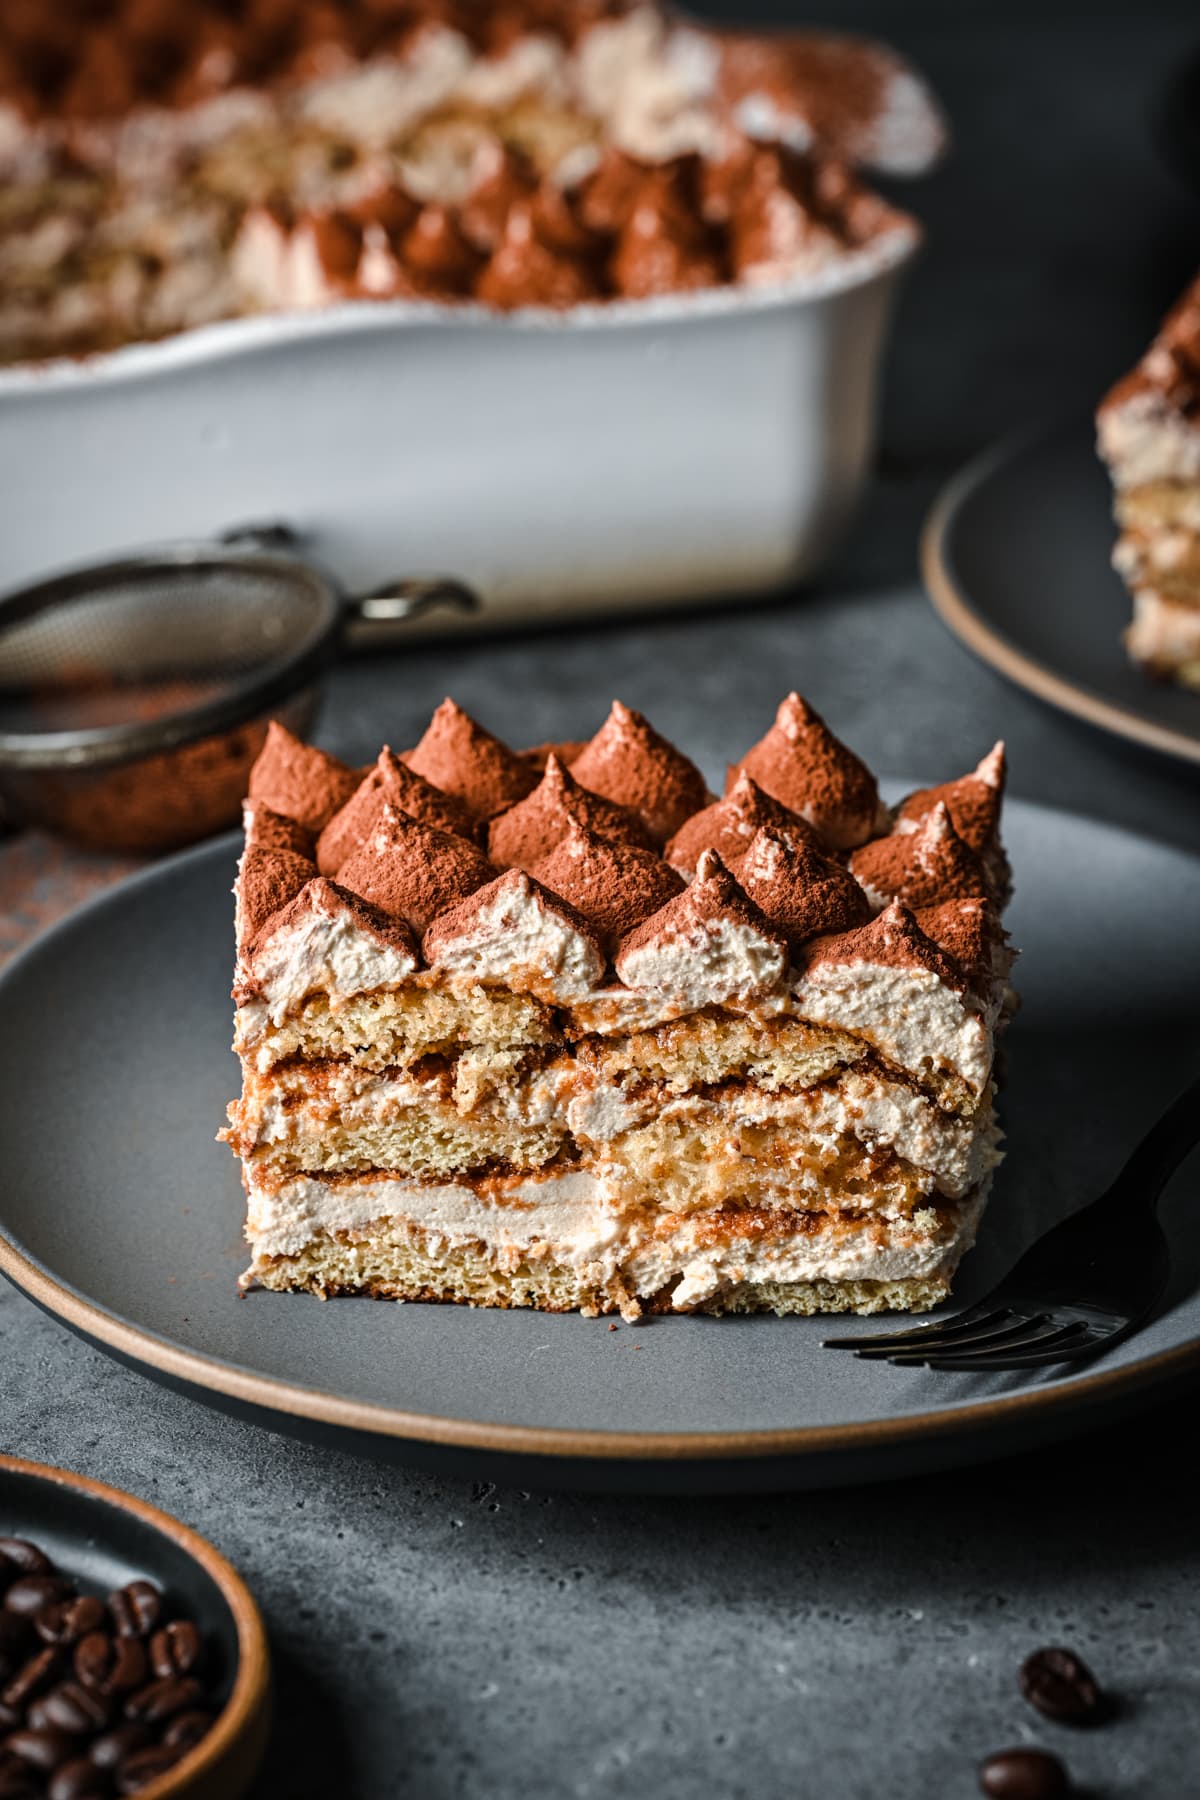
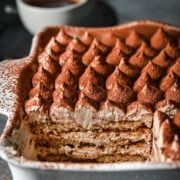
This Vegan Tiramisu combines layers of coffee-infused cream and ladyfingers to create a fully dairy free version of the classic dessert. It's decadent, rich, absolutely delicious, and tastes just like the traditional version!
This post is sponsored by DeLallo Foods. All opinions are our own.
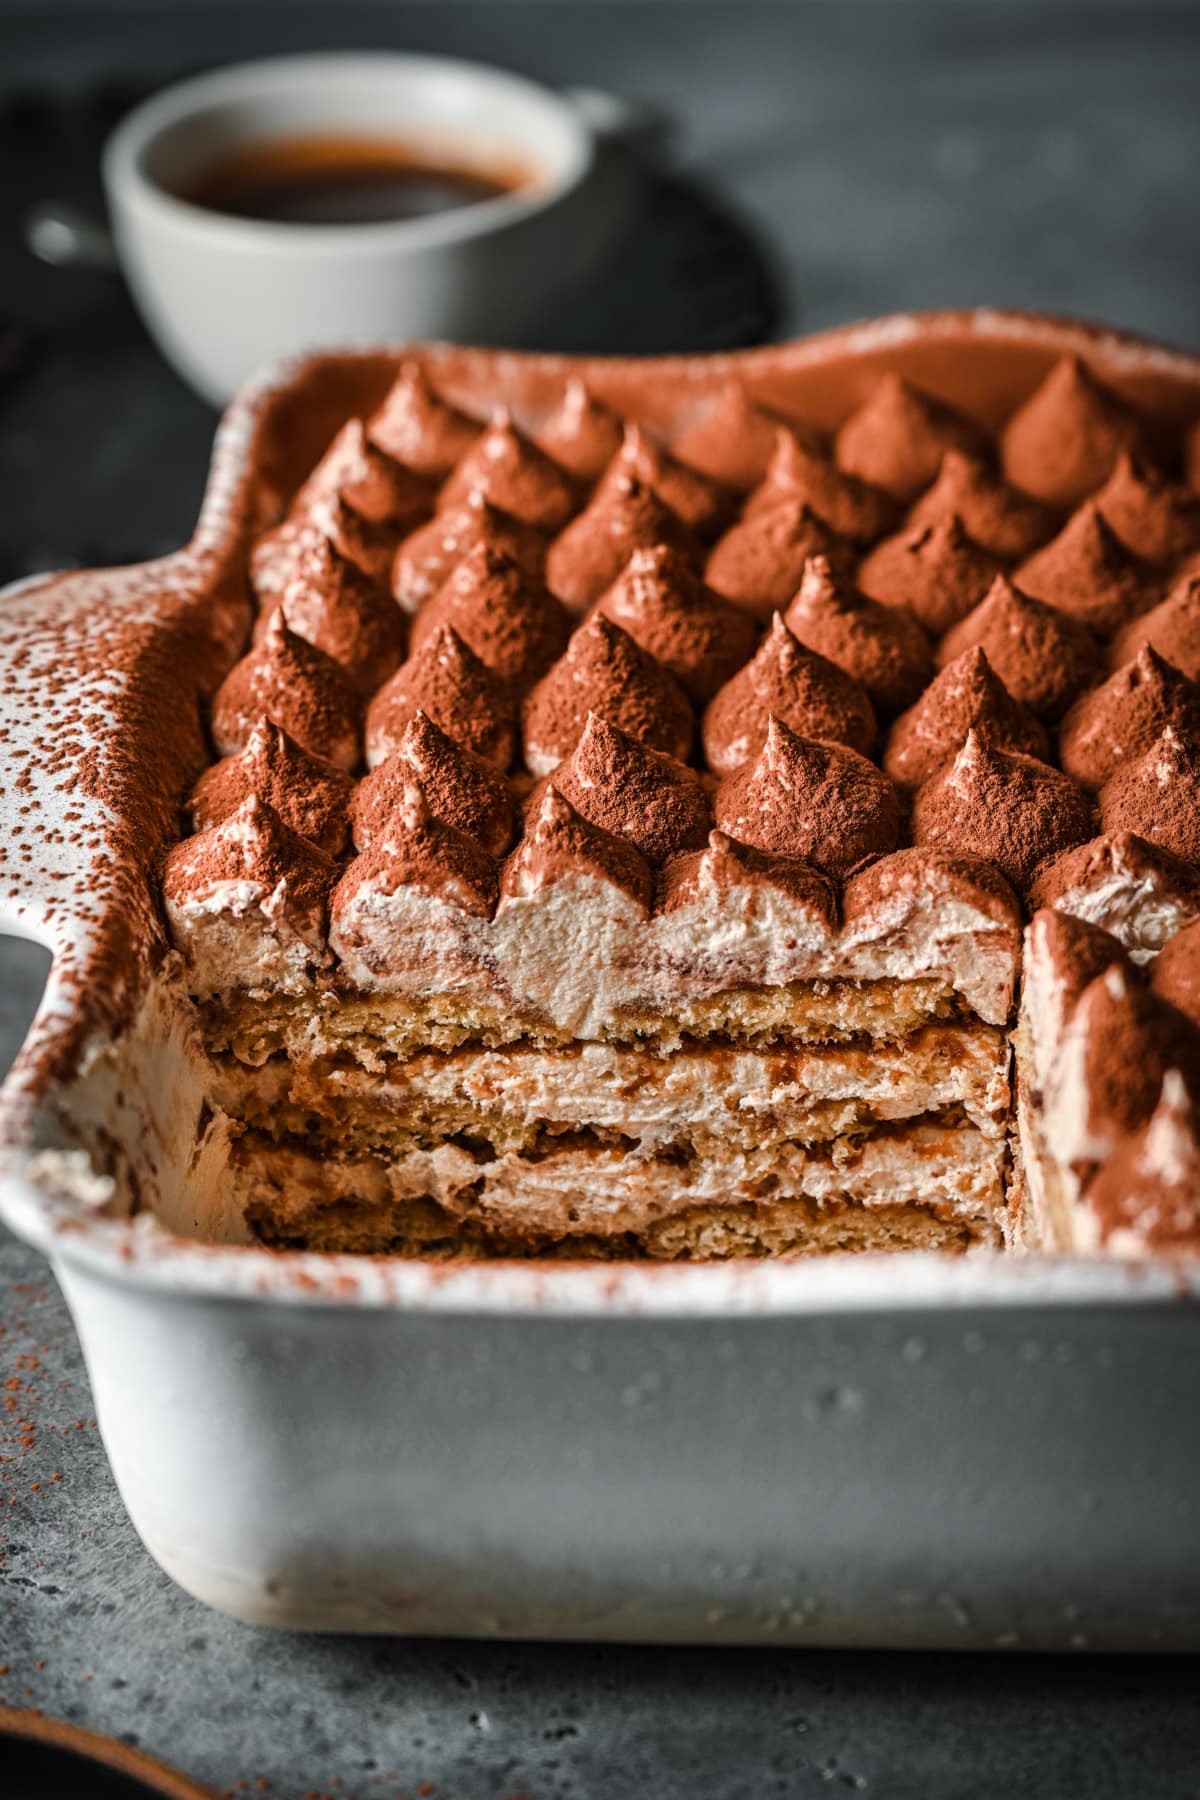
In Italian, tiramisu roughly translates to "pick me up" or "lift me up", and this is definitely an apt description. It combines airy whipped cream, ladyfingers soaked in espresso, and the flavors of chocolate and coffee, which make this tiramisu a perfect after-dinner dessert.
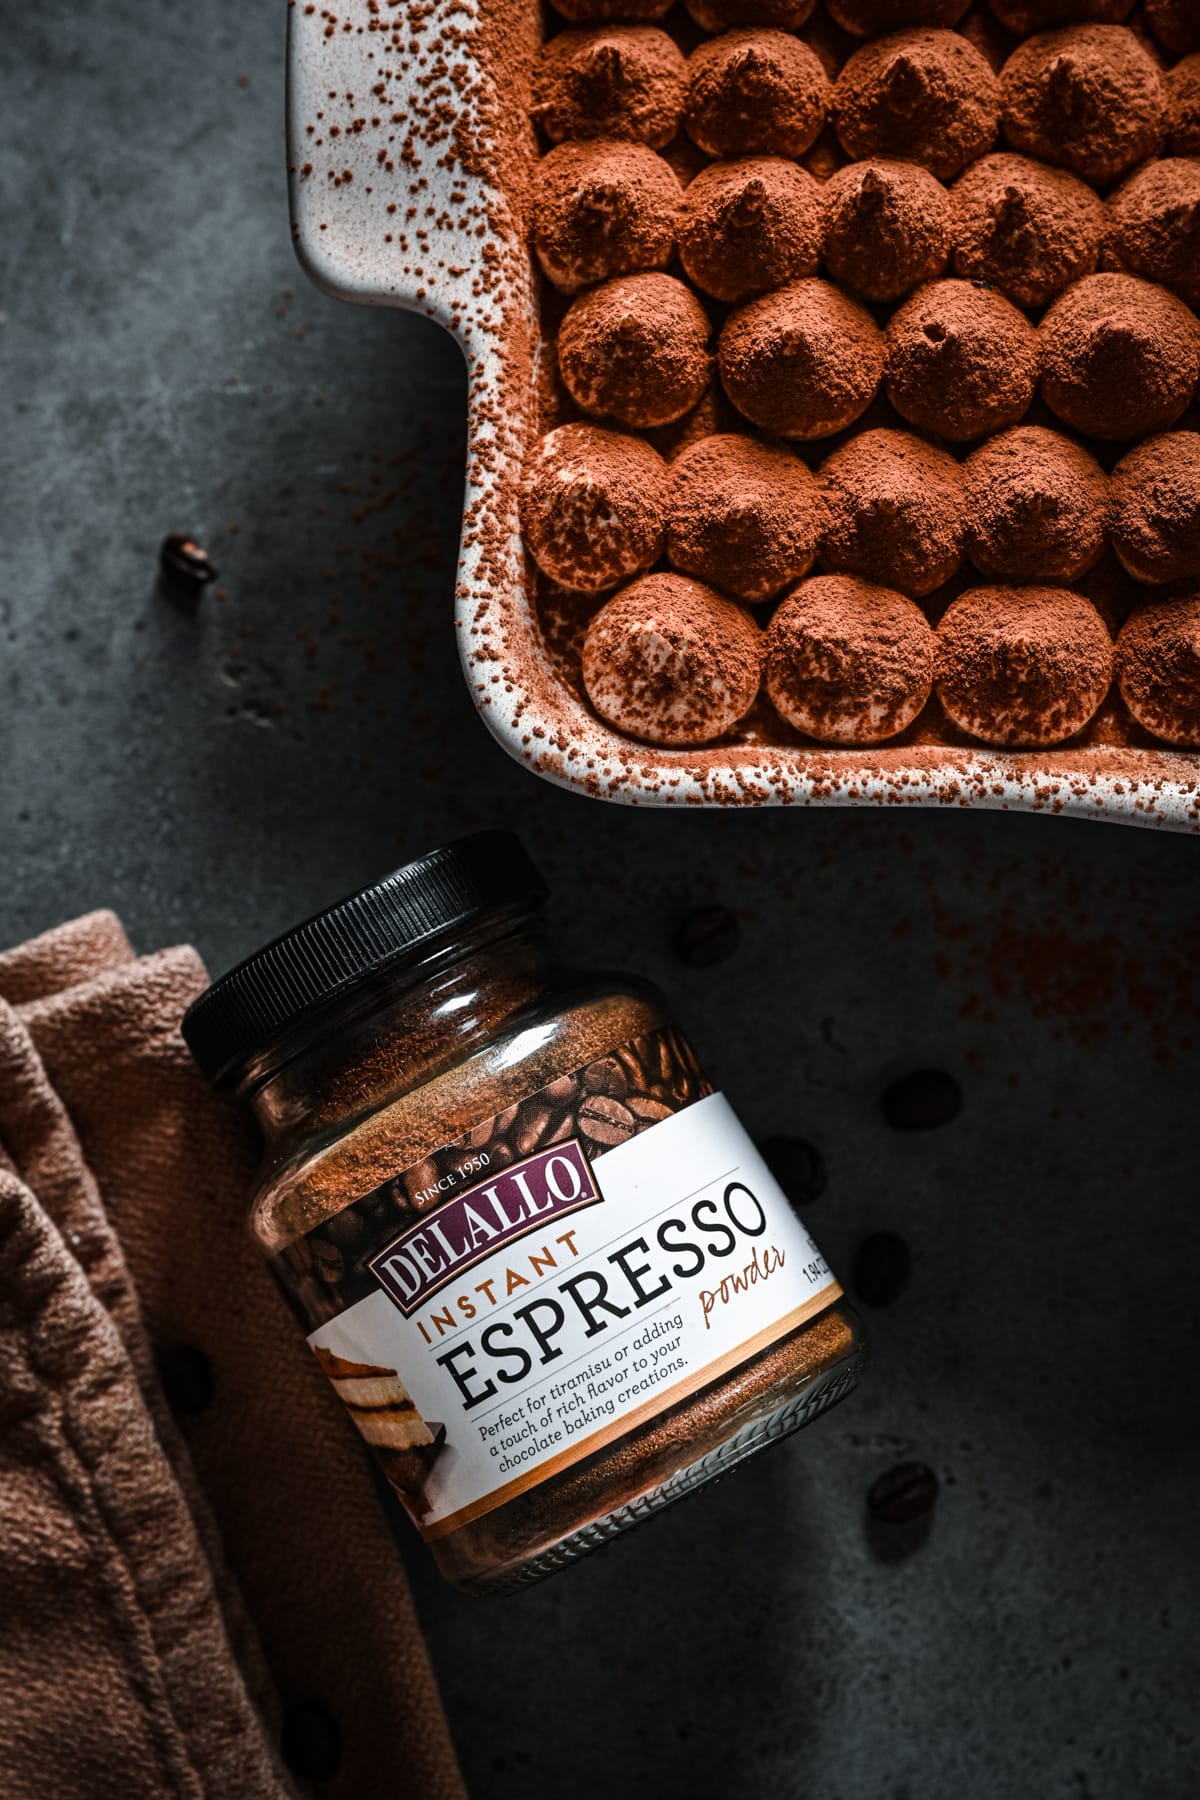
The key to all of this, of course, is the espresso powder, which provides the caffeine jolt that truly makes this vegan tiramisu a "pick me up". We used DeLallo's instant espresso powder, which has more than a hundred five star reviews and was the perfect choice for this vegan tiramisu.
Jump to:
Why We Love This Recipe
- 100% vegan: Our homemade vegan ladyfingers use aquafaba, the liquid from a can of chickpea, instead of eggs. This recipe also contains no dairy – we use vegan cream cheese and vegan butter to create a super creamy whipped filling. Despite the lack of dairy, you still get the same rich flavor and creamy consistency that makes this classic dessert so beloved!
- Tastes like the real thing: We tested and retested this vegan tiramisu recipe for weeks to get everything just right. It has the taste and texture of a regular tiramisu, it just happens to be vegan.
- Great coffee flavor: Thanks to DeLallo's espresso powder, every bite has a dose of delicious coffee flavor.
- Easy to assemble: This vegan tiramisu may look complicated, but it's as simple as making the filling, assembling all of the layers and letting it chill in the refrigerator to set! It's no bake (great for a hot summer day) and a great option for a crowd.
- Make ahead dessert: This vegan tiramisu is the perfect make ahead dessert, since it actually tastes best when it has a chance to sit overnight!
Ingredients
Here's what you'll need to make this vegan tiramisu:
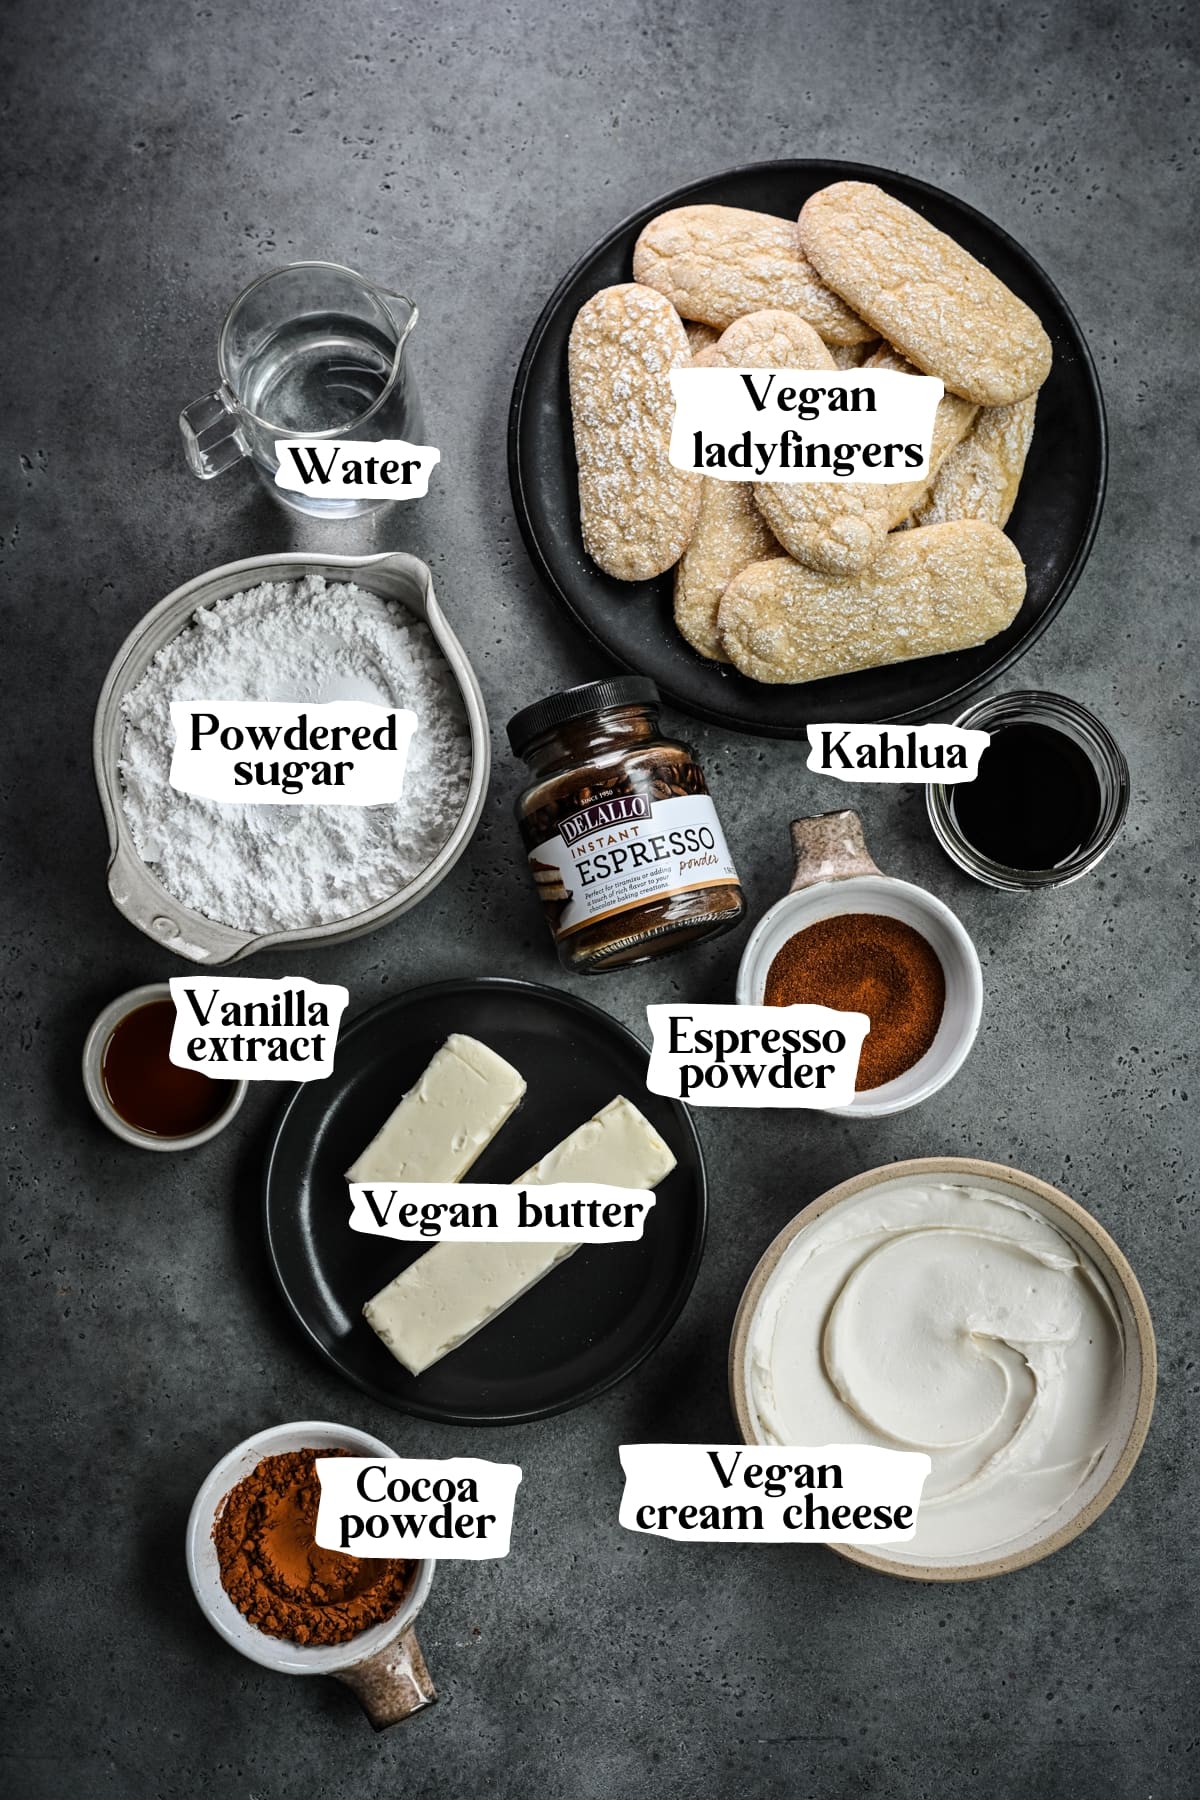
Ingredient Notes
- Vegan ladyfingers: See this post on how to make vegan ladyfingers. We had a bit of trouble finding store-bought vegan ladyfingers, so we decided to make our own. Don't worry though - they only take about 30 minutes to make! And yes, they are absolutely essential to this vegan tiramisu. Ladyfingers are the perfect combination of crunchy, chewy and sturdy enough to hold up to liquid.
- Espresso powder: We used our favorite Instant Espresso Powder from Delallo, which has a rich, dark flavor that's perfect for adding a huge punch of flavor to this vegan tiramisu. It dissolves beautifully in hot water and we love keeping it on hand for adding more flavor to cakes, brownies, frostings, ganache, ice cream, drinks and more. It's a great way to incorporate intense coffee flavor into just about any recipe! We also love that dissolves instantly in any wet batter or liquid, so you won't end up with a grainy mixture. Do yourself a favor and order a jar or two to keep on hand. It has over 100 5-star reviews, so we're certainly not the only ones that swear by it!
- Coffee liqueur: Kahlua is the most popular brand of coffee liqueur, but feel free to use whatever you have on hand. You can also leave this out if you don't want to use any alcohol or don't have any coffee liqueur.
- Vegan butter: Any brand will work here. Just make sure it's softened to room temperature so it incorporates well into the cream cheese!
- Vegan cream cheese: Most vegan brands should work well, but we don't suggest using a brand that's fermented. Opt for something as close in texture to regular cream cheese as possible. Classic tiramisu uses mascarpone, but since there aren't any vegan mascarpone options, we use a combination of cream cheese and butter. The end result is surprisingly similar in both flavor and texture.
- Powdered sugar: It's essential to use powdered sugar (not granulated sugar) to make the filling super silky and smooth.
- Cocoa powder: We use unsweetened cocoa powder in this recipe. It's mainly used for dusting a layer on the bottom of the pan, as well as dusting the finished tiramisu for classic tiramisu look.
How to Make Vegan Tiramisu
PREP: If you're not using store-bought ladyfingers, follow this recipe to make them from scratch. The recipe linked here will make the exact number you need for this tiramisu. Let cool completely.
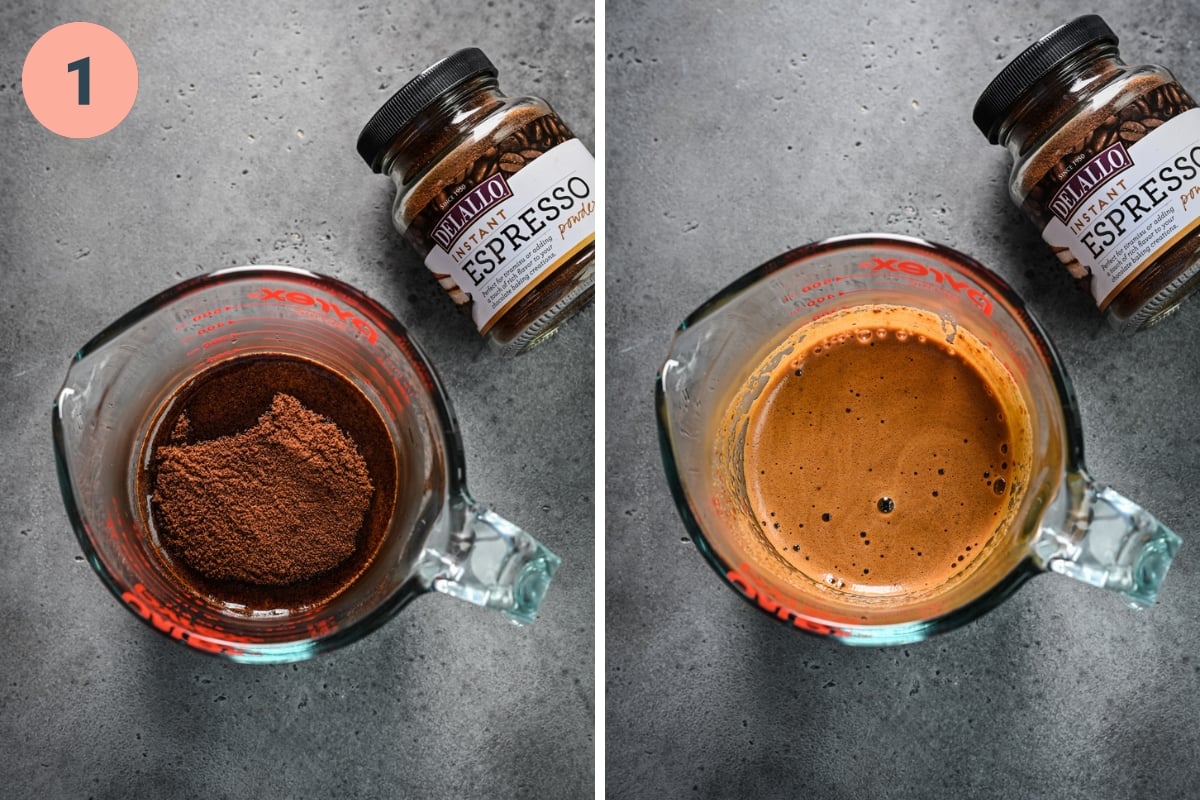
STEP 1: Add instant espresso powder to hot water and whisk until dissolved. Add in coffee liqueur and vanilla extract and whisk to combine.
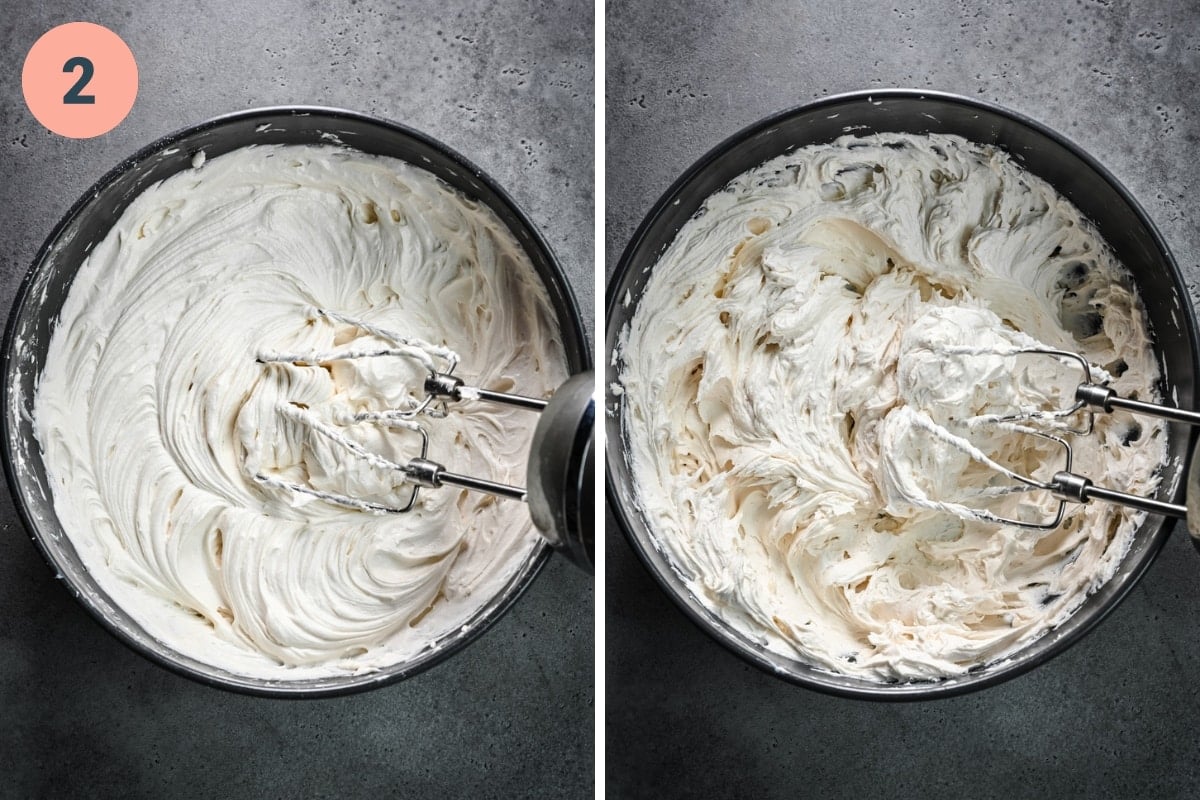
STEP 2: Add the butter and cream cheese to a mixing bowl and beat on medium speed until no lumps remain. Add in the powdered sugar and continue mixing until well combined. Add in 3 tablespoons of the coffee liqueur mixture from step 1 and beat until smooth.
Set aside ~1 cup of the cream mixture and refrigerate while you assemble the tiramisu.
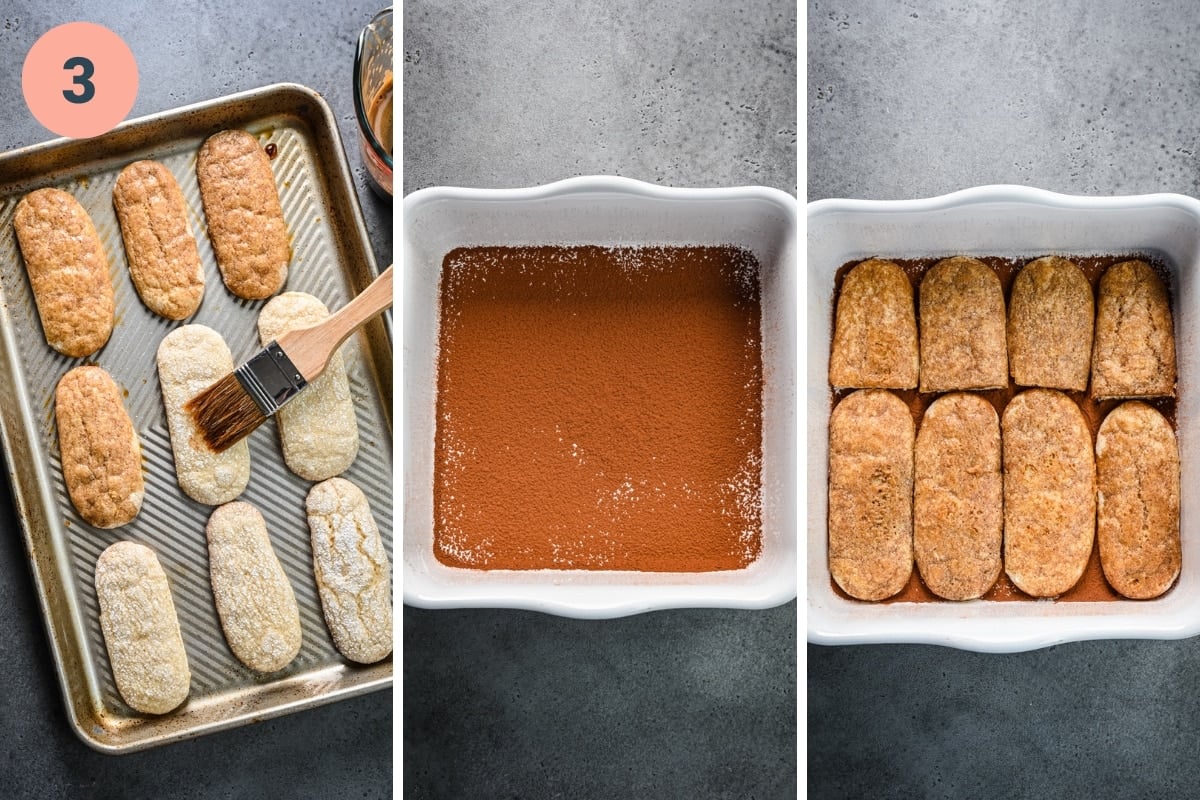
STEP 3: Dust the bottom of a 9x9" baking dish with a thin layer of cocoa powder.
Brush each ladyfinger twice on each side with the coffee liqueur mixture. Start with just eight ladyfingers (wait to brush the rest until the next layer so they don't get too soggy).
Place the ladyfingers flat side down on the bottom of the baking dish, covering it in an even layer. You may have to break a few of the ladyfingers in order for them to fit. We used 4 whole ladyfingers and 4 broken ones for each layer.
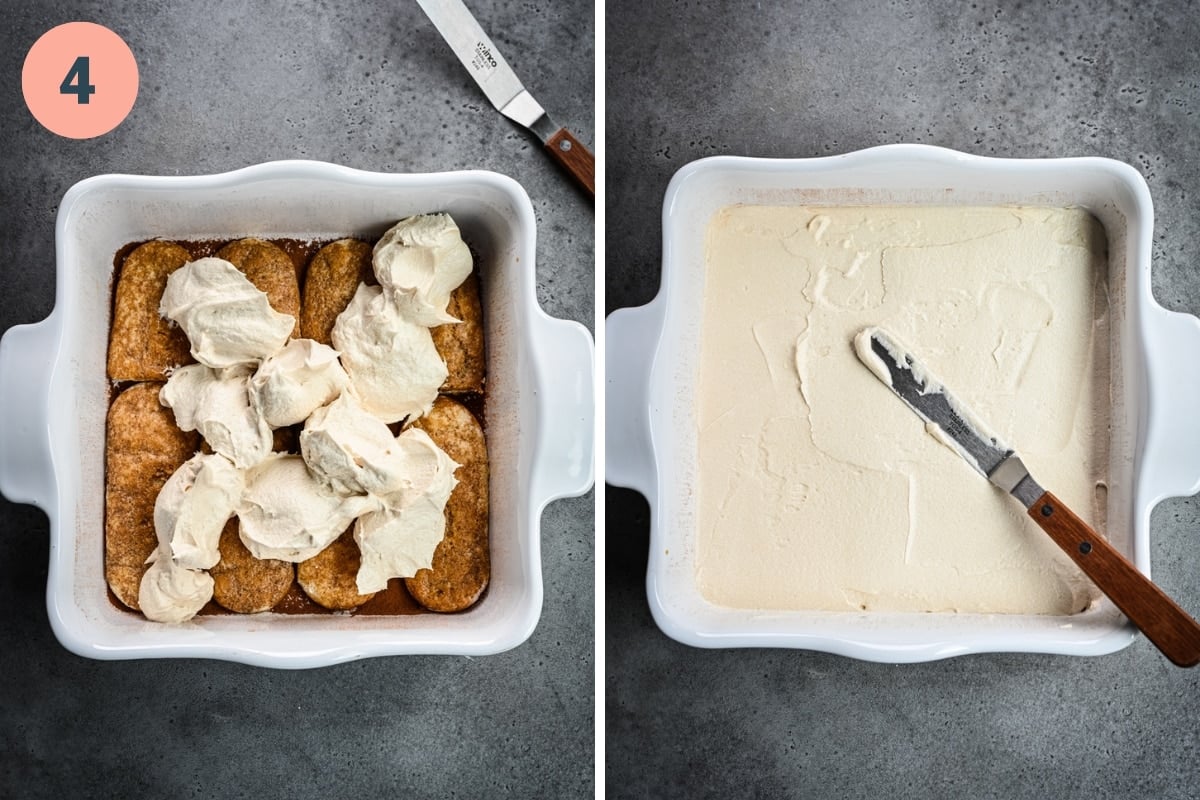
STEP 4: Spread ⅓ of the cream mixture over the ladyfingers in an even layer. Repeat with two more layers of ladyfingers and cream. Spread the final layer of cream thinly over the top of the ladyfingers, just covering them.
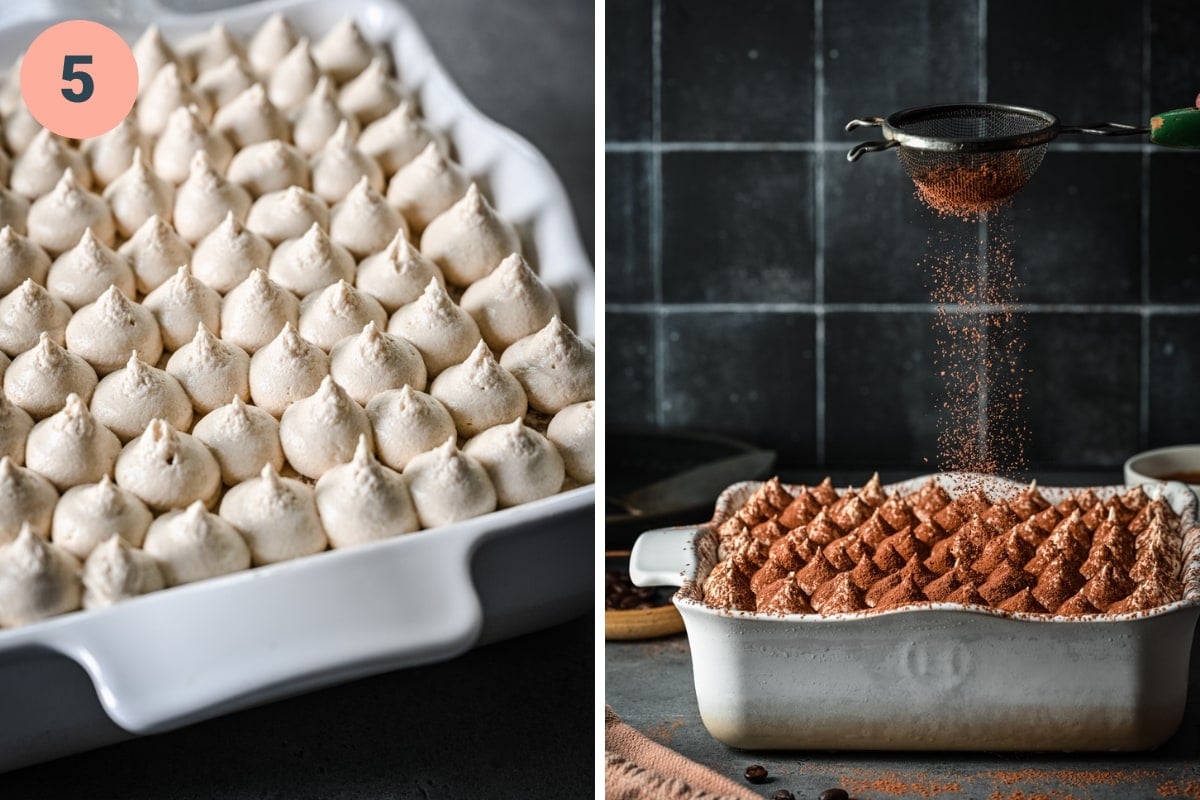
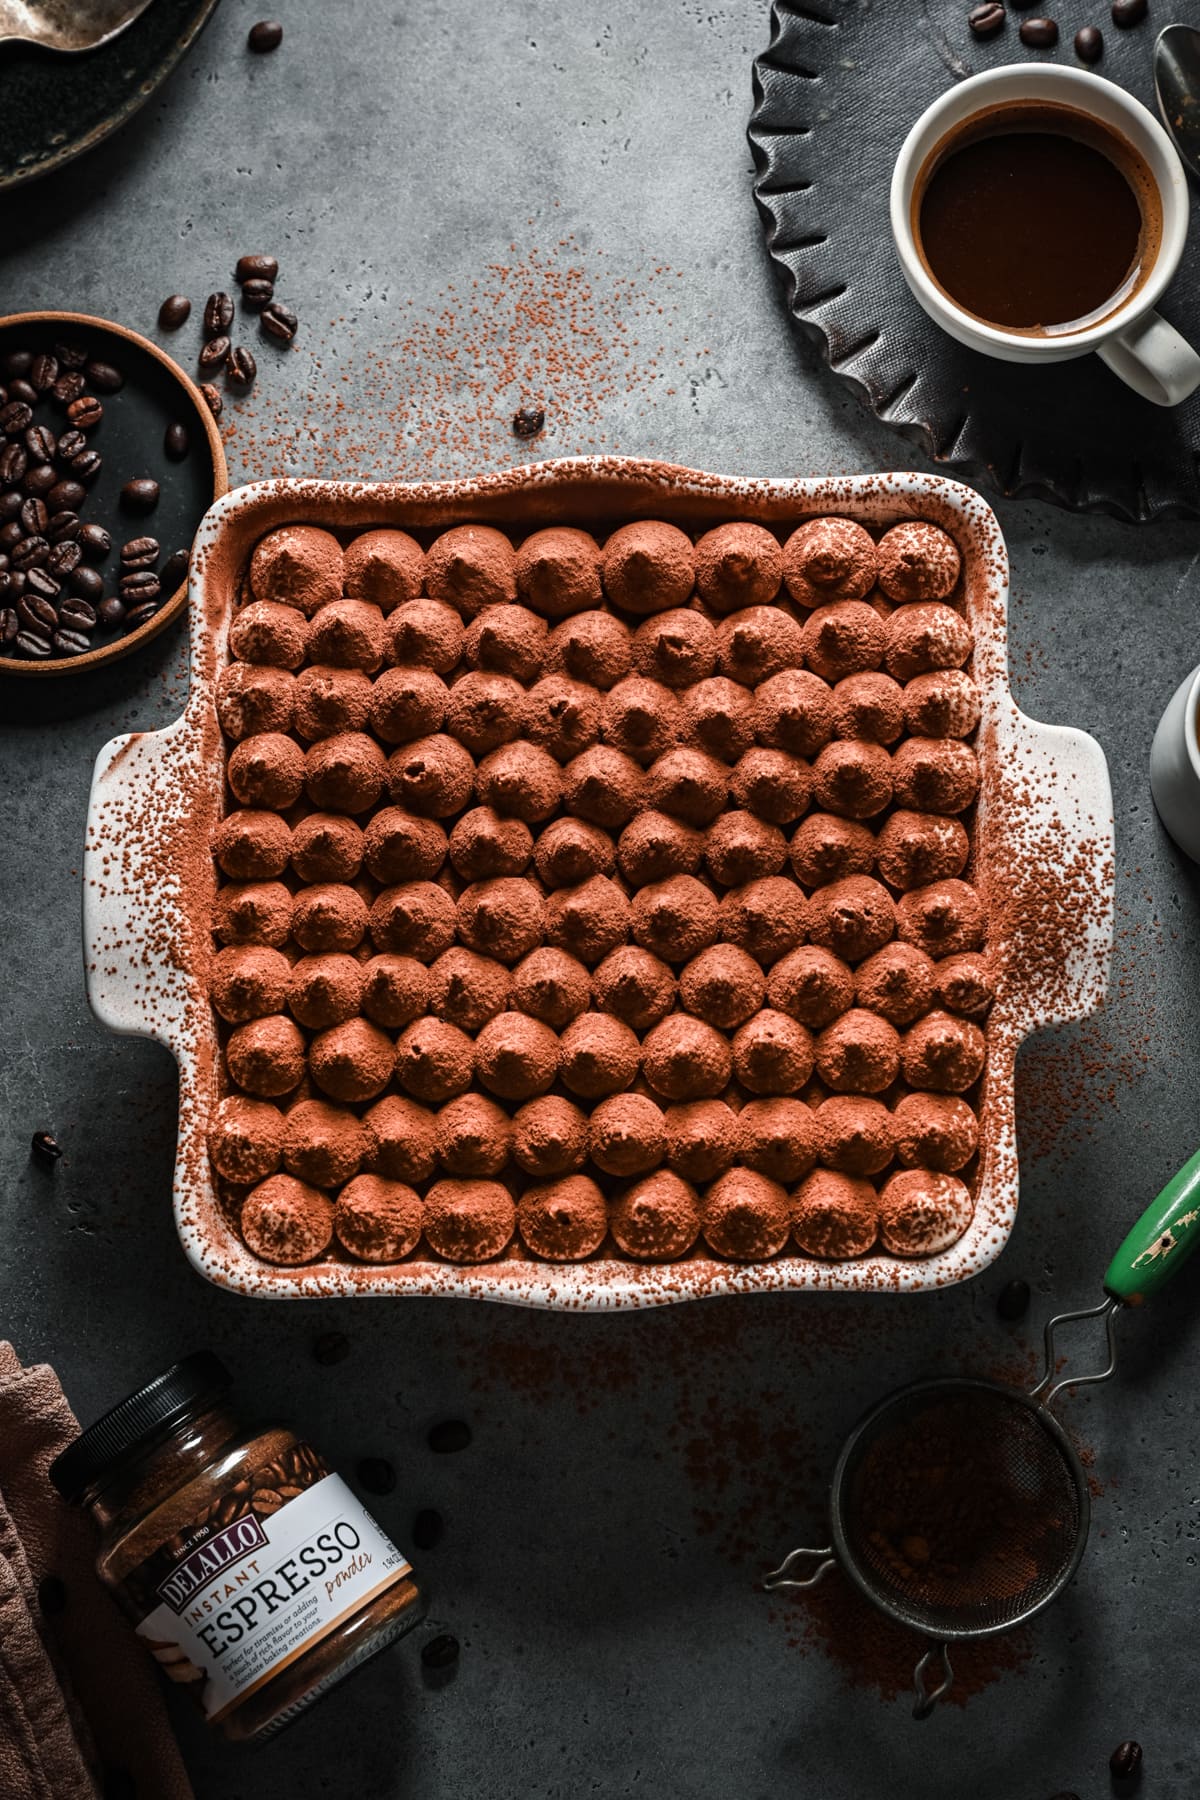
STEP 5: Use the remaining 1 cup of cream from the refrigerator to pipe atop the tiramisu.
Refrigerate for at least 4 hours, or overnight before serving. Just before serving, dust the top of the tiramisu with cocoa powder. Slice and serve.
Serving Suggestions
- We layered our vegan tiramisu in a 9x9" baking dish, cut it into squares, and served it family style. You don't even have to cut it into neat squares if you don't want to. Simply scoop it out with a big spoon!
- Instead of one large tiramisu, try mini ones! Layer the cream and ladyfingers into individual serving sizes inside of small glasses or ramekins for a single-serving dessert. This is a great option for holidays or special events.
- You could also make your vegan tiramisu in a glass serving dish and serve it like a trifle. Since you'd be able to see the layers through the glass, this would make for a striking presentation.
- Serve this tiramisu as a dessert alongside a cup of espresso or a glass of port wine.
Tips and FAQs
- Make sure your vegan ladyfingers are completely cooled before adding them to the tiramisu. If they're warm, they'll cause the cream to melt. They also need to time to set completely on the cooling rack, so don't rush this process.
- Let it chill: After assembling your tiramisu, it's important to chill it in the refrigerator for at least several hours, or preferably overnight before serving. This allows all of the flavors to meld together, and it also allows the ladyfingers to soften more. Bonus: it's much easier to slice (and much less messy) once it's been chilled!
- Dust the bottom of the pan with cocoa powder: This prevents the ladyfingers from sticking to the bottom of the pan for easier slicing and serving. It also adds an extra hit of chocolate to each bite!
- Soaking the ladyfingers: When brushing the ladyfingers with the coffee mixture, be careful not to oversoak them. Don't completely saturate them with liquid to avoid making them too soft or soggy. The cookies should still hold their shape and have a slight texture. We also suggest waiting to brush each layer of ladyfingers until just before adding them to the tiramisu. If you brush them all at once, they will be difficult to pick up later on when you get to the 3rd layer.
- Storage: This vegan tiramisu is best enjoyed fresh within a day or two of preparation. While it can be stored in the refrigerator for a couple of days (up to 5), the ladyfingers may become softer over time.
It is generally not recommended to freeze tiramisu, as the texture may change when frozen and thawed. However, if you want to freeze it, do so without the final dusting of cocoa powder, and thaw it in the refrigerator before serving.
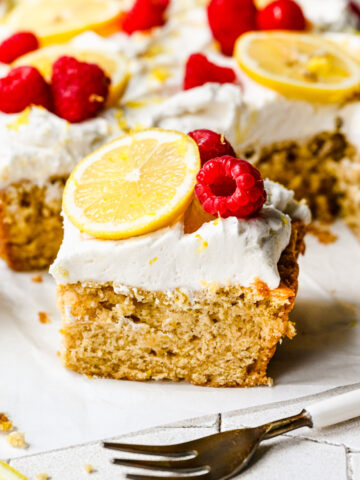
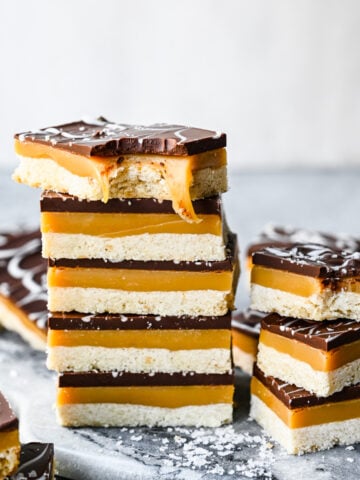
More Vegan Desserts to Try

Tried this recipe? Please leave a star ⭐️⭐️⭐️⭐️⭐️ rating below and/or a review in the comments section further down the page.
📖 Recipe
Vegan Tiramisu
- Total Time: 4 hours 45 minutes
- Yield: 8-12 slices 1x
- Diet: Vegan
Description
This Vegan Tiramisu combines layers of coffee-infused cream and ladyfingers to create a fully dairy free version of the classic dessert. It's decadent, rich, absolutely delicious, and tastes just like the traditional version!
Ingredients
Coffee Liqueur Mixture:
- ¾ cup hot water
- 3 tablespoons Delallo Instant Espresso Powder
- ¼ cup coffee liqueur
- 1 ½ teaspoons vanilla extract
Filling:
- 2 cups vegan cream cheese, softened
- ¾ cup (1 ½ sticks) vegan butter, softened
- 1 ½ cups powdered (confectioners') sugar
- 3 tablespoons coffee liqueur mixture (from above)
Assembly:
- 24 vegan ladyfingers (store-bought or homemade - recipe here)
- 2-3 tablespoons cocoa powder, for dusting
Instructions
- If you're not using store-bought ladyfingers, follow this recipe to make them from scratch. The recipe linked here will make the exact number you need for this tiramisu. Let cool completely.
- Add instant espresso powder to hot water and whisk until dissolved. Add in coffee liqueur and vanilla extract and whisk to combine.
- Add the butter and cream cheese to a mixing bowl and beat on medium speed until no lumps remain. Add in the powdered sugar and continue mixing until well combined. Add in 3 tablespoons of the coffee liqueur mixture from step 1 and beat until smooth.
- Set aside ~1 cup of the cream mixture and refrigerate while you assemble the tiramisu.
- Dust the bottom of a 9x9" baking dish with a thin layer of cocoa powder.
- Brush each ladyfinger twice on each side with the coffee liqueur mixture. Start with just eight ladyfingers (wait to brush the rest until the next layer so they don't get too soggy).
- Place the ladyfingers flat side down on the bottom of the baking dish, covering it in an even layer. You may have to break a few of the ladyfingers in order for them to fit. We used 4 whole ladyfingers and 4 broken ones for each layer.
- Spread ⅓ of the cream mixture over the ladyfingers in an even layer. Repeat with two more layers of ladyfingers and cream. Spread the final layer of cream thinly over the top of the ladyfingers, just covering them.
- Use the remaining 1 cup of cream from the refrigerator to pipe atop the tiramisu.
- Refrigerate for at least 4 hours, or overnight before serving. Just before serving, dust the top of the tiramisu with cocoa powder. Slice and serve.
Notes
Soaking the ladyfingers: When brushing the ladyfingers with the coffee mixture, be careful not to oversoak them. Don't completely saturate them with liquid to avoid making them too soft or soggy. The cookies should still hold their shape and have a slight texture. We also suggest waiting to brush each layer of ladyfingers until just before adding them to the tiramisu. If you brush them all at once, they will be difficult to pick up later on when you get to the 3rd layer.
Storage: This is best enjoyed fresh within a day or two of preparation. While it can be stored in the refrigerator for a couple of days (up to 5), the ladyfingers may become softer over time.
Let it chill: After assembling your tiramisu, it's important to chill it in the refrigerator for at least several hours, or preferably overnight before serving. This allows all of the flavors to meld together, and it also allows the ladyfingers to soften more. Bonus: it's much easier to slice (and much less messy) once it's been chilled!
Vegan butter and cream cheese: See Ingredient Notes section above for product recommendations.
Nutrition information provided is an estimate. It may vary based on cooking method and specific ingredients used.
- Prep Time: 30 minutes
- Chill Time: 4 hours
- Cook Time: 15 minutes
- Category: Desserts
- Method: No Bake
- Cuisine: Italian
Nutrition
- Serving Size: 1 slice
- Calories: 282
- Sugar: 23.1 g
- Sodium: 320.3 mg
- Fat: 15.6 g
- Carbohydrates: 32.7 g
- Fiber: 0.8 g
- Protein: 1.3 g
Irena says
Thank you for this delicious recipe. Excellent texture and taste!