
Homemade cottage cheese is the latest addition to our Better Than Store-Bought series, and it might be the easiest one yet. All you need is a half gallon of whole milk, a few tablespoons of white vinegar, a little salt and a splash of cream. No culturing, no special equipment, and no waiting overnight!
This post is sponsored by Shamrock Farms. As always, all opinions are our own.
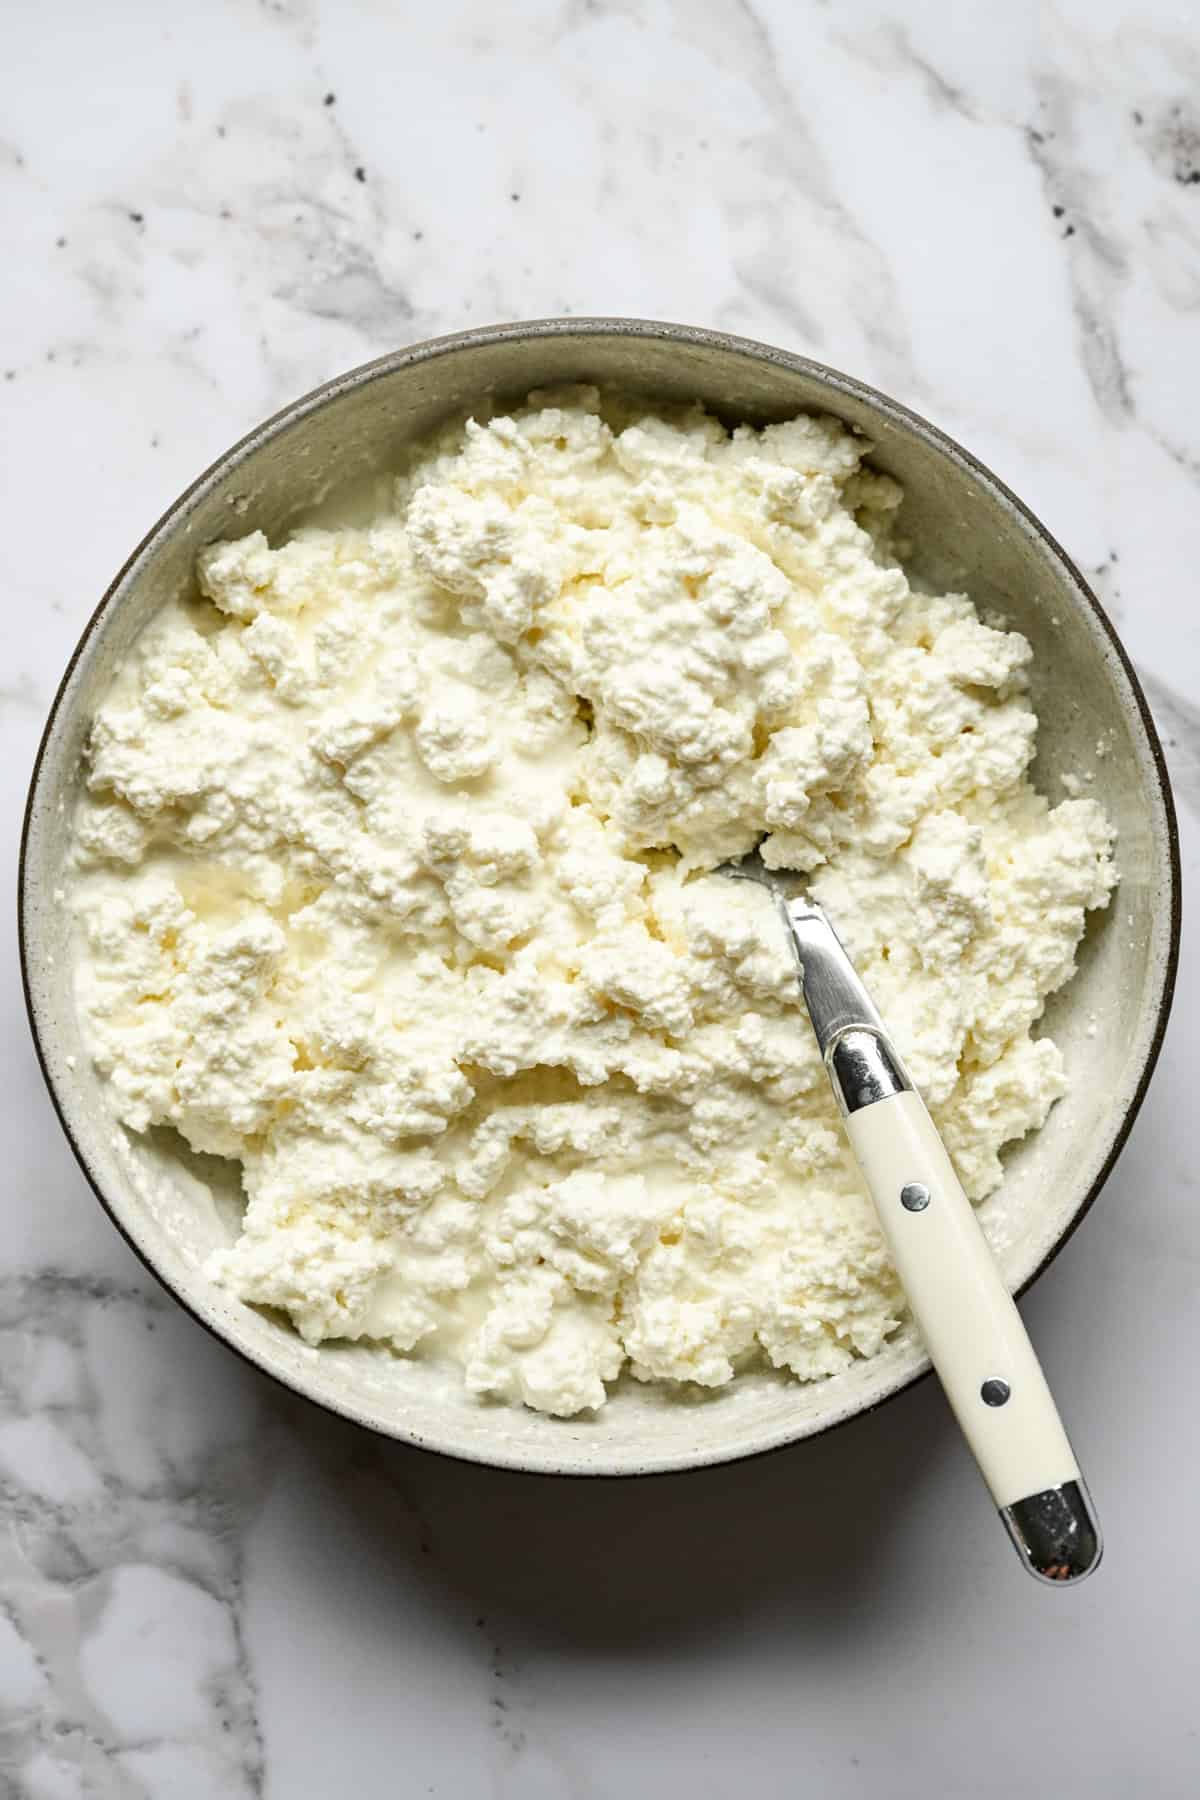
Yes, you can make cottage cheese at home (and it's pretty easy!)

If we're being honest, cottage cheese wasn't something we ever thought to make from scratch. But I recently saw a video on how easy it is to make, so we tried it, and it turns out it's super easy! You just need some hot milk, a little acid, a strainer and some patience.
With a recipe this simple, milk is the key ingredient here and we use Shamrock Farms whole milk. Shamrock Farms has been family owned and operated since 1922, and the milk comes from their own working dairy farm, which is the kind of thing that actually matters when your ingredient list is this short. We also use Shamrock Farms Heavy Whipping Cream, which is what makes the cottage cheese so fresh and creamy.
A quick note on what to expect: this is a vinegar-set cottage cheese, which gives you small, slightly firm curds with a clean, mild flavor. It's not quite the big, tangy cultured cottage cheese from the store and that's what we love about it! It tastes so fresh. The fun thing about this recipe is that you can customize it to your preference by adding more salt, cream or even a little yogurt for that tang.
I (Lexi) have been eating this with pumpkin butter and homemade granola for breakfast all week, or another favorite version with fresh figs, honey and flaky salt. For a savory snack, I absolutely love it with some everything seasoning!
xoxo, Lexi & Beth
Key Ingredients Needed For Homemade Cottage Cheese
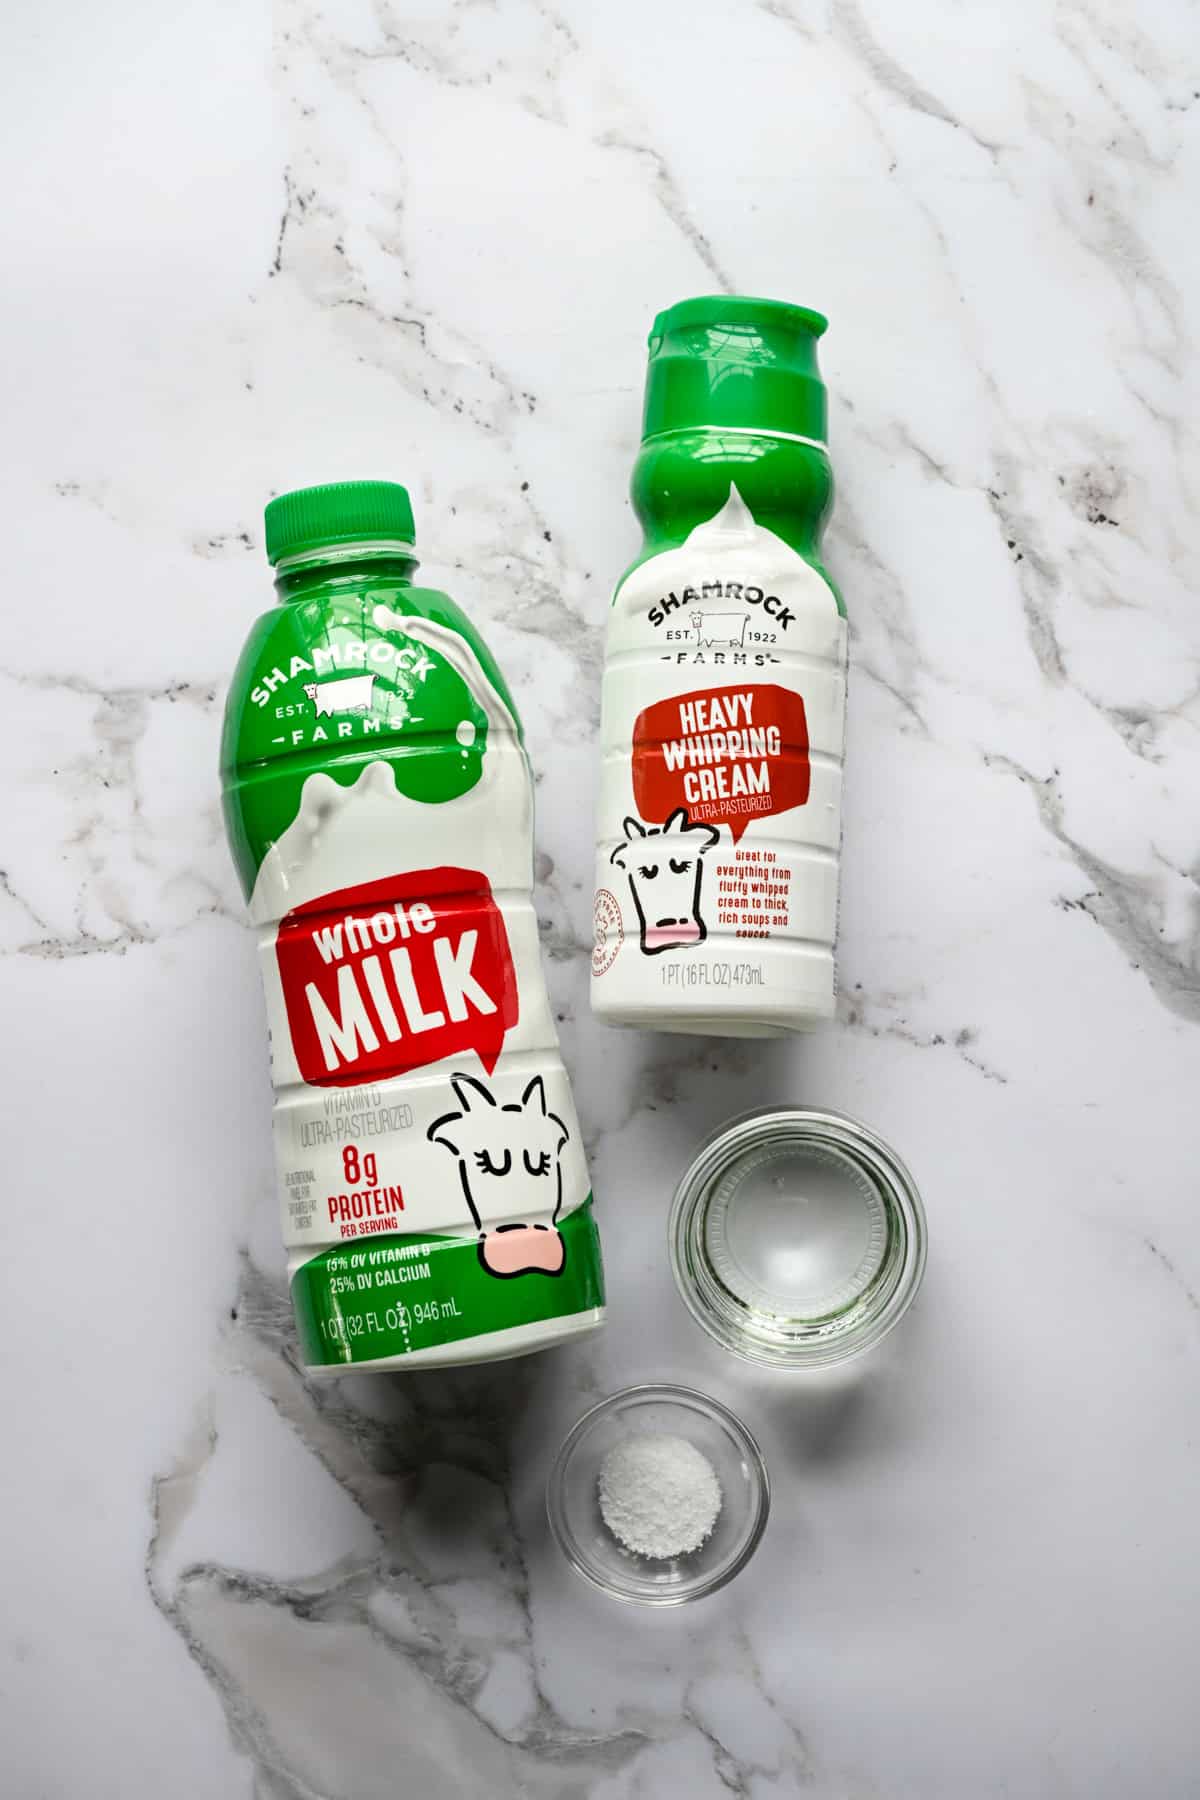
- Whole milk: A half gallon of Shamrock Farms is our go-to. Use whole milk, not 2% or skim (the extra fat makes the curds tender).
- White vinegar: We prefer plain distilled white vinegar and you won't taste it in the finished cheese after rinsing. You can also use freshly squeezed lemon juice.
- Kosher salt: We add it at the end so you can taste as you go. Store-bought cottage cheese is pretty salty, so season to where you like it. (I personally like mine very salty.)
- Heavy cream: Again, we use Shamrock Farms Heavy Whipping Cream. Start with two tablespoons and add more as needed for a creamier, looser texture. This is what turns drained curds into cottage cheese so don't skip it! For something lighter, you can stir in more whole milk instead, or a combo of heavy cream and whole milk.
How to Make Homemade Cottage Cheese
Heat the milk
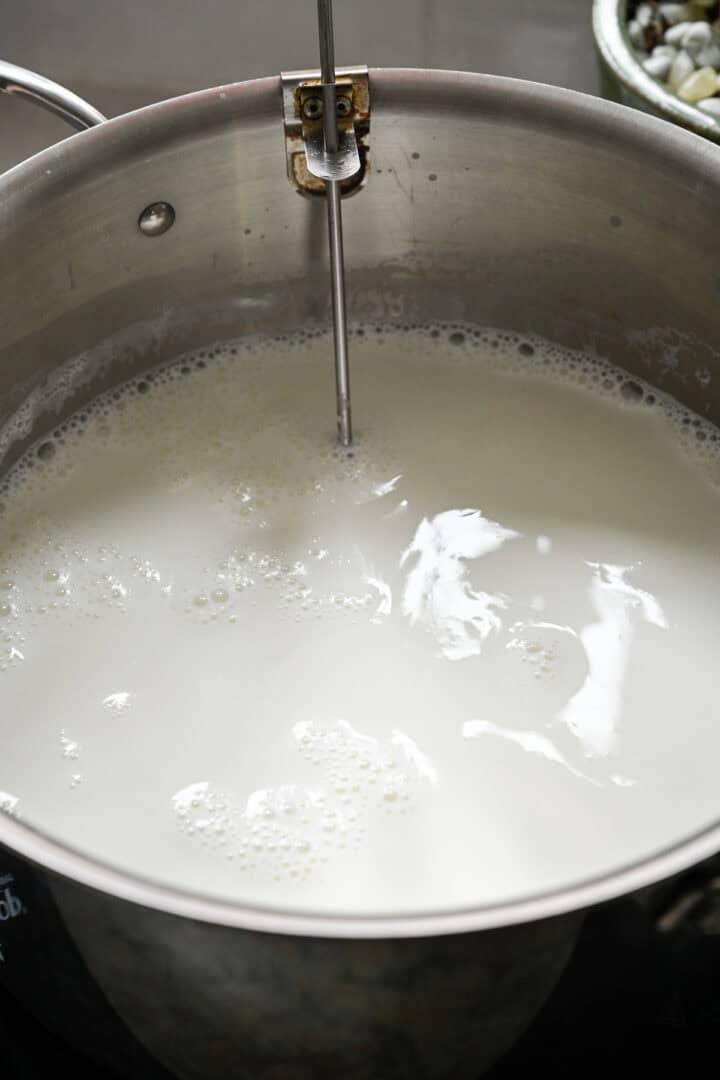
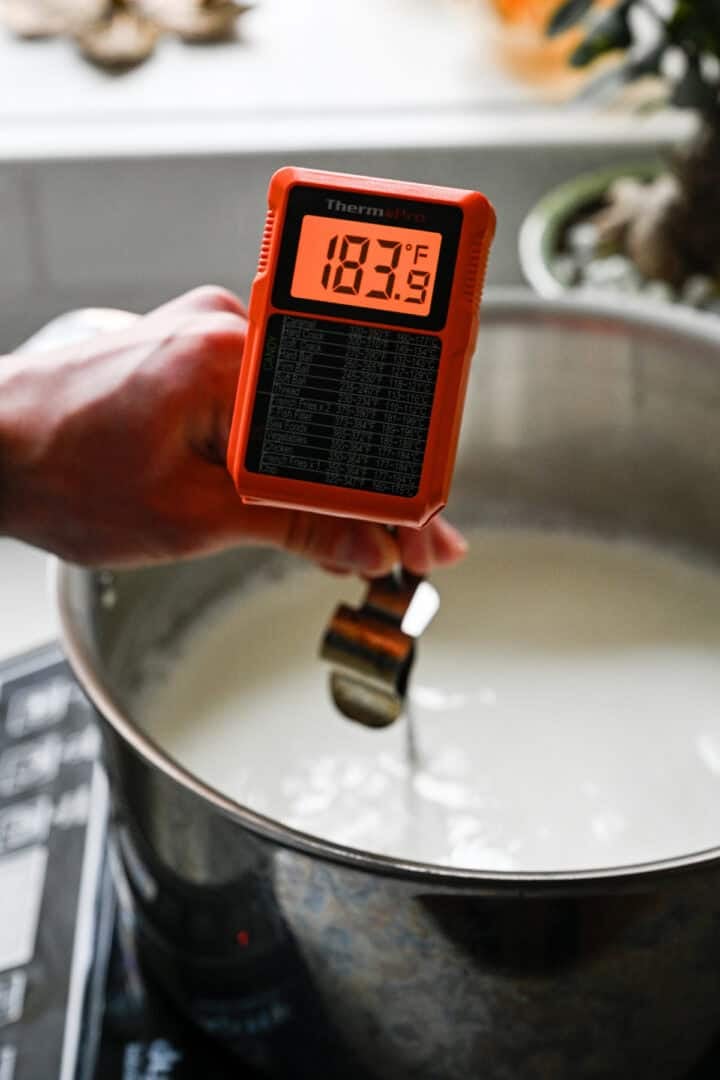
To a large, heavy-bottomed pot, add the milk over medium-low heat. Stirring occasionally (so it doesn't scald on the bottom), warm it slowly to 190˚F. This can take up to 20 minutes and don't rush it with high heat.
Add the vinegar and let the curds form
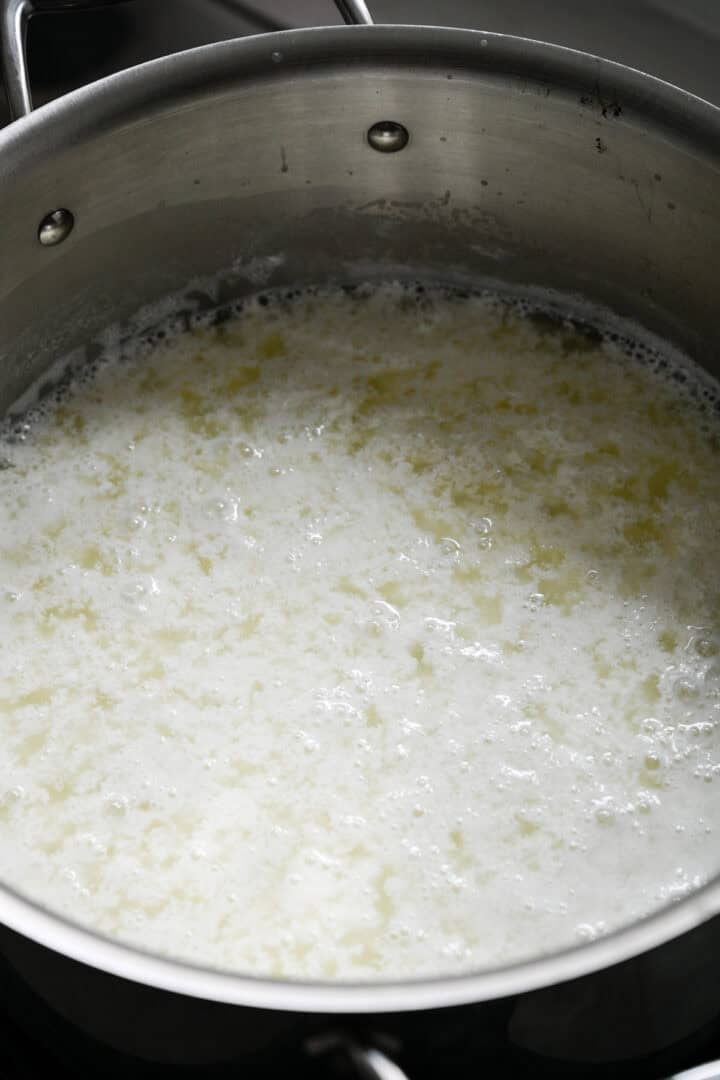
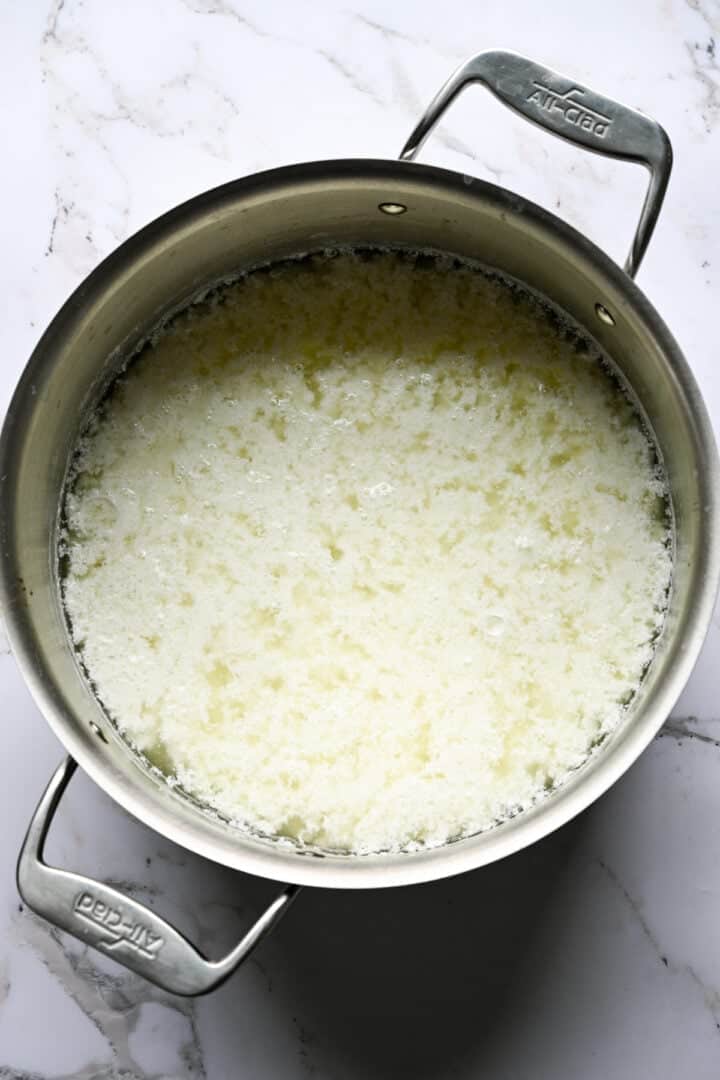
Turn off the heat, then pour in the vinegar and stir gently for a few seconds, just enough to distribute it. The milk will start to separate almost right away. Let it sit for about 20 minutes (without stirring!). Stirring will break the curds up small so you won't get that cottage cheese texture.
Drain, then rinse
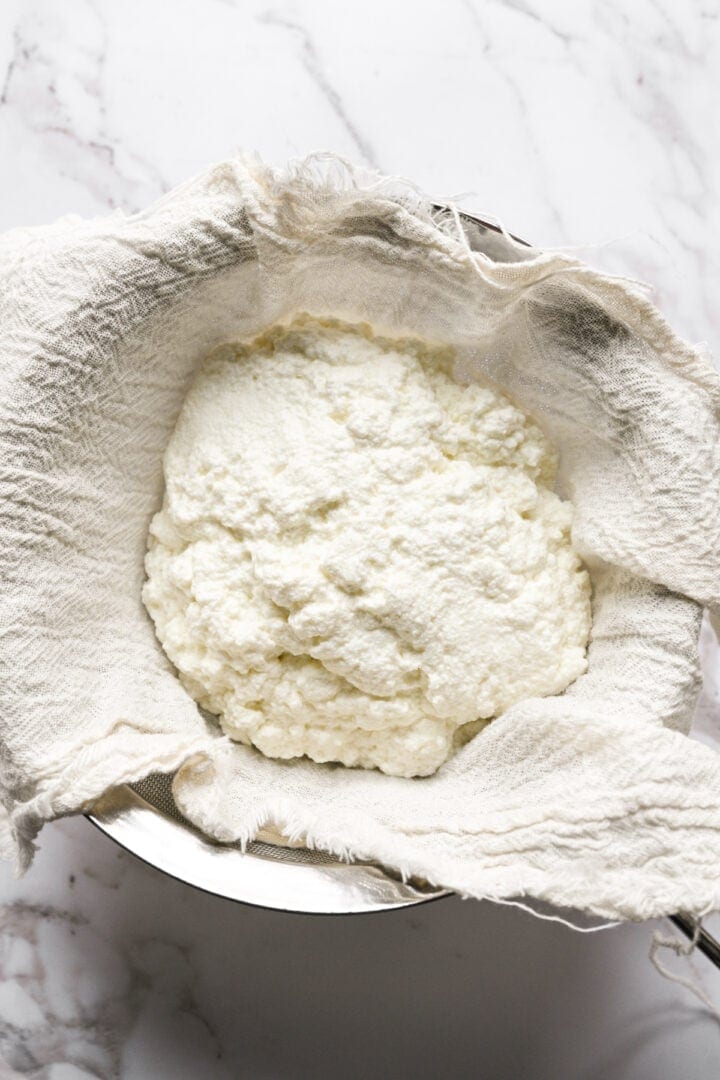
Line a fine mesh strainer with a layer of cheesecloth and set it over a large bowl. Using a slotted spoon, gently lift the curds out of the whey and into the cheesecloth. Drain for about 30 minutes.
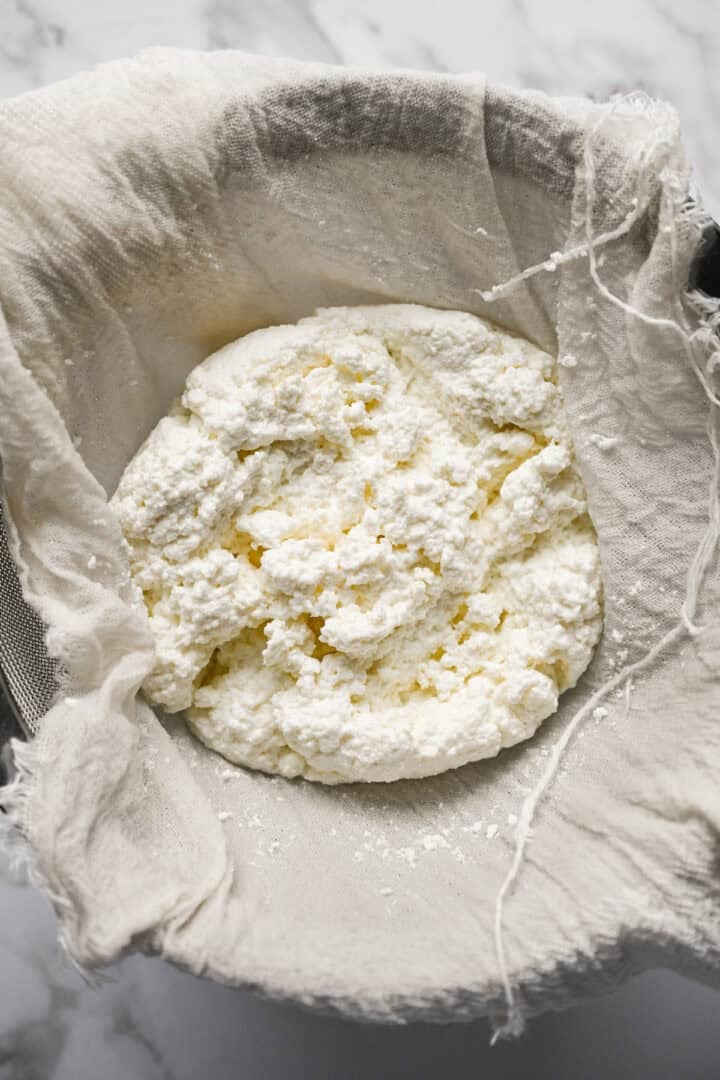
After 30 minutes, gather the corners of the cheesecloth so the curds are fully enclosed, then run the bundle under cold water for a minute or so, turning it gently. This rinses off the last of the whey. Let it drain over the bowl again for about 10 minutes, until it stops dripping.
Finish with cream and salt
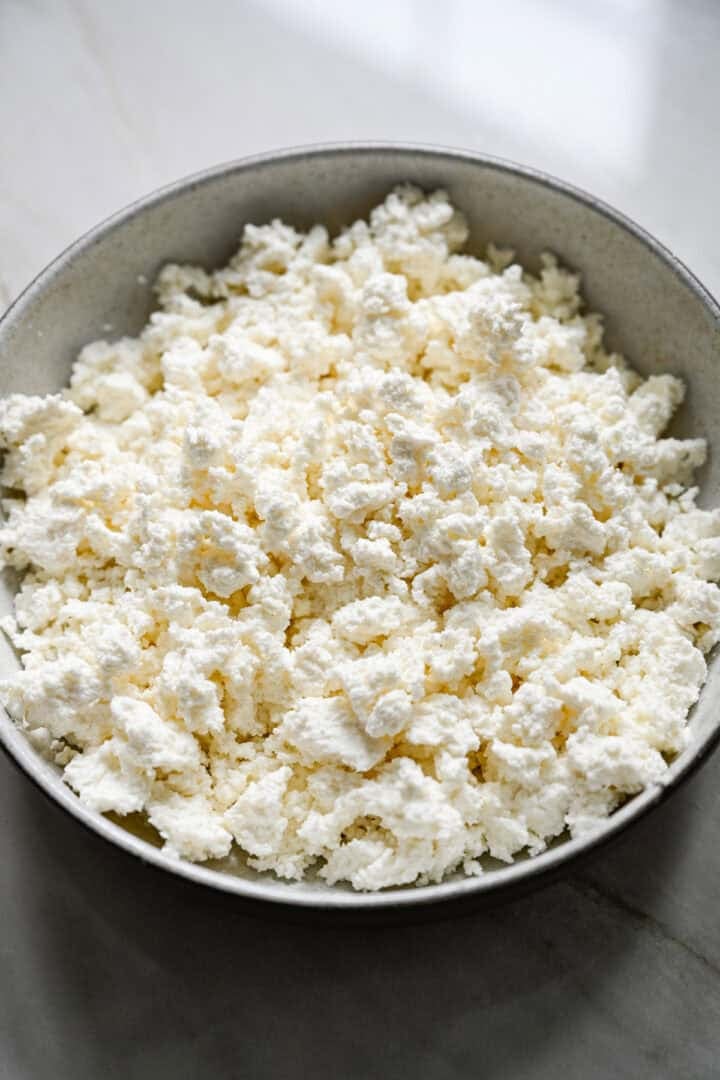
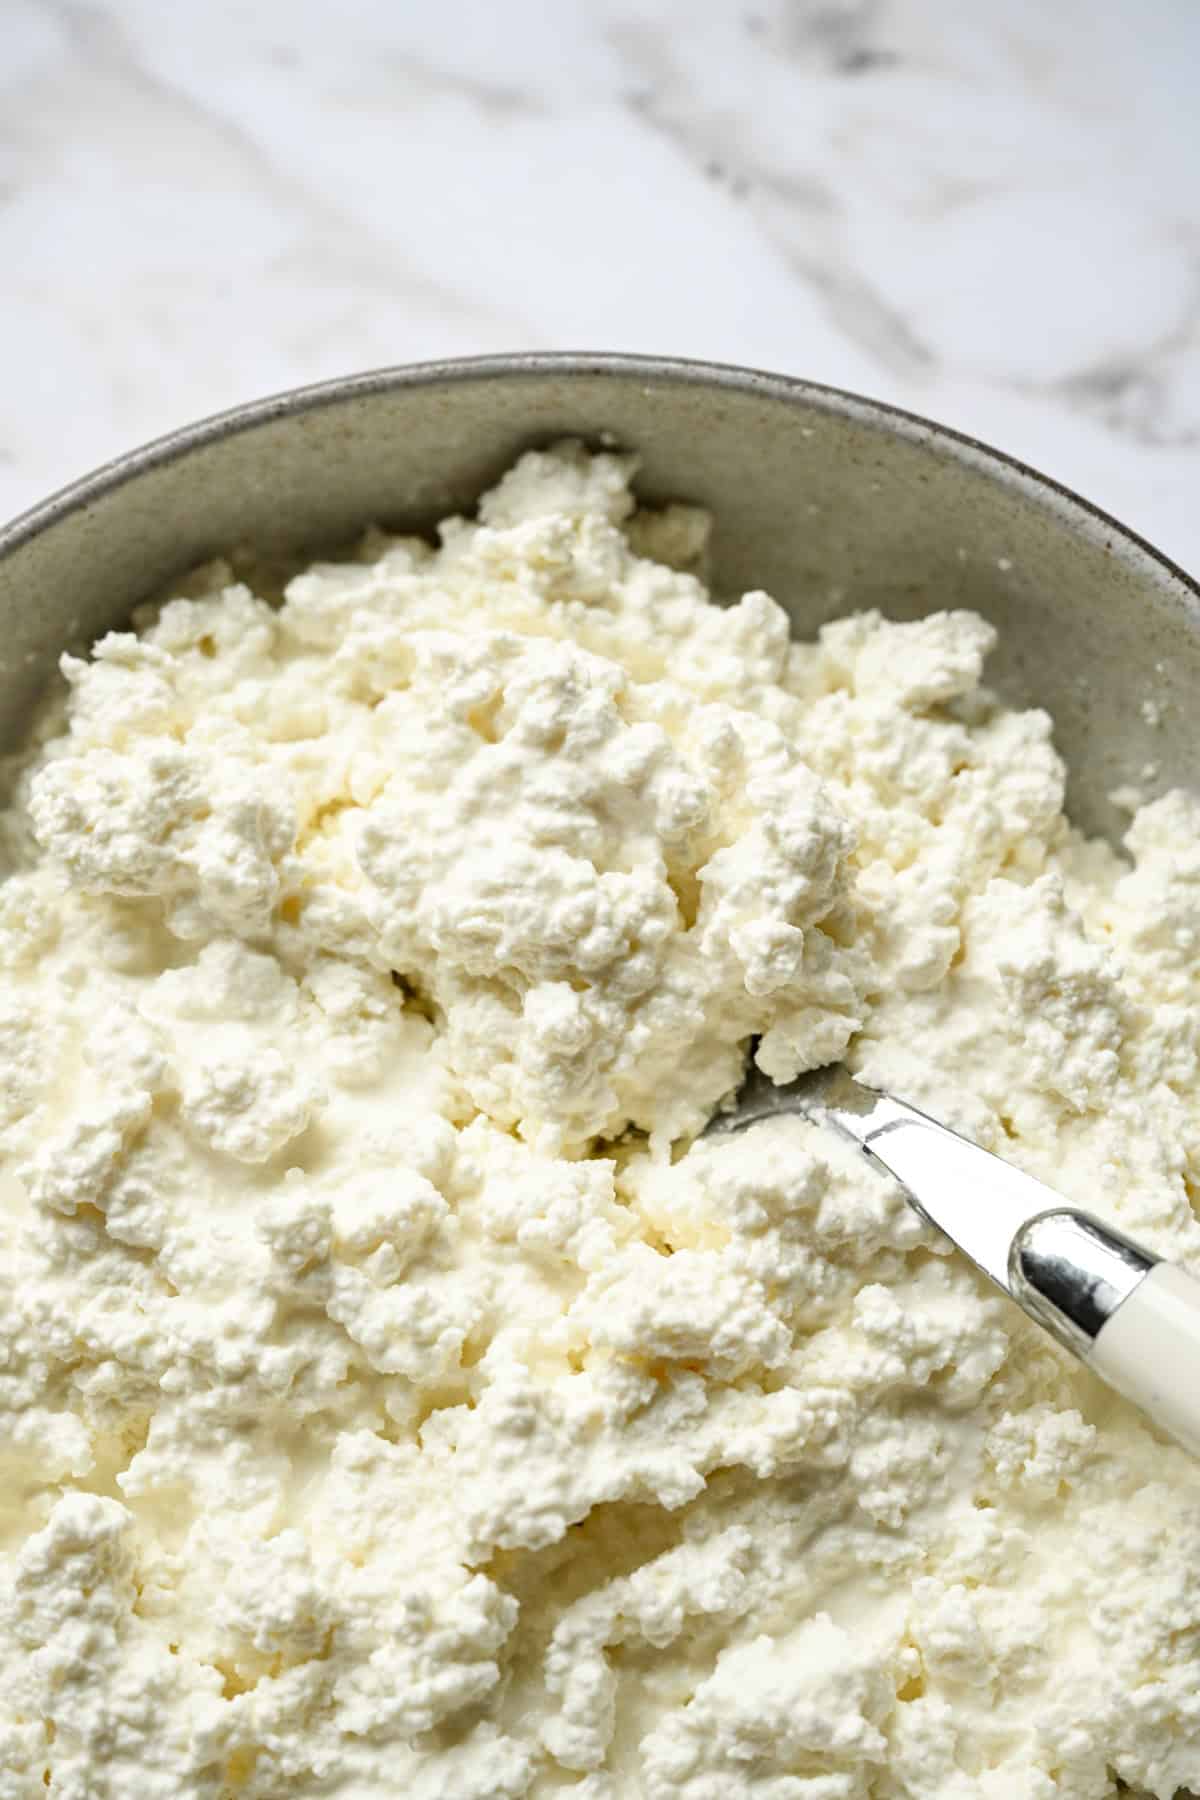
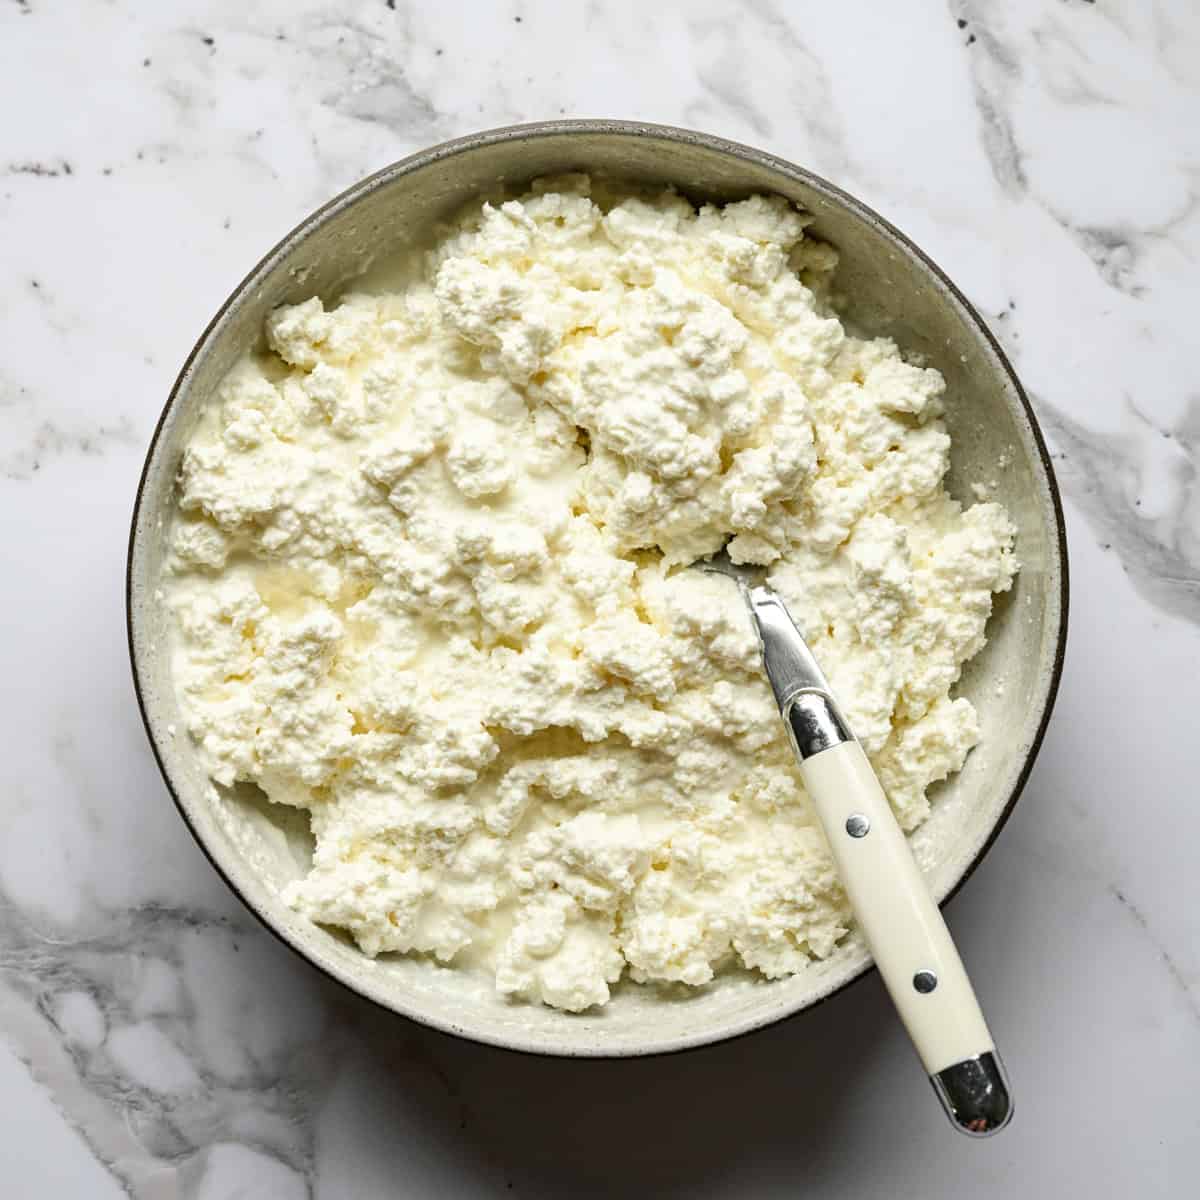
Transfer the curds to a bowl. Break up any large clumps with a fork or your hands, then stir in the salt and heavy cream. Taste and add more of both until it's as creamy and salty as you like it!

Top Tips from the CK Test Kitchen!
- Creaminess is adjustable. Two tablespoons of cream gives you a drier, small-curd style. I personally like mine with more heavy cream (about 4 tablespoons, or sometimes even more).
- Make it extra tangy. If that's how you like your cottage cheese, you can achieve that flavor by stirring in a spoonful of plain yogurt to the finished cottage cheese.
- Save the whey. You'll have about 6 cups. It's great in place of water in bread dough or pancakes or try it in a smoothie! You can even use it to cook grains or legumes. It just has a very neutral milk flavor, so it's pretty versatile.
- Flavor it. Stir in chopped chives and cracked pepper for a savory version, or a spoonful of honey and cinnamon for breakfast.
- Use it in...anything! The possibilities are endless. You can blend this into a high-protein pasta sauce, a dip, pancakes, or anywhere else you would use cottage cheese. I like it best as a standalone snack, but you do you!
How long does homemade cottage cheese last?
Storage: Keep it in an airtight container in the refrigerator for up to 5 days. Because there are no preservatives or cultures, it won't last as long as store-bought. You may find you want to stir in a bit more heavy cream or whole milk the longer it sits.
Freezing: We don't recommend freezing cottage cheese. The curds get grainy and weep when thawed.
More Better Than Store-Bought Recipes You'll Love
Tried this recipe? Leave a comment with a star rating ⭐⭐⭐⭐⭐ below. You can also snap a photo and tag @crowded_kitchen on Instagram. We can't wait to see what you're cooking!
Cook with us often? Tell Google you want Crowded Kitchen recipes near the top of your results.
📖 Recipe
Homemade Cottage Cheese
Ingredients
Equipment
Method
- To a large, heavy-bottomed pot, add the milk. Warm it over medium-low heat, stirring occasionally so it doesn't scald on the bottom, until it reaches 190˚F. This can take up to 20 minutes, so don't rush it with high heat.
- Turn off the heat. Pour in the vinegar and stir gently for just a few seconds, only enough to distribute it. The milk will start to separate almost right away. Let it sit, without stirring, for about 20 minutes, until the curds have separated and the whey is mostly clear.
- Line a fine mesh strainer with a layer of cheesecloth and set it over a large bowl. Using a slotted spoon, gently lift the curds out of the whey and into the cheesecloth. Drain for about 30 minutes.
- Gather the corners of the cheesecloth so the curds are fully enclosed, then run the bundle under cold water for about a minute, turning it gently, to rinse off the last of the whey. Set it back over the bowl and let it drain for about 10 minutes, until it stops dripping.
- Transfer the curds to a bowl and break up any large clumps with a fork or your hands. Stir in the salt and heavy cream, then taste and add more of either until it's as creamy and salty as you like it.
- Serve right away, or store in an airtight container in the refrigerator for up to 5 days. You can stir in more heavy cream or milk if needed before serving.
Notes
- Yield: This recipe makes about 3 cups of cottage cheese (6 servings that are ½ cup each). If you eat a lot of cottage cheese, I recommend doubling the recipe.
- No curds after 20 minutes? Return the pot to low heat, bring it back to 190˚F, add 1 more tablespoon of vinegar and let it rest again. Usually the milk wasn't hot enough or was stirred too long.
- Creaminess: 2 tablespoons of cream gives a drier, small-curd style whereas 4 or more gives a creamier texture closer to store-bought. Whole milk works in place of some or all of the cream for something lighter.
- Make it extra tangy: Stir a spoonful of plain yogurt into the finished cottage cheese.
- Whey: You'll have about 6 cups left over. Use it in place of water in bread, pancakes or smoothies, or to cook grains.




Comments
No Comments