
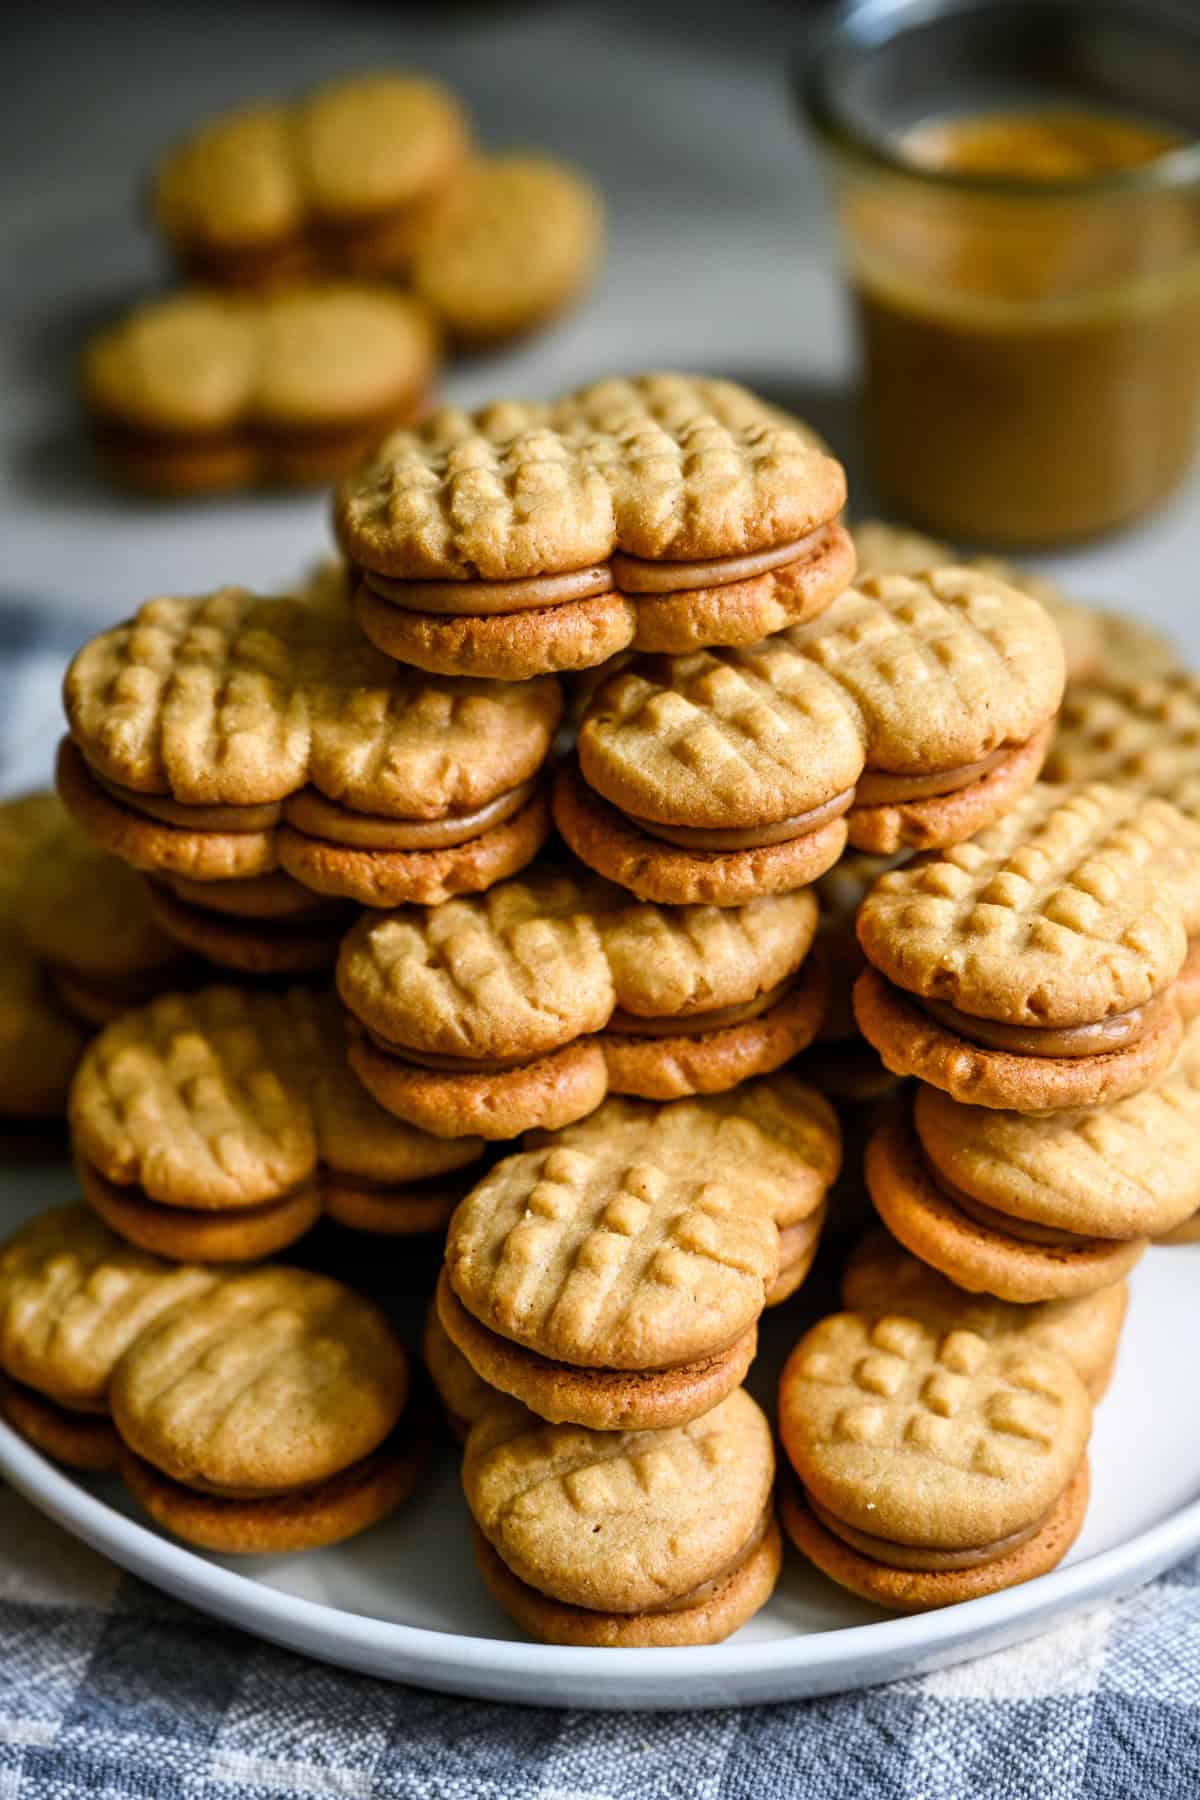
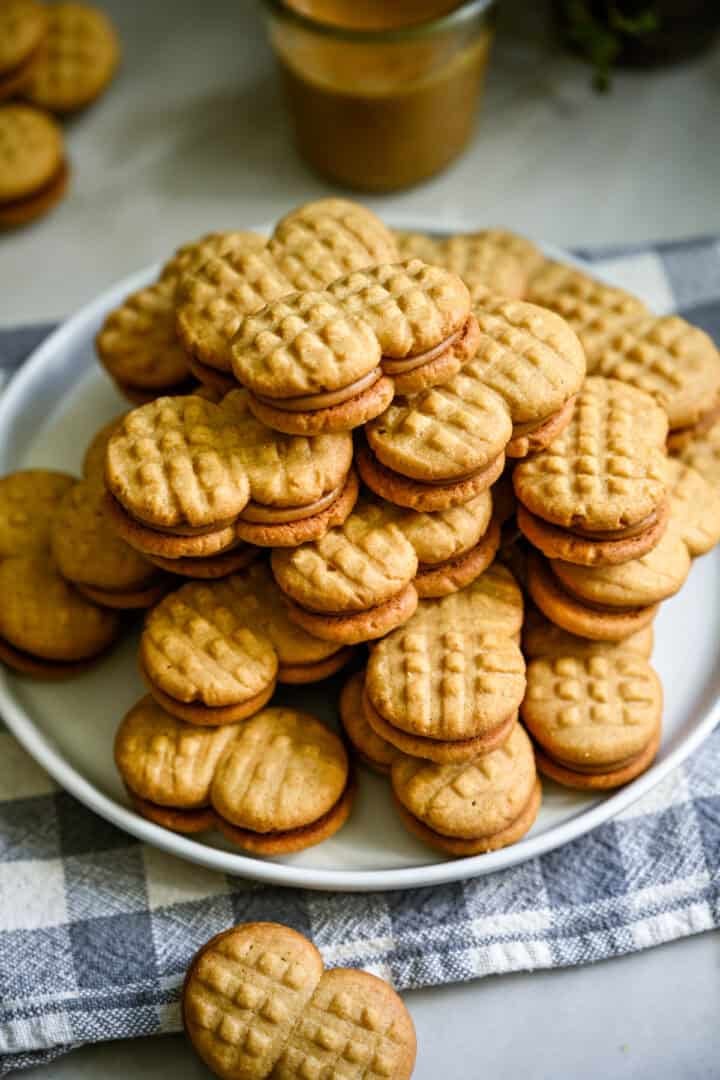
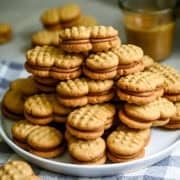
A homemade version of your favorite Nutter Butters with two crisp peanut butter cookies sandwiching a delicious, easy peanut butter cream filling! These are easy to make (no special molds needed) and truly taste SO much better than store-bought.
Why buy nutter butters when you can make them?
I mean, I know the answer to that question. It's obviously way easier to pick up a package at the store. But we taste tested our own versus store-bought, and I absolutely, 100% promise: these are better. They're even more peanut butter-y (probably because we use real peanut butter, not the sugar-loaded stuff!) and they're just more satisfying.
This has been a highly requested recipe for our Better Than Store-Bought series. I'm honestly not sure why it took us so long to try them, because I eat peanut butter every single day (if not twice a day).
Surprisingly, they came out just about perfect on the first try! (That's not very common for us when it comes to baking recipes.) After slightly tweaking the filling to be more pipe-able, they were absolutely flawless.
These have gotten rave reviews from family and friends, and we know you'll love them too. They're also easy to make – just a simple PB cookie dough that you roll into balls and flatten with a fork. The filling can even be spread with a knife or piped with a regular ziptop plastic bag.
We can't wait for you to try these! If you're on a better than store-bought baking kick, try these next:
- Homemade Oreos
- Homemade Frosted Animal Cookies
- Homemade Pop Tarts (strawberry, blueberry or brown sugar cinnamon)
- Homemade Cookie Crisp Cereal
Key Ingredients Needed for Nutter Butters
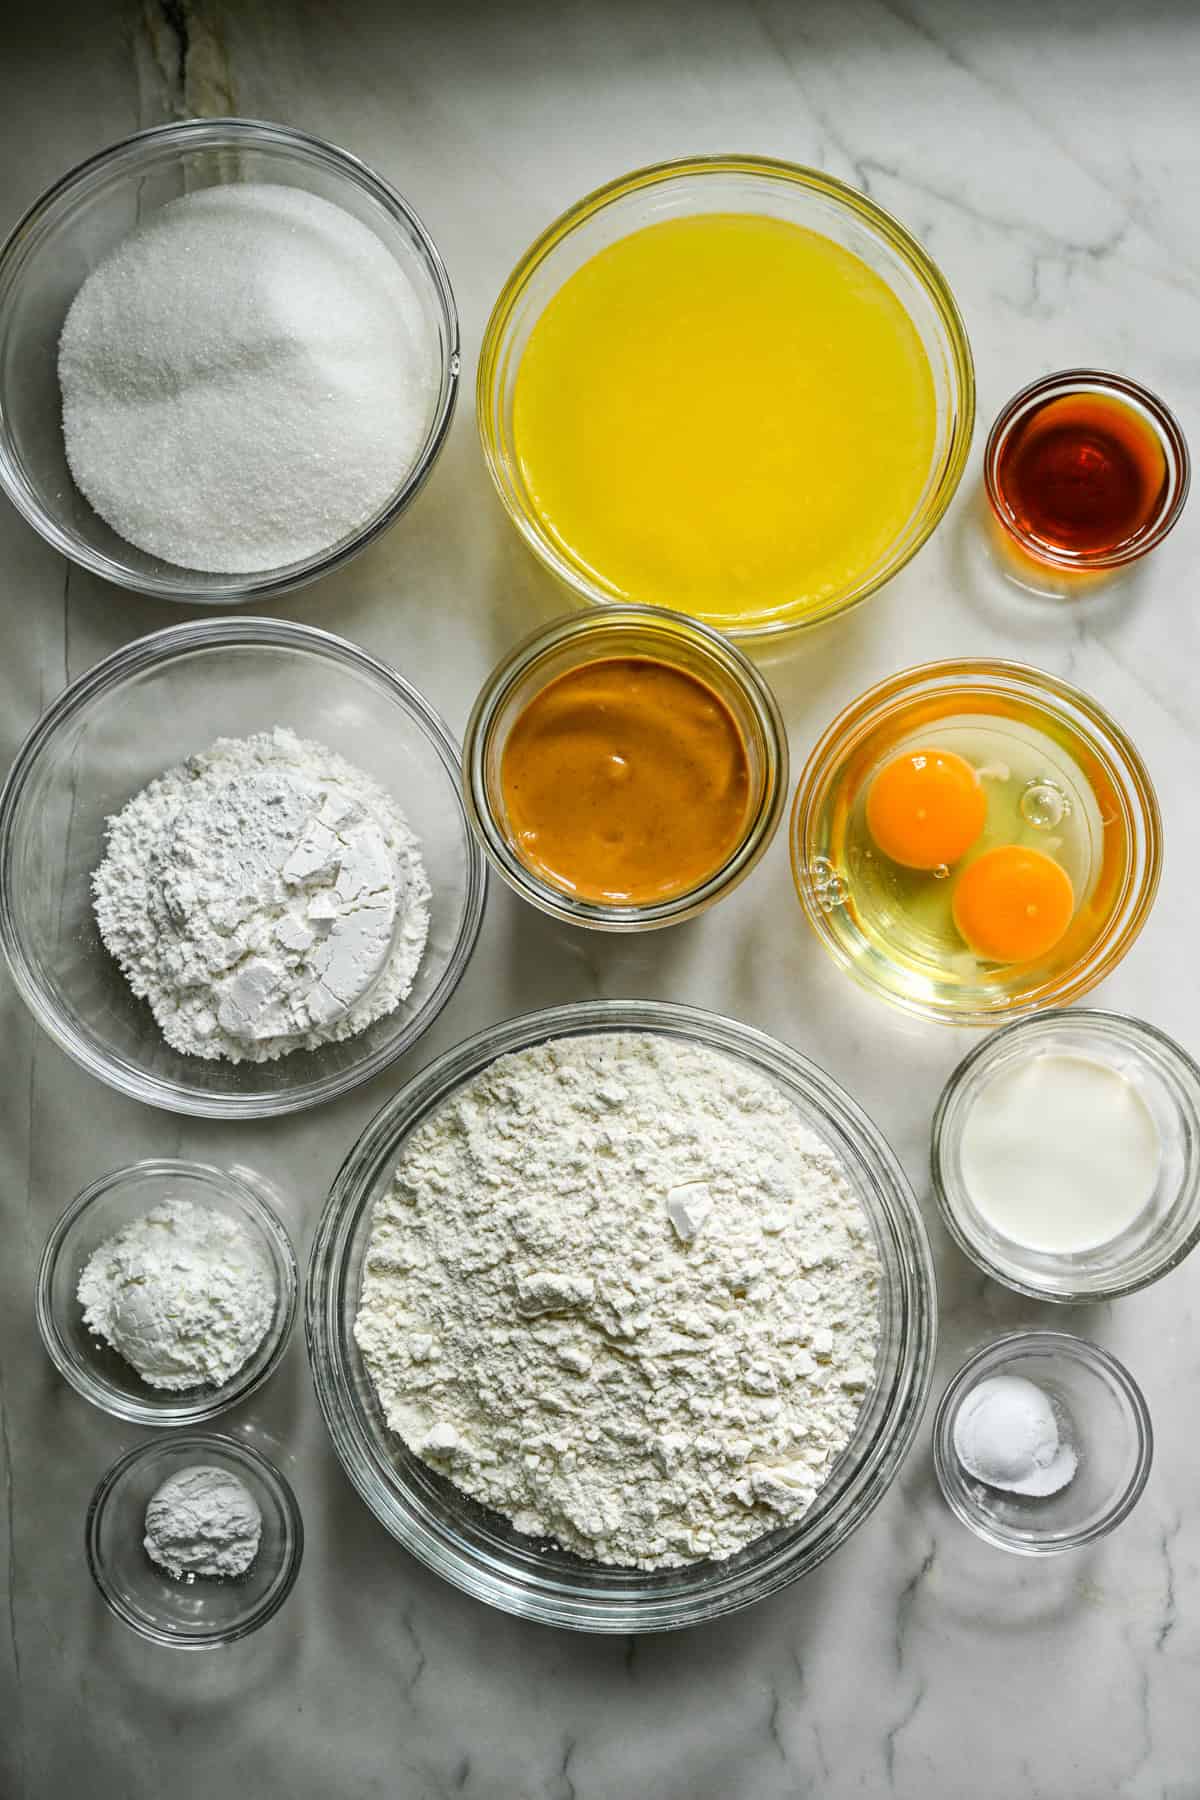
- Peanut butter: A lot of peanut butter cookie recipes on the internet call for Jif or Skippy peanut butter, but we like to make ours with natural peanut butter (no sugar added, just peanuts and salt) and it works perfectly every time. My favorite is the organic creamy peanut butter from Costco – we go through it very quickly, so it's a great deal and comes in a big container!
- Please keep in mind that we did not test this recipe with peanut butter that contains sugar and do not know how it will alter the flavor/consistency.
- Cornstarch: This will make your cookies a bit more crisp, so they hold up better to the filling. The recipe will still work fine if you omit it and add more all-purpose flour instead.
How to Bake Nutter Butters
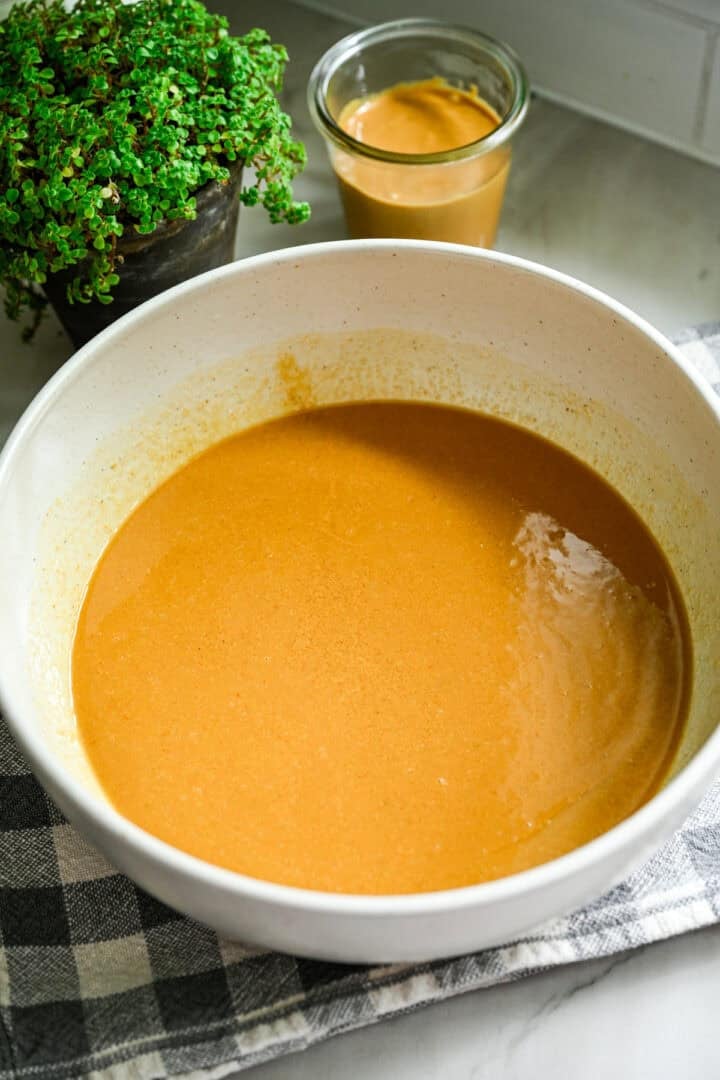
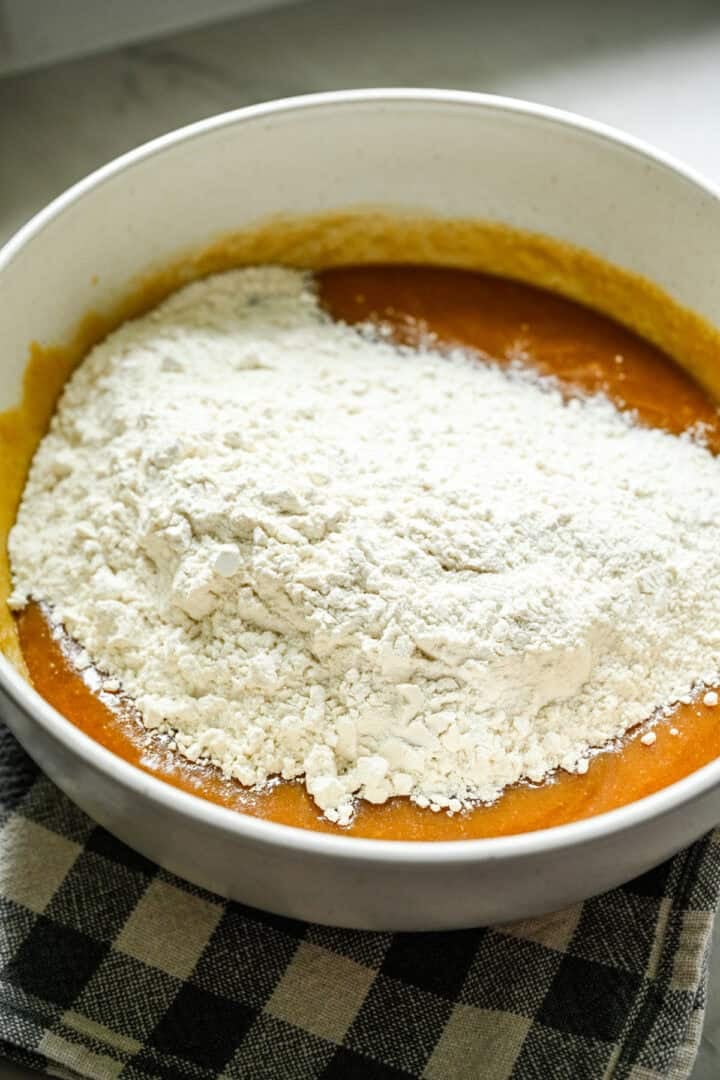
- In a large mixing bowl, mix together the melted butter, sugar and peanut butter using an electric mixer until smooth and completely incorporated. Add in the eggs and vanilla extract one at a time, mixing well between each addition.
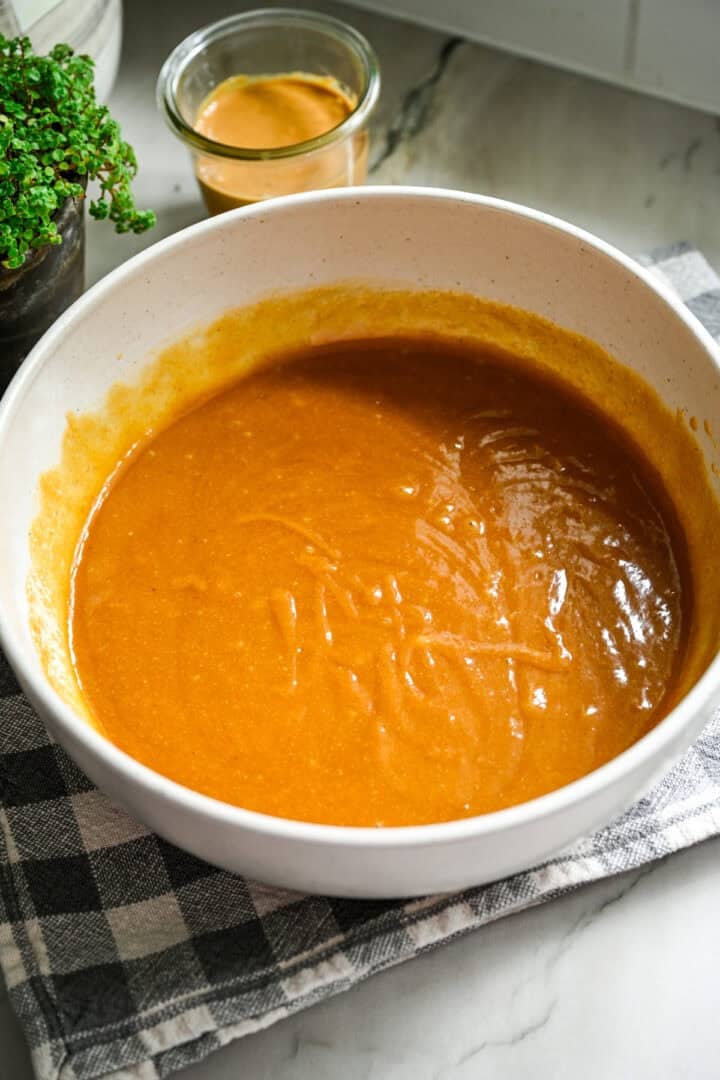
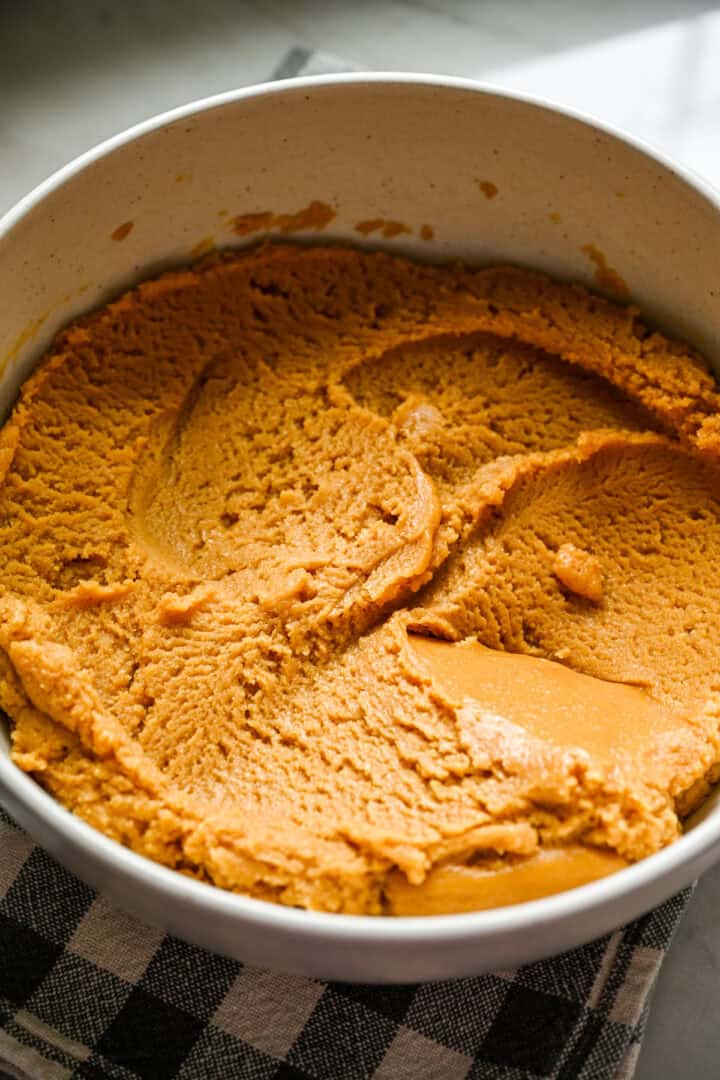
- In a separate bowl, whisk together the flour, cornstarch, baking soda and baking powder. Add the dry ingredients to the wet ingredients and mix just until there are no dry streaks remaining. The dough should be thick.
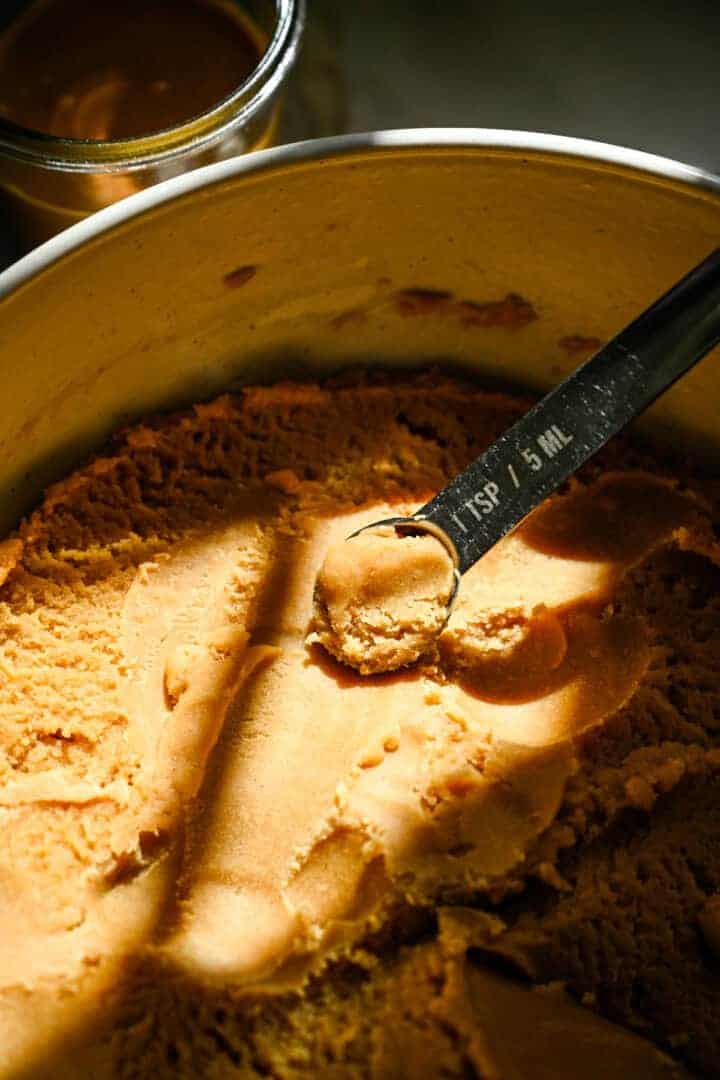
- Cover and refrigerate the dough for at least one hour. Preheat the oven to 325˚F and line two baking sheets with parchment paper.
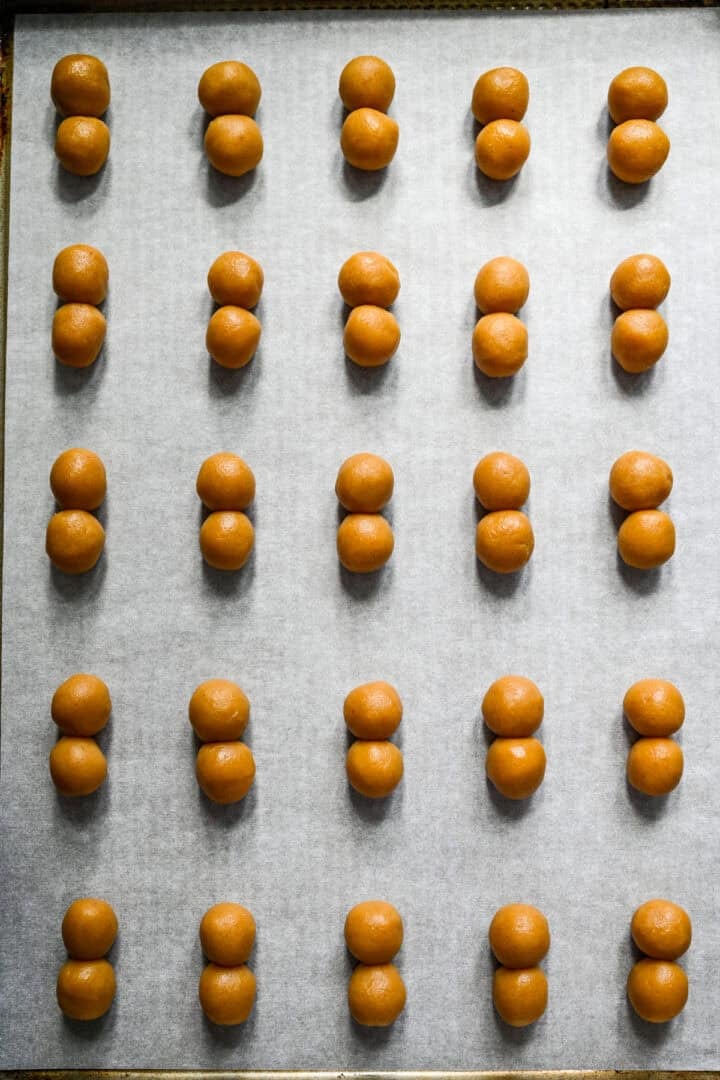
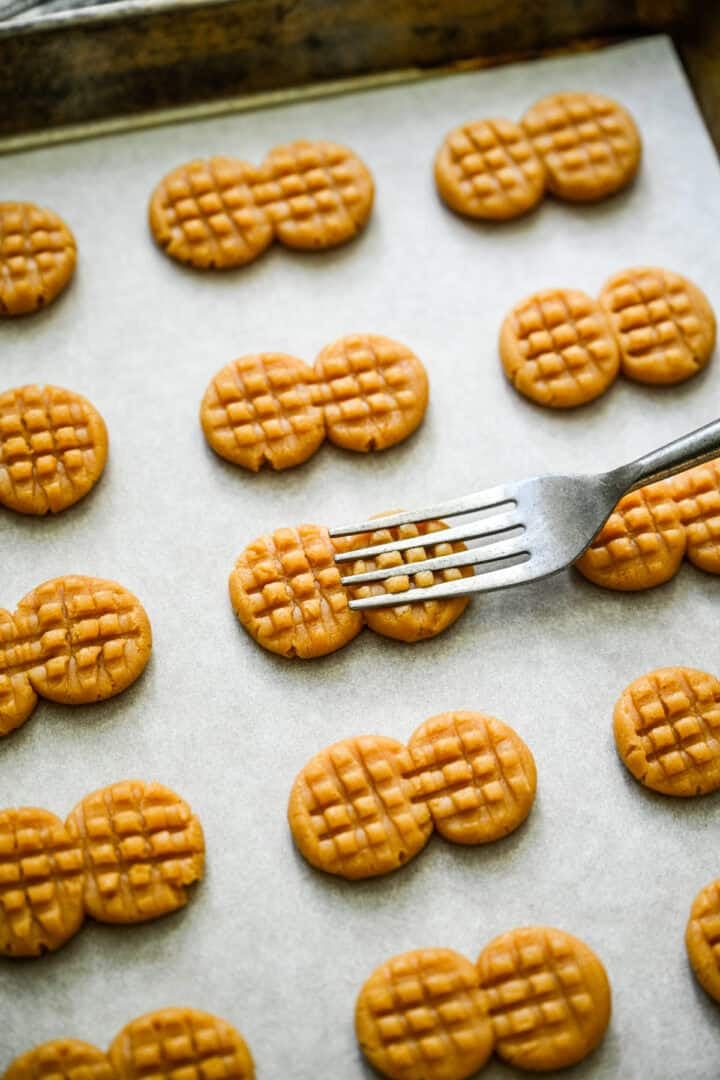
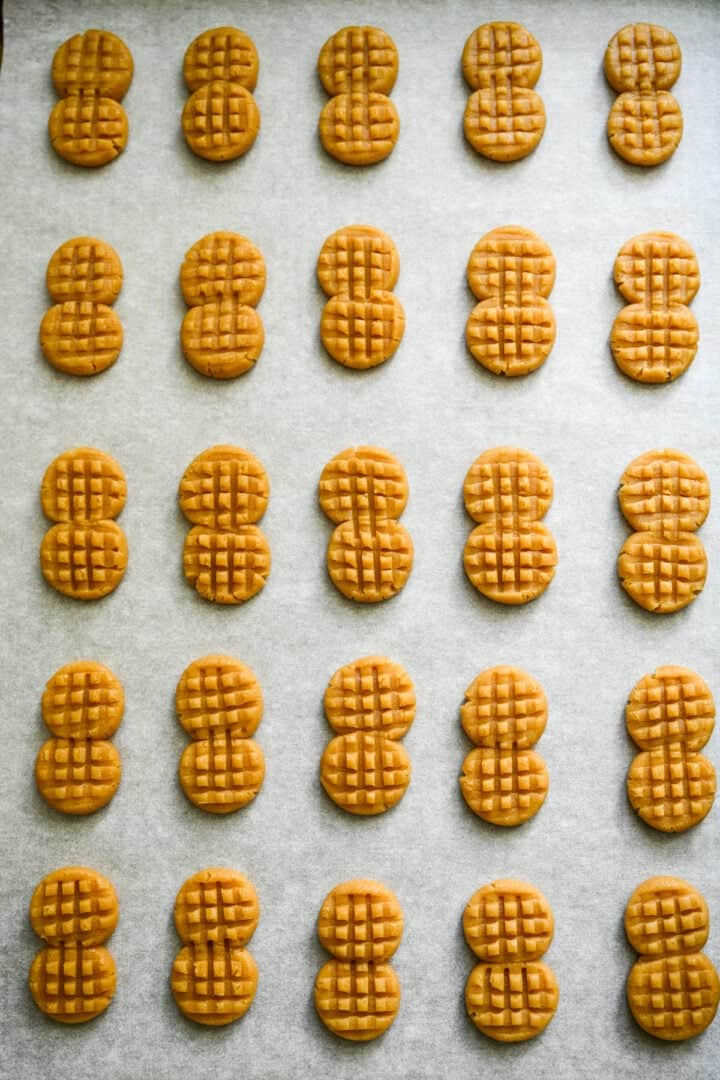
- Scoop the dough out in one teaspoon-sized portions. Roll each portion into a ball, then place two balls next to each other (touching) on the baking sheet, spacing them about 1 ½ inches apart. (It's quickest to scoop all of the dough first, then roll into balls after.)
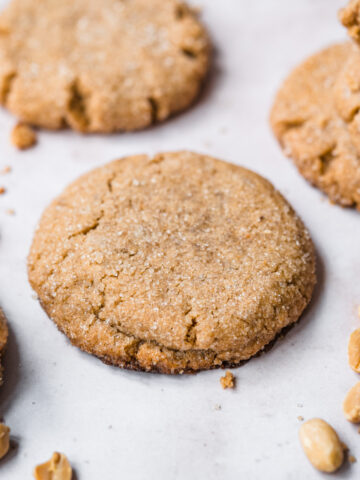
- Using the tines of a fork, press down widthwise and then lengthwise to create a criss cross pattern and to flatten out the dough.
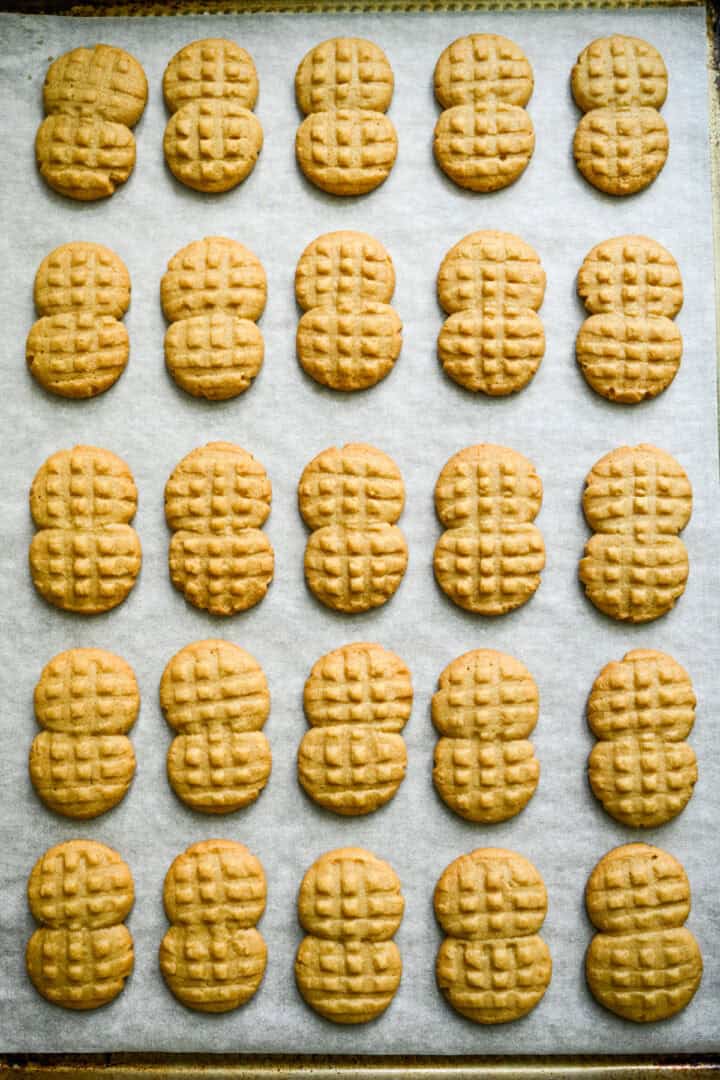
- Bake for 13-15 minutes, until the bottoms are deep golden brown. Remove from the oven and let cool for a few minutes, then transfer the cookies to a cooling rack to cool completely before filling.
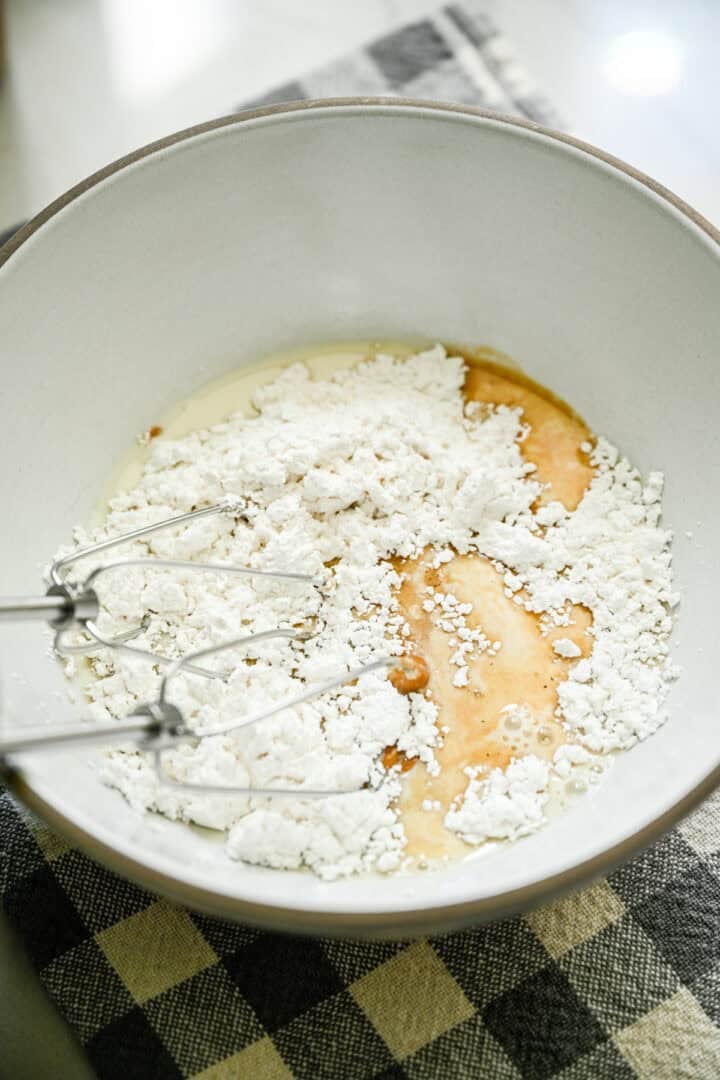
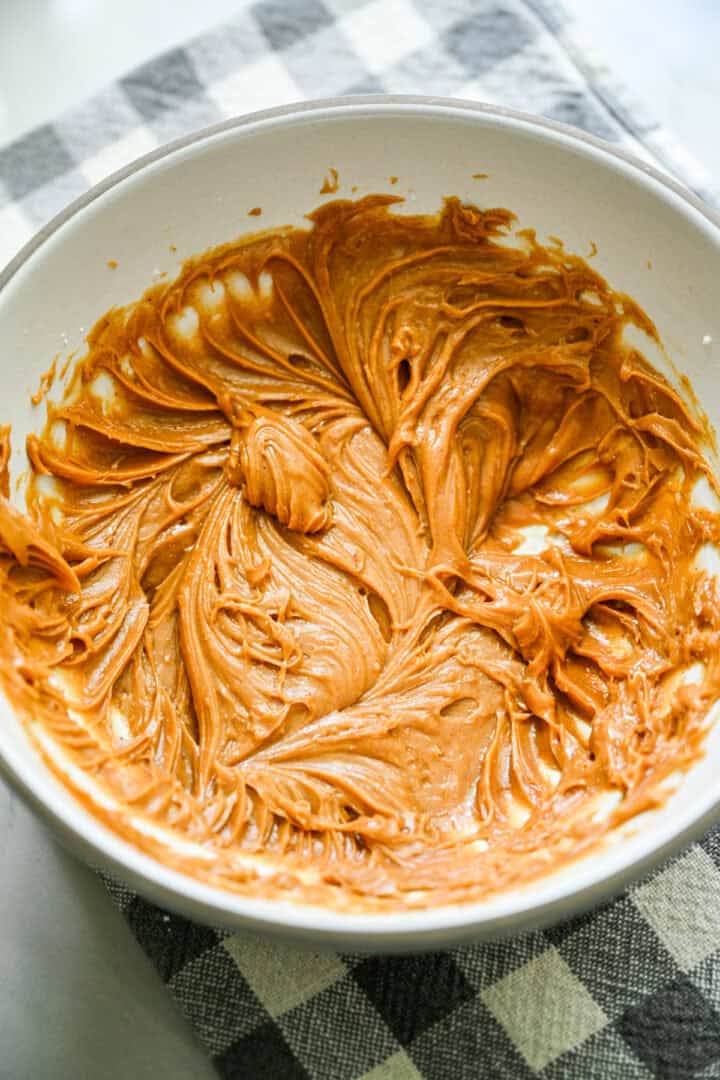
- Add the peanut butter, powdered sugar, 4 tablespoons of milk and vanilla to a mixing bowl and mix until smooth and completely incorporated. If it's too thick to pipe, add an additional 1 tablespoon of milk.
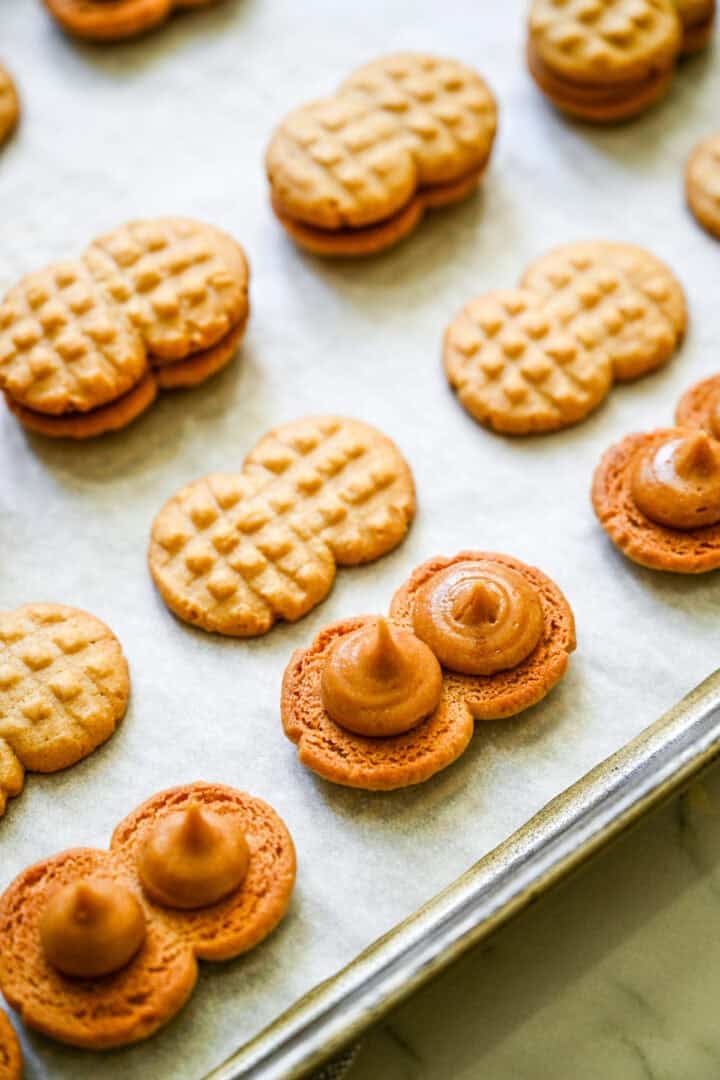
- Transfer the mixture to a piping bag (or just any regular plastic bag and cut off the corner to pipe). Flip over a cookie so the flat bottom is facing up. Pipe a ~½ teaspoon dollop on each side of the cookie. Place another cookie on top to create a sandwich. Repeat and enjoy!
Top Tips from the CK Test Kitchen!
- It's easiest to scoop all of the dough balls while it's still firm from the refrigerator, then roll into balls, then create the peanut shape with a fork once the dough has softened up a bit again. Not only will this order create the best shape, but it's also the quickest process to group the steps! (Better yet: recruit a helper to make it faster.)
- Don't pipe the filling until the cookies are completely cool, otherwise it will melt and ooze out the sides.
- Storage: Keep these stored at room temperature for about 5 days. Depending on humidity in your kitchen, they may soften slightly.
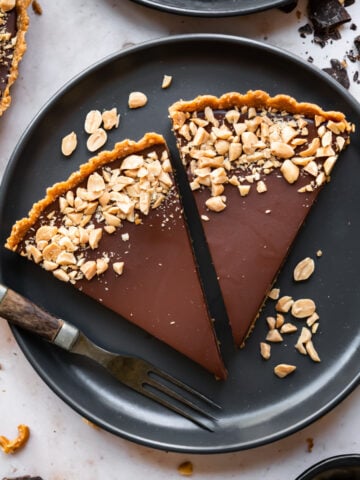
More Peanut Butter Desserts You'll Love


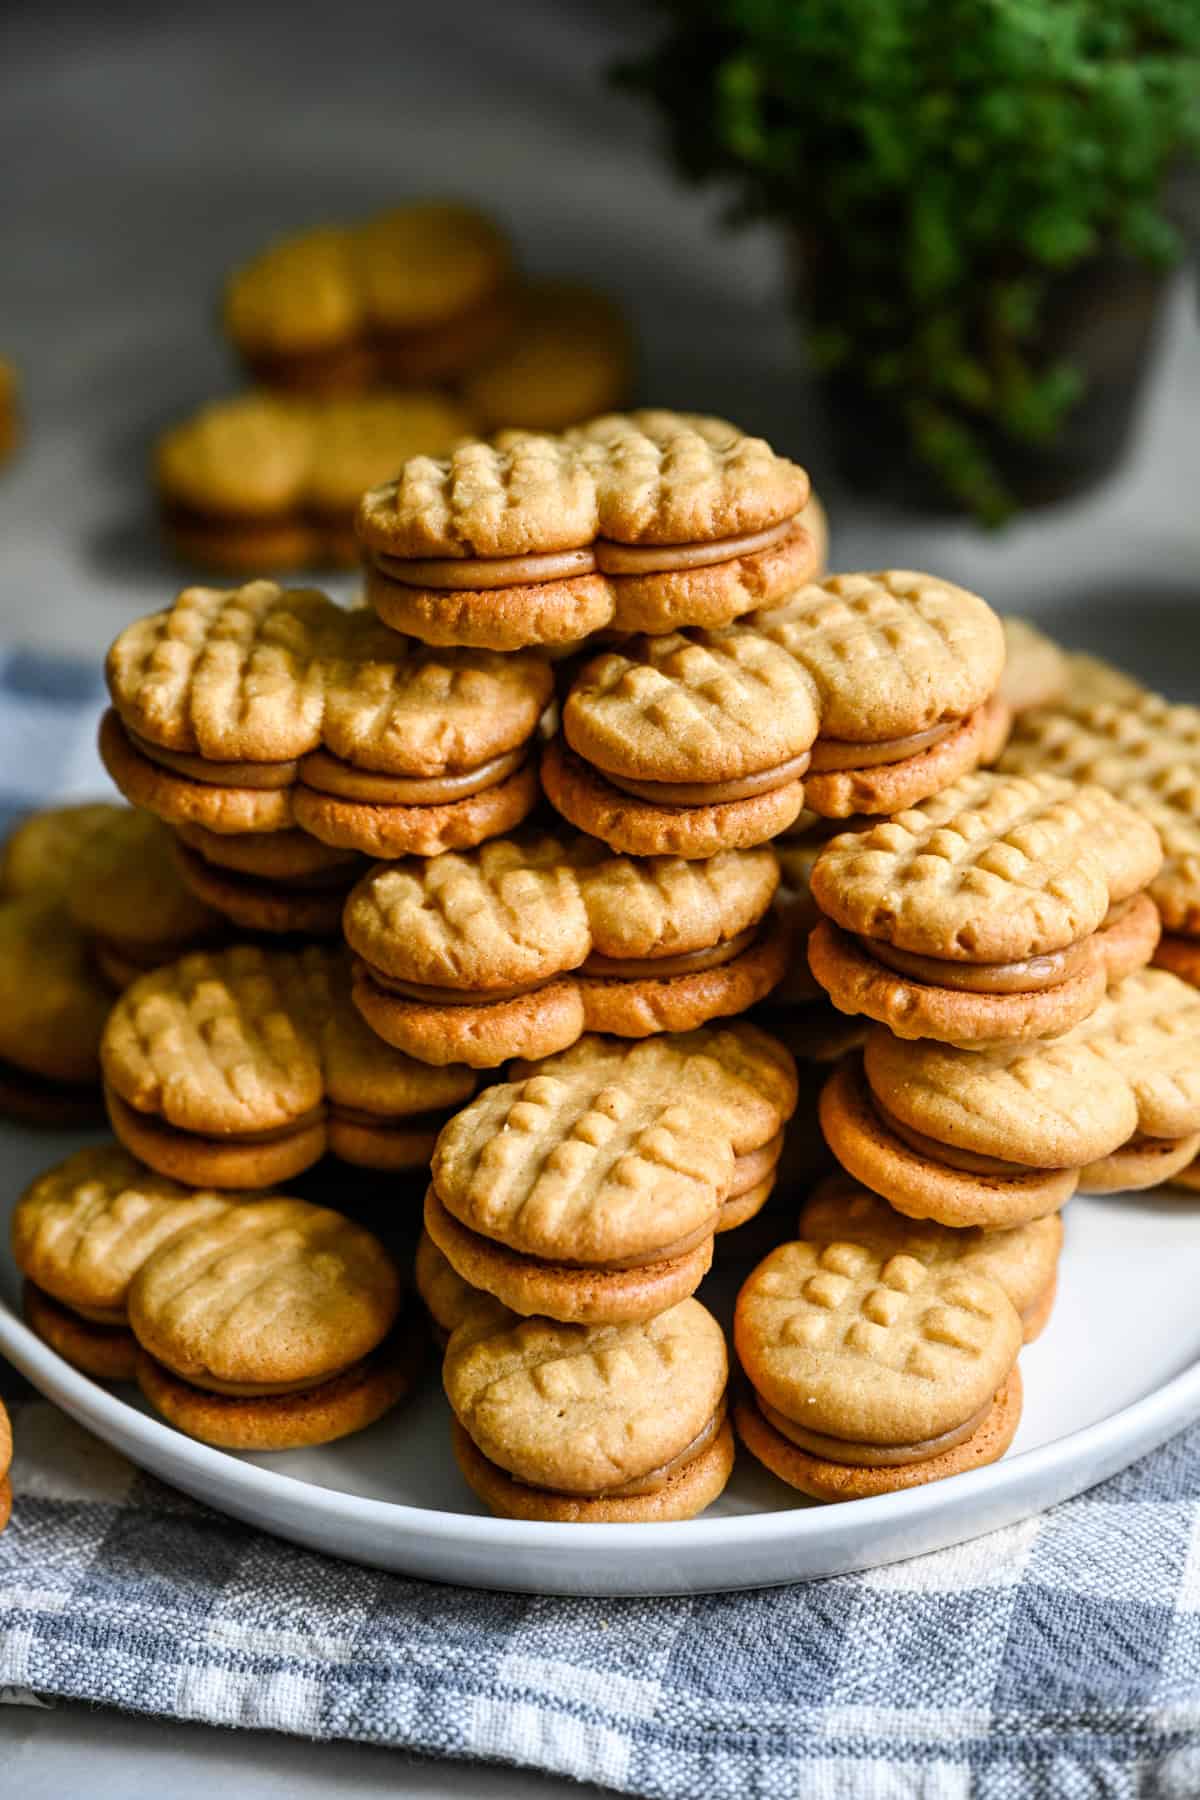
We can't wait for you to bake these homemade nutter butters in your own home! If you do, be sure to let us know! Leave a comment with a star rating below. You can also snap a photo and tag @crowded_kitchen on Instagram. We can't wait to see what you're cooking!
Print📖 Recipe
Homemade Nutter Butters
- Total Time: 2 hours 15 minutes
- Yield: 40 sandwich cookies 1x
- Diet: Vegetarian
Description
A homemade version of your favorite Nutter Butters with two crisp peanut butter cookies sandwiching a delicious, easy peanut butter cream filling! These are easy to make (no special molds needed) and truly taste SO much better than store-bought.
Ingredients
For the cookies:
- 1 cup unsalted butter, melted
- 1 cup granulated sugar
- 1 cup natural creamy peanut butter* (no sugar added, just peanuts and salt)
- 2 large eggs
- 2 teaspoons vanilla extract
- 2 cups all-purpose flour
- 2 tablespoons cornstarch
- 1 teaspoon baking soda
- 1 teaspoon baking powder
For the filling:
- ½ cup natural creamy peanut butter (no sugar added, just peanuts and salt)
- 1 cup powdered sugar
- 4 - 5 tablespoons milk of choice
- 1 teaspoon vanilla extract
Instructions
Make the cookies:
- In a large mixing bowl, mix together the melted butter, sugar and peanut butter using an electric mixer until smooth and completely incorporated. Add in the eggs and vanilla extract one at a time, mixing well between each addition.
- In a separate bowl, whisk together the flour, cornstarch, baking soda and baking powder. Add the dry ingredients to the wet ingredients and mix just until there are no dry streaks remaining. The dough should be thick.
- Cover and refrigerate the dough for at least one hour.
- Preheat the oven to 325˚F and line two baking sheets with parchment paper.
- Scoop the dough out in one teaspoon-sized portions. Roll each portion into a ball, then place two balls next to each other (touching) on the baking sheet, spacing them about 1 ½ inches apart. (It's quickest to scoop all of the dough first, then roll into balls after.)
- Using the tines of a fork, press down widthwise and then lengthwise to create a criss cross pattern and to flatten out the dough.
- Bake for 13-15 minutes, until the bottoms are deep golden brown. Remove from the oven and let cool for a few minutes, then transfer the cookies to a cooling rack to cool completely before filling.
Make the filling:
- Add the peanut butter, powdered sugar, 4 tablespoons of milk and vanilla to a mixing bowl and mix until smooth and completely incorporated. If it's too thick to pipe, add an additional 1 tablespoon of milk.
- Transfer the mixture to a piping bag (or just any regular plastic bag and cut off the corner to pipe). Flip over a cookie so the flat bottom is facing up. Pipe a ~½ teaspoon dollop on each side of the cookie. Place another cookie on top to create a sandwich. Repeat and enjoy!
Notes
*If your peanut butter is unsalted, add ½ teaspoon of salt to the recipe.
It's easiest to scoop all of the dough balls while it's still firm from the refrigerator, then roll into balls, then create the peanut shape with a fork once the dough has softened up a bit again. Not only will this order create the best shape, but it's also the quickest process to group the steps! (Better yet: recruit a helper to make it faster.)
Don't pipe the filling until the cookies are completely cool, otherwise it will melt and ooze out the sides.
Storage: Keep these stored at room temperature for about 5 days. Depending on humidity in your kitchen, they may soften slightly.
- Prep Time: 1 hour
- Chill time: 1 hour
- Cook Time: 15 minutes
- Category: Dessert
- Method: Baking
- Cuisine: American
Nutrition
- Serving Size: 1 sandwich cookie (2 cookies with filling)
- Calories: 159
- Sugar: 9.1 g
- Sodium: 78 mg
- Fat: 9.9 g
- Carbohydrates: 15.5 g
- Fiber: 0.7 g
- Protein: 3.2 g


Comments
No Comments