
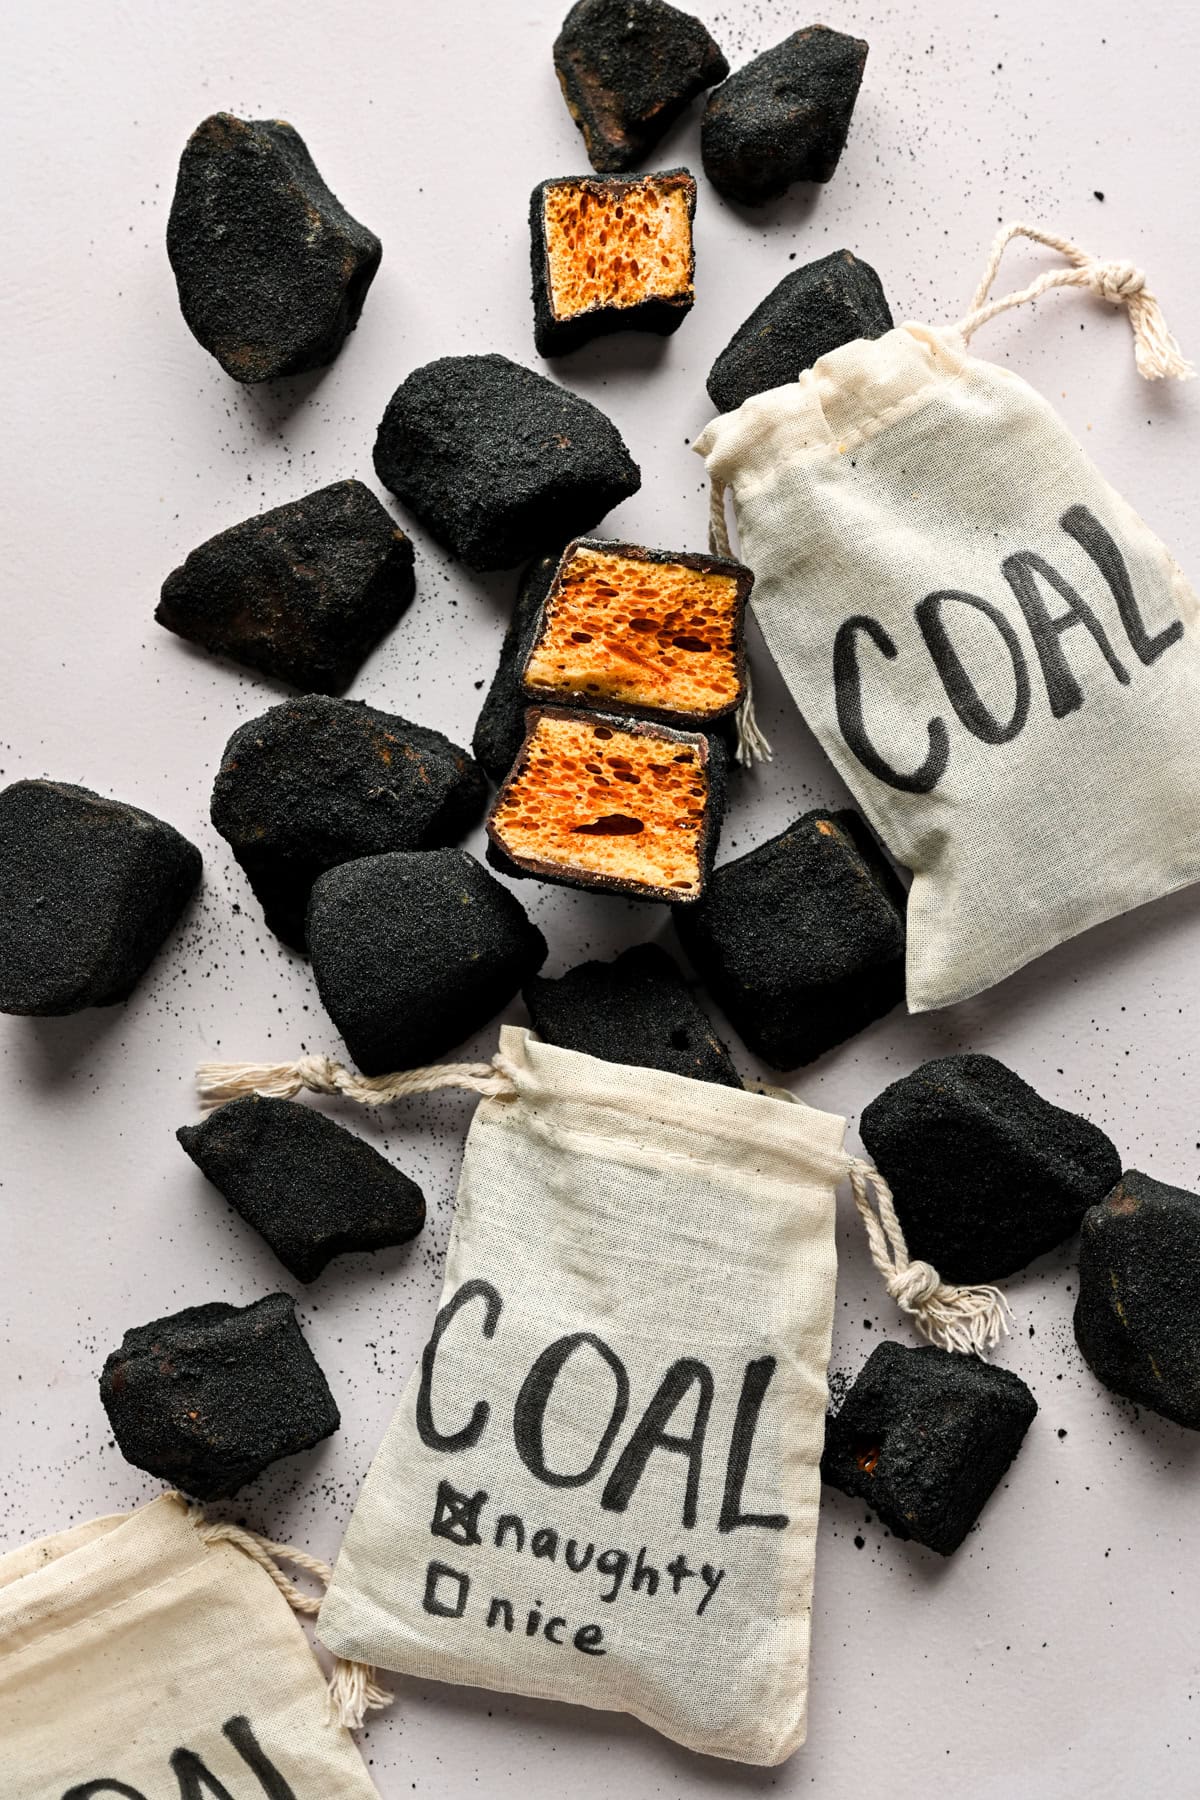
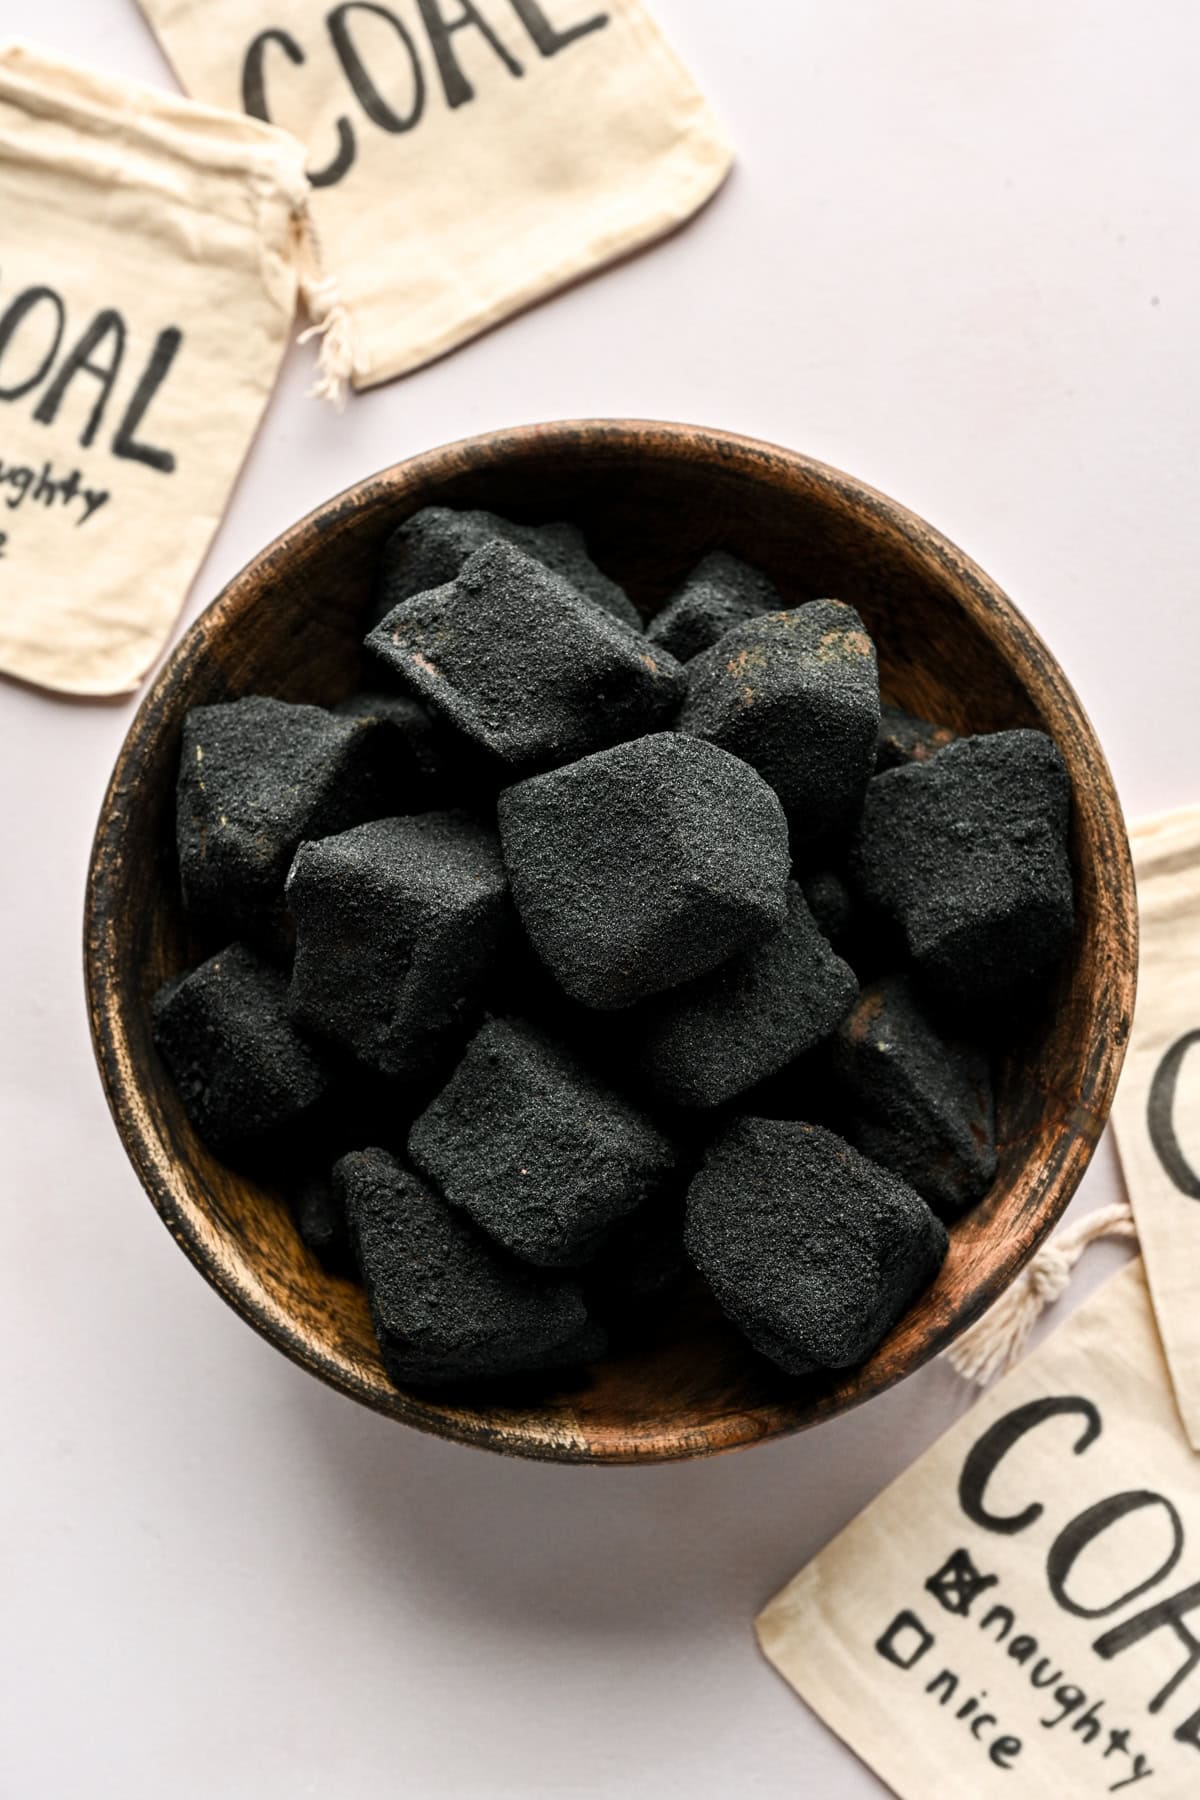
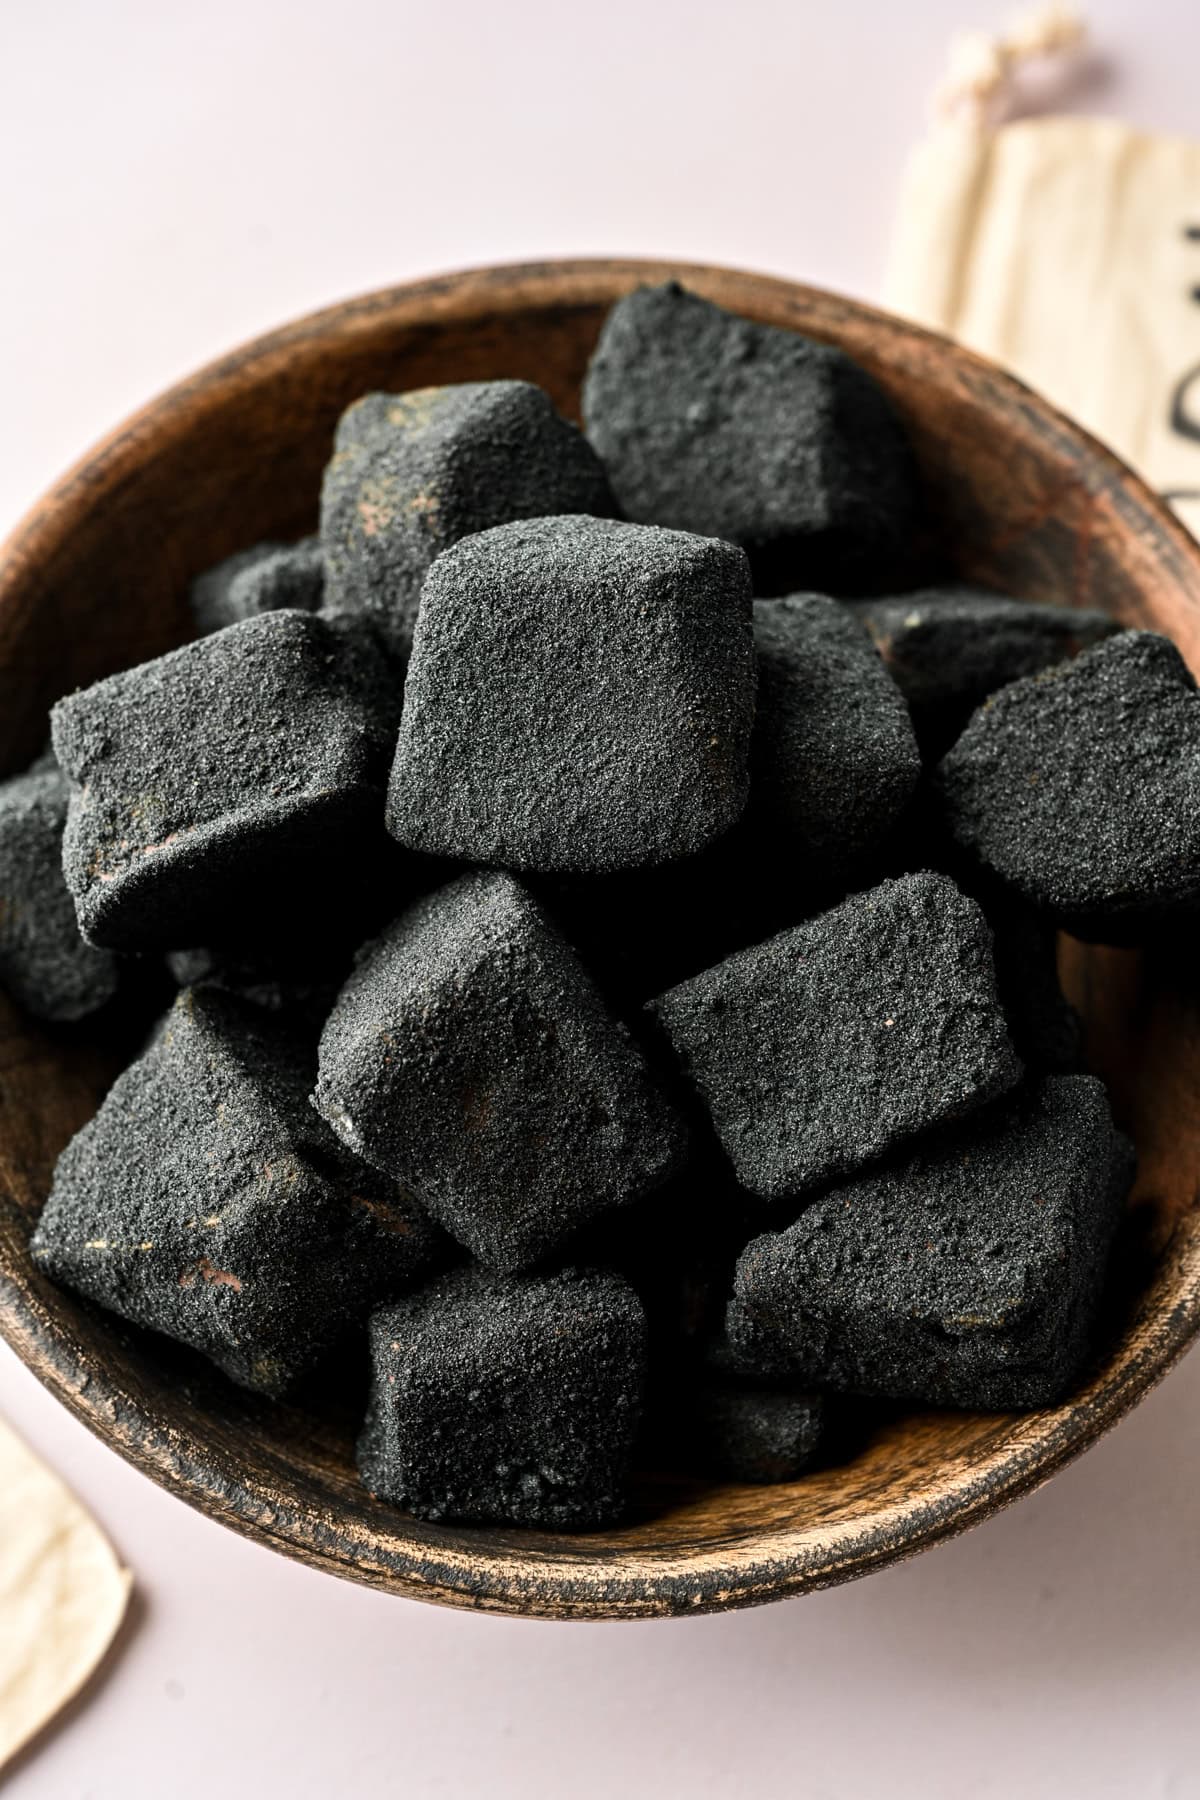
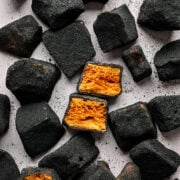
This Edible Coal Candy is a surprisingly delicious holiday treat for anyone on your naughty (or nice!) list this year. We make honeycomb candy, break it up into small pieces, and then coat in chocolate and black sugar for a super authentic look. Give this out in burlap bags with a tag for a DIY gift or fun treat!
Disclosure: Some of the links below are affiliate links. Read our full affiliate disclosure here.
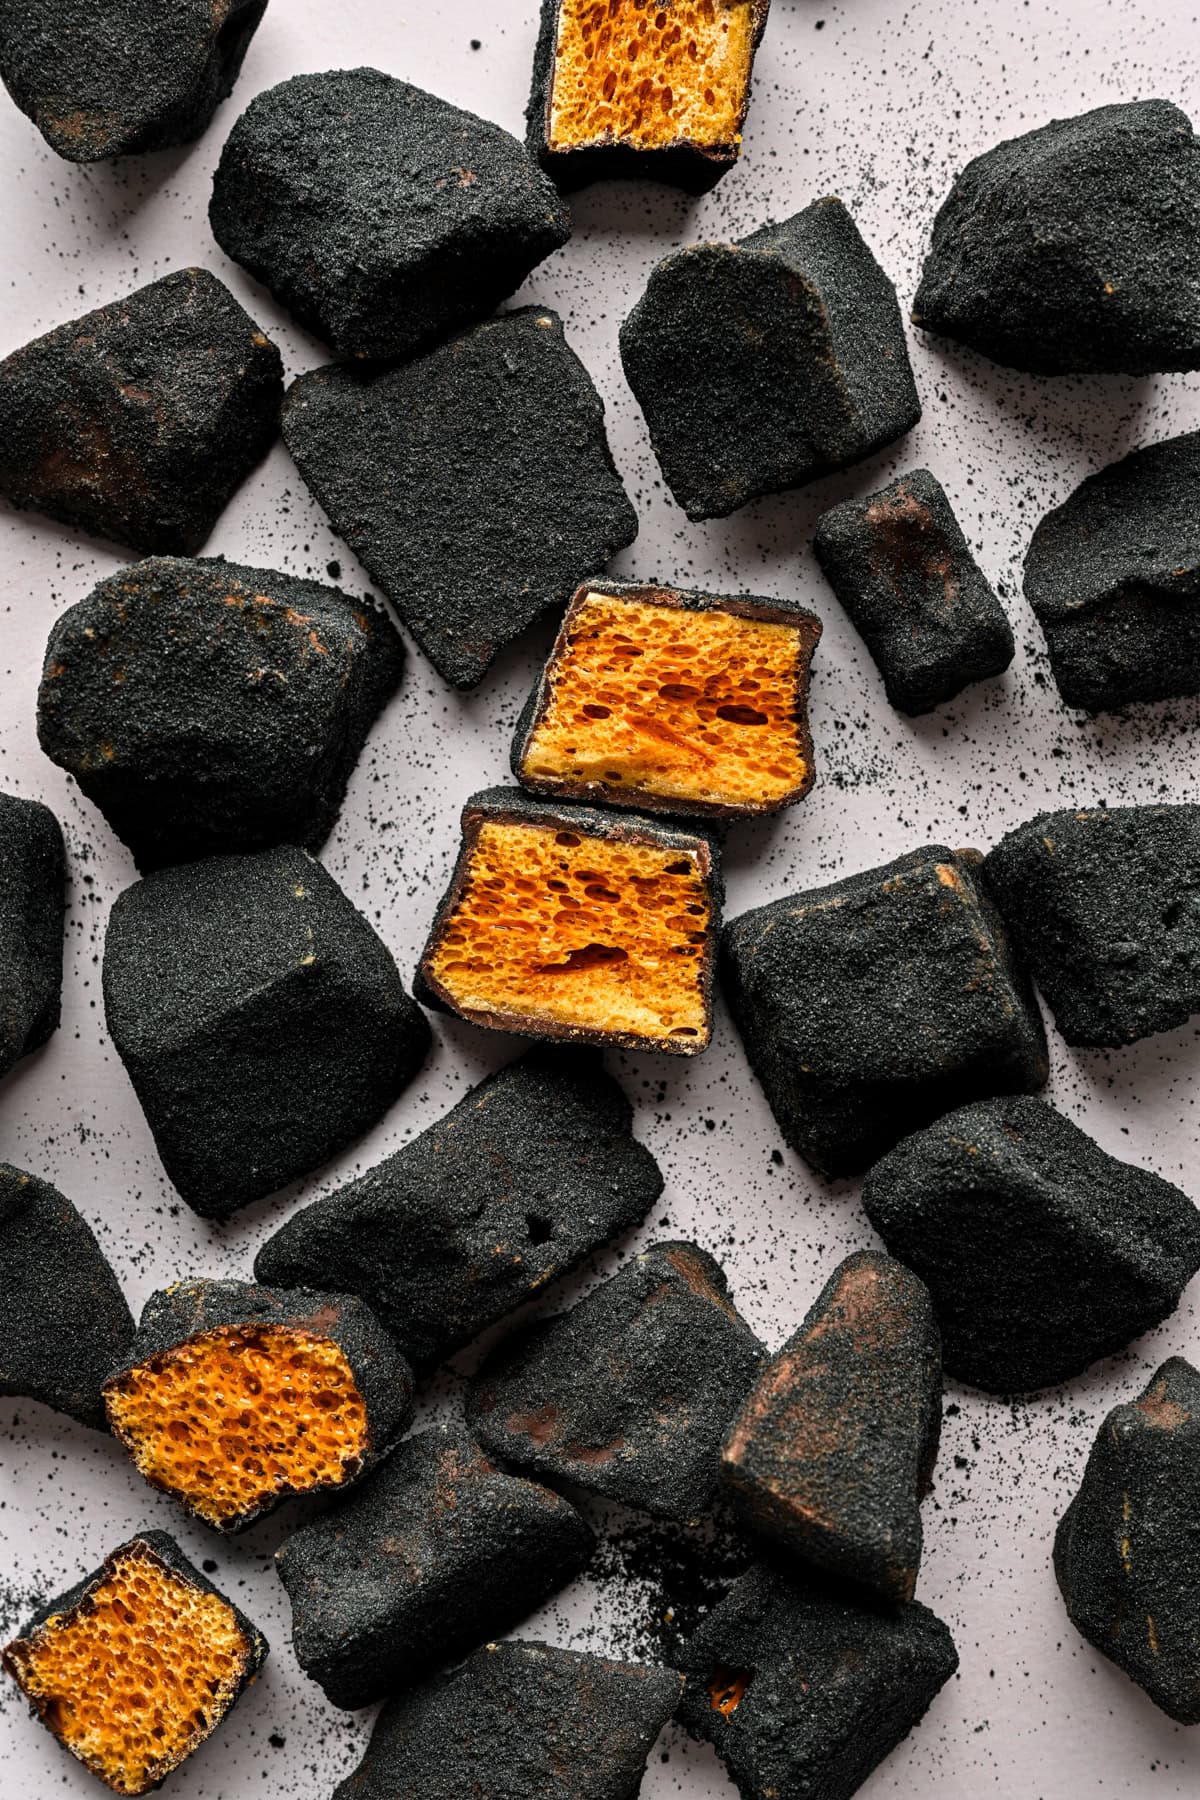
This is such a fun novelty recipe to try for Christmas this year! Despite its appearance, this honeycomb coal candy actually tastes fantastic.
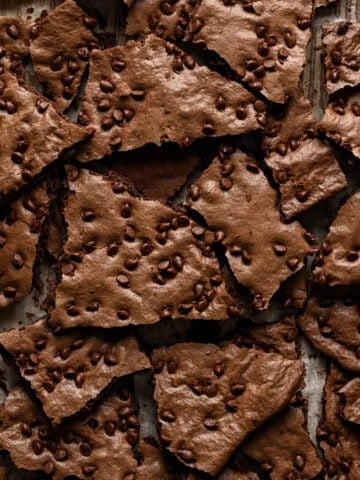
Crisp, sweet, crunchy, caramel-y honeycomb candy comes together in just a few steps, and it's perfect for coating in chocolate and black sugar for edible coal.
We created this recipe for Day 5 of our 2024 Recipe Advent Calendar, a series where we share super fun, festive recipes every day from December 1-25! If you missed the first few recipes, try our Slice & Bake Christmas Cookies, The Grinch Cocktail, or these Dauphinoise Potatoes.
Jump to:
Edible Coal Candy Ingredients
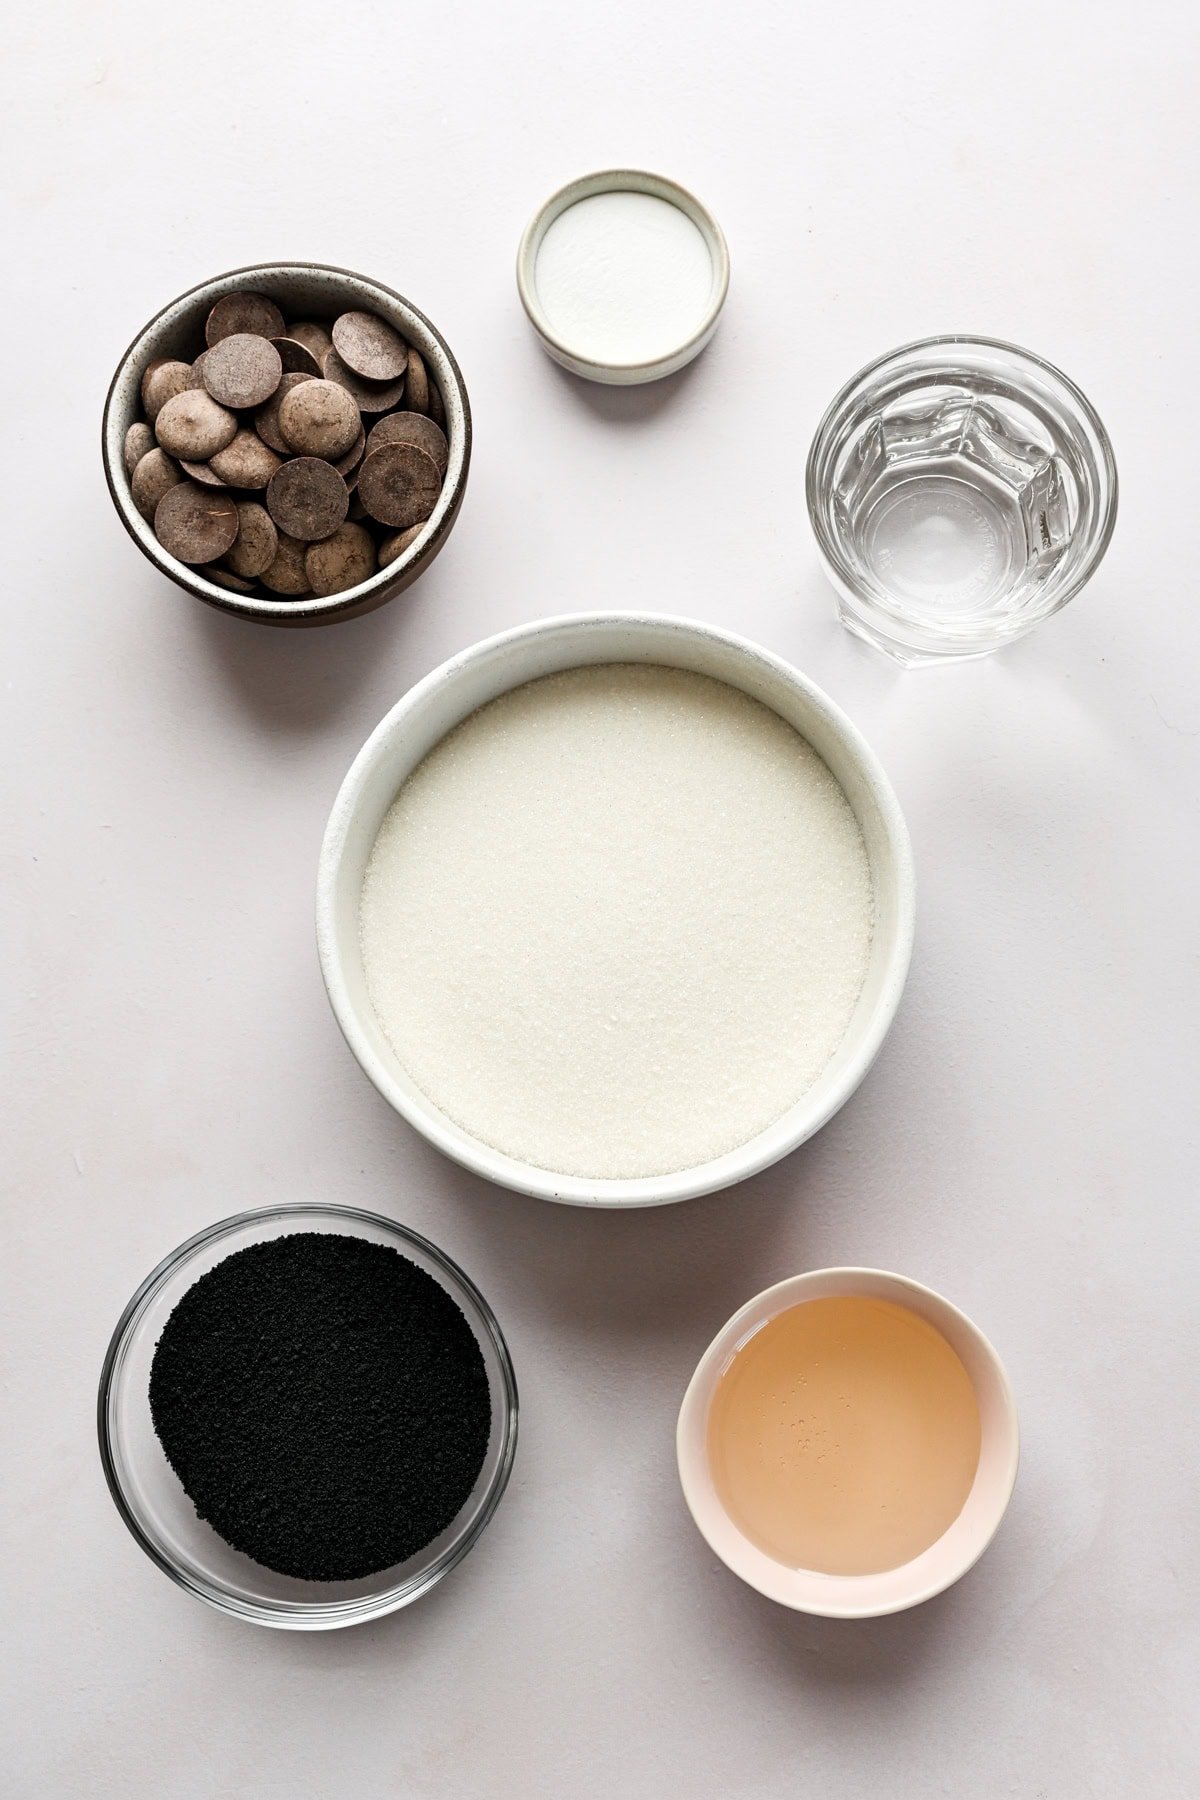
- Sugar: Regular granulated sugar works best here. This is a very temperamental recipe, so we do not suggest using any alternatives.
- Light corn syrup: We tried several options for this honeycomb (honey, molasses, etc) and we by far had the best, most consistent results with corn syrup. You only need ¼ cup for this recipe. If you don't live in the United States, you can use golden syrup in this recipe.
- Water: You'll need some water to prevent your sugar from burning.
- Baking soda: This is an essential ingredient for making honeycomb candy. The baking soda reacts with the hot sugar syrup by releasing carbon dioxide into the mixture, which causes it to bubble up and form its characteristic honeycomb appearance.
- Chocolate: Any kind of chocolate will work for the coating. We used dark chocolate, but feel free to use semisweet or milk chocolate if preferred.
- Black sugar: We make our own by mixing together superfine (caster) sugar and black food coloring for a super authentic look. You can also purchase pre-dyed black sanding sugar but it won't look quite as real.
How to Make this Edible Coal Candy Recipe
PREP: Line a heat-safe ~8x10 or 9x9-inch container with parchment paper and set aside. You can also use a 9x13-inch container for this, but the honeycomb will be much thinner. By using a smaller pan, the honeycomb will be thicker and ends up looking more like coal.
STEP 1: Add sugar, corn syrup and water to a large pot over medium low heat and stir or whisk until the sugar is dissolved.
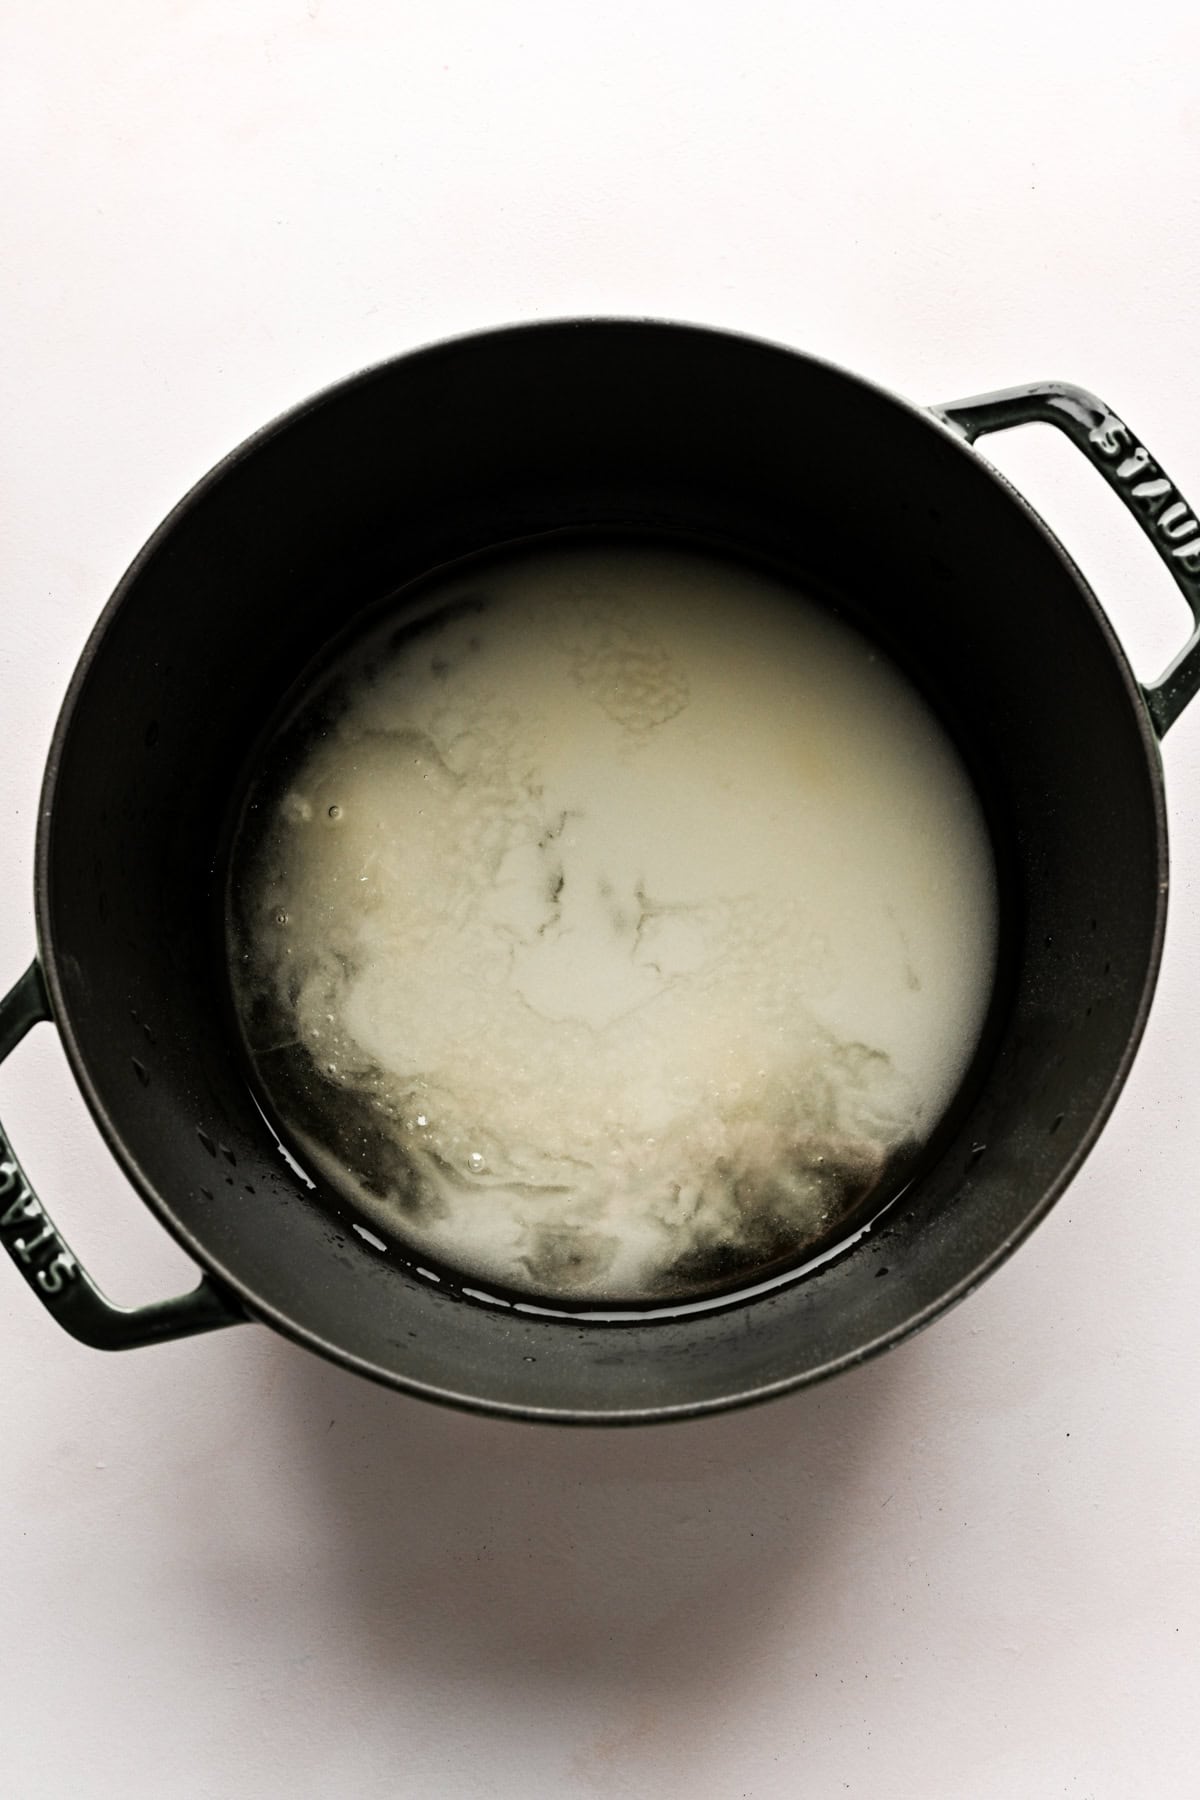
STEP 2: Once the sugar is dissolved, increase the heat to medium and attach a candy thermometer to the side of the pan. At this point, stop stirring and do not stir at all until you add the baking soda.
Heat the sugar mixture to the hard crack stage – between 300-310˚F. (We heat ours to around 305˚F.)
STEP 3: Remove from heat, then immediately whisk in the baking soda, whisking just until it's incorporated (no more than 10 seconds of whisking).
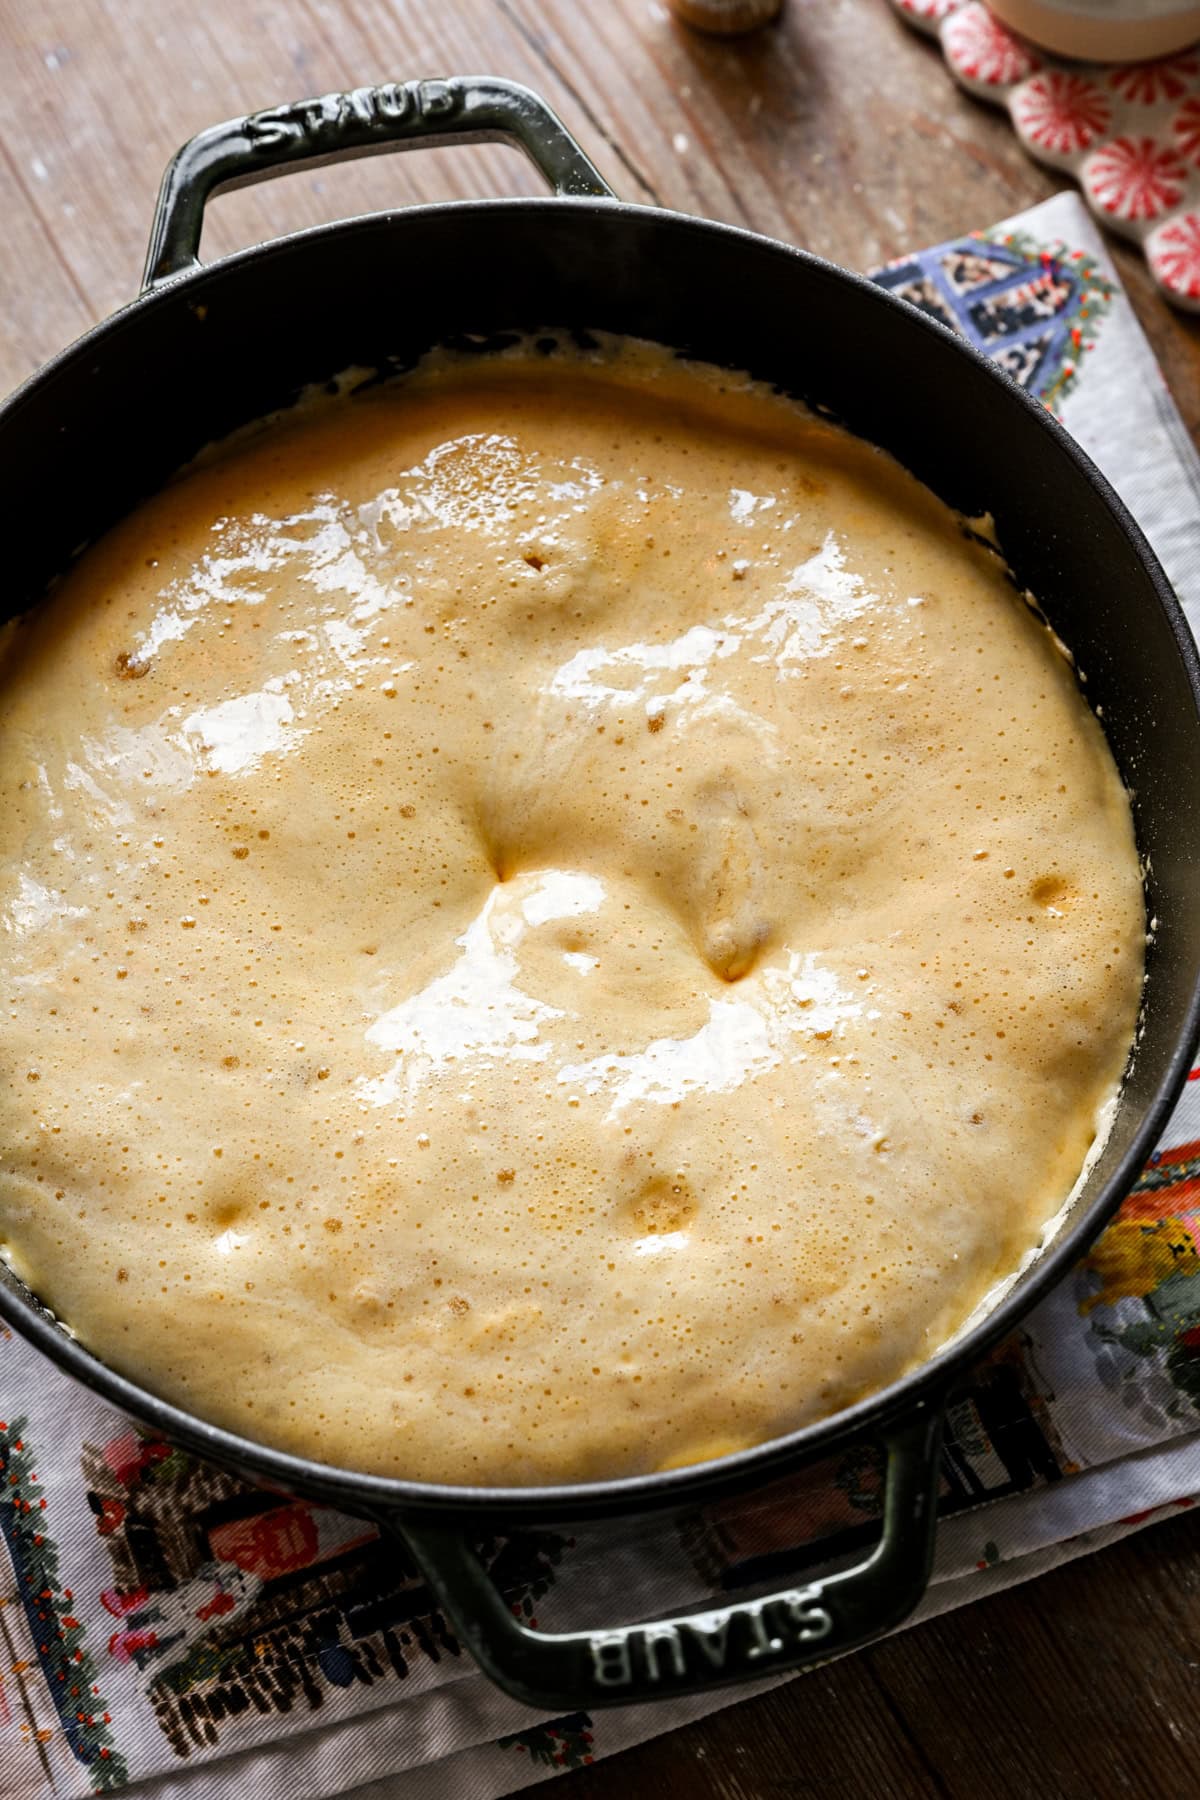
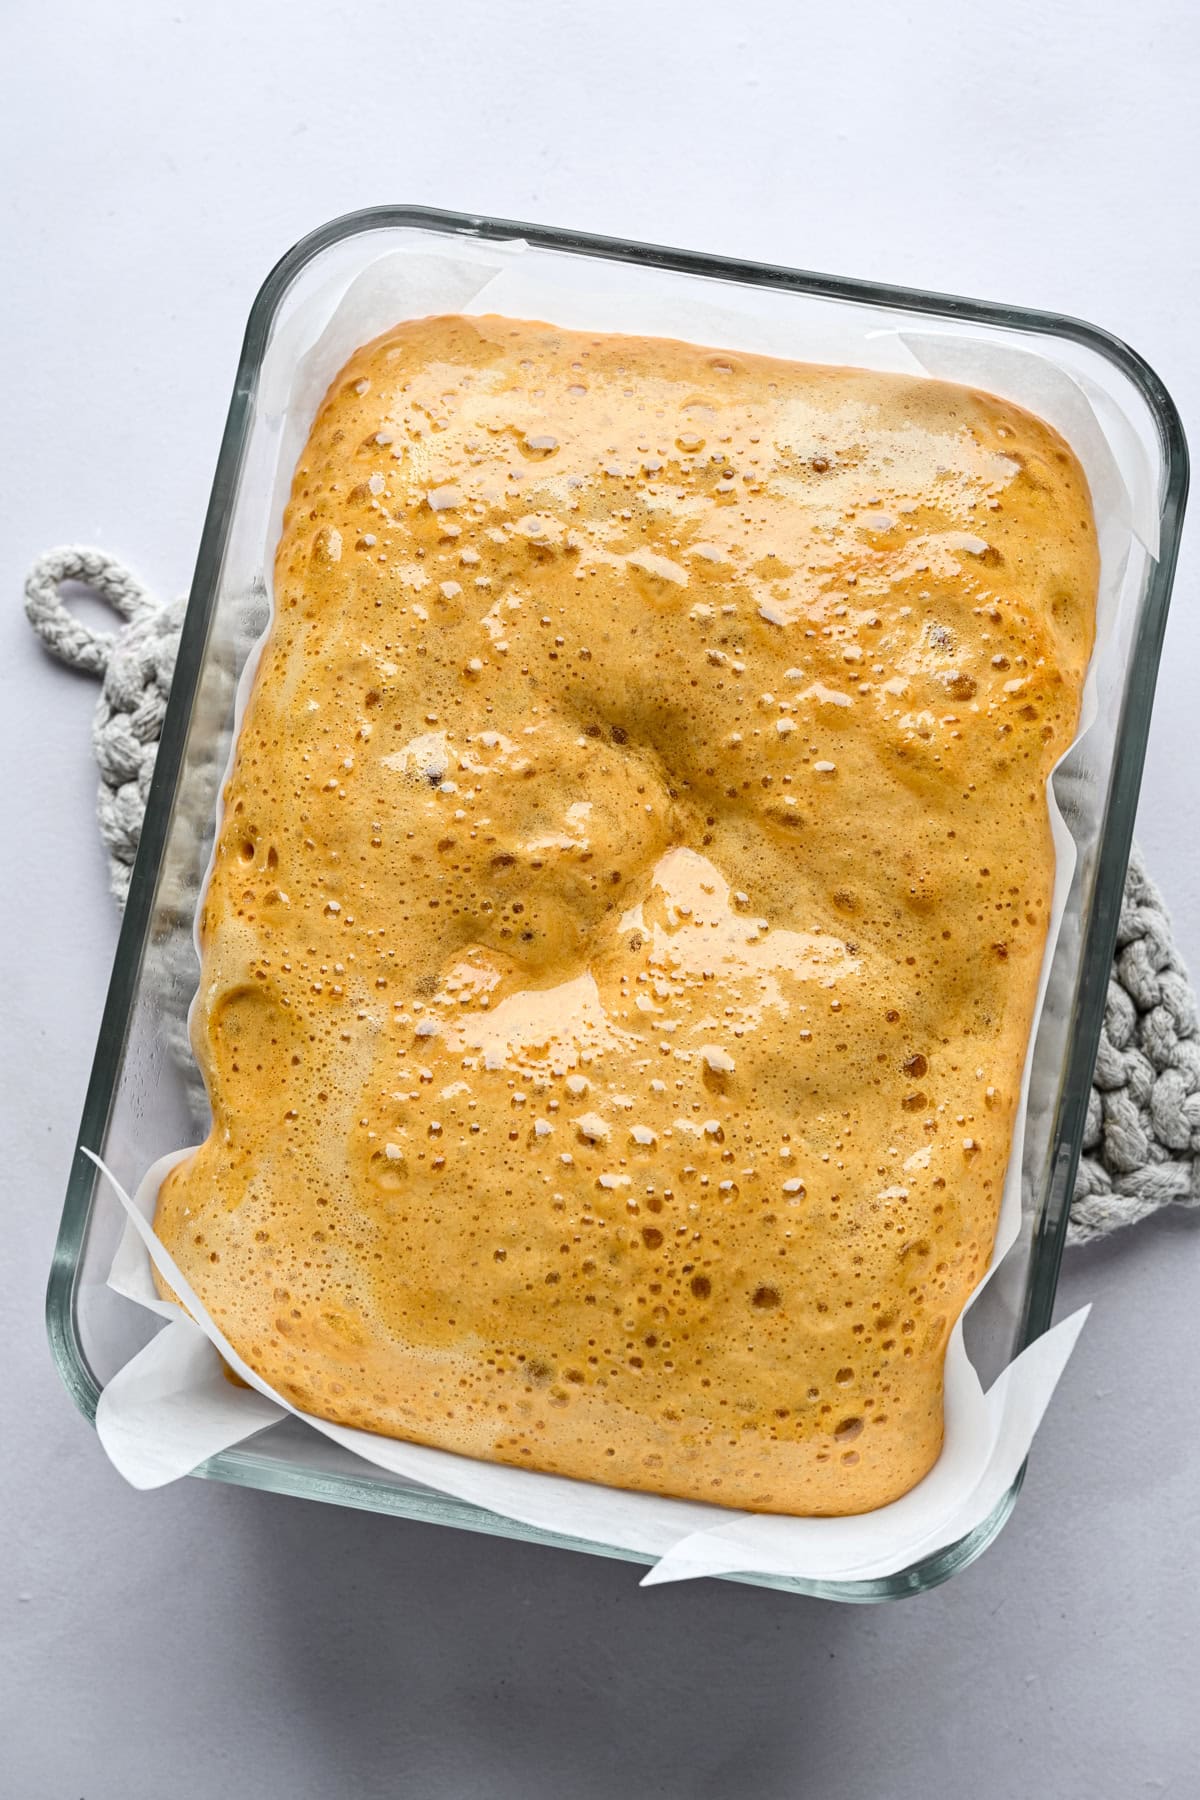
STEP 4: Let the mixture bubble up for a few seconds, then immediately (and carefully!) pour into the prepared, parchment-lined container.
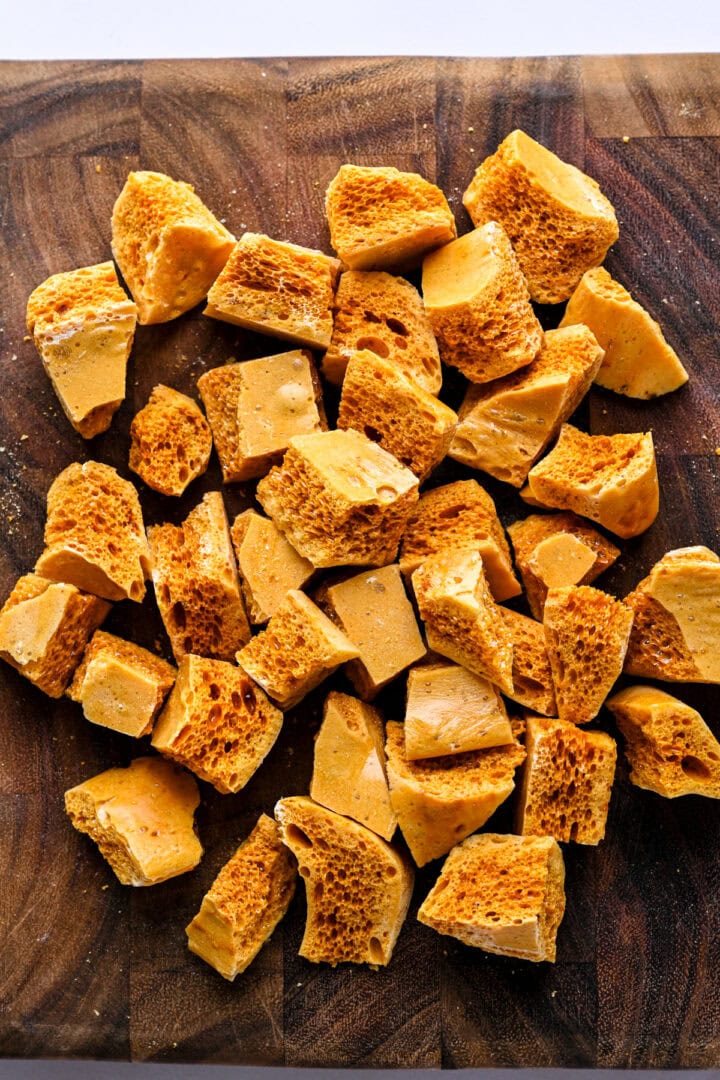
STEP 5: Cool completely for about 1-2 hours before breaking up. We use a knife to break it up into coal-sized pieces. You will end up with some smaller shards and pieces as well – save them for adding to cookies, cake decorating, ice cream topping, etc.

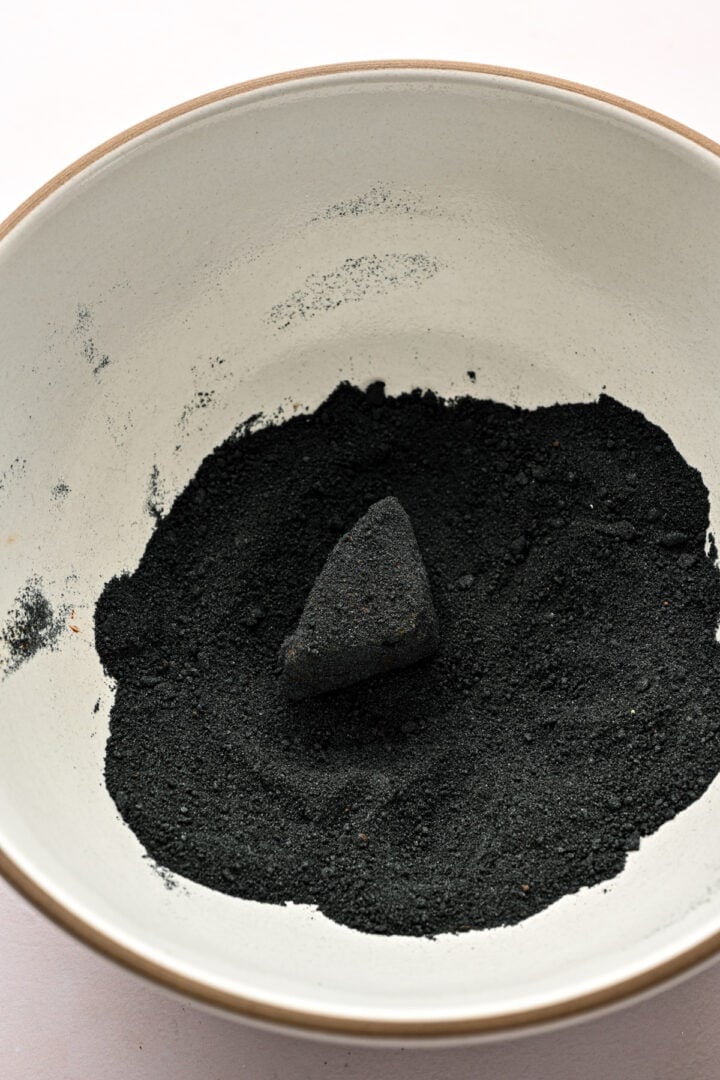
STEP 6: To make the black sugar, add the caster sugar to a plastic bag with a few drops of black food coloring. Seal the bag, then rub the food coloring into the sugar until it's well distributed. Add more food coloring as needed. Pour into a bowl and set aside.
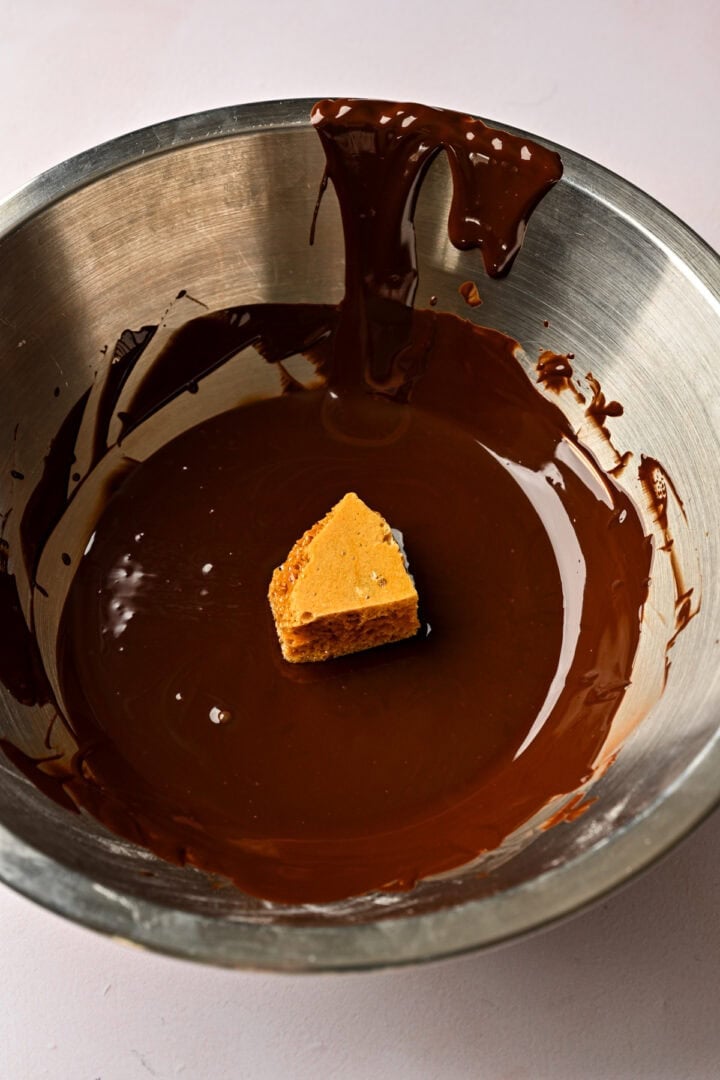
STEP 7: Melt the chocolate in 30-second intervals in the microwave, stirring between each interval, until fully melted.
Dip each piece of honeycomb in melted chocolate and let any excess chocolate drip off before transferring to a baking sheet lined with parchment paper. Repeat with remaining honeycomb.

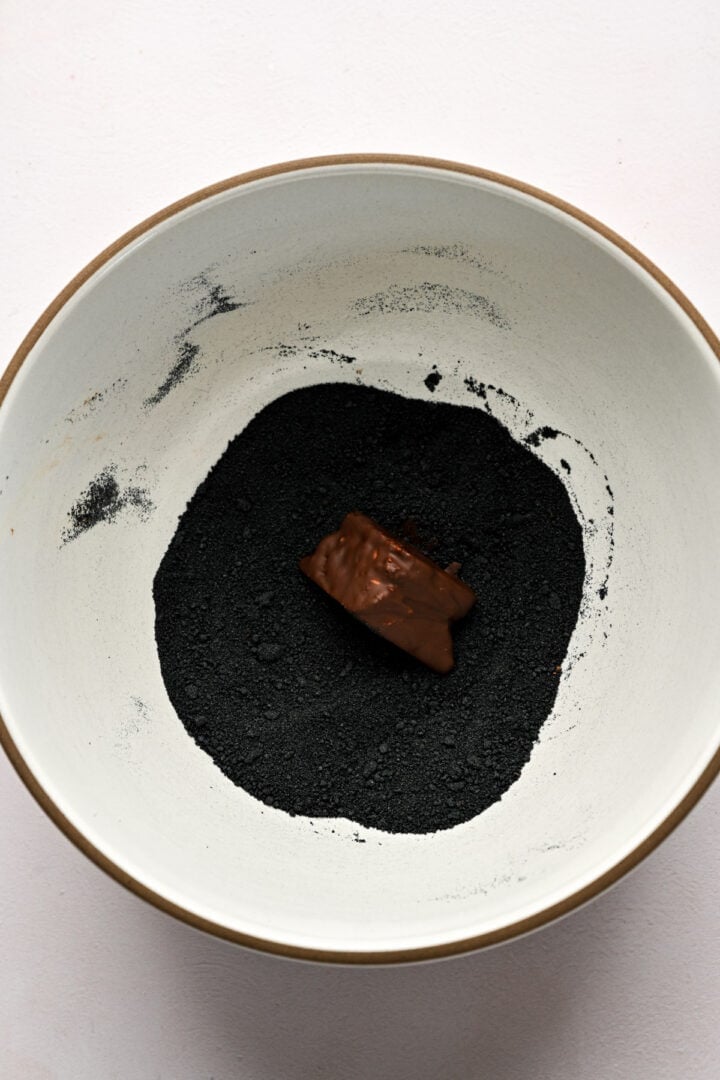
STEP 8: Just before the chocolate is fully set, toss the chocolate covered honeycomb in the black sugar until well coated. If the chocolate sets too quickly, put on a pair of food safe gloves and rub the chocolate a bit with your fingers to warm it up. I know it sounds strange, but it should warm the chocolate just enough to get the sugar to stick. Let the chocolate set fully, then enjoy!
Equipment
- You'll definitely need a good candy thermometer for this recipe to ensure the mixture reaches the hard crack stage.
- Black sugar: We use caster sugar (superfine sugar) mixed with black food coloring for super authentic looking coal dust. If you don't want to make it yourself, you can also purchase black sanding sugar. Just note that it's more coarse, so it doesn't look quite as authentic.
- Burlap bags: For a super cute edible gift, package up this edible coal candy in small burlap bags like these. You can write directly on the bag with permanent marker, or affix a small label with some ribbon!
Storage
Do not store this edible coal candy in the refrigerator!
Store the chocolate coated honeycomb in an airtight container at room temperature for up to a month. Because of the chocolate coating, the honeycomb will stay super crisp inside.
If you want to store the plain honeycomb candy (not coated in chocolate), keep it in an airtight container at room temperature for about a week. If it is exposed to air, it will start to get sticky and soft.
Tips and FAQ
Top tip
If the chocolate sets too quickly when coating the honeycomb, put on a pair of food-safe gloves and rub the chocolate a bit with your fingers to warm it up. I know it sounds strange, but it should warm the chocolate just enough to get the sugar to stick! If the sugar still isn't sticking, keep rubbing the chocolate until it's slightly melted again.
More tips
- Don't forget to prep your parchment paper-lined baking dish before starting the honeycomb! The recipe moves pretty quickly, and you'll need to pour it into the baking dish immediately when it's done, so it's essential to have everything ready to go.
- Let the honeycomb candy cool fully before breaking it up. It should be completely dry to the touch. We usually wait about 2 hours before breaking it up just to be safe.
- Make sure to use a large pot for the honeycomb. It doesn't look like a lot of ingredients, but once you add the baking soda, the mixture will bubble up quite a bit! We use a large Dutch oven when we make honeycomb.
- Use a heat-safe pan when you transfer the honeycomb from the pot to the pan. The mixture will be extremely hot, so safety is essential! You don't want to end up with broken glass.
- BE VERY CAREFUL while handling the hot honeycomb mixture. It is heated to over 300˚F, so needless to say, it's extremely hot! To be extra safe, we suggest using oven mitts when handling the pot. Also use long-handled utensils so your hand doesn't get anywhere near the mixture.
- Leftover honeycomb: When chopping up the honeycomb, you'll end up with quite a few smaller pieces and crumbs. Don't get rid of them! Use them to garnish cakes, add to homemade ice cream, sprinkle on top of yogurt, etc.
More holiday treat recipes
Looking for other recipes like this? Try these:

Tried this recipe?
Please leave a star ⭐️⭐️⭐️⭐️⭐️ rating below and/or a review in the comments section further down the page. You can also stay in touch with us through social media by following us on Instagram, Pinterest, TikTok, Facebook or by subscribing to our newsletter.
📖 Recipe
Edible Coal Candy
- Total Time: 1 hour 45 minutes
- Yield: ~50 pieces of coal
- Diet: Gluten Free
Description
This Edible Coal Candy is a surprisingly delicious holiday treat for anyone on your naughty (or nice!) list this year. We make honeycomb candy, break it up into small pieces, and then coat in chocolate and black sugar for a super authentic look. Give this out in burlap bags with a tag for a DIY gift or fun treat!
Ingredients
- 1 ½ cups granulated sugar
- ¼ cup light corn syrup (or golden syrup)
- ¾ cup water
- 1 tablespoon baking soda
- 8 oz dark or semisweet chocolate, melted
- 1 cup caster sugar* + black food coloring for coating
Instructions
- Line a heat-safe ~8x10 or 9x9-inch container with parchment paper and set aside.**
- Add sugar, corn syrup and water to a large pot over medium low heat and stir or whisk until the sugar is dissolved.
- Once the sugar is dissolved, increase the heat to medium and attach a candy thermometer to the side of the pan. At this point, stop stirring and do not stir at all until you add the baking soda.
- Heat the sugar mixture to the hard crack stage – between 300-310˚F. (We heat ours to around 305˚F.)
- Remove from heat, then immediately whisk in the baking soda, whisking just until it's incorporated (no more than 10 seconds of whisking).
- Let the mixture bubble up for about a few seconds, then immediately (and carefully!) pour into the prepared, parchment-lined container.
- Let cool completely for about 1-2 hours before breaking up. We use a knife to break it up into coal-sized pieces. You will end up with some smaller shards and pieces as well – save them for adding to cookies, cake decorating, ice cream topping, etc.
- To make the black sugar, add the caster sugar to a plastic bag with a few drops of black food coloring. Seal the bag, then rub the food coloring into the sugar until it's well distributed. Add more food coloring as needed. Pour into a bowl and set aside.
- Melt the chocolate in 30-second intervals in the microwave, stirring between each interval, until fully melted.
- Dip each piece of honeycomb in melted chocolate and let any excess chocolate drip off before transferring to a baking sheet lined with parchment paper. Repeat with remaining honeycomb.
- Just before the chocolate is fully set, toss the chocolate covered honeycomb in the black sugar until well coated***. Let the chocolate set fully, then enjoy!
- Optional: package up this edible coal candy in small burlap bags like these. You can write directly on the bag with permanent marker, or affix a small label with some ribbon!
Notes
You can technically use honey in place of corn syrup in this recipe, but we tested it multiple times and by far had the best, most consistent results by using corn syrup.
*You can also purchase black sanding sugar online, but it's not as fine as caster sugar, so it doesn't look quite as authentic. However, it still works fine!
**You can also use a 9x13-inch container for this, but the honeycomb will be much thinner. By using a smaller pan, the honeycomb will be thicker and ends up looking more like coal.
***If the chocolate sets too quickly, put on a pair of food safe gloves and rub the chocolate a bit with your fingers to warm it up. I know it sounds strange, but it should warm the chocolate just enough to get the sugar to stick! If the sugar still isn't sticking, keep rubbing the chocolate until it's slightly melted again.
Storage: Do not store this edible coal candy in the refrigerator! Store the chocolate coated honeycomb in an airtight container at room temperature for up to a month.
Make sure to use a large pot for the honeycomb. It doesn't look like a lot of ingredients, but once you add the baking soda, the mixture will bubble up quite a bit! We use a large Dutch oven when we make honeycomb.
Use a heat-safe pan when you transfer the honeycomb from the pot to the pan. The mixture will be extremely hot, so safety is essential! You don't want to end up with broken glass.
BE VERY CAREFUL while handling the hot honeycomb mixture. It is heated to over 300˚F, so needless to say, it's extremely hot! To be extra safe, we suggest using oven mitts when handling the pot. Also use long-handled utensils so your hand doesn't get anywhere near the mixture.
- Prep Time: 30 minutes
- Cooling Time: 1 hour
- Cook Time: 15 minutes
- Category: Desserts
- Method: Stovetop
- Cuisine: American
Nutrition
- Serving Size: 1 piece of coal
- Calories: 46
- Sugar: 9.4 g
- Sodium: 76.8 mg
- Fat: 1 g
- Carbohydrates: 9.6 g
- Fiber: 0.3 g
- Protein: 0.3 g

Cara Newman says
I haven’t made this yet but I was wondering if you could add some black food coloring to the honeycomb mixture?
Lexi says
I have not tried that, but it may work! I would add it early on before adding the baking soda.
Anne says
What a show stopper!!
At first I thought this might intimidating but the way you described every step made this recipe a total success!!! It was so easy and everyone who has tried these are in complete awe! Thank you for sharing this amazing content!
So fun and so yummy!!