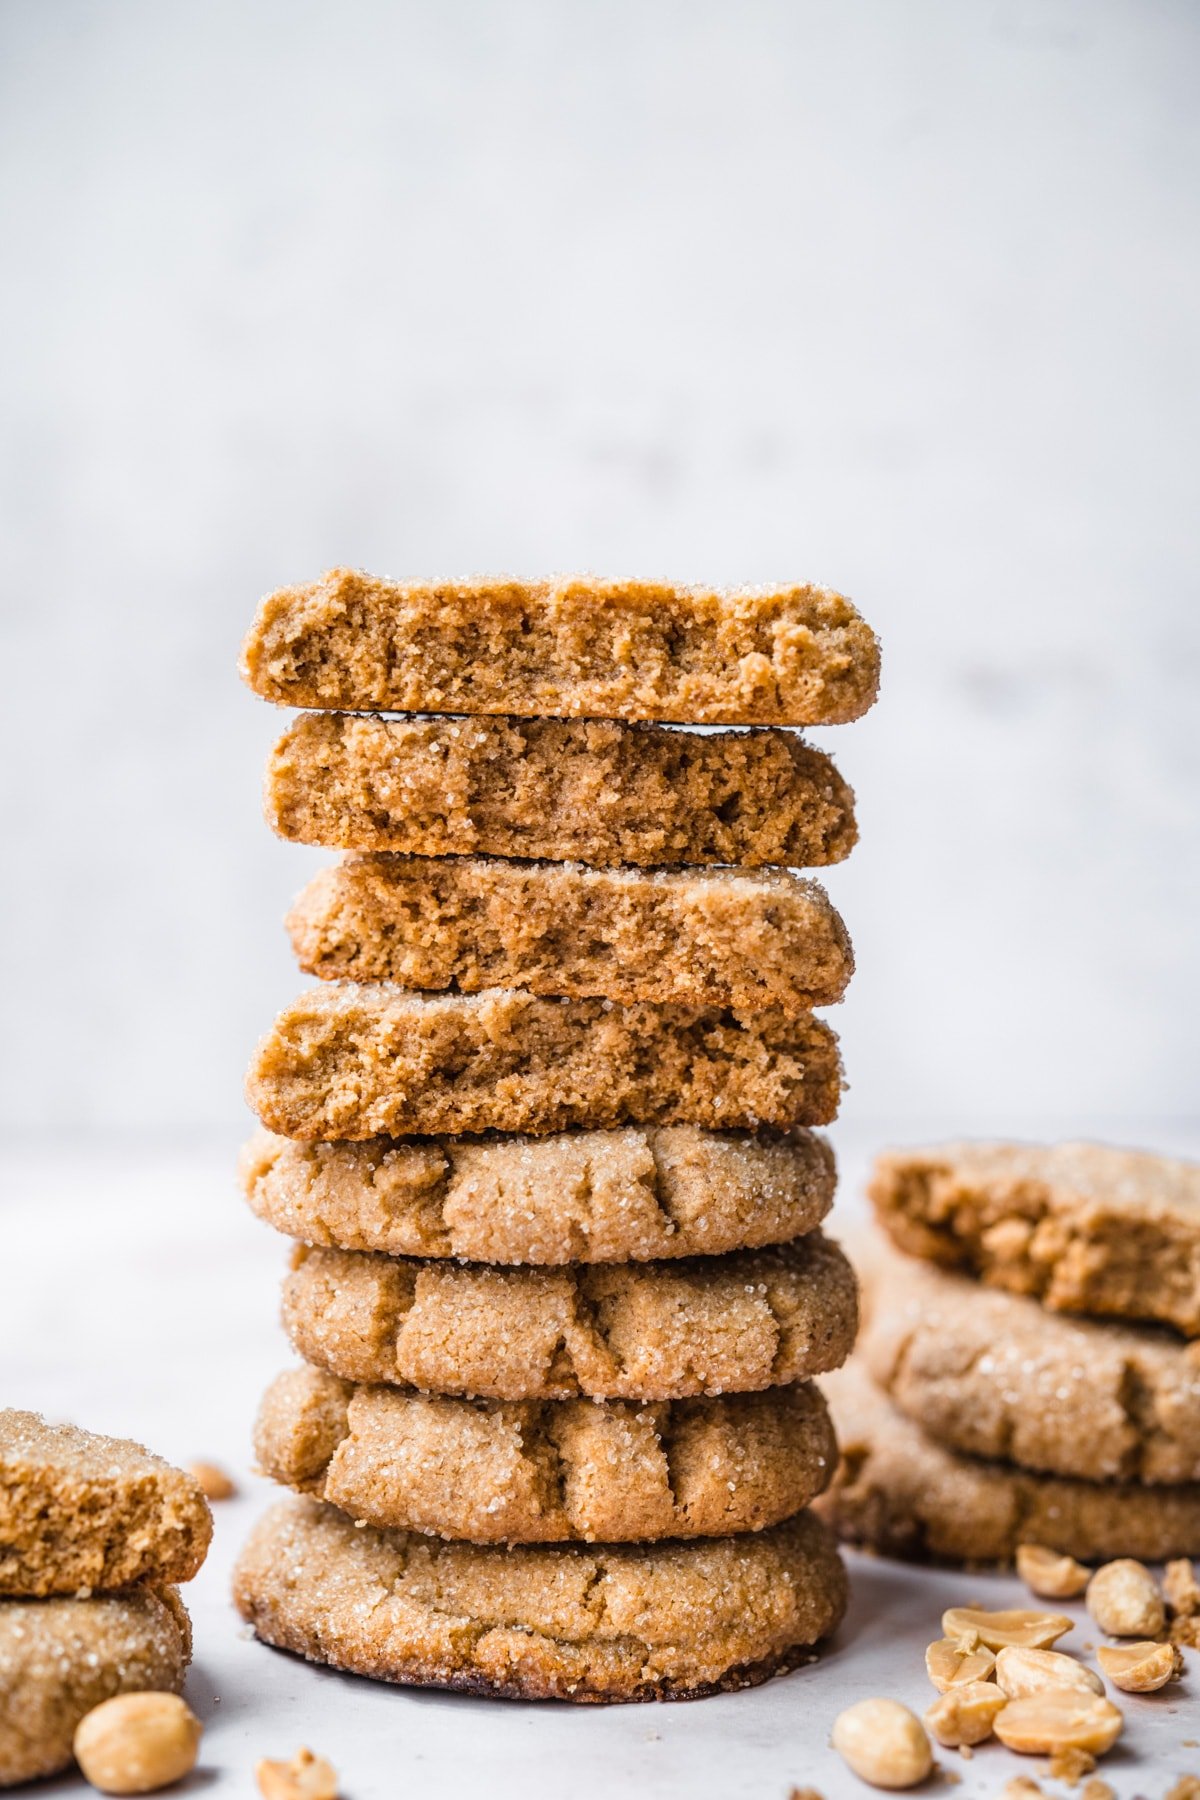
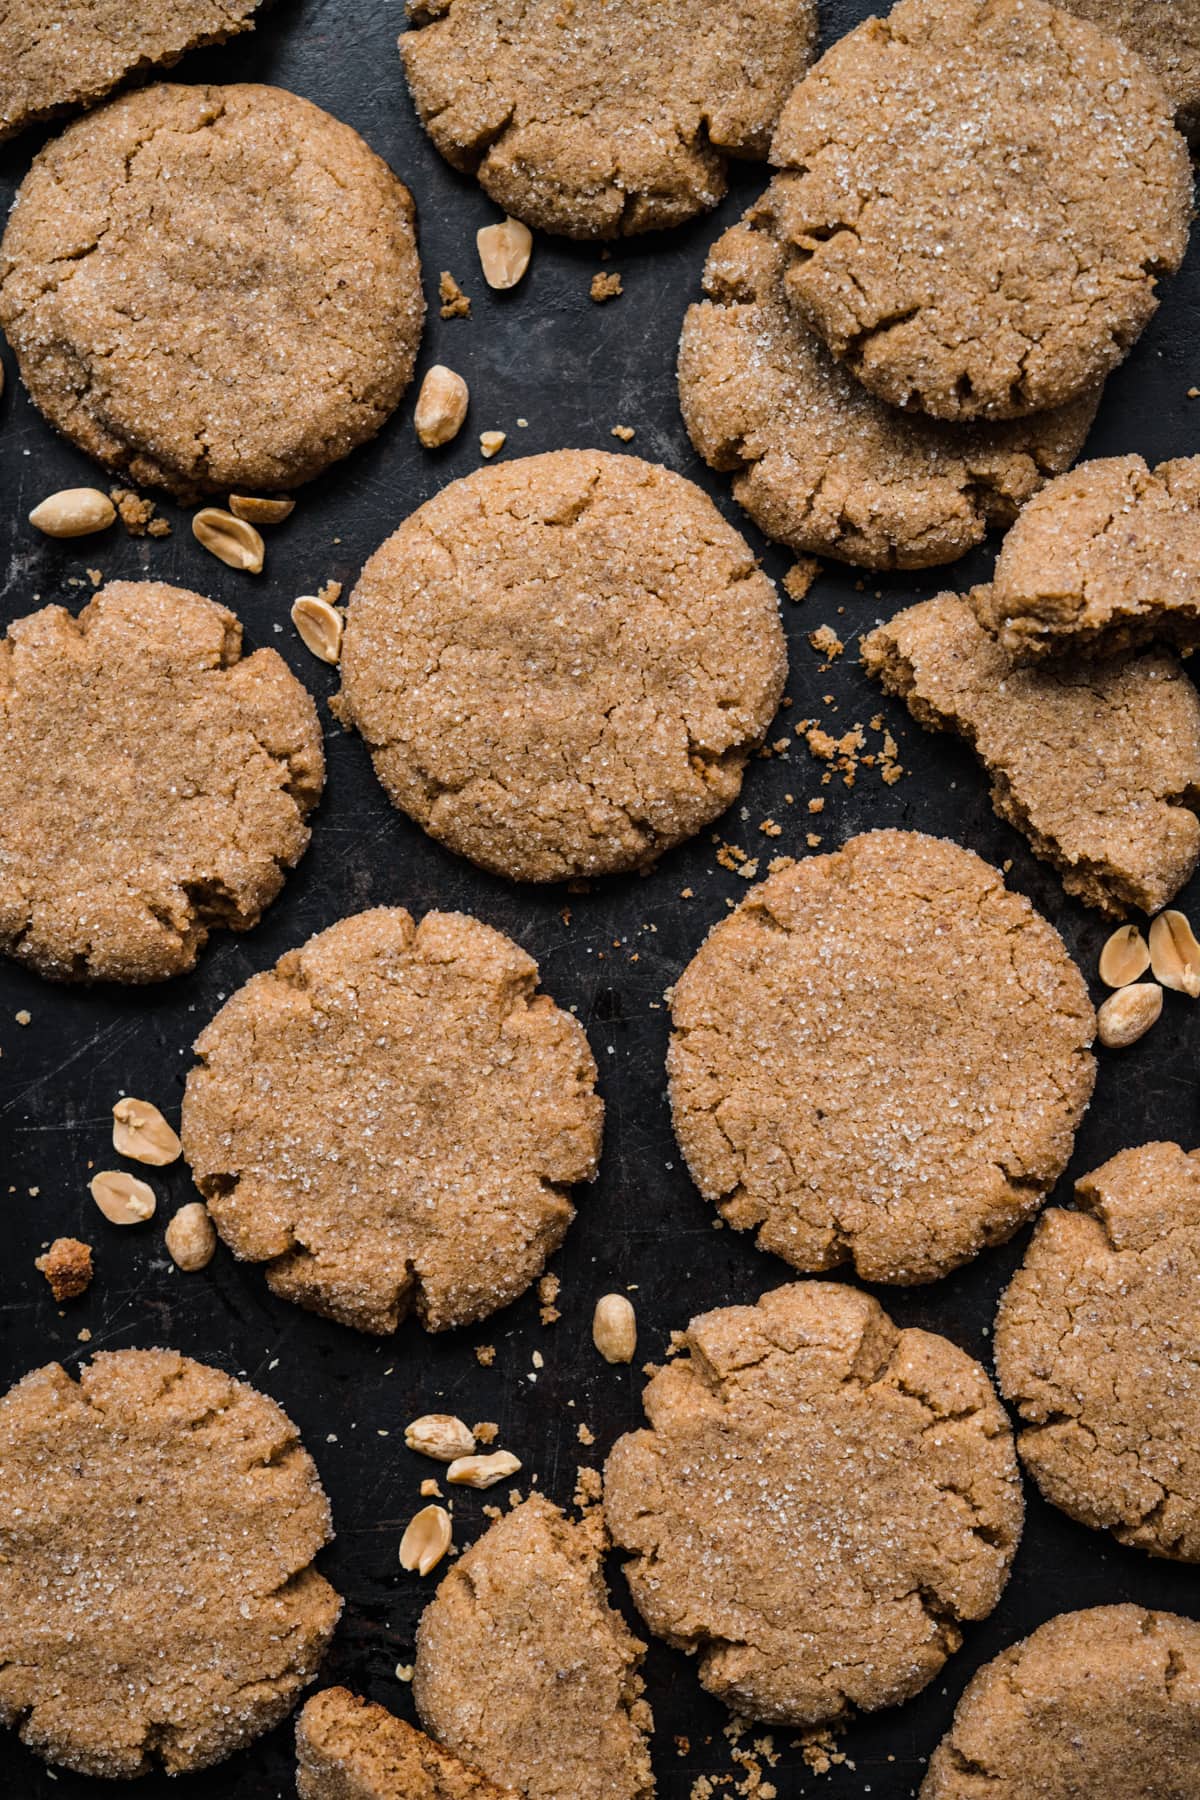
These vegan peanut butter cookies are soft, chewy, sugary peanut butter perfection. They practically melt in your mouth and you'd never be able to tell that they're vegan and gluten free! Best of all, this recipe is super easy to make, and you probably already have everything you need in your pantry.
Jump to:
Why We Love This Recipe
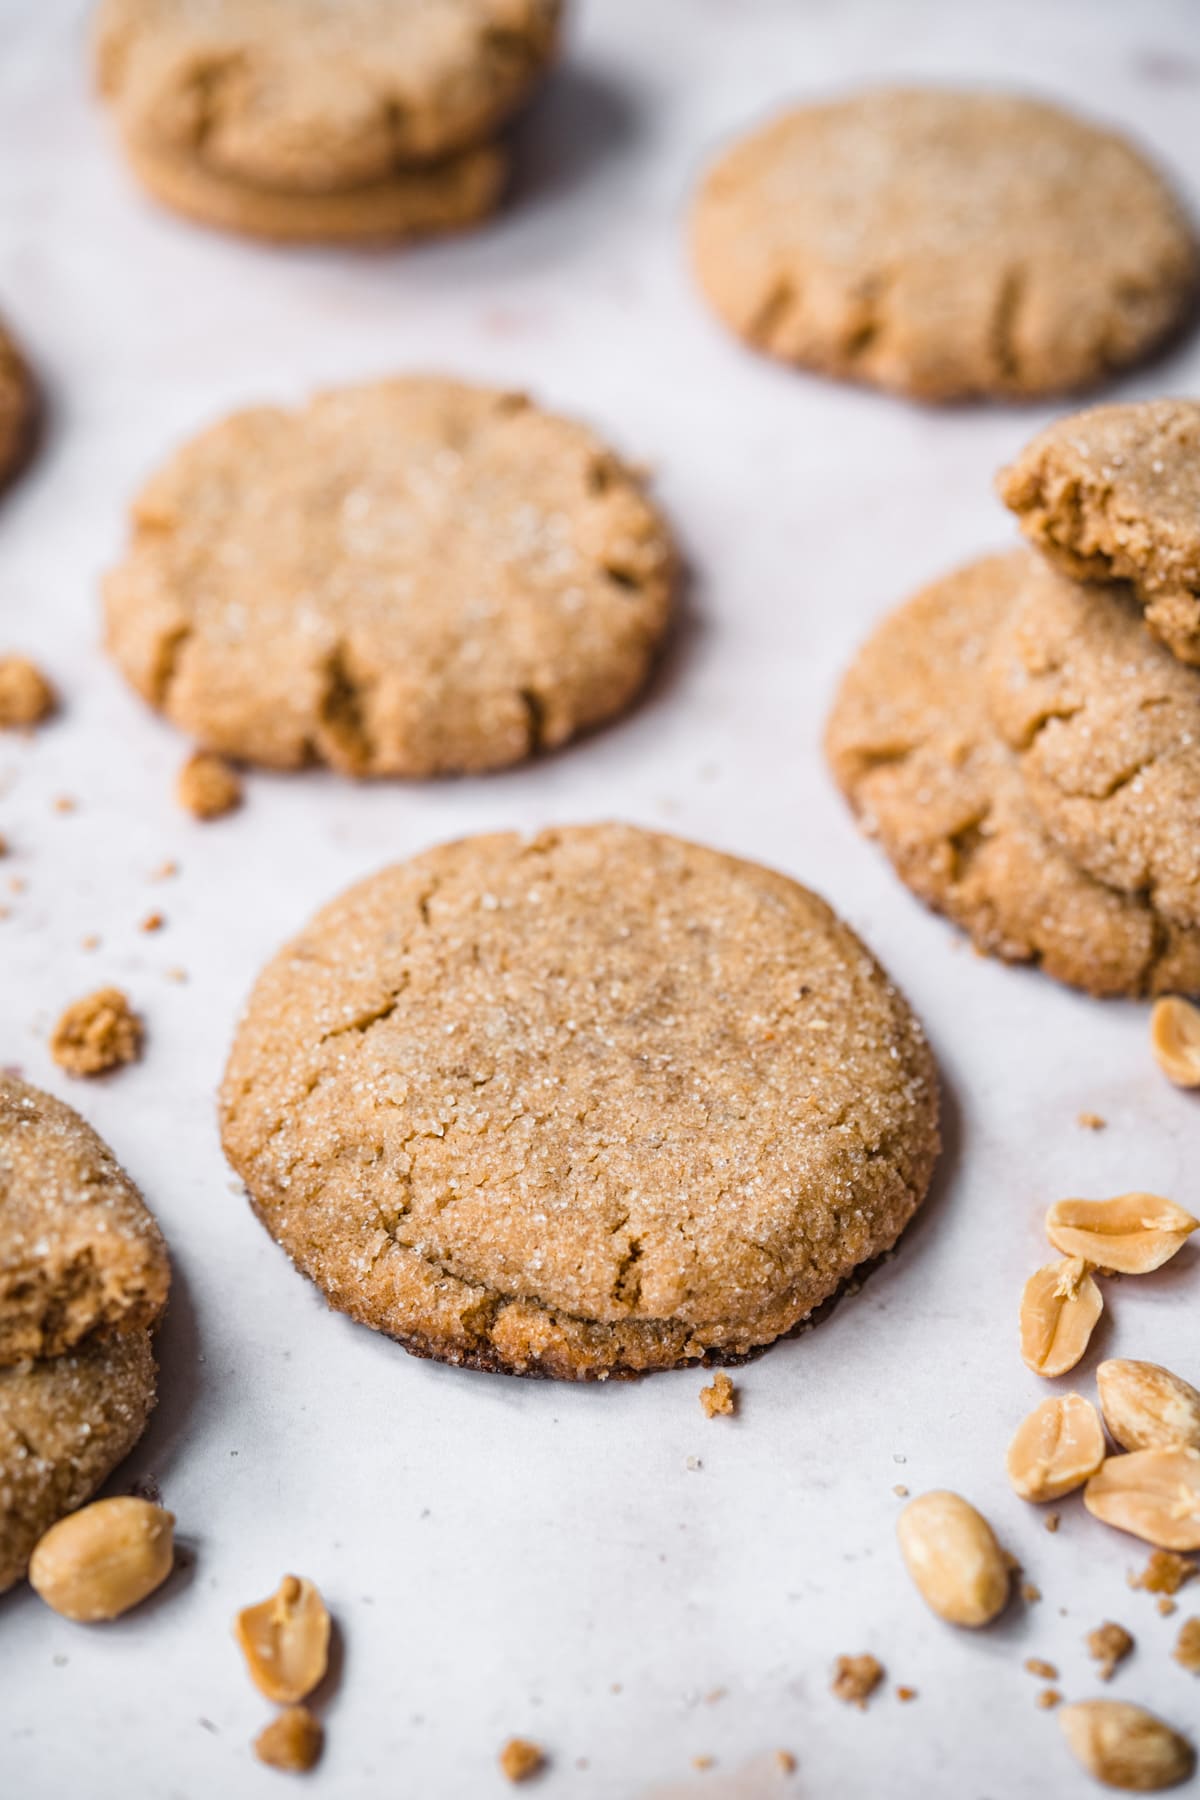
- Soft and chewy: The best thing about these vegan peanut butter cookies is how soft and chewy they are. Some recipes can overdo it and end up with a very sticky mouth feel. Our cookies are soft and chewy, while still having a nice pillowy lightness to them.
- Crispy and caramelized on the exterior: We sprinkle some sugar on top before baking. This provides a nice textural counterpoint to a primarily soft and chewy cookie. (Every bite is perfection!)
- They freeze well: These will keep in the freezer for months, and will still be perfect after thawing and popping in the oven to heat up.
- Vegan and gluten free, but you'd never be able to tell: the non-vegans in our family were obsessed with these. We love that they're suitable for most dietary needs, but taste just like the classic bakery version.
- Peanut butter: That's a reason, right?
Ingredients
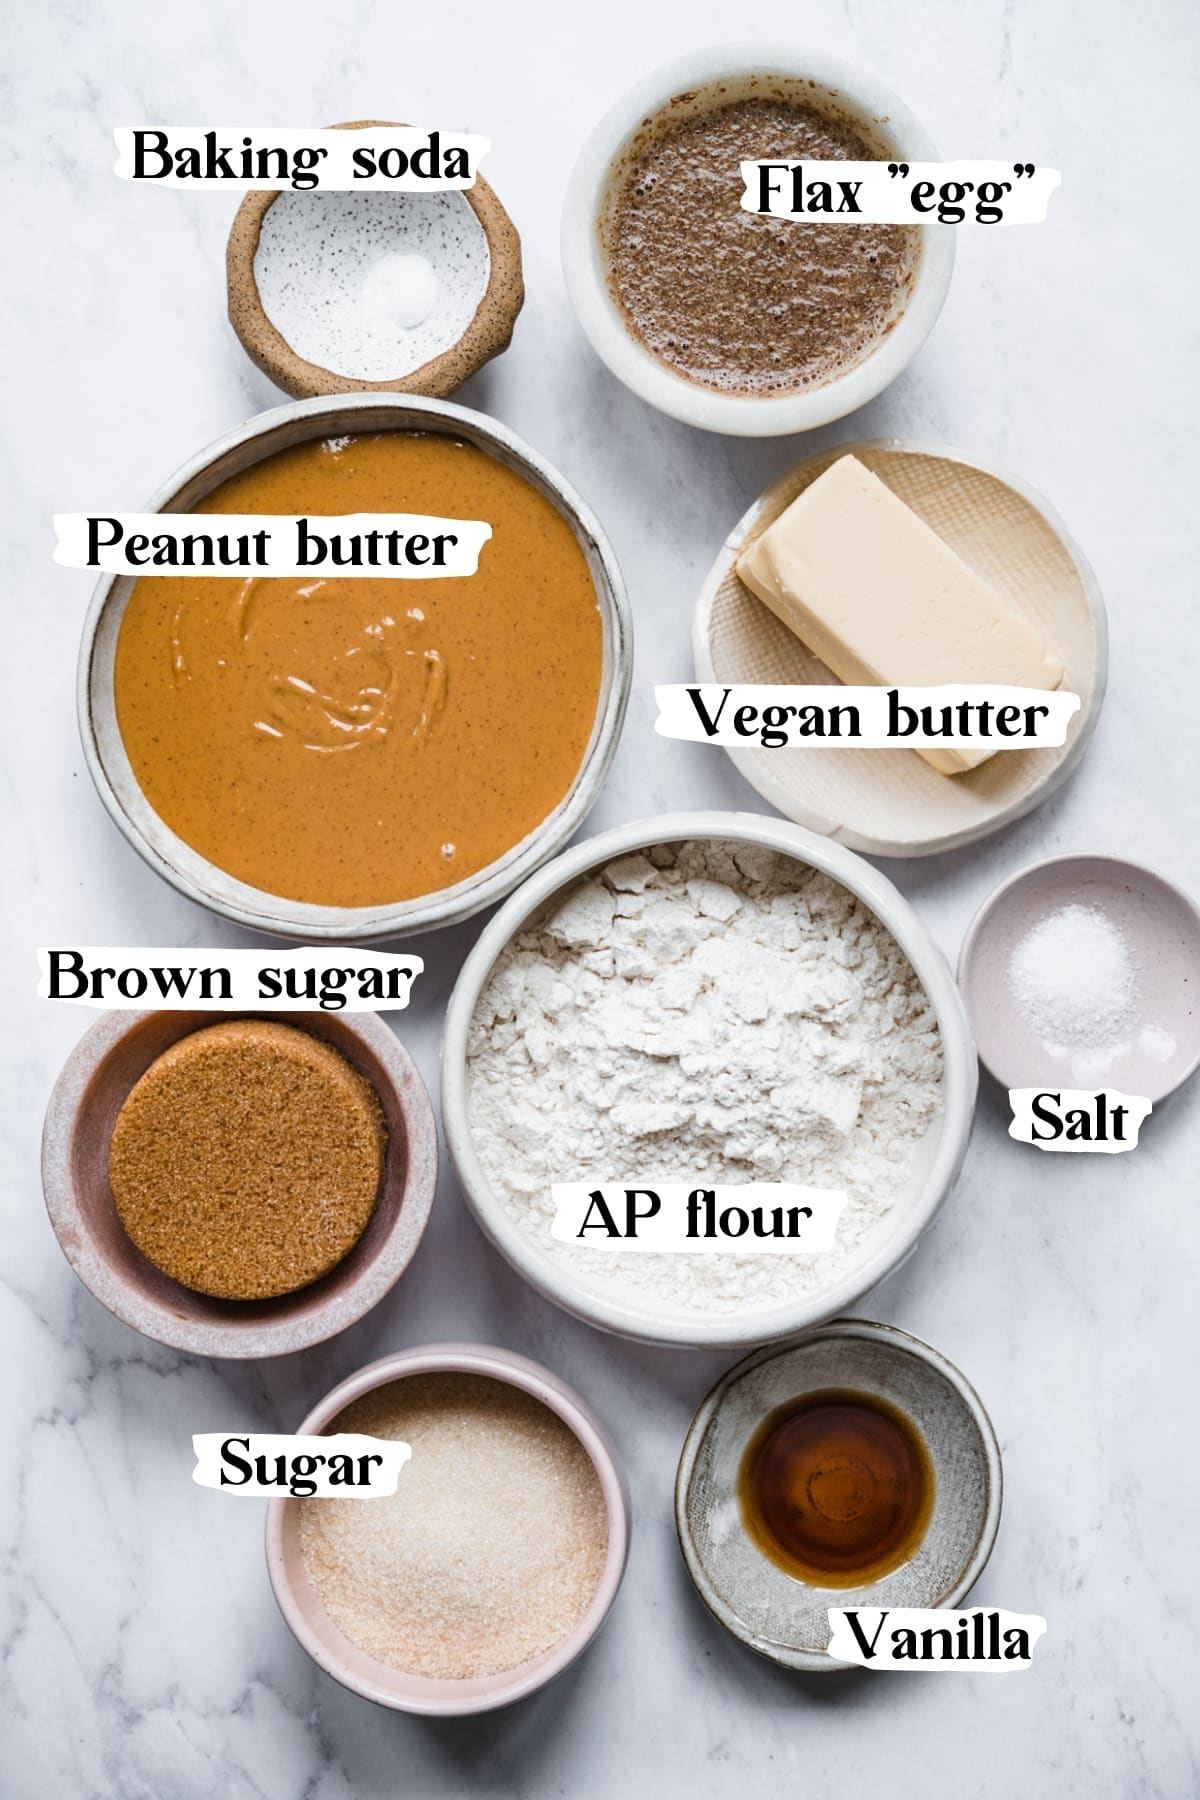
Here are the key ingredients you'll need to make these vegan peanut butter cookies:
Ingredient Notes
- Peanut butter: We recommend using creamy, unsweetened peanut butter. The creamier the better. Be careful with your choice of peanut butter as ones with a lot of added sugar can throw off the balance of the recipe, and end up being too sweet.
- Flour: We used gluten free all purpose flour. We haven't tested it, but if gluten is not an issue for you, you can sub with regular all purpose flour and the cookies will likely turn out the same.
- Flax egg: If this is the first time you're seeing this, fear not. It's just ground flax meal and some water, which forms a thick, gelatinous substance. It replaces an egg in the recipe, and plays the role of binder. Please read our post on flax eggs if you're curious/skeptical.
- Vegan butter: We used vegan butter here. Just about any store-bought variety will do (we use a soy free one). One important item to note: we recommend melting the butter in a saucepan on the stovetop, as heating up vegan butter in the microwave can sometimes have *explosive* results.
Step-by-step Instructions
PREP: Preheat your oven to 350°F / 175° C and line two baking sheets with parchment paper.
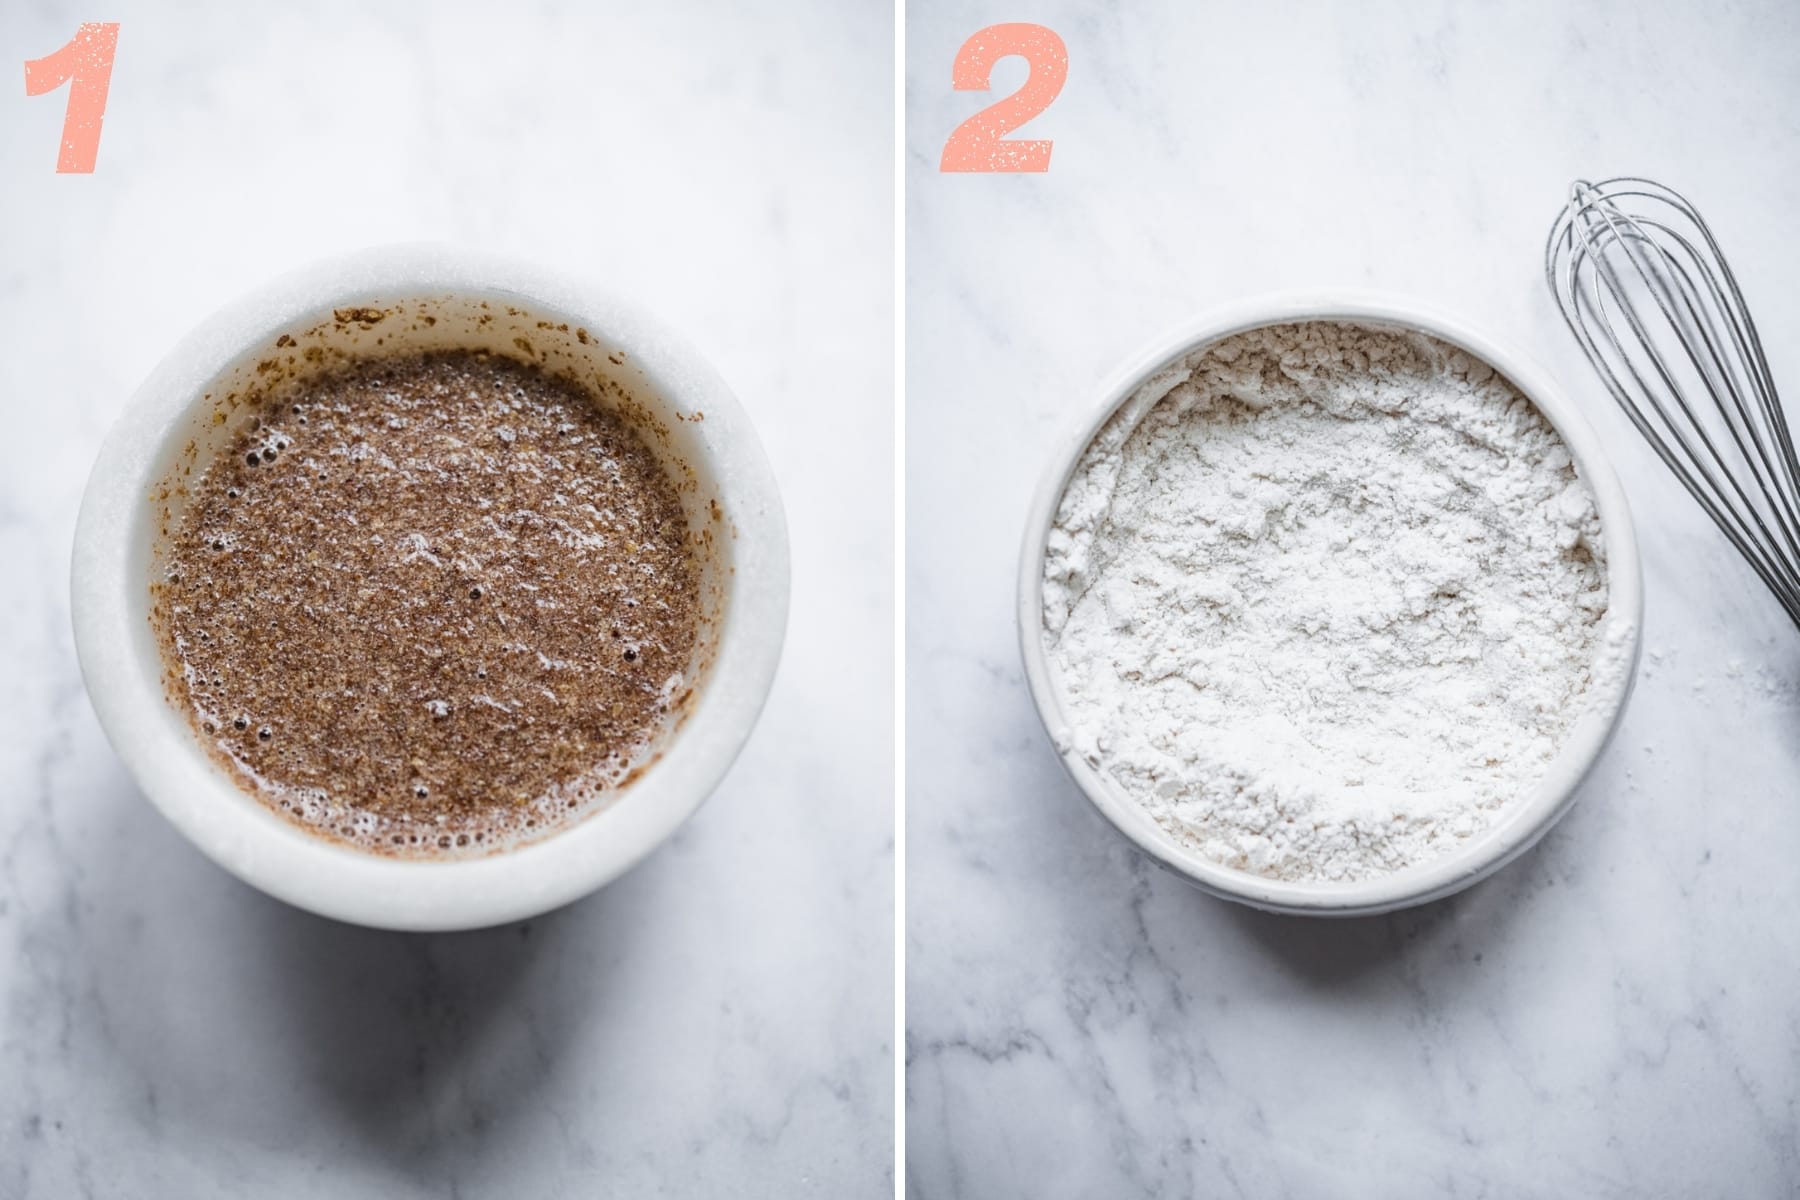
(1) Combine 1.5 tablespoon of ground flax meal and 3 tablespoon of water to create a flax egg. Set aside and let thicken while you prepare the batter. It should take around 10 minutes for the flax egg to reach the right consistency.
(2) In a separate mixing bowl, whisk together the 1 cup of gluten free all purpose flour, ¼ teaspoon of baking soda, and ¼ teaspoon of salt. These are the "dry ingredients" in step 7.
(3) In a small saucepan, melt ½ cup of vegan butter over low heat. We use a saucepan because vegan butter does not melt well in a microwave.
(4) After the butter is melted, add it to a stand mixer with 1 cup of creamy peanut butter, ½ cup of granulated cane sugar, and ½ cup of light brown sugar. Be sure to densely pack the brown sugar into the measuring cup.
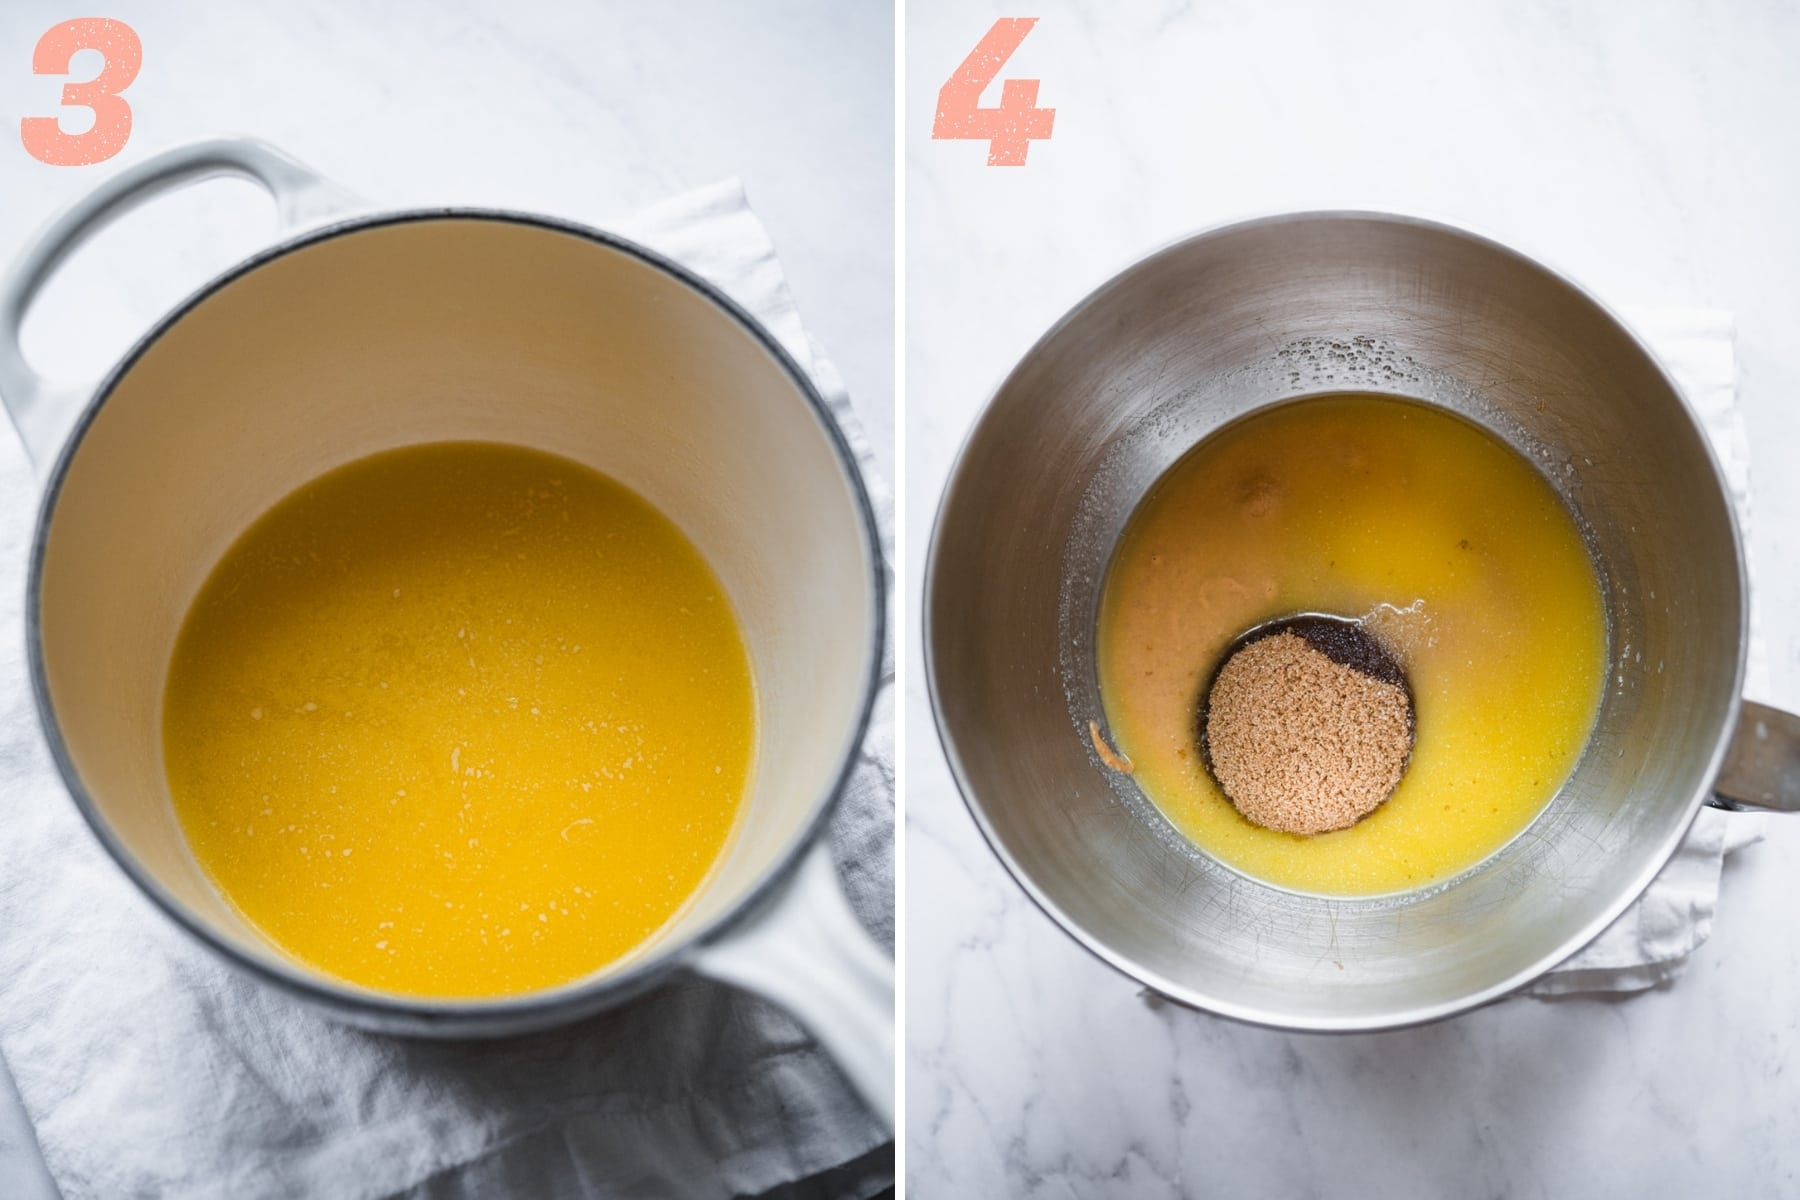
(5) Mix on medium speed with the paddle attachment for 15-20 seconds until the butter, peanut butter, and sugars combine to form a thick paste.
(6) Add the flax egg and vanilla to the wet ingredients. Mix again with the stand mixer for around 10 seconds, or just long enough to combine everything. Make sure to avoid over mixing, or the batter can get too thick. Less is definitely more in this case.
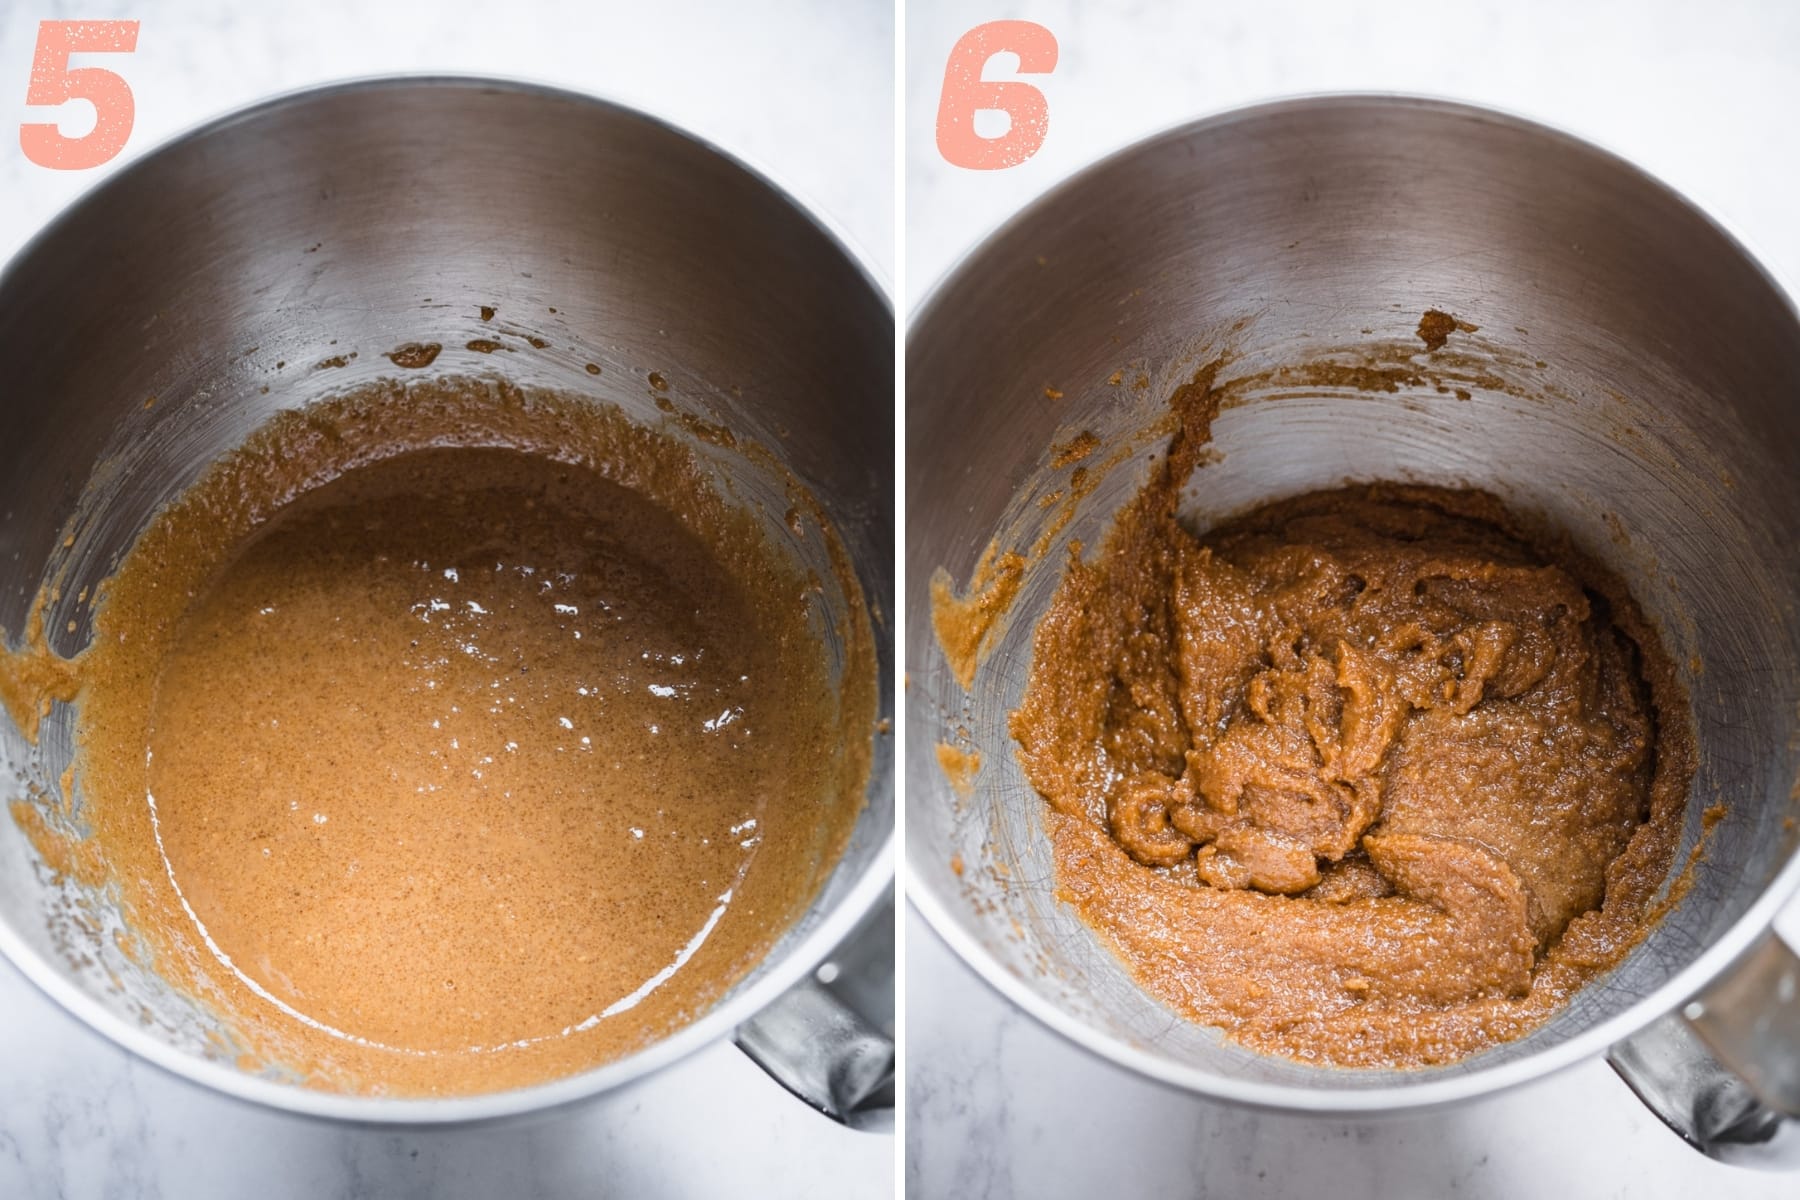
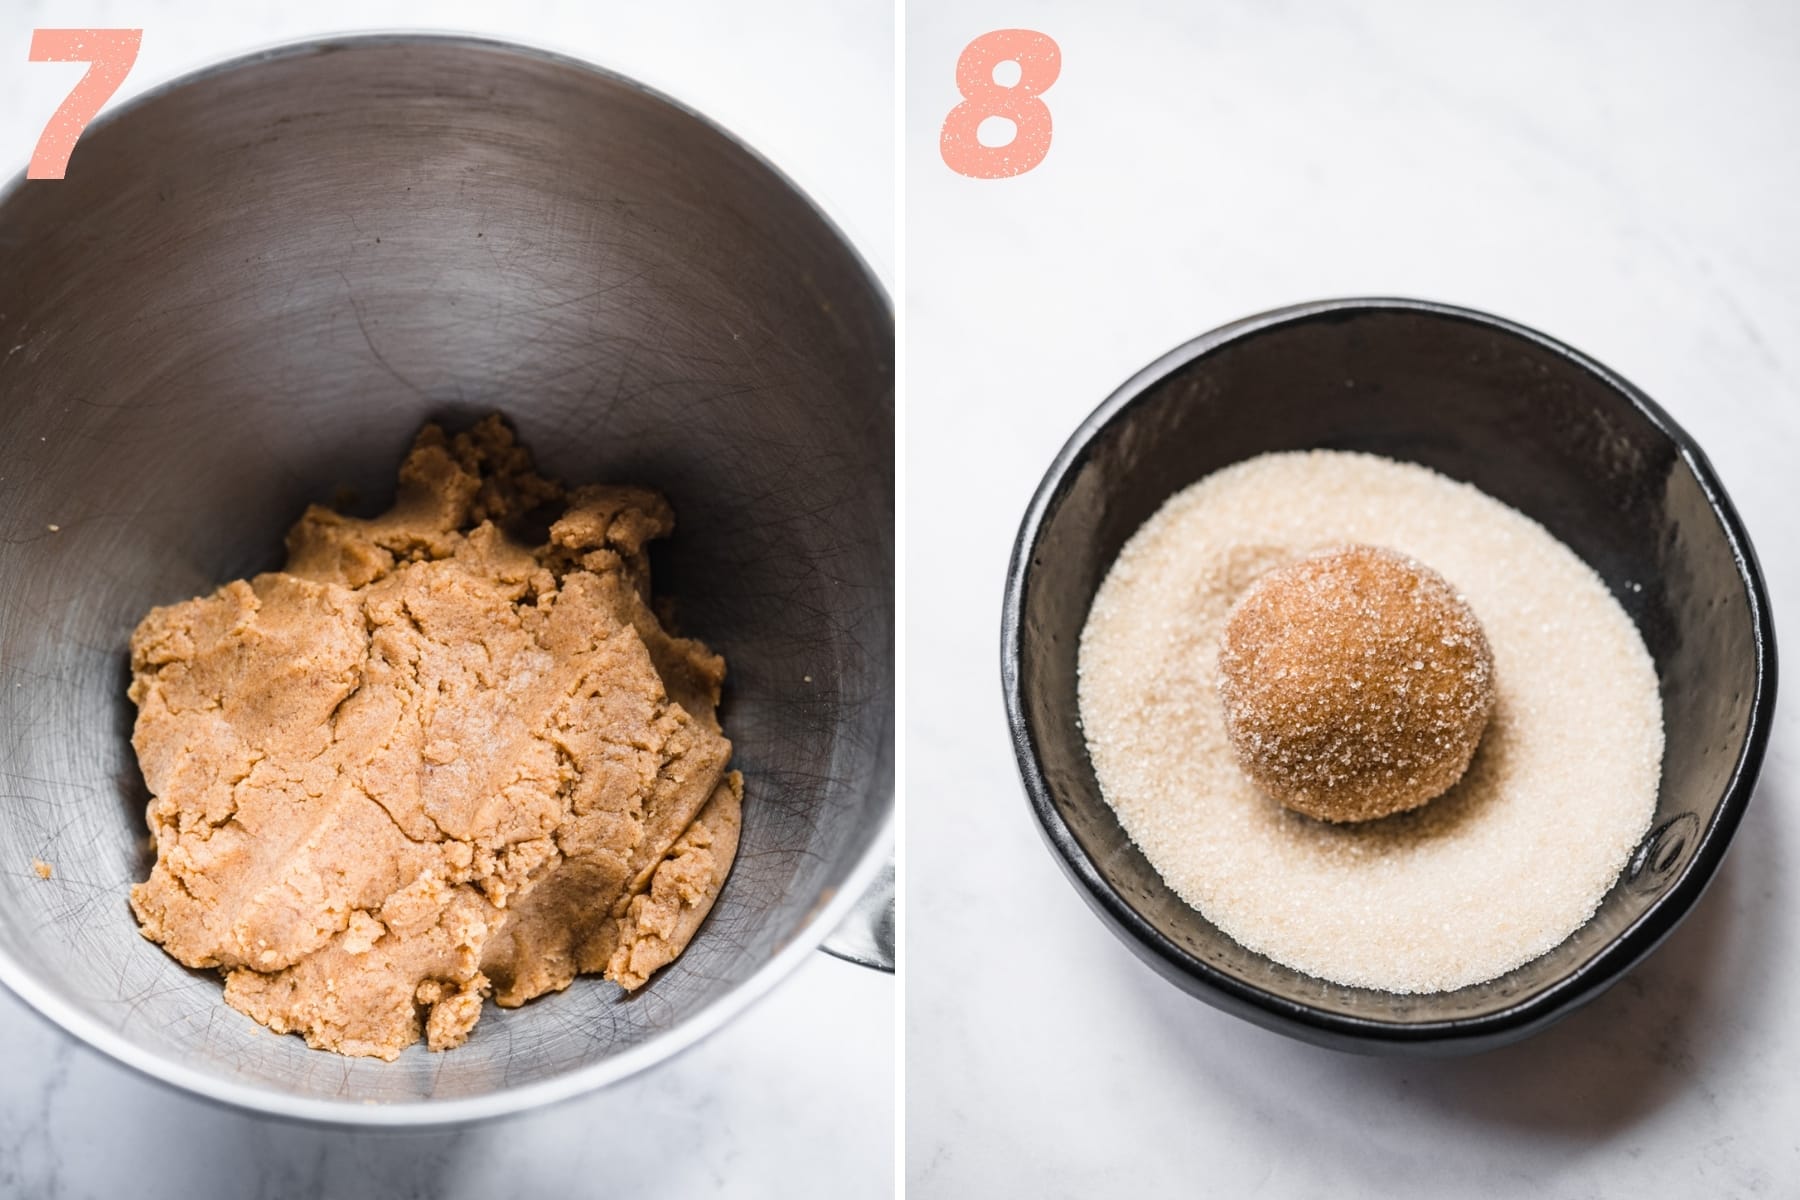
(7) Add the dry ingredients to the wet ingredients in the stand mixer. Again, mix until *just* combined, about 10 seconds or so. The resulting dough should be soft and should hold its shape well.
(8) Use a cookie scoop (we used a 3 tablespoon one) to portion the dough. Then roll the dough into a ball with your hands and dip the top of the ball into a bit of granulated sugar. This will form a crunchy top after baking.
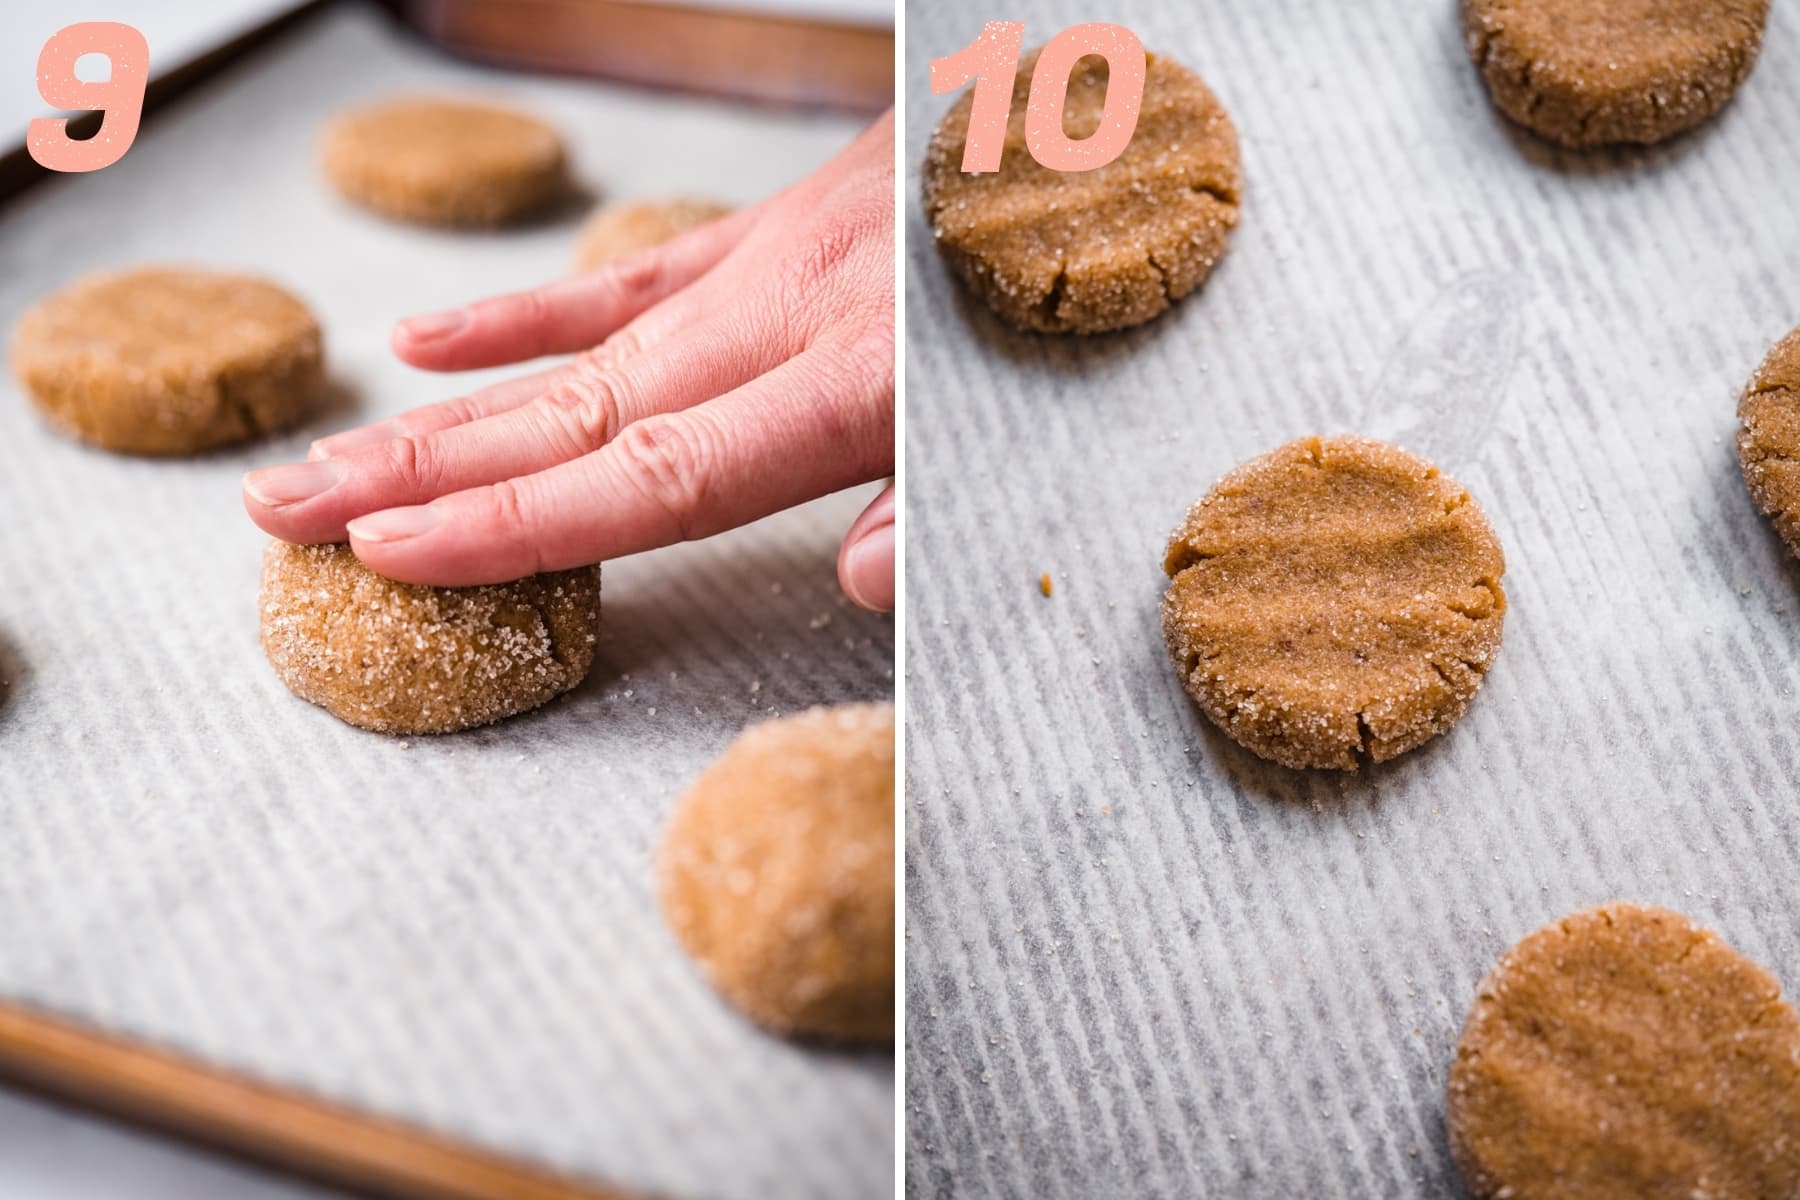
(9 & 10) Put the dough balls on a cookie sheet and press each cookie down gently with your hand. They should form a disc about half an inch (1.3cm) thick. This is a crucial step, as the dough will not spread out very much during the bake. If you don't press the dough down, you'll end up with dough balls, not cookies. You can also use a fork to press the dough down if you want the cookies to be thinner.
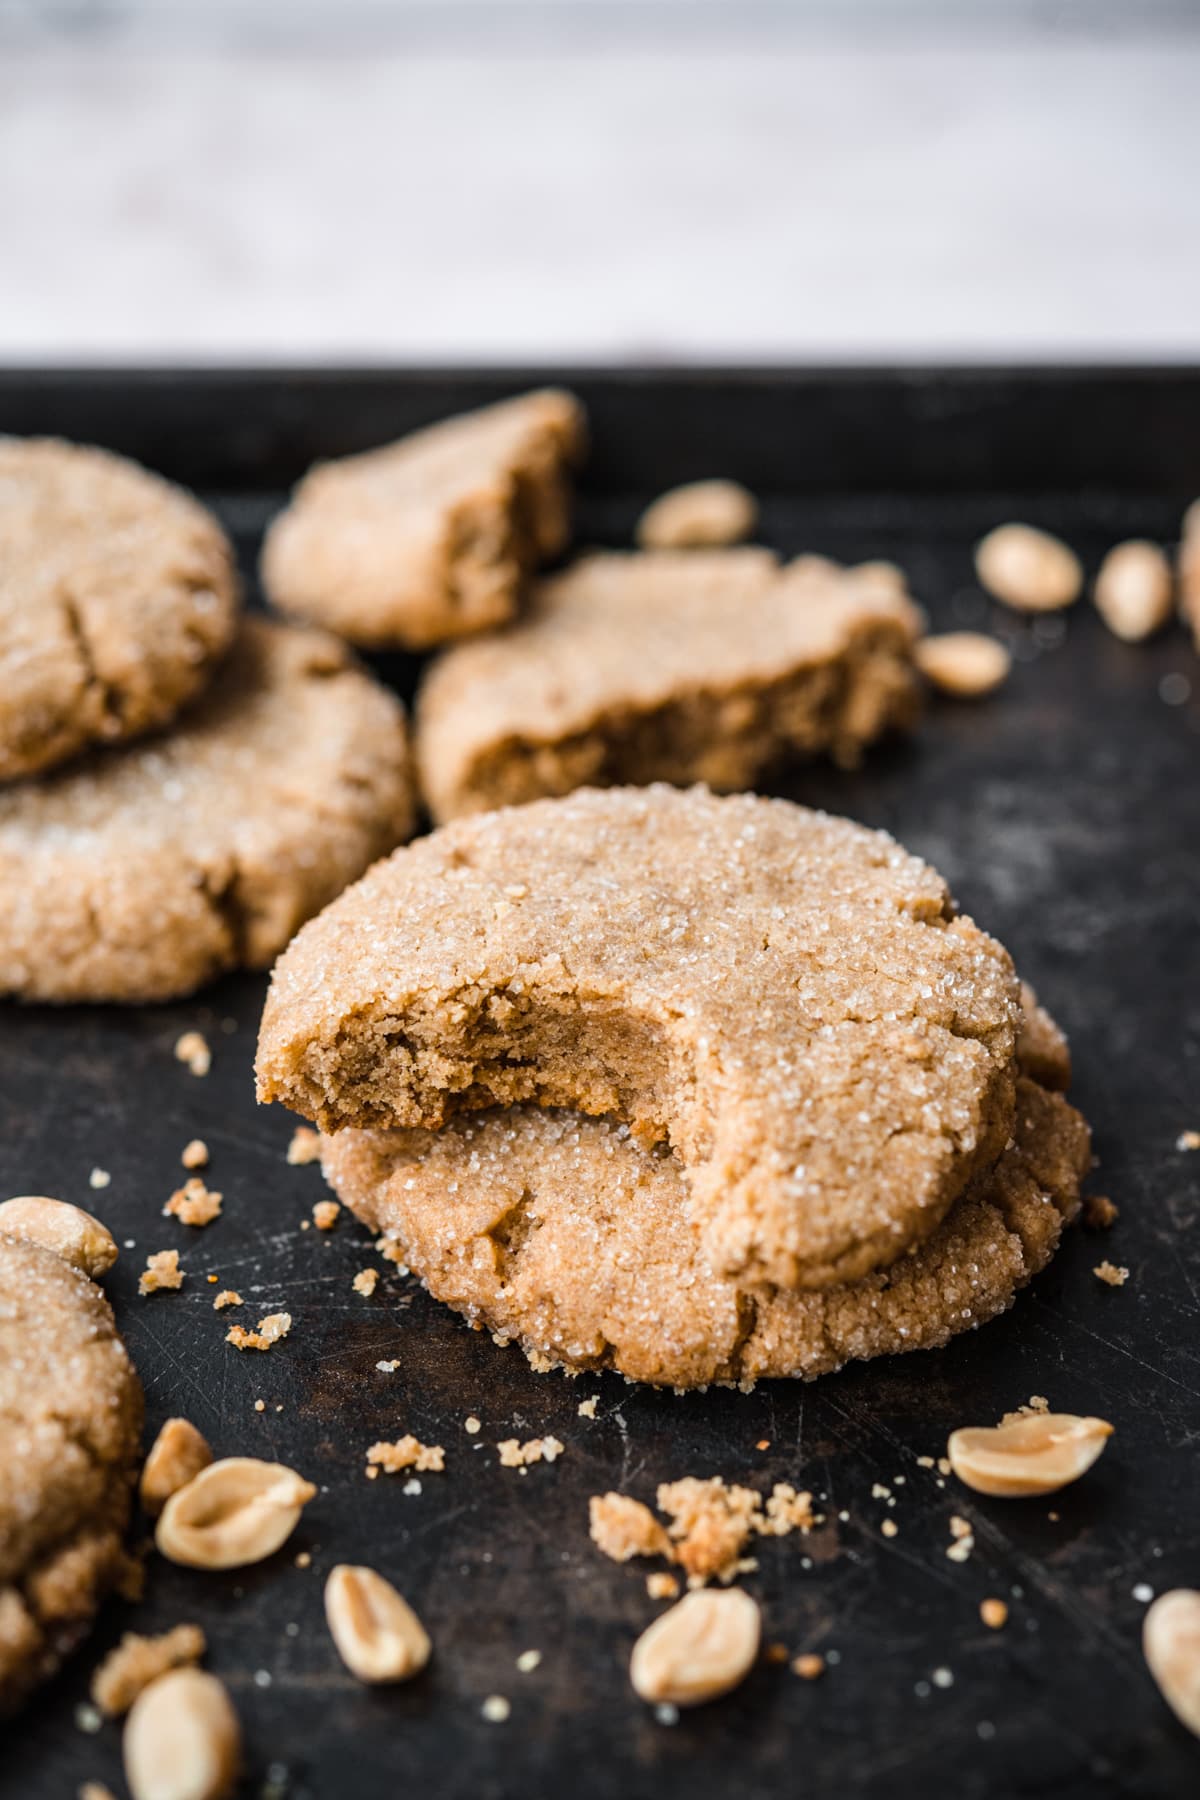
(11) Bake for 12-13 minutes. Let the cookies cool thoroughly. This is the hardest step to execute (they smell SO good!) but also the most important. The texture will be very crumbly until they're done cooling. We highly recommend letting them cool for 20-30 minutes. You may have a disappointing result if you skip/cheat this step.
Expert Tips and FAQs
- Cool it: The cookies will smell amazing, and you'll be tempted to devour them right out of the oven. Please don't! Cooling is the critical step here, as they tend to be super crumbly straight out of the oven. If you don't mind a mess, that's fine, but we suggest letting them cool for 20-30 minutes so they can set for the perfect texture.
- Storage: Store freshly baked, cooled cookies in an airtight container for up to a week. Throw in a slice of bread (gluten free or regular) to keep the cookies moist. The cookies will absorb the bread's moisture, so although the bread will dry up, the cookies won't.
- Freezing: Alternatively, store the cookies in an airtight container in the freezer for months. To avoid freezer burn, we suggest using a vacuum sealer, like these from Zwilling. It really makes a difference!
- You can also freeze the dough and bake at a later date. To do so, freeze pre-portioned cookie dough on a sheet pan, then transfer to an airtight container. When ready to bake, simply remove a ball of dough and bake as usual! It may take an extra minute or two to bake, but it works like a charm.
- Pack the sugar in tightly: Brown sugar can be tough to measure accurately, owing to its wet texture. To ensure you get the right measurement, use a finger to press down on the sugar in your measuring cup.
- A little sugar on top: Set some sugar aside to dip the cookies in before baking. This will add a great textural element that puts these cookies over the top.
- Fork marks: Most PB cookie recipes use a fork to create a design on top of the cookie. In our opinion, this just hurts the softness of the cookie and can result in some over baked bits due to the variations in thickness the decorations can create. Instead, we recommend just pushing the dough down with your hands to create discs. This is a critical step as the dough does not spread well (at all, really) when baking due to the low moisture content.
- Don't over mix the dough: The texture may be off if the dough is overmixed.
- Don't be tempted to add more flour. The dough is wetter and looks quite a bit different than most cookie dough, but adding more flour will make these cookies dry and dense. (Believe us, we tried it!)
We highly recommend using smooth and creamy peanut butter. The creamier the better. It's also important to take note of the sugar content of your peanut butter. We used a peanut butter with no added sugars. If you use a sweetened product, be sure to cut down on the amount of sugar you put into the cookie, or your cookies may be too sweet.
Yes! Cooling is critical to ensure you get the right texture.
Nope, there's no need to refrigerate before baking. Just make sure to cool them after baking.
Related Recipes
Tried this recipe? Please leave a star ⭐️⭐️⭐️⭐️⭐️ rating below and/or a review in the comments section further down the page. You can also stay in touch with us through social media by following us on Instagram, Pinterest, and Facebook or by subscribing to our newsletter.
Print📖 Recipe
Vegan Peanut Butter Cookies
- Total Time: 52 minutes
- Yield: 2 dozen
Description
These vegan peanut butter cookies are soft, chewy, sugary peanut butter perfection. They practically melt in your mouth and you'd never be able to tell that they're vegan and gluten free! Best of all, this recipe is super easy to make, and you probably already have everything you need in your pantry.
Ingredients
- ½ cup vegan butter (melted)
- 1 cup of creamy unsweetened peanut butter
- ½ cup granulated cane sugar
- ½ cup light brown sugar
- 1 flax egg: 1.5 tablespoon ground flax + 3 tbsp water
- 1 tsp vanilla extract
- 1 cup gluten free all purpose flour
- ¼ tsp baking soda
- ¼ tsp salt
Instructions
- Preheat your oven to 350°F / 175° C.
- Combine 1.5 tablespoon of ground flax and 3 tablespoon of water to create a flax egg. Set aside and let thicken while you prepare the batter. It should take around 10 minutes to reach the right consistency.
- In a saucepan, melt ½ cup of vegan butter over low heat.
- After the butter is melted, add it to a stand mixer with 1 cup of creamy peanut butter, ½ cup of granulated cane sugar, and ½ cup of light brown sugar. Mix on medium speed with the paddle attachment for 15-20 seconds until the butter, peanut butter, and sugars combine to form a thick paste.
- In a separate mixing bowl, whisk together the 1 cup of gluten free all purpose flour, ¼ teaspoon of baking soda, and ¼ teaspoon of salt.
- Add the flax egg and vanilla to the wet ingredients. Mix again with the stand mixer for around 10 seconds, or just long enough to combine everything. Make sure to avoid over mixing, or the batter can get too thick.
- Add the dry ingredients to the wet ingredients in the stand mixer. Again, mix until *just* combined, about 10 seconds or so. The resulting dough should be soft and should hold its shape well.
- Use a cookie scoop (we used a 3 tablespoon one) to portion the dough. Then roll the dough into a ball with your hands and dip the top of the ball into a bit of granulated sugar. This will form a crunchy top after baking.
- Put the dough balls on a cookie sheet and press each cookie down gently with your hand. They should form a disc about half an inch (1.3cm) thick. This is a crucial step, as the dough will not spread out very much during the bake.
- Bake for 12-13 minutes. Let the cookies for 20 minutes before enjoying (so they can set up).
Notes
We used unsweetened peanut butter, so note that if you use a sweetened version, these will be much sweeter. If you can't find unsweetened peanut butter, adjust the sugar levels accordingly.
Make sure to cool the cookies for 20-30 minutes after baking. The texture will be off if you skip this step.
Don't fear the flax egg: it's just ground flax and water in a 1:2 ratio.
Pack the brown sugar into the vessel you use to measure it out to ensure the correct measurement.
We recommend melting the butter in a saucepan as opposed to a microwave (it can "explode" and make a huge mess!).
Don't over mix the dough. Less is more. The instant the ingredients have blended thoroughly, stop mixing.
Don't forget to dip the cookies into some granulated cane sugar before baking.
Make sure to press down the dough balls before baking. They do not spread well on their own.
- Prep Time: 40 minutes
- Cook Time: 12 minutes
- Category: Cookies
- Method: Oven
- Cuisine: American
Nutrition
- Serving Size: 1 Cookie
- Calories: 149
- Sugar: 9.8 g
- Sodium: 107.9 mg
- Fat: 9.4 g
- Carbohydrates: 15.4 g
- Fiber: 1 g
- Protein: 2.8 g



Serena says
These were amazing! I made them with regular flour (white bread flour not ap), sweetened pb, all brown sugar, and a regular egg instead of the flax because I didn't have a lot of stuff. Also, coconut oil instead of the vegan butter. I seriously have never had a more delicious peanut butter cookie!! The ratios were perfect because they were gooey but still held their shape well. Thank you so much, definitely a go to for a decadent treat!
Lexi says
So glad they worked well for you!
Amanda says
What is something that can be substituted for the almond flour? Regular gluten free all purpose in the same amount?
Lexi says
Hey! Yes, regular GF flour or oat flour should work fine as a substitute. We just use almond flour because it adds more moisture which is sometimes needed without the egg. Thanks and hope you enjoy!