Have you ever wondered what exactly goes into the process of recipe development and food photography? Spoiler alert: a lot. The process starts with planning and envisioning, then grocery shopping and testing (often 2-4 times), then styling, photographing, editing, and lastly, cleaning up an inevitably messy kitchen every single day.
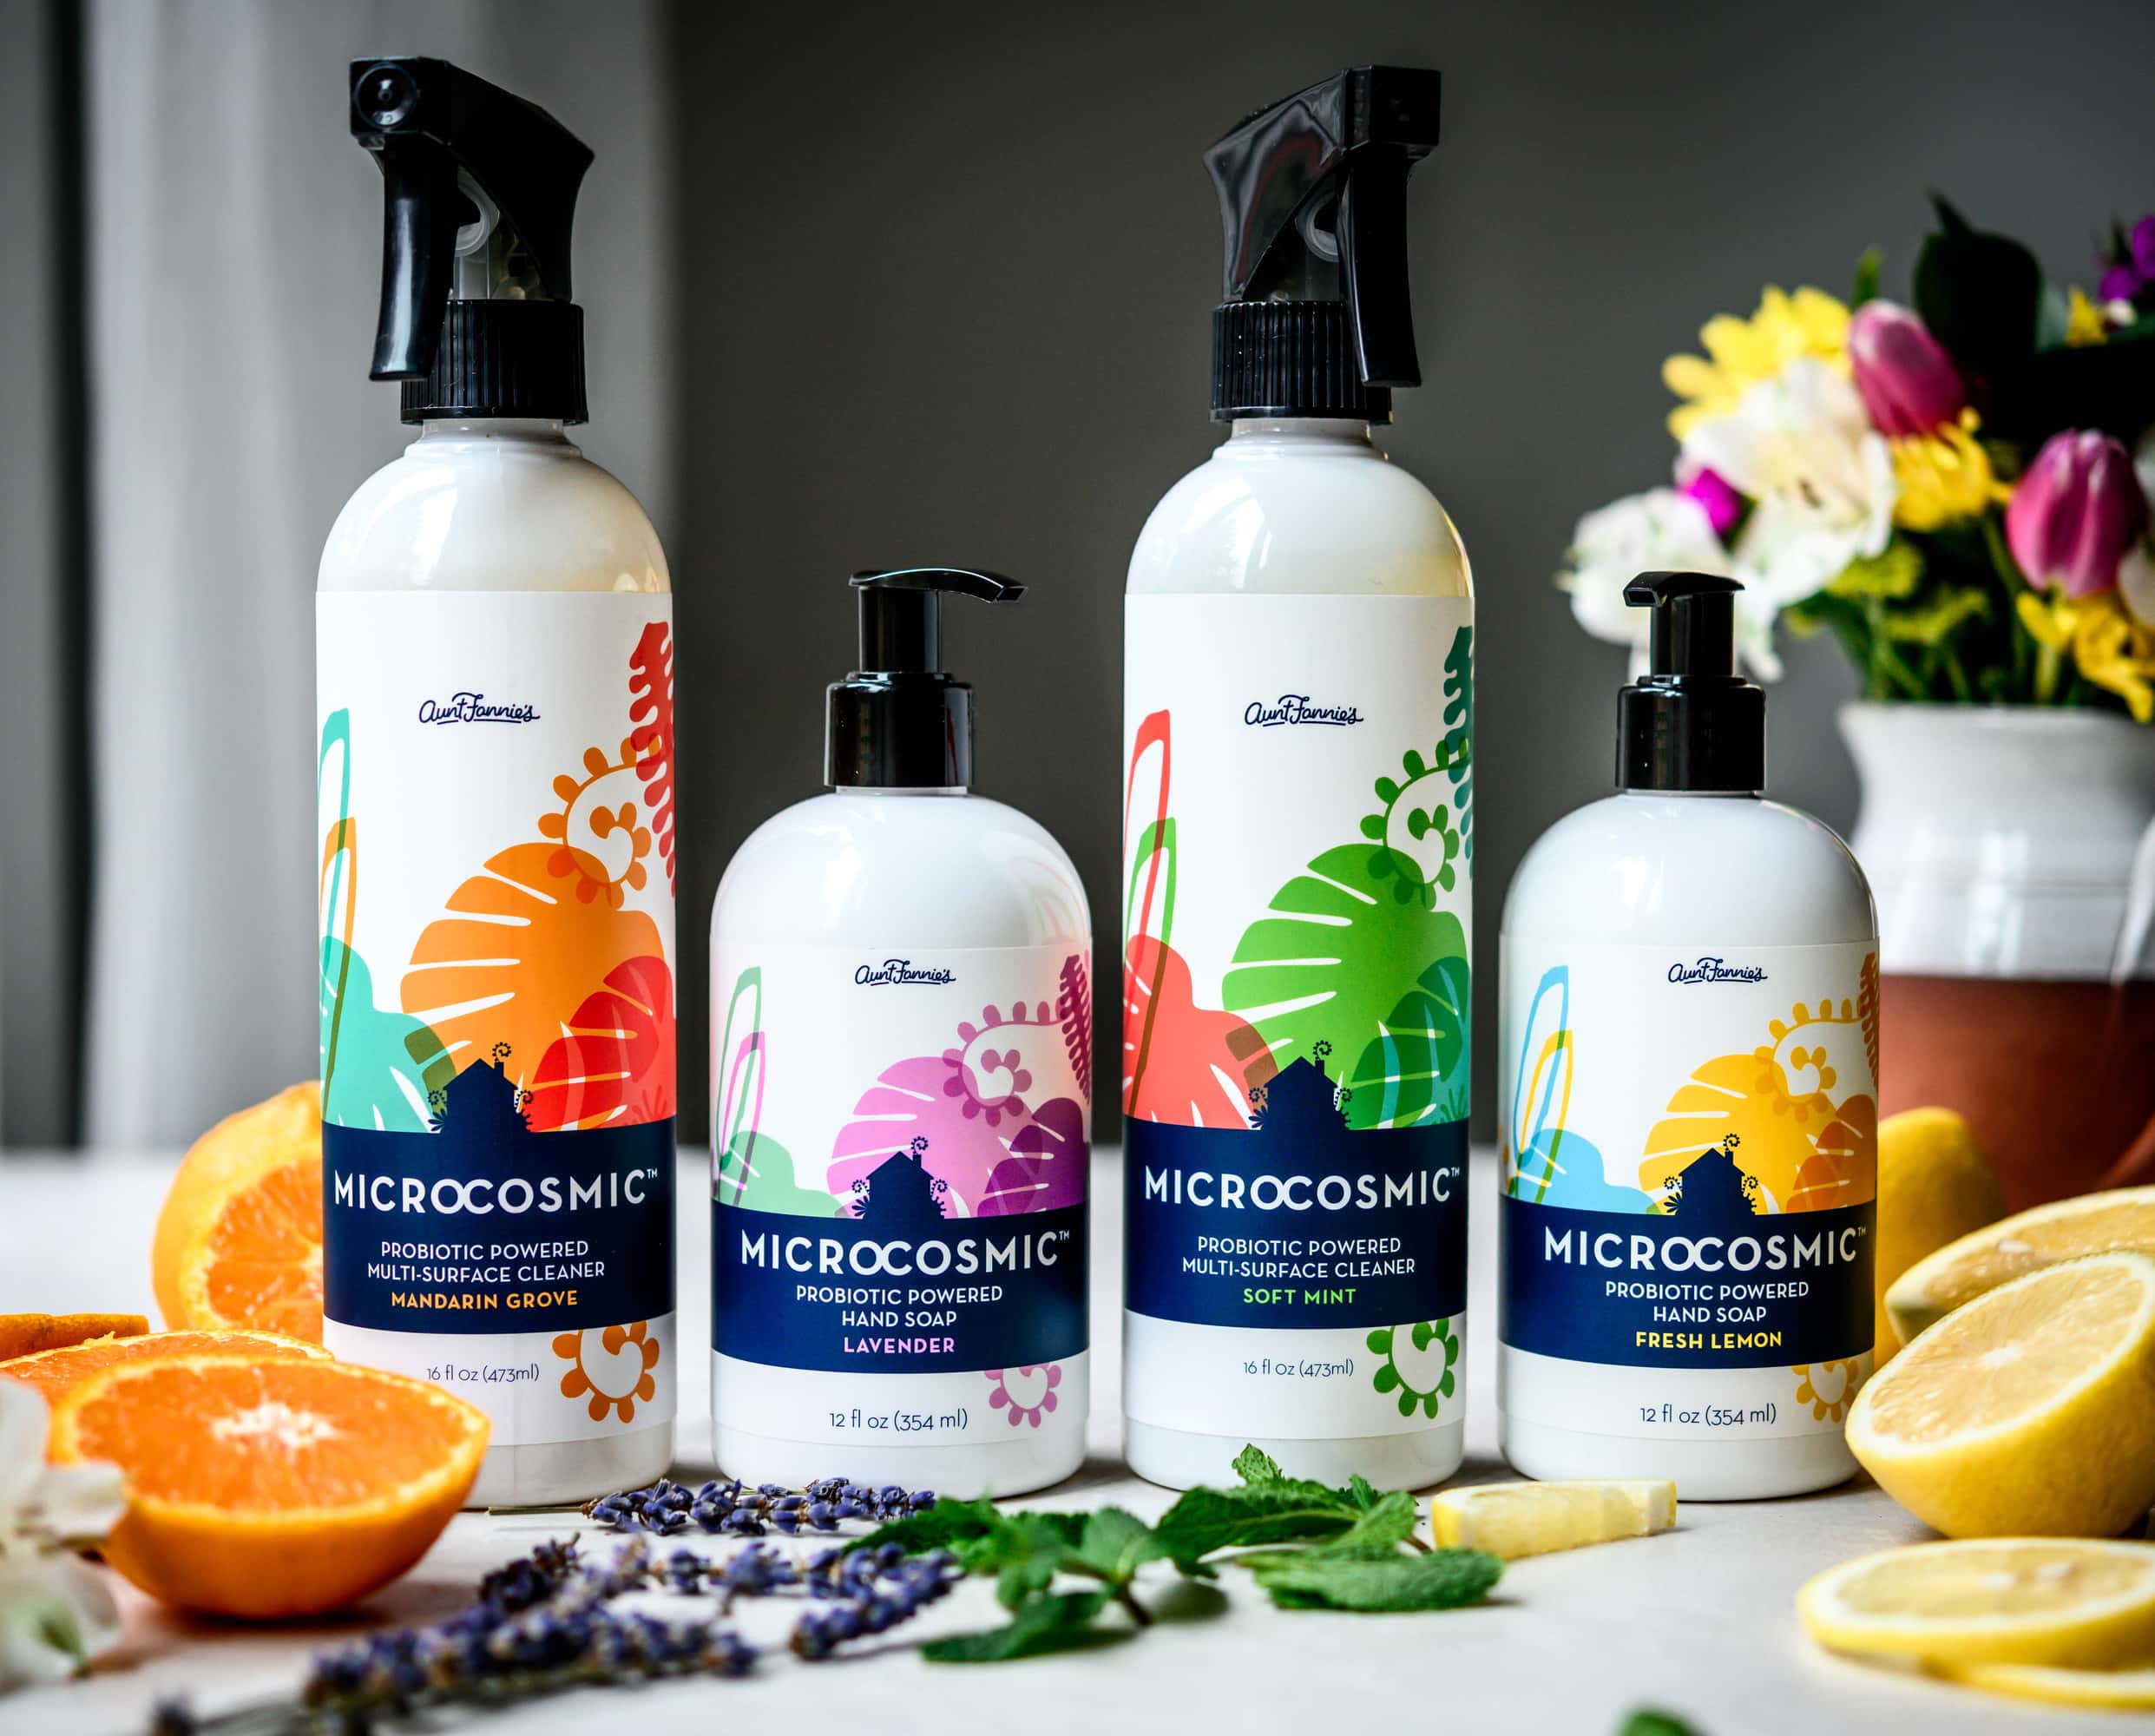
This post is sponsored by Aunt Fannie's. Their Microcosmic® Probiotic Power cleaning solutions help keep our kitchen clean and in good order. Cleaning isn't the most glamorous part of our job, but it's an important daily task. Aunt Fannie's products are perfect for any surface, so we can use them in the kitchen and studio! Scroll down to read more about why we love their products.
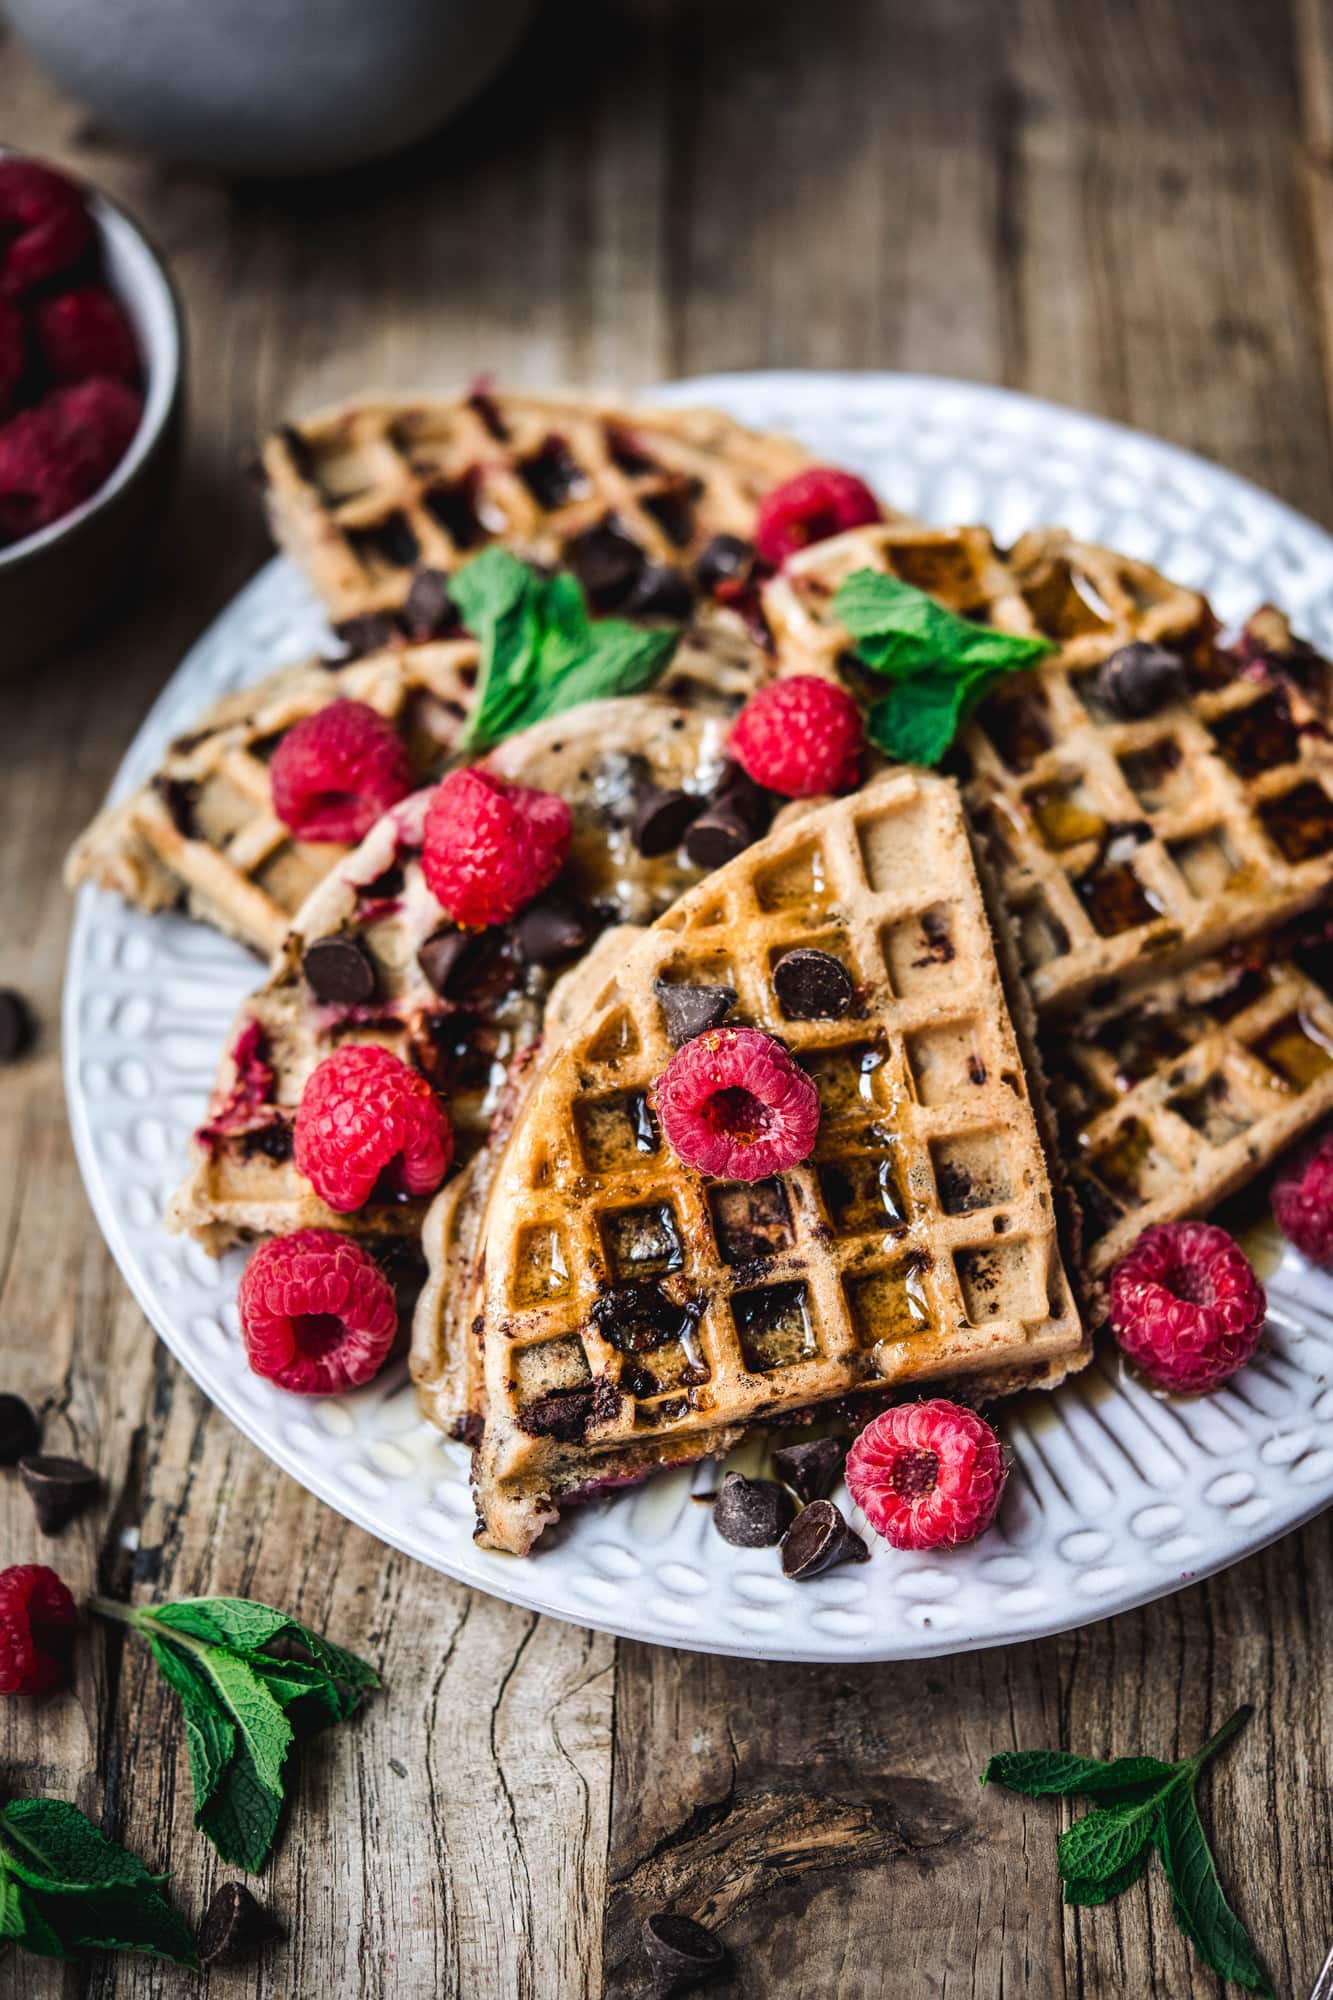
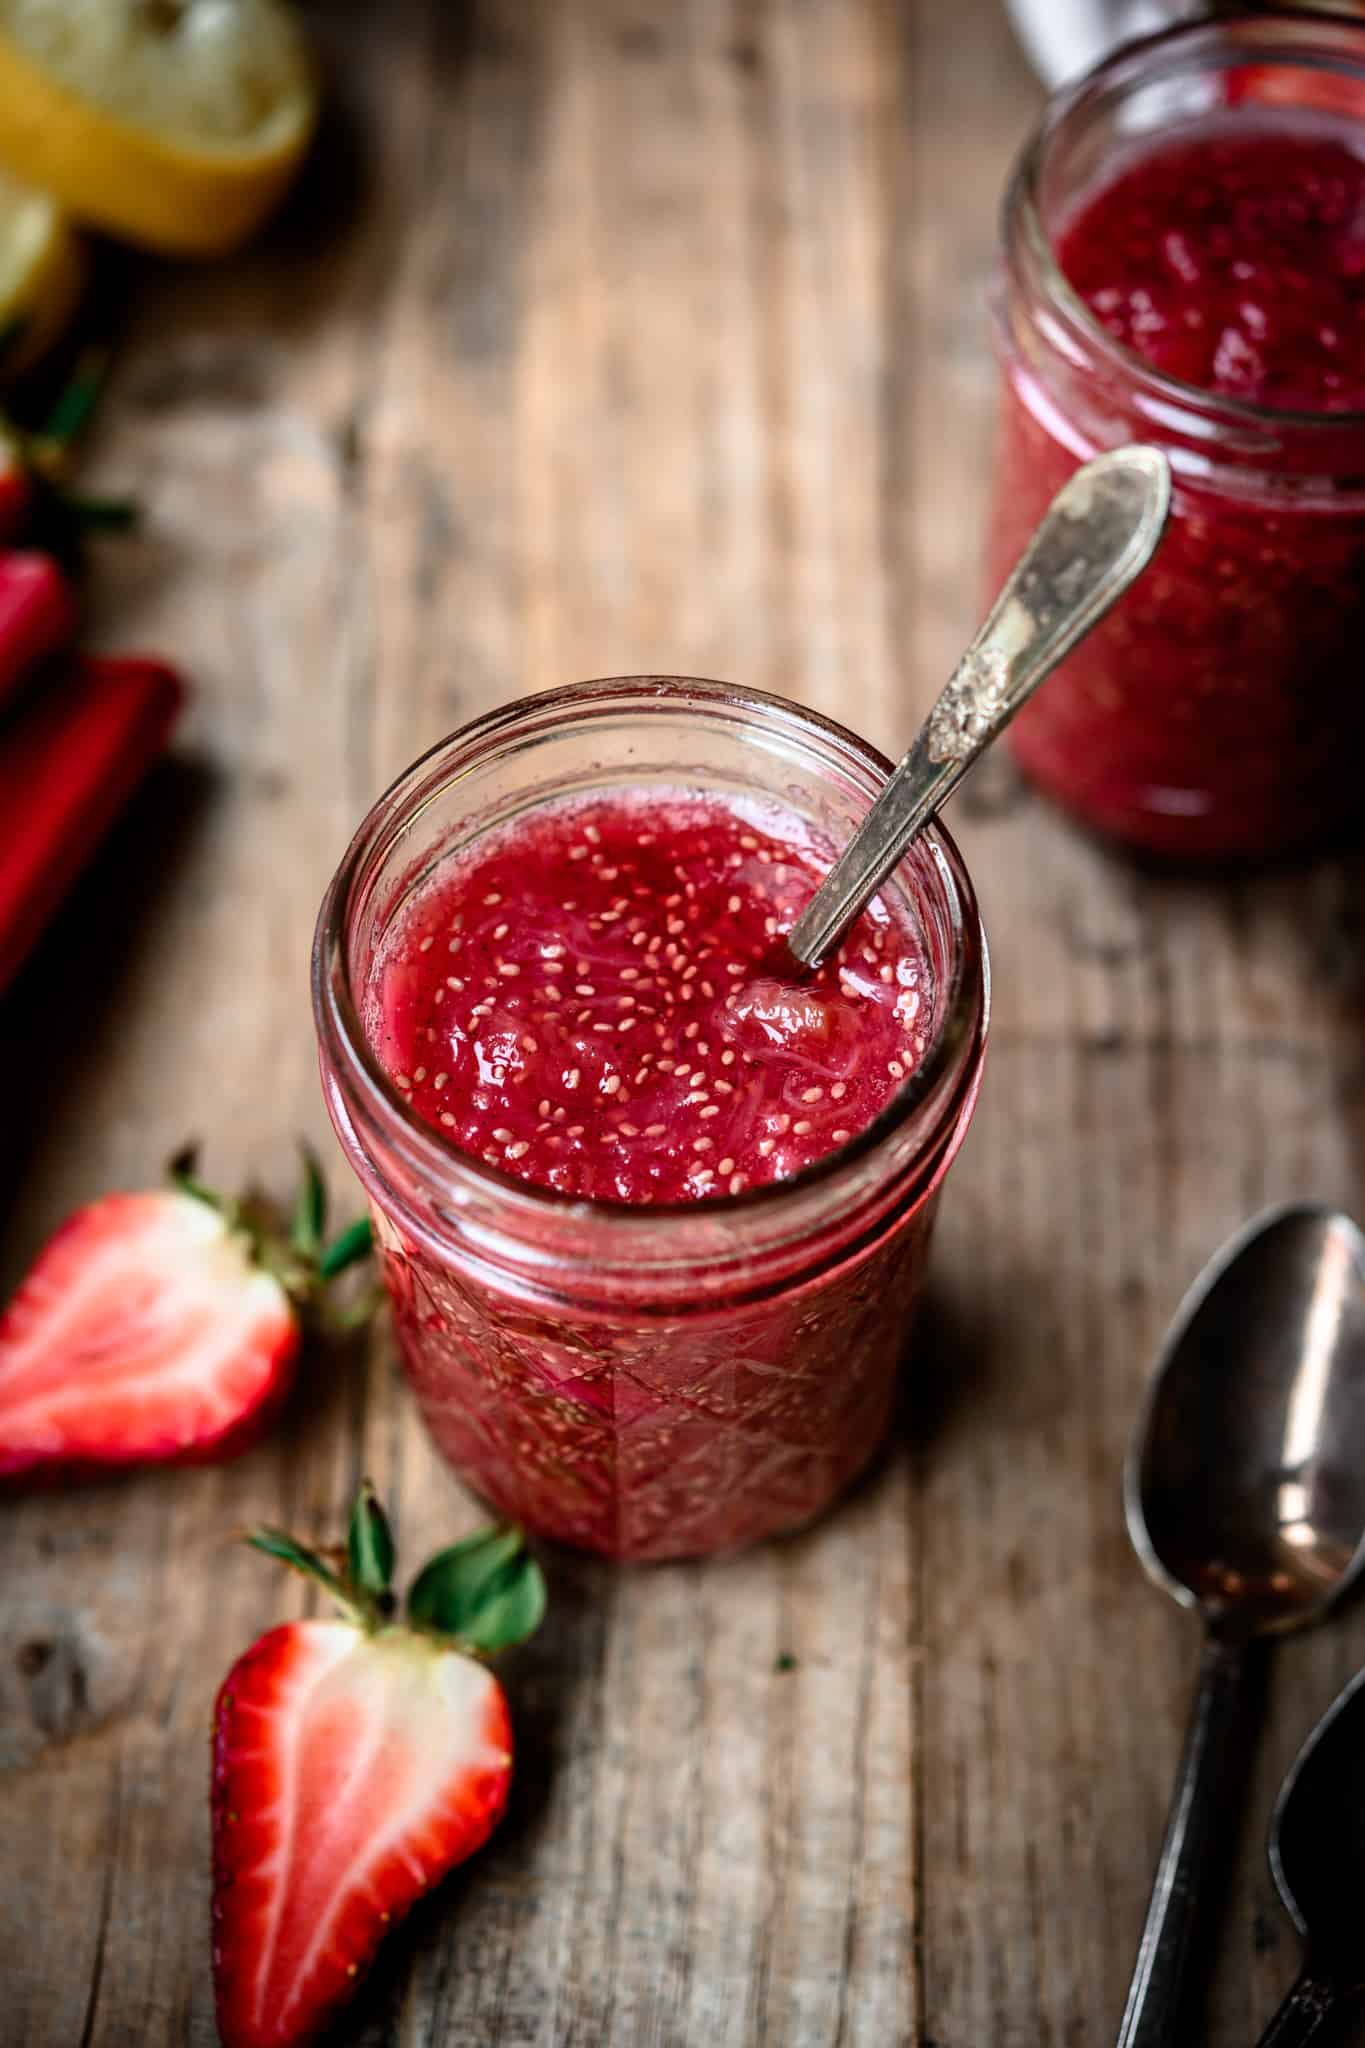
The final image 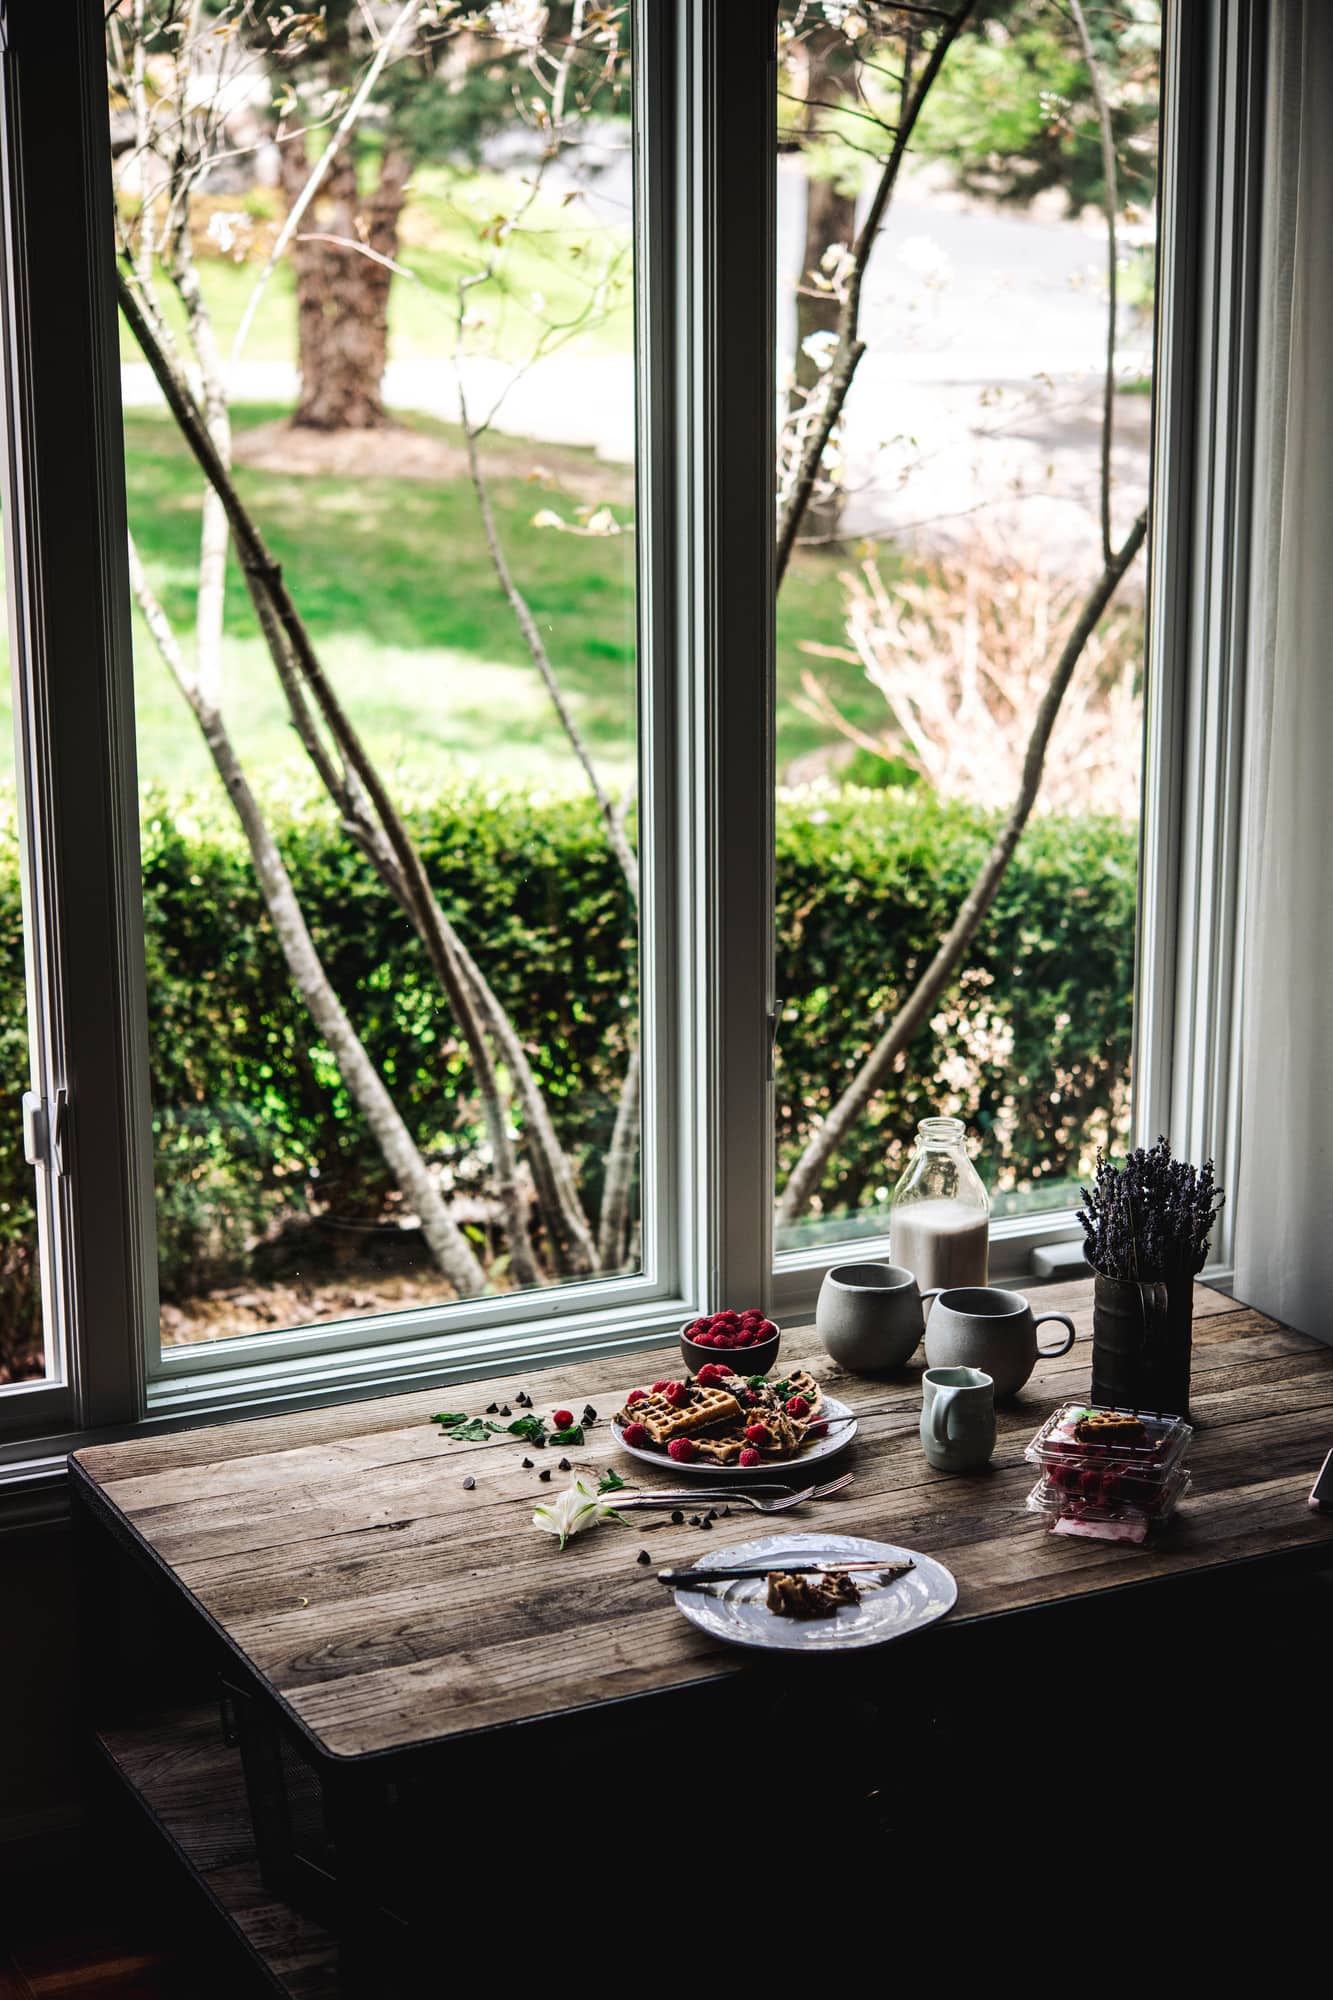
The photography setup
All in all, it takes hours and hours to fully complete a recipe from start to finish - and that's not including the time spent writing blog posts, promoting on social media, or communicating with clients! We thought it would be fun to show you exactly how we work through a recipe from start to finish, including the (very) messy parts.
Step One: Planning and envisioning
The first step of recipe development is to develop a concept, plan out what that might look like, do a bit of research if necessary, and envision the final product. We work together on this step, as it's important to make sure we're on the same page when it comes to developing recipes.
Is this recipe geared towards a specific holiday or occasion? Are the ingredients seasonal and locally sourced? How can we make it accessible, easy to understand and delicious? These (and many more) are questions we consider when developing a recipe, which can take anywhere from a few hours to a few days.
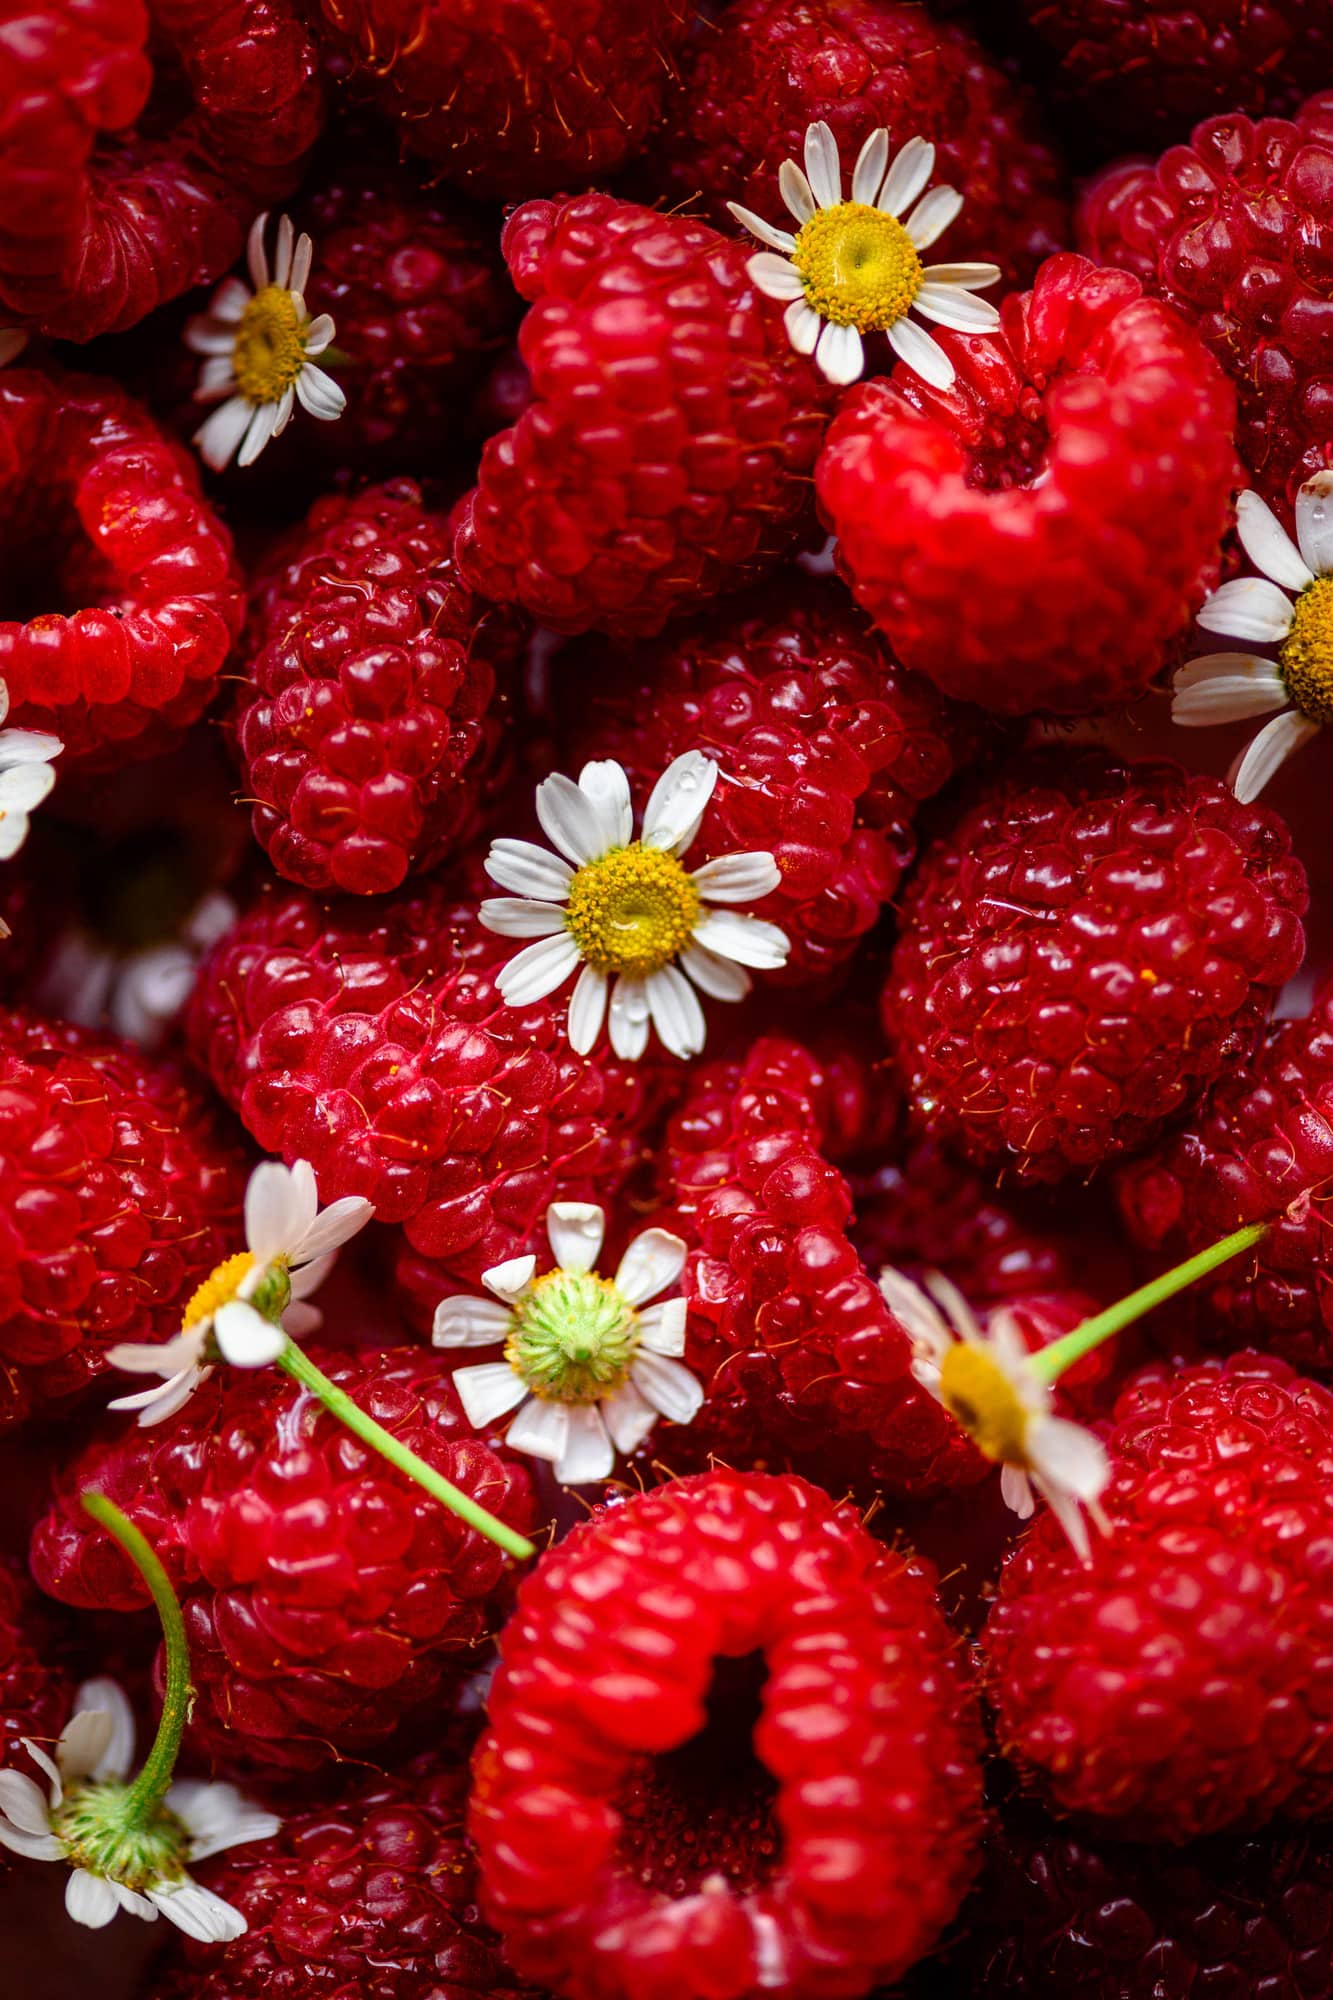
Once we develop a basic concept, we sketch out what that might look like both as a blog post and as a photoshoot. It's important for us to have a general idea in mind in order to help us create the best possible content. We always consider how a recipe will be received by our audience (you!). Our main goal is to provide content that's unique, useful and easy to replicate.
Step Two: Grocery Shopping & Recipe Testing
Grocery shopping may not sound like a big deal, but we often work on anywhere between 8-15 recipes per week. That's not including everything else we make and eat at home for regular meals, so we often end up running to the store upwards of 6 times per week. Often, we have to go to more than one store per trip to find specialty ingredients (or better deals!). All of these trips really add up, so it's been important for us to streamline our process a bit and plan ahead.
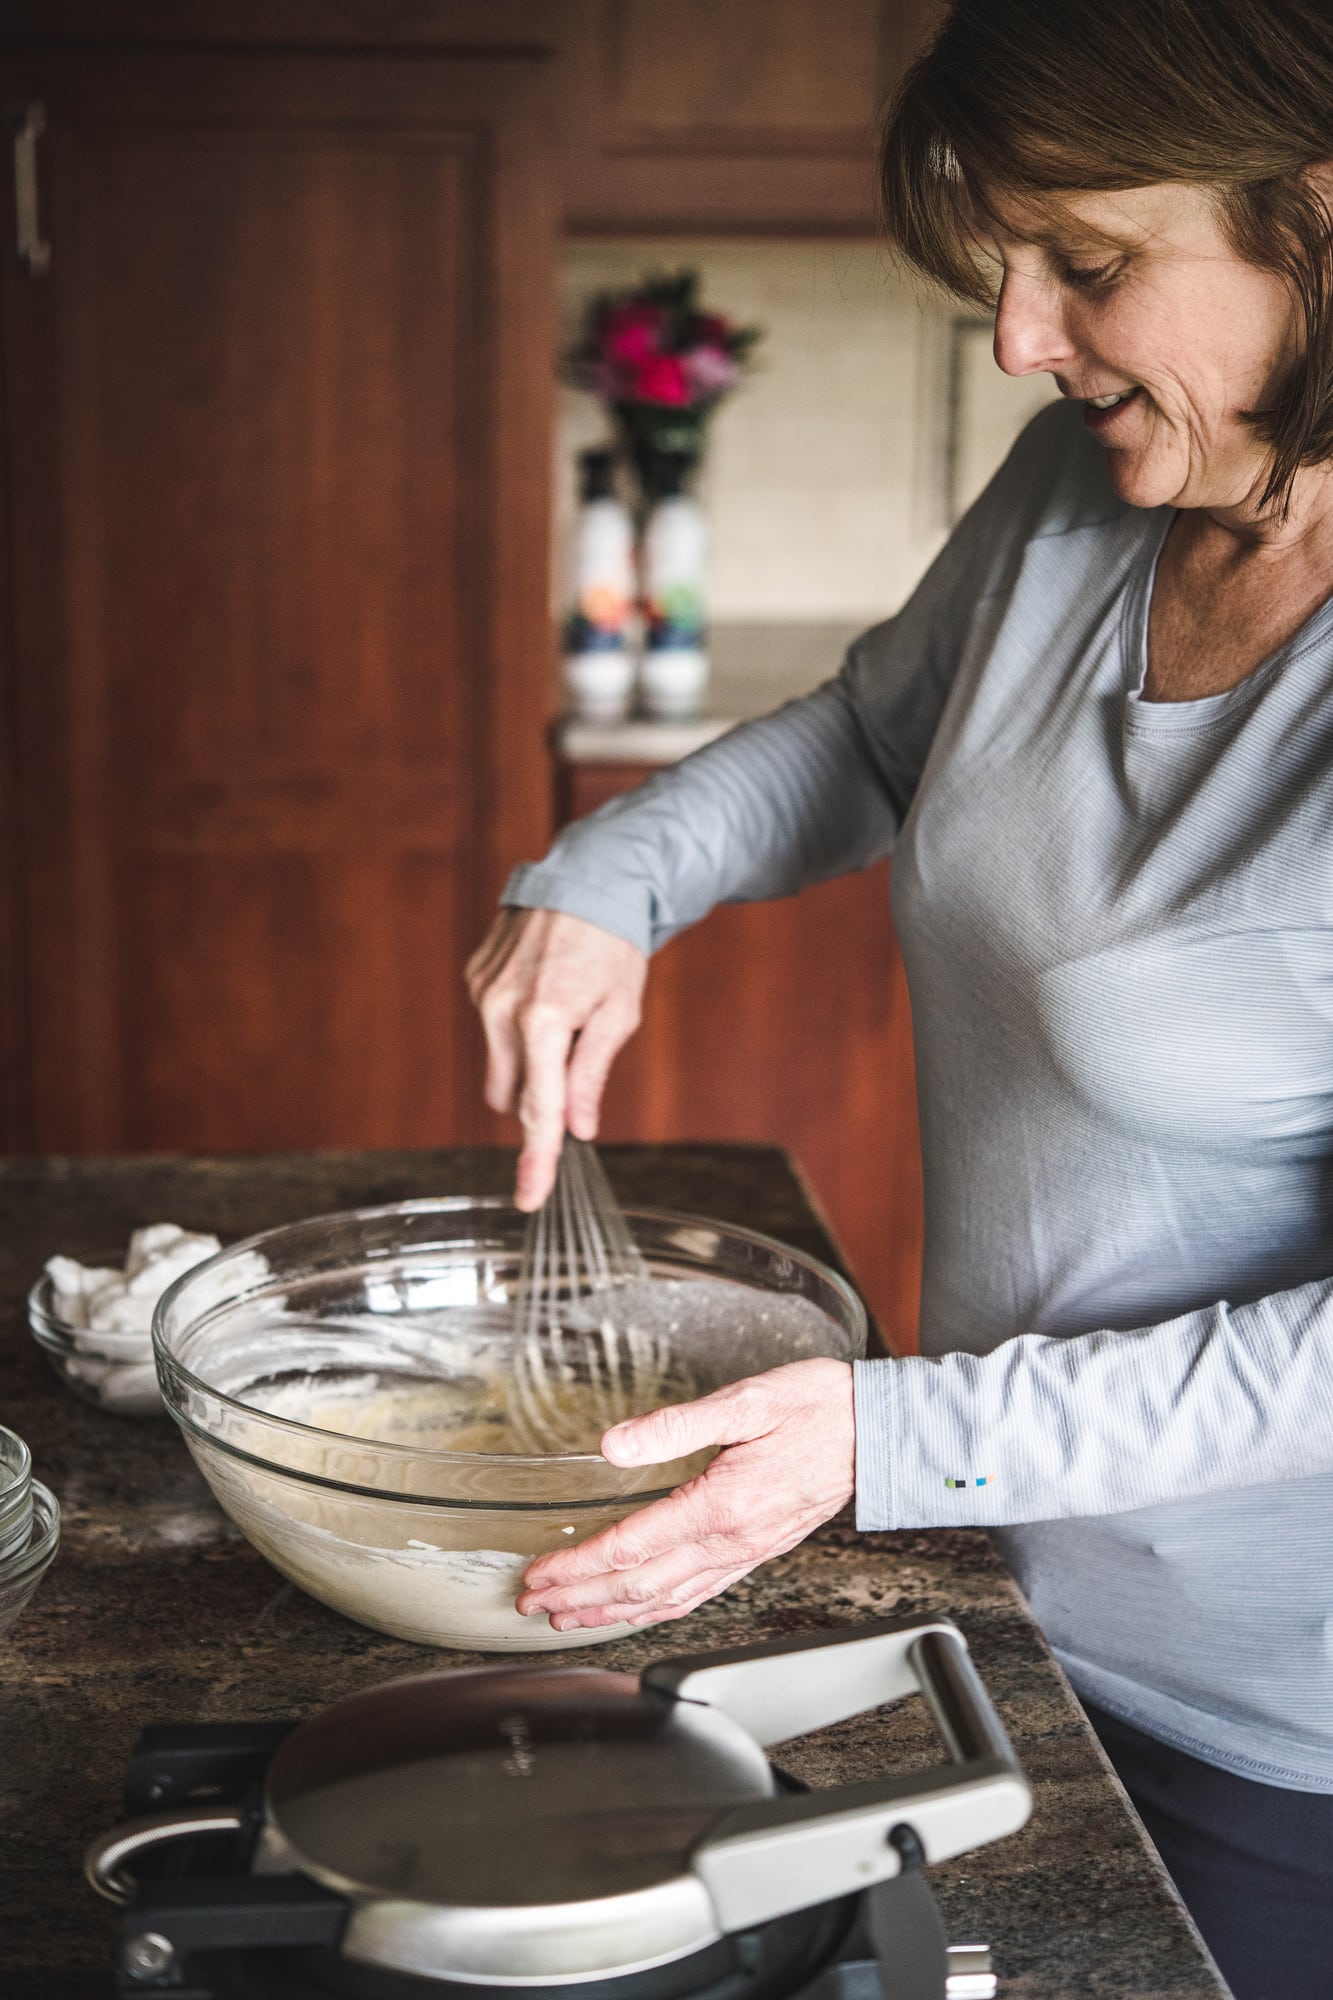
Once we've gathered all of the necessary ingredients, it's on to the testing phase. This can be the most time and labor intensive phase, especially when it comes to a more difficult recipe (like gluten free/vegan baking). We test almost all of our recipes at least two times, but many recipes require 3-4 rounds of testing to ensure that you'll be able to replicate them perfectly.
I believe these Raspberry Oatmeal Crumble Bars were our most challenging recipe to date. They don't look all that difficult, but it took us 8+ rounds of testing to perfect the texture!
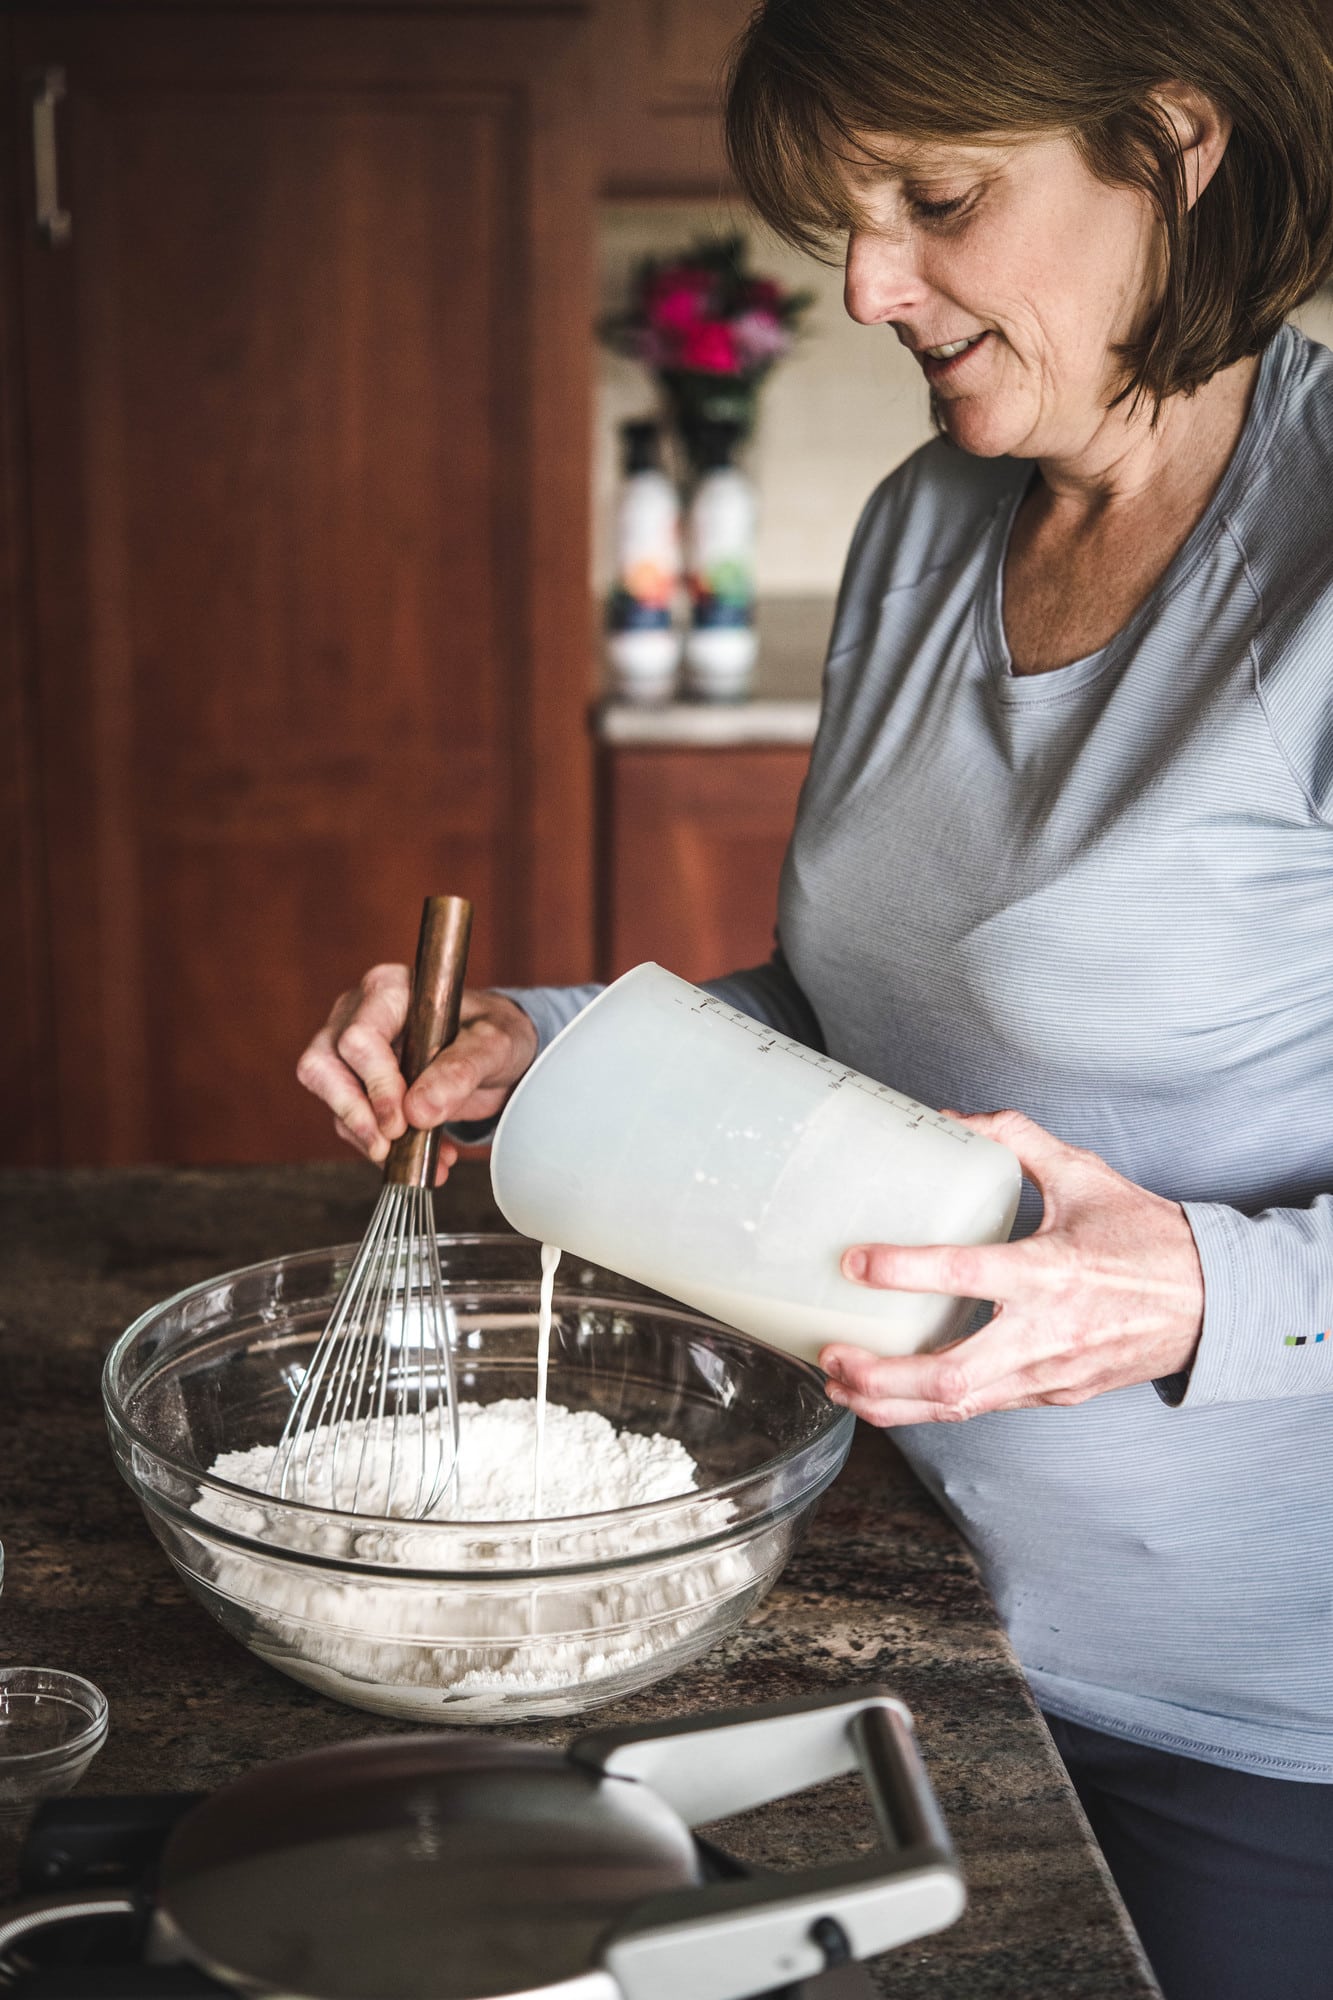
My mom takes the lead on all recipe development. We work on recipe development outside of regular work hours, too, but during a typical work day, she's in the kitchen working on about 5 things at once. (No kidding!)
We've been able to develop a pretty streamlined process at this point. We typically start the day working together to get a recipe off the ground, and as soon as something is ready to photograph, I shuttle everything to our studio and start setting up.
Step Three: Styling, Photographing and Editing
The photography process can take hours from start to end depending on the setup and difficulty of the shoot. Our studio is essentially a home office in which we have all of our photography surfaces, camera equipment and photography props.
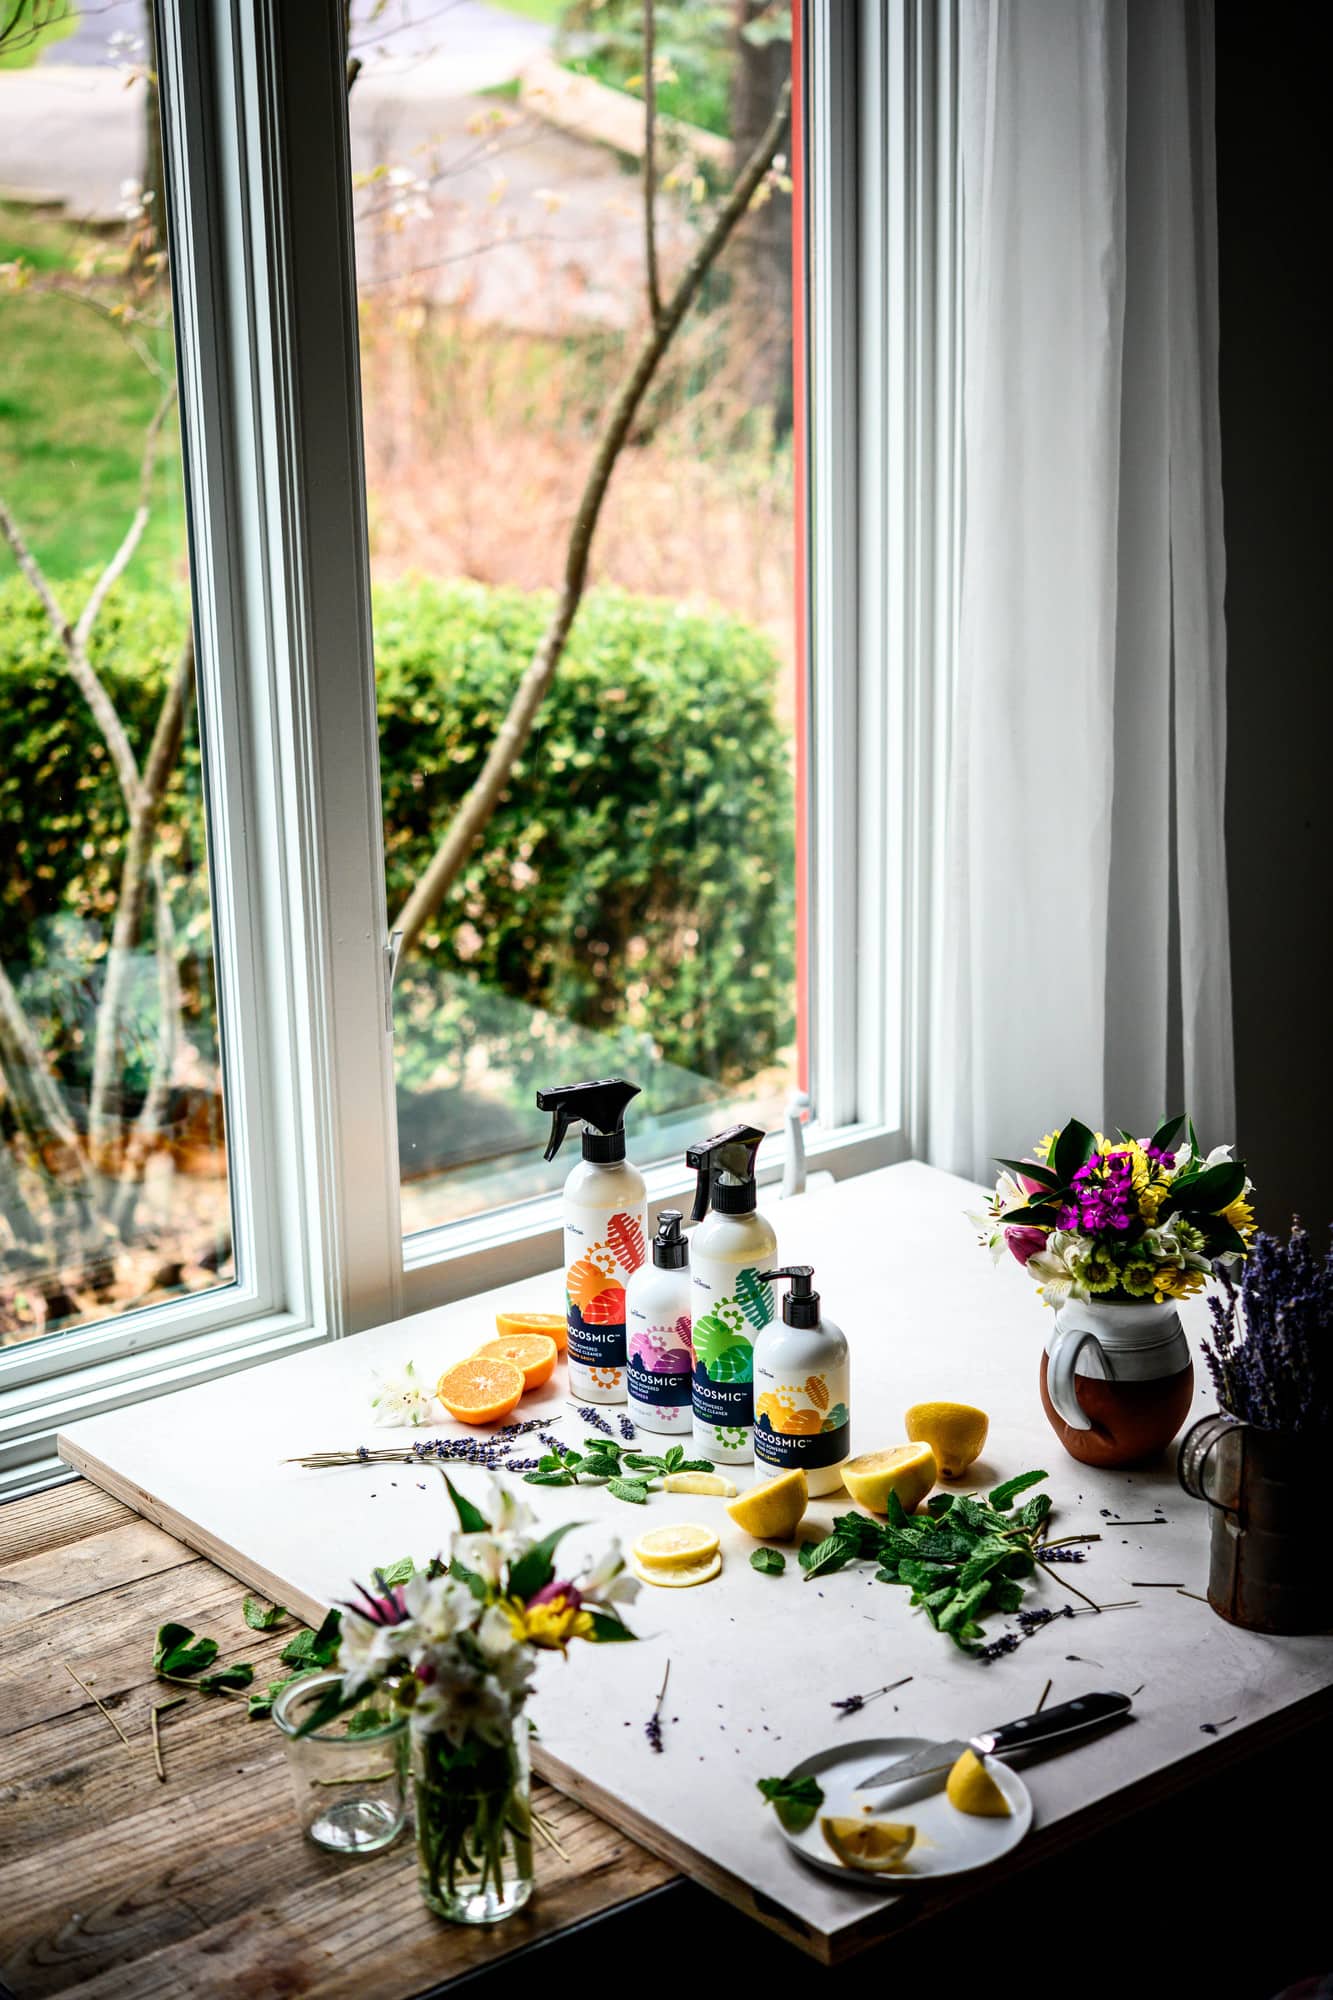
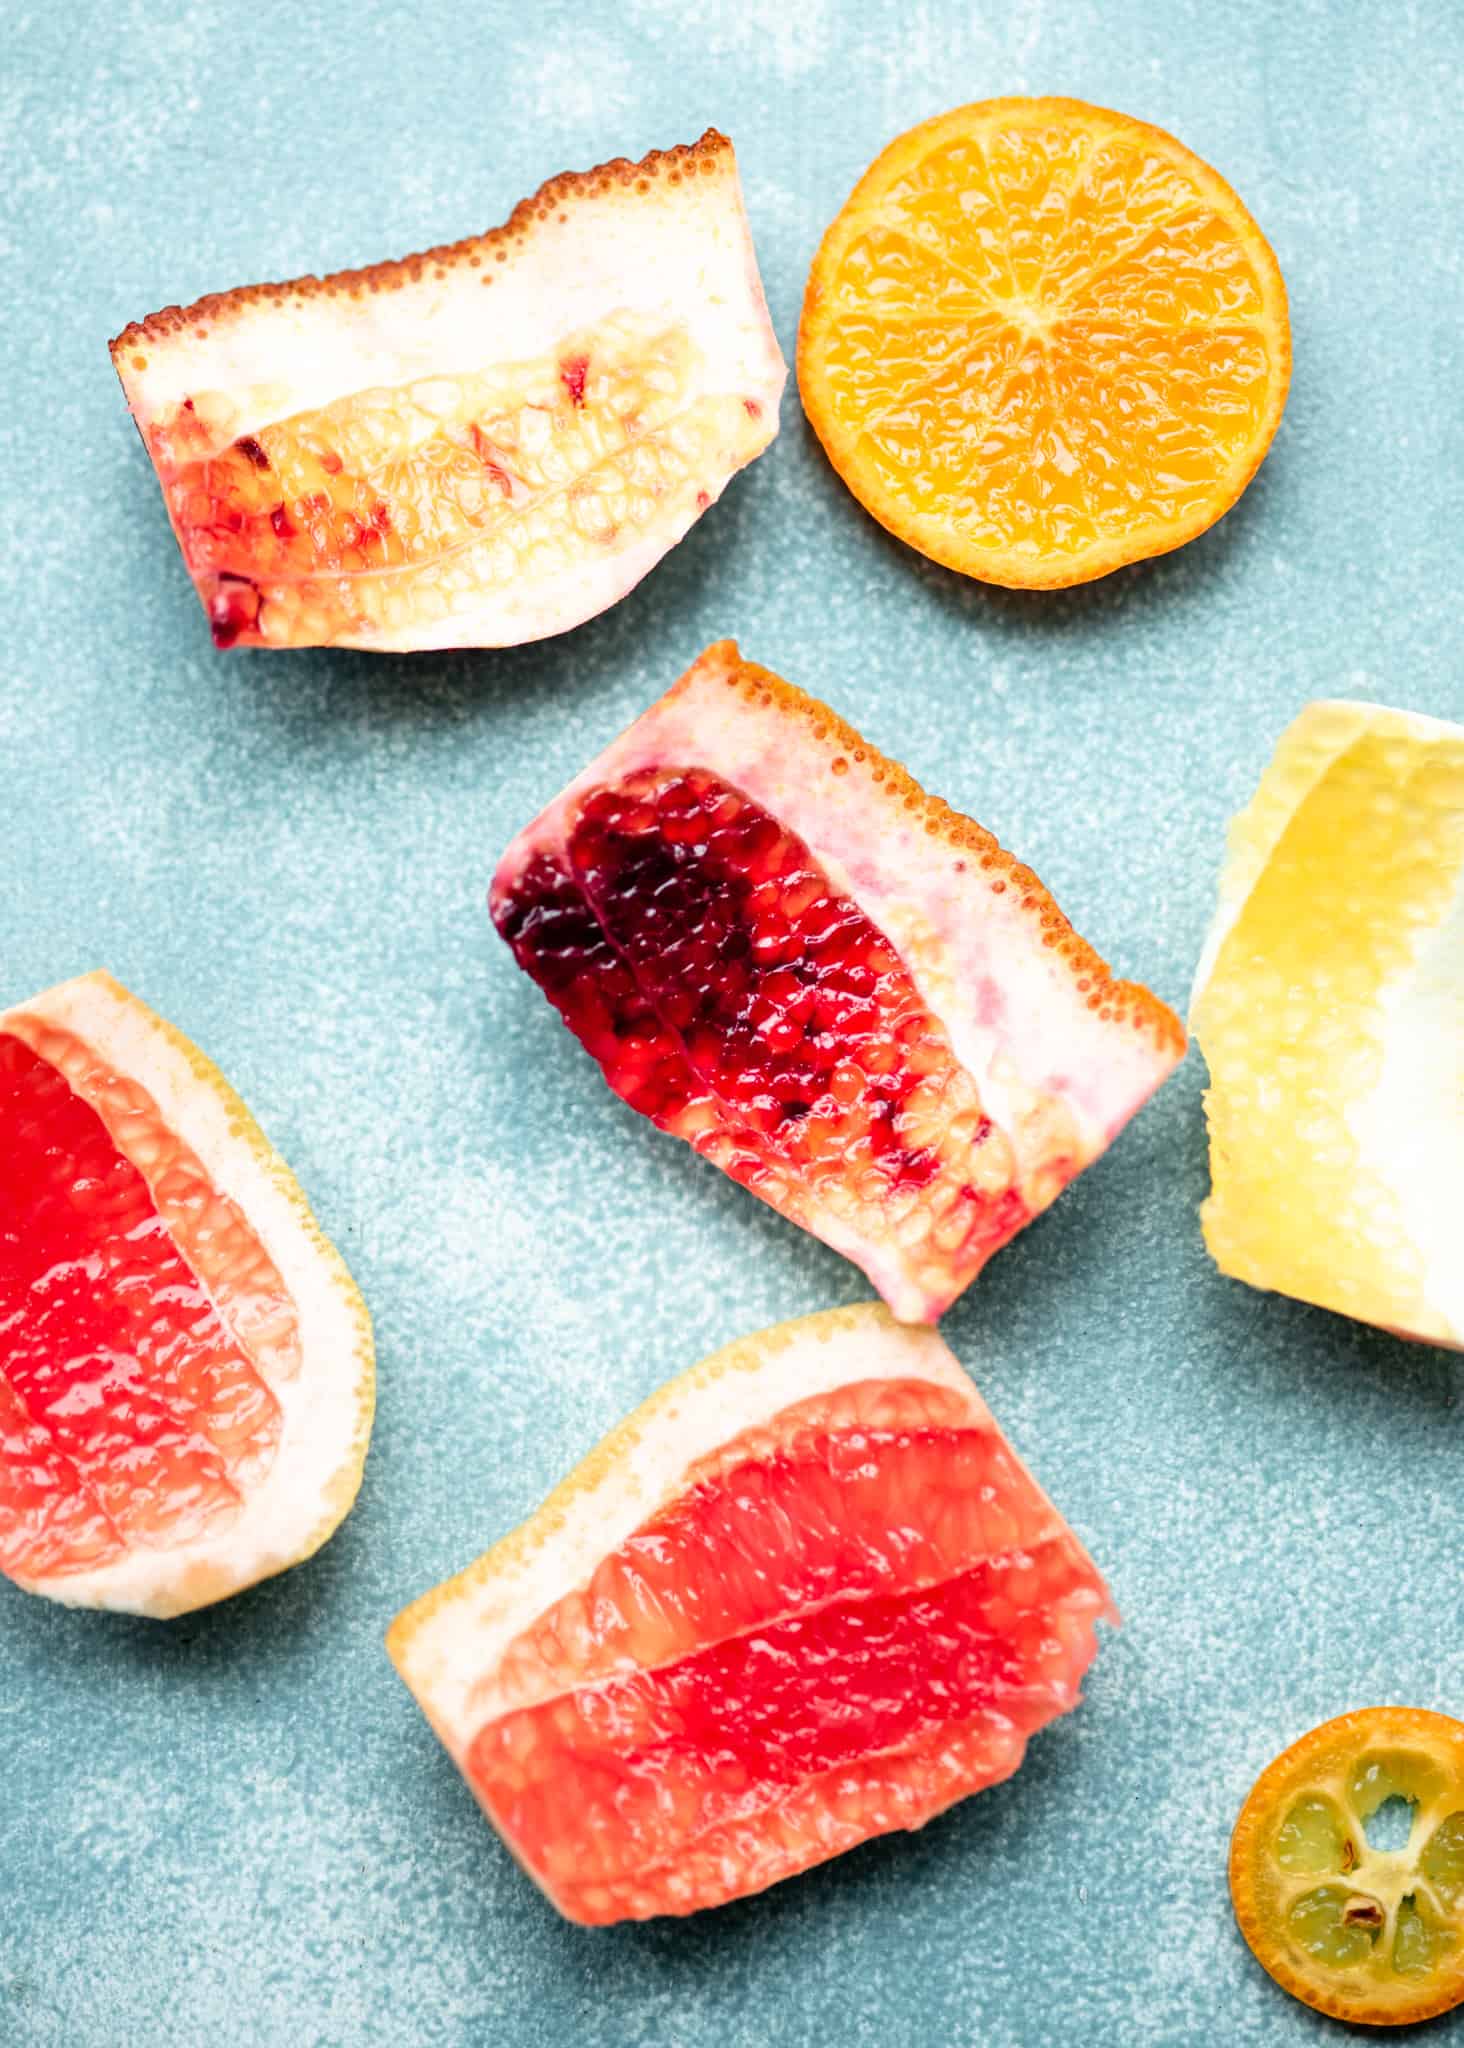
We shoot all of our photos in natural lighting, which means everything must be done during daylight hours (this can be a challenge during winter!). We have a large, rustic wood table (coffee table height) set up next to a large window that lets in plenty of indirect light. We either shoot directly on the wood surface, or use one of our many photography backdrops depending on the aesthetic we're going for. Below are a few examples of the various backgrounds we use.
Styling is probably the most challenging part of a photoshoot. When we're working on 4+ shoots a day, it can be exhausting to come up with different creative setups. On a good day, I have a very clear vision of what I want a scene to look like, and I know exactly which surface(s) and props I'll need to use. On a bad day, I end up entirely changing the setup halfway through a photoshoot (and make a huge mess in the process!). I've found that it's best to be patient and slow down in order to get a great shot. There's nothing worse than looking through the photos afterwards and feeling disappointed that they're not what you envisioned. The creative process can be exhausting, but a successful photoshoot is reinvigorating and well worth the effort.
Depending on the recipe/shoot, I'll take anywhere from 50-500 photos. Sometimes more, never less. I try to get as many angles/options as possible - especially if it's for a client - so everyone will be happy with the results.
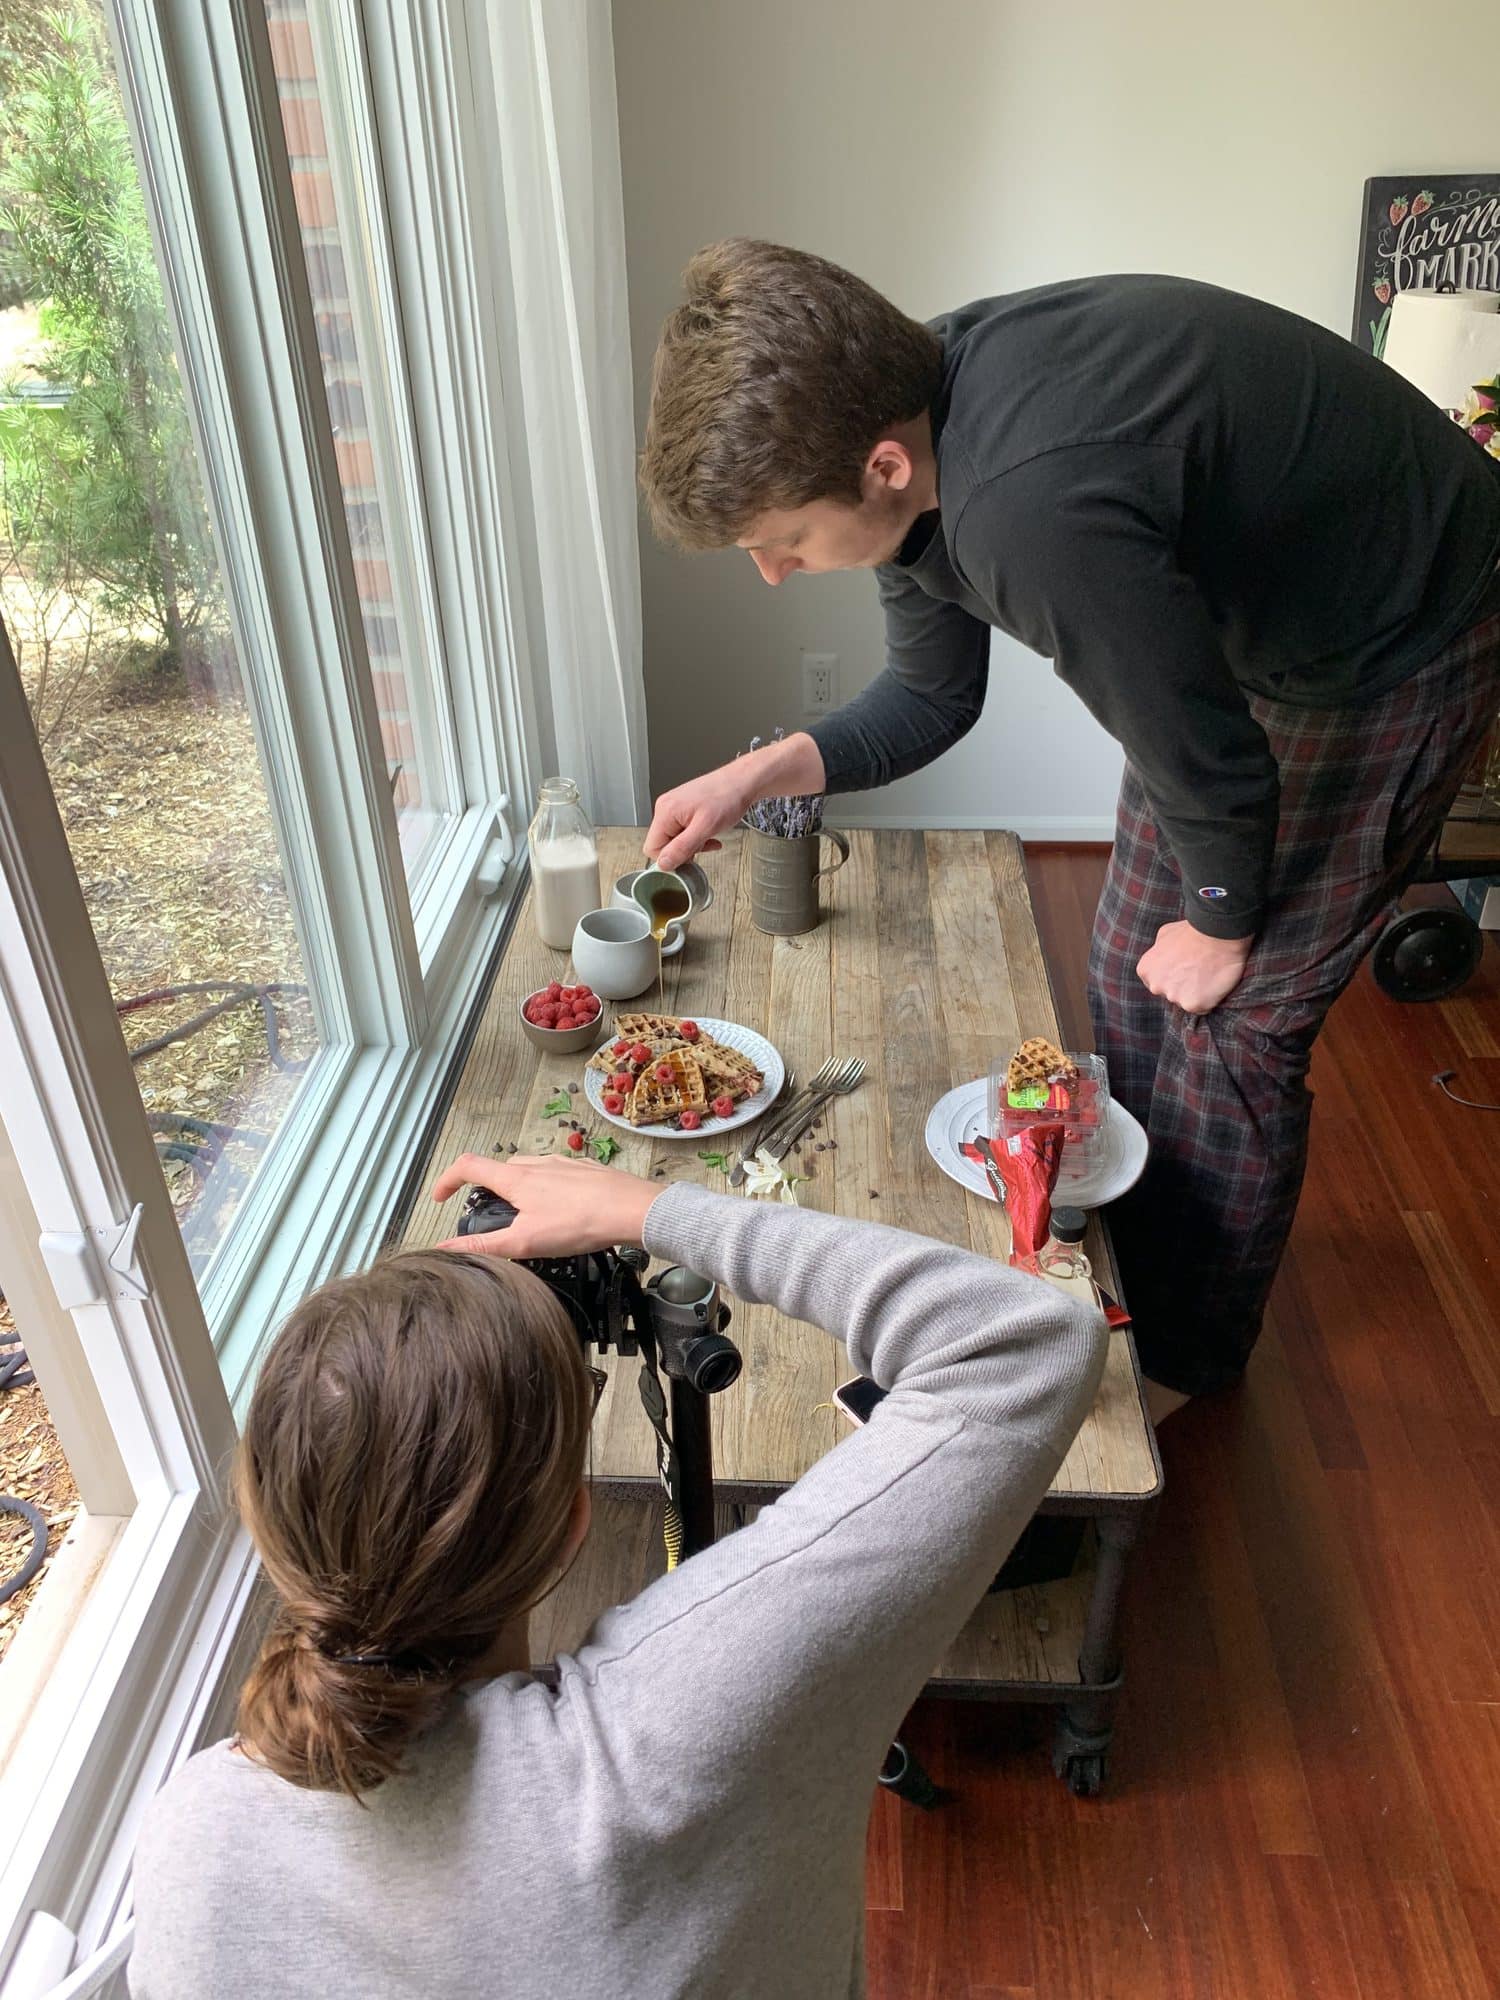
Behind the scenes 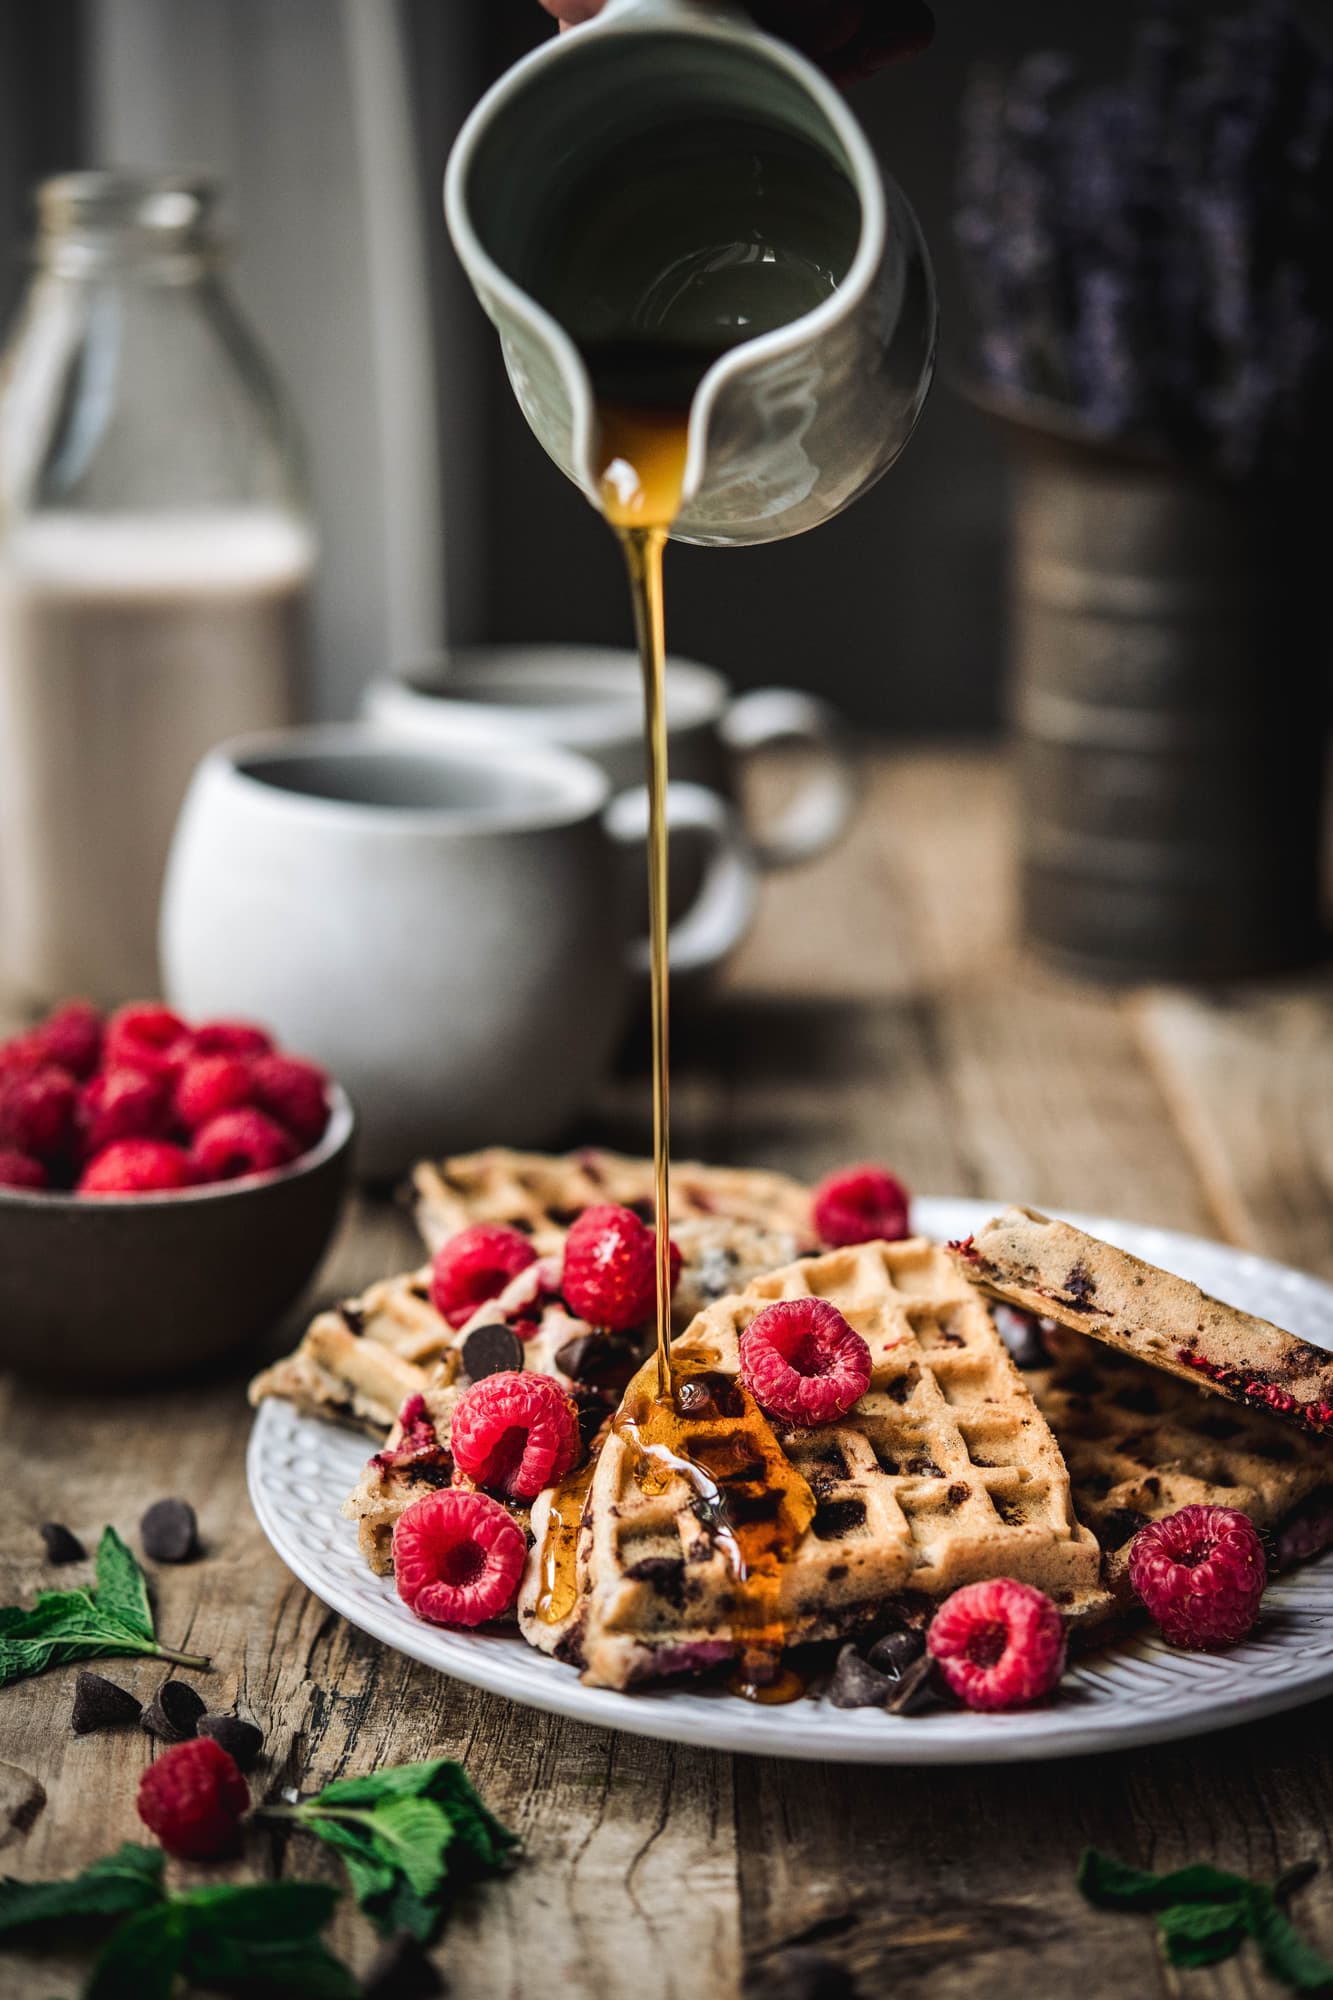
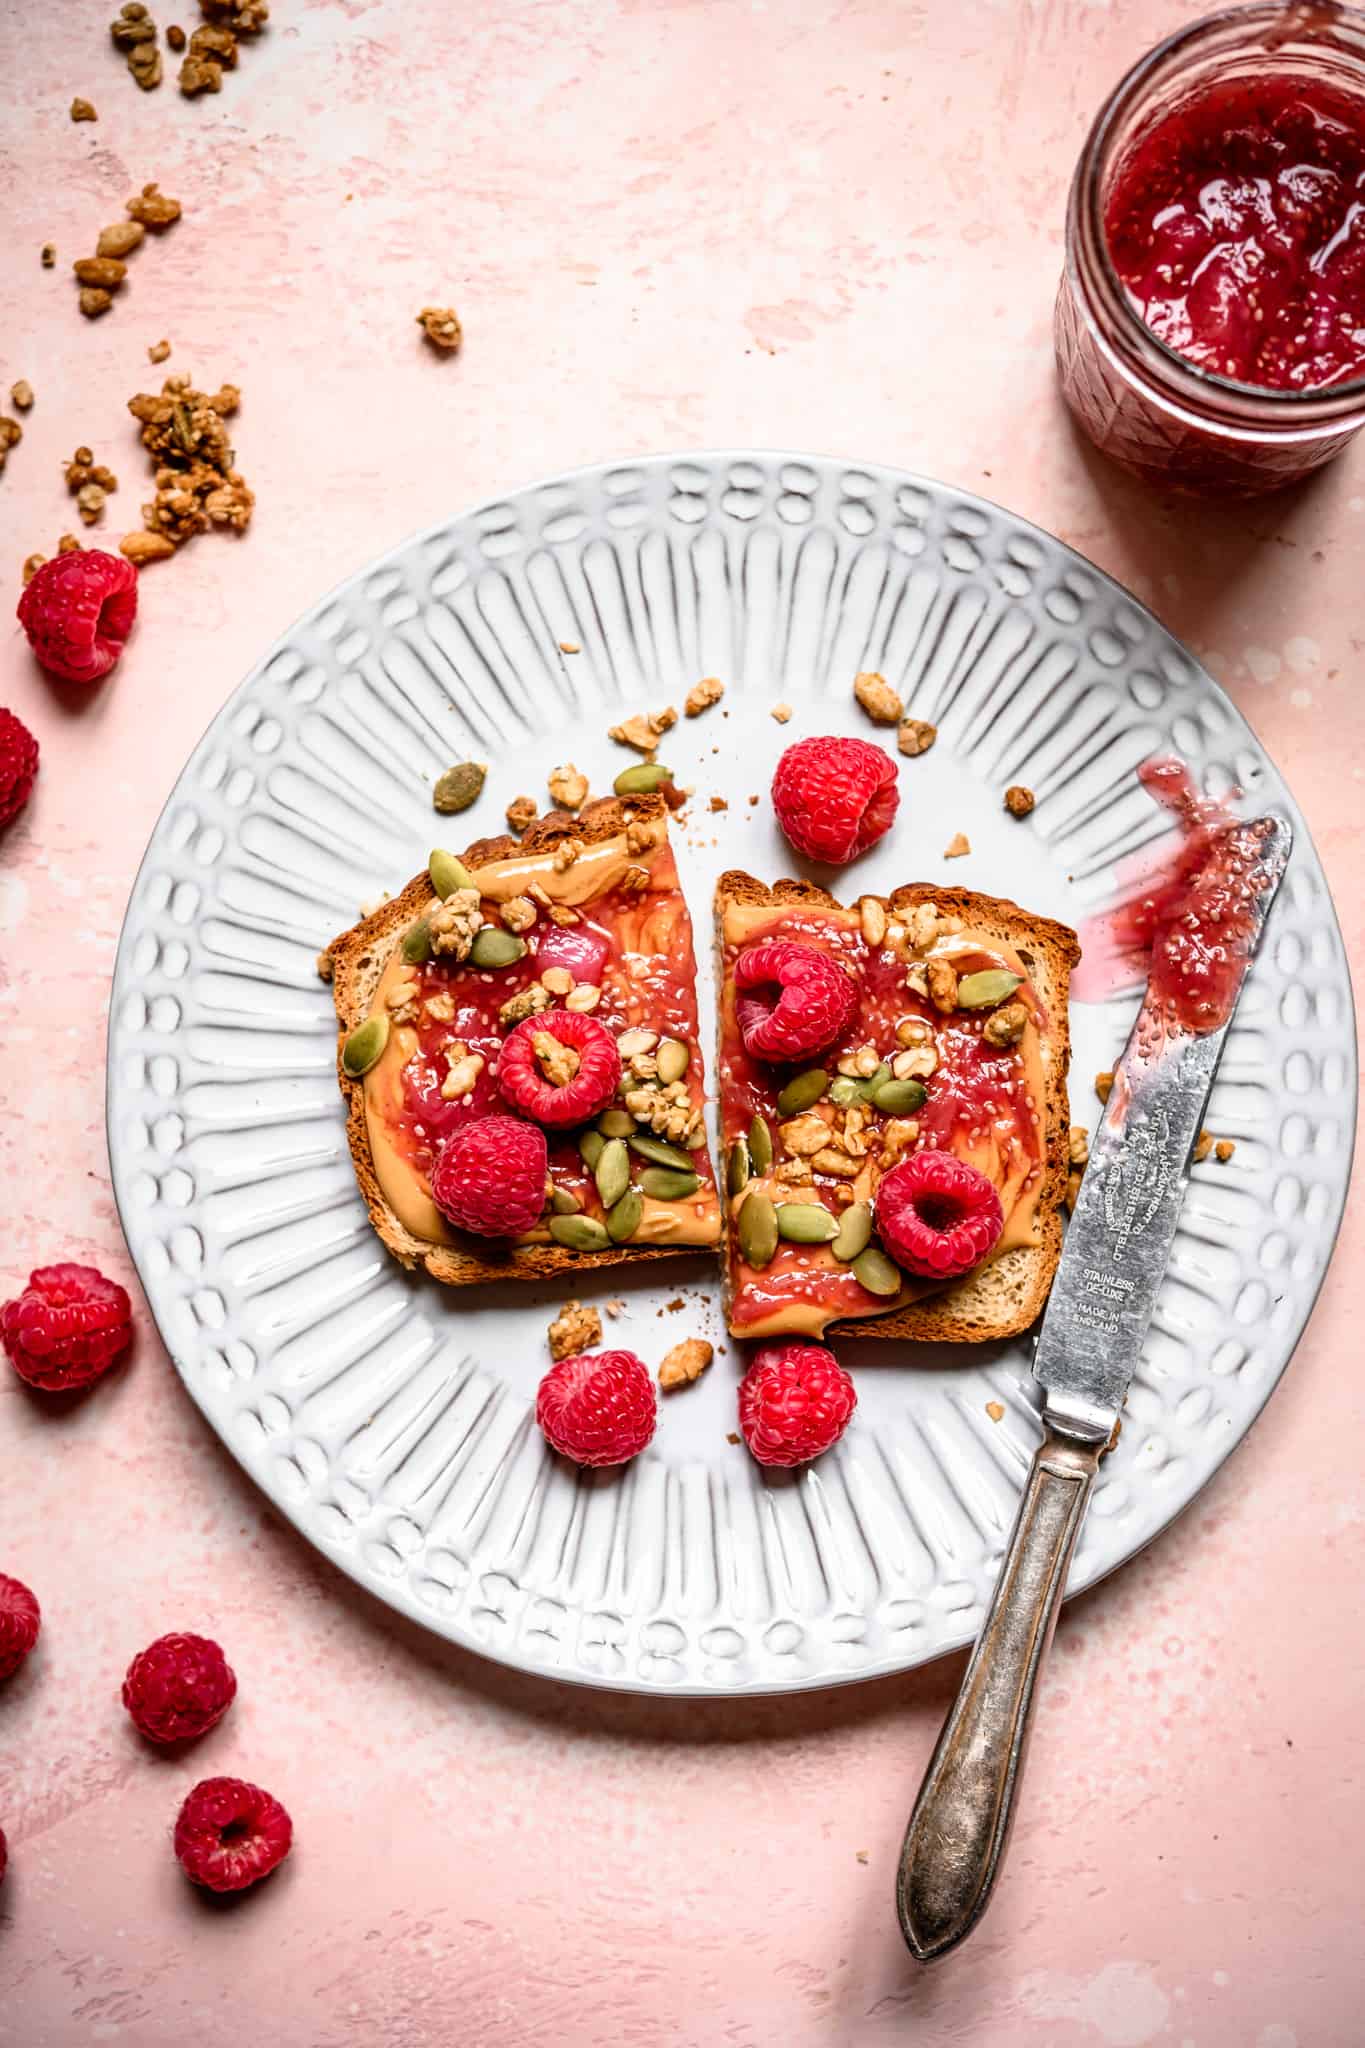
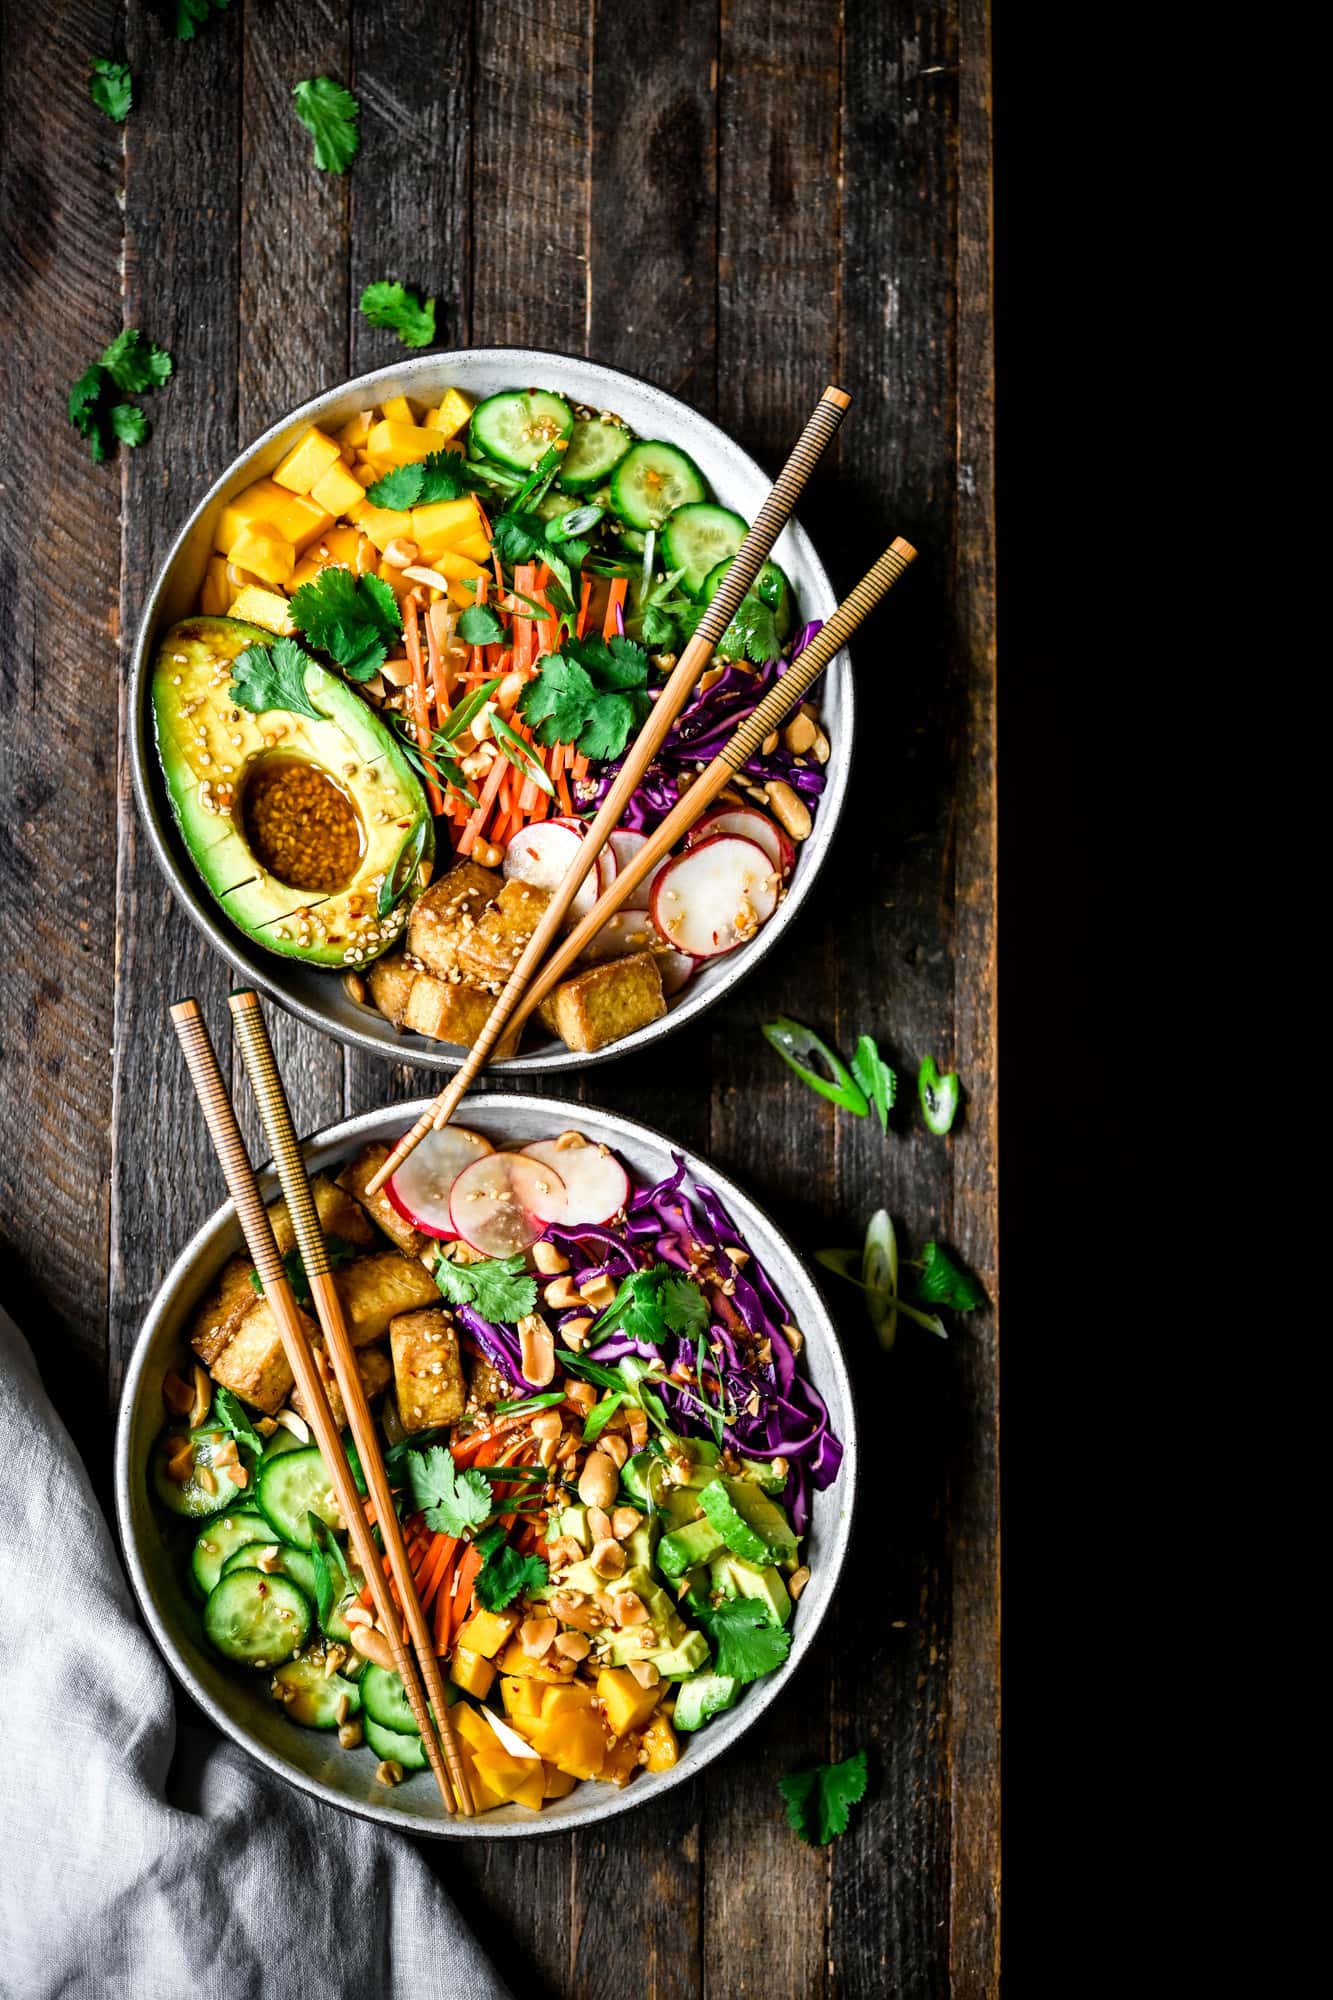
Final shot
I almost never edit photos immediately after I take them - I usually work on this at night or when I work from my house. That process involves sorting through hundreds of photos, selecting the ones I want to edit, then tweaking the image in Adobe Lightroom Classic CC until I'm happy with the results. This process can take 20 minutes or 2 hours - it depends on a variety of factors, but that's for another post!
Step Four: Clean up and prepare for another busy day!
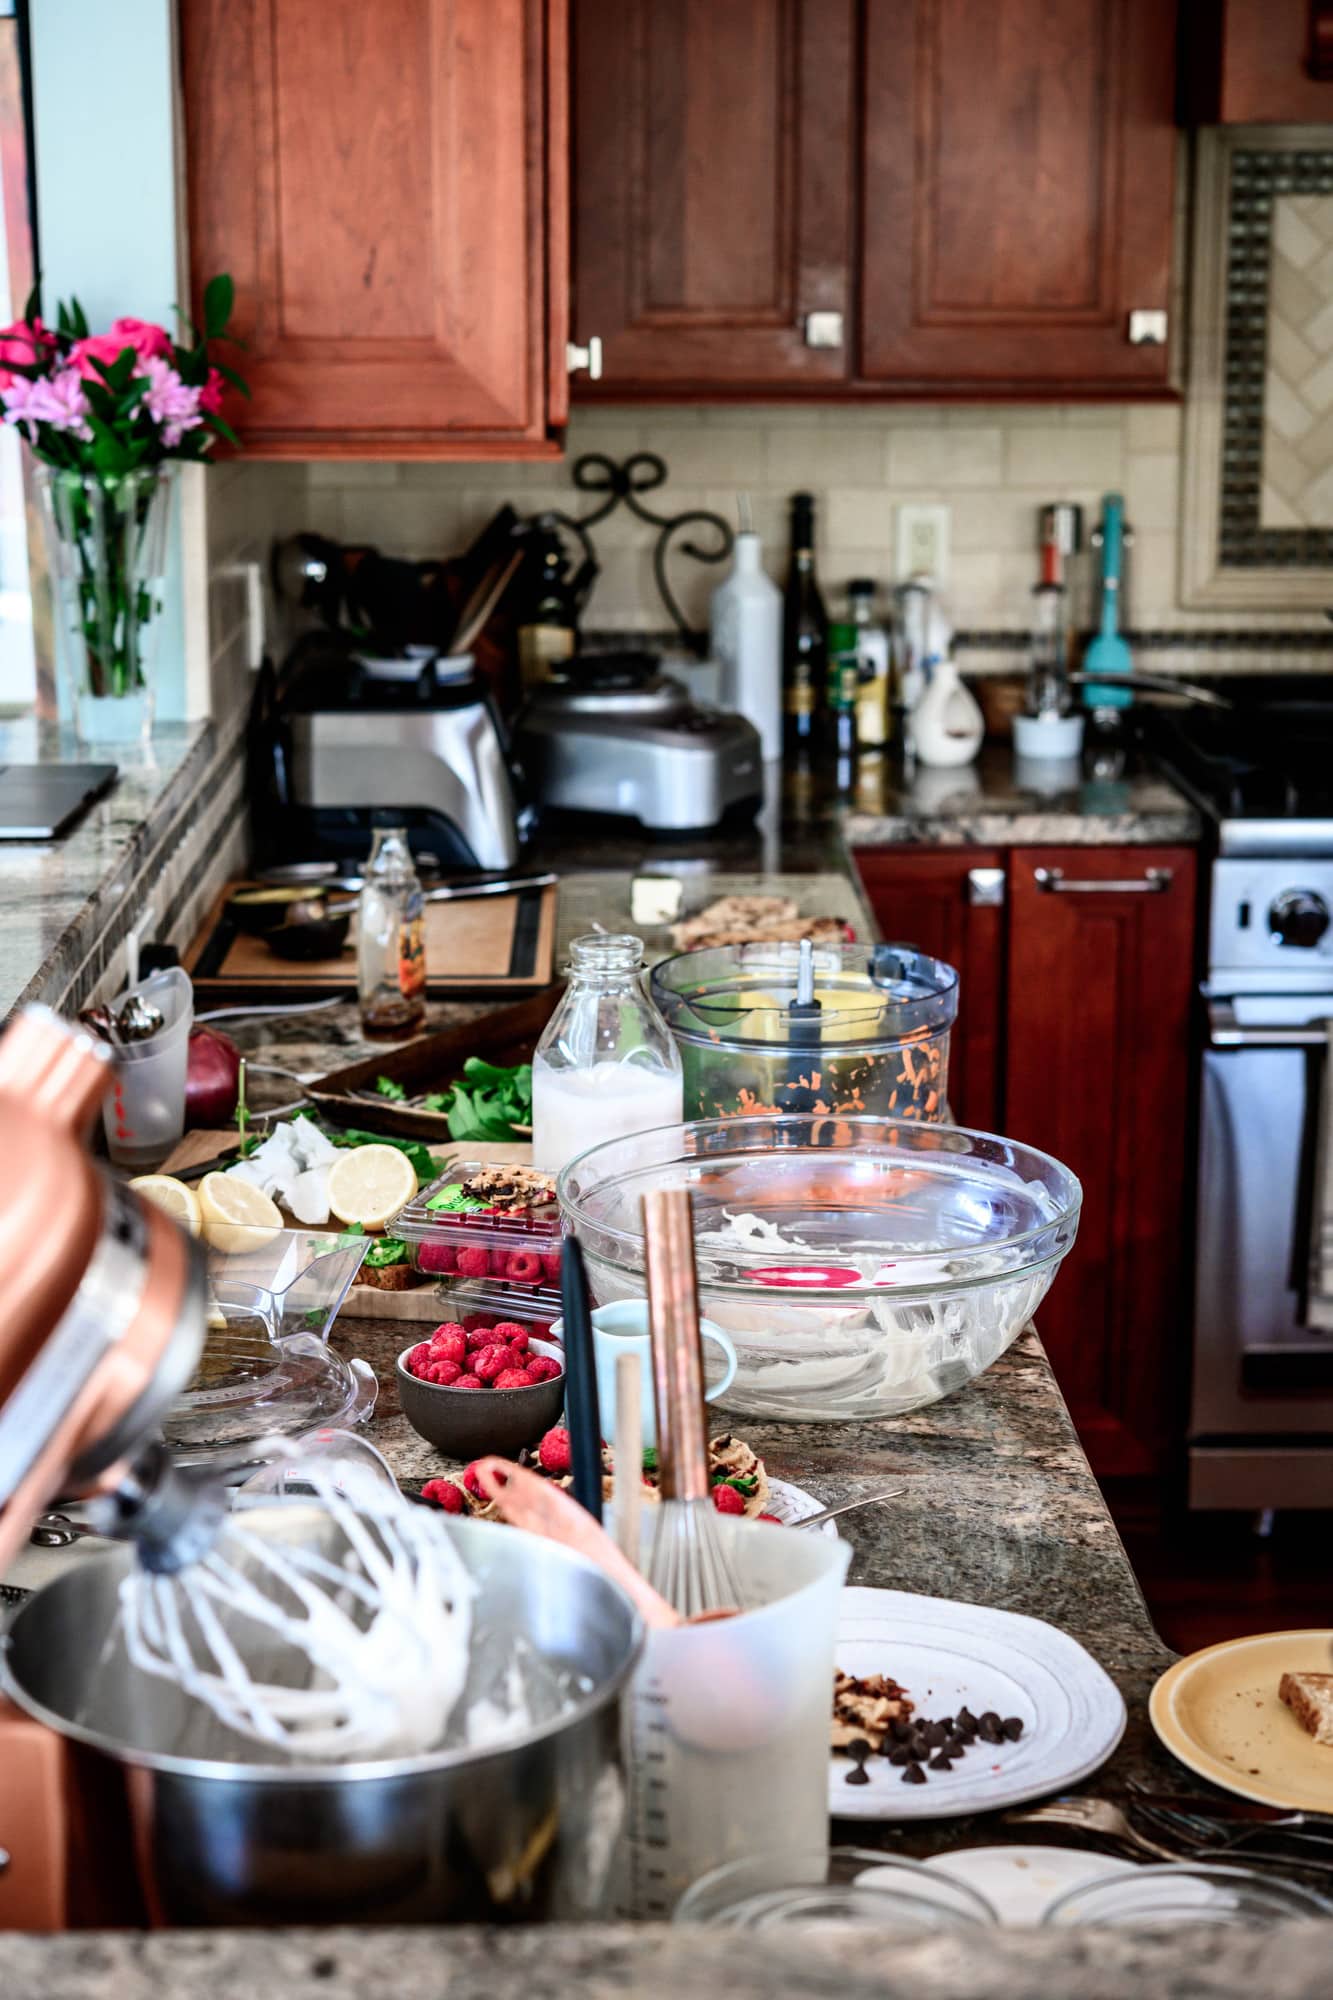
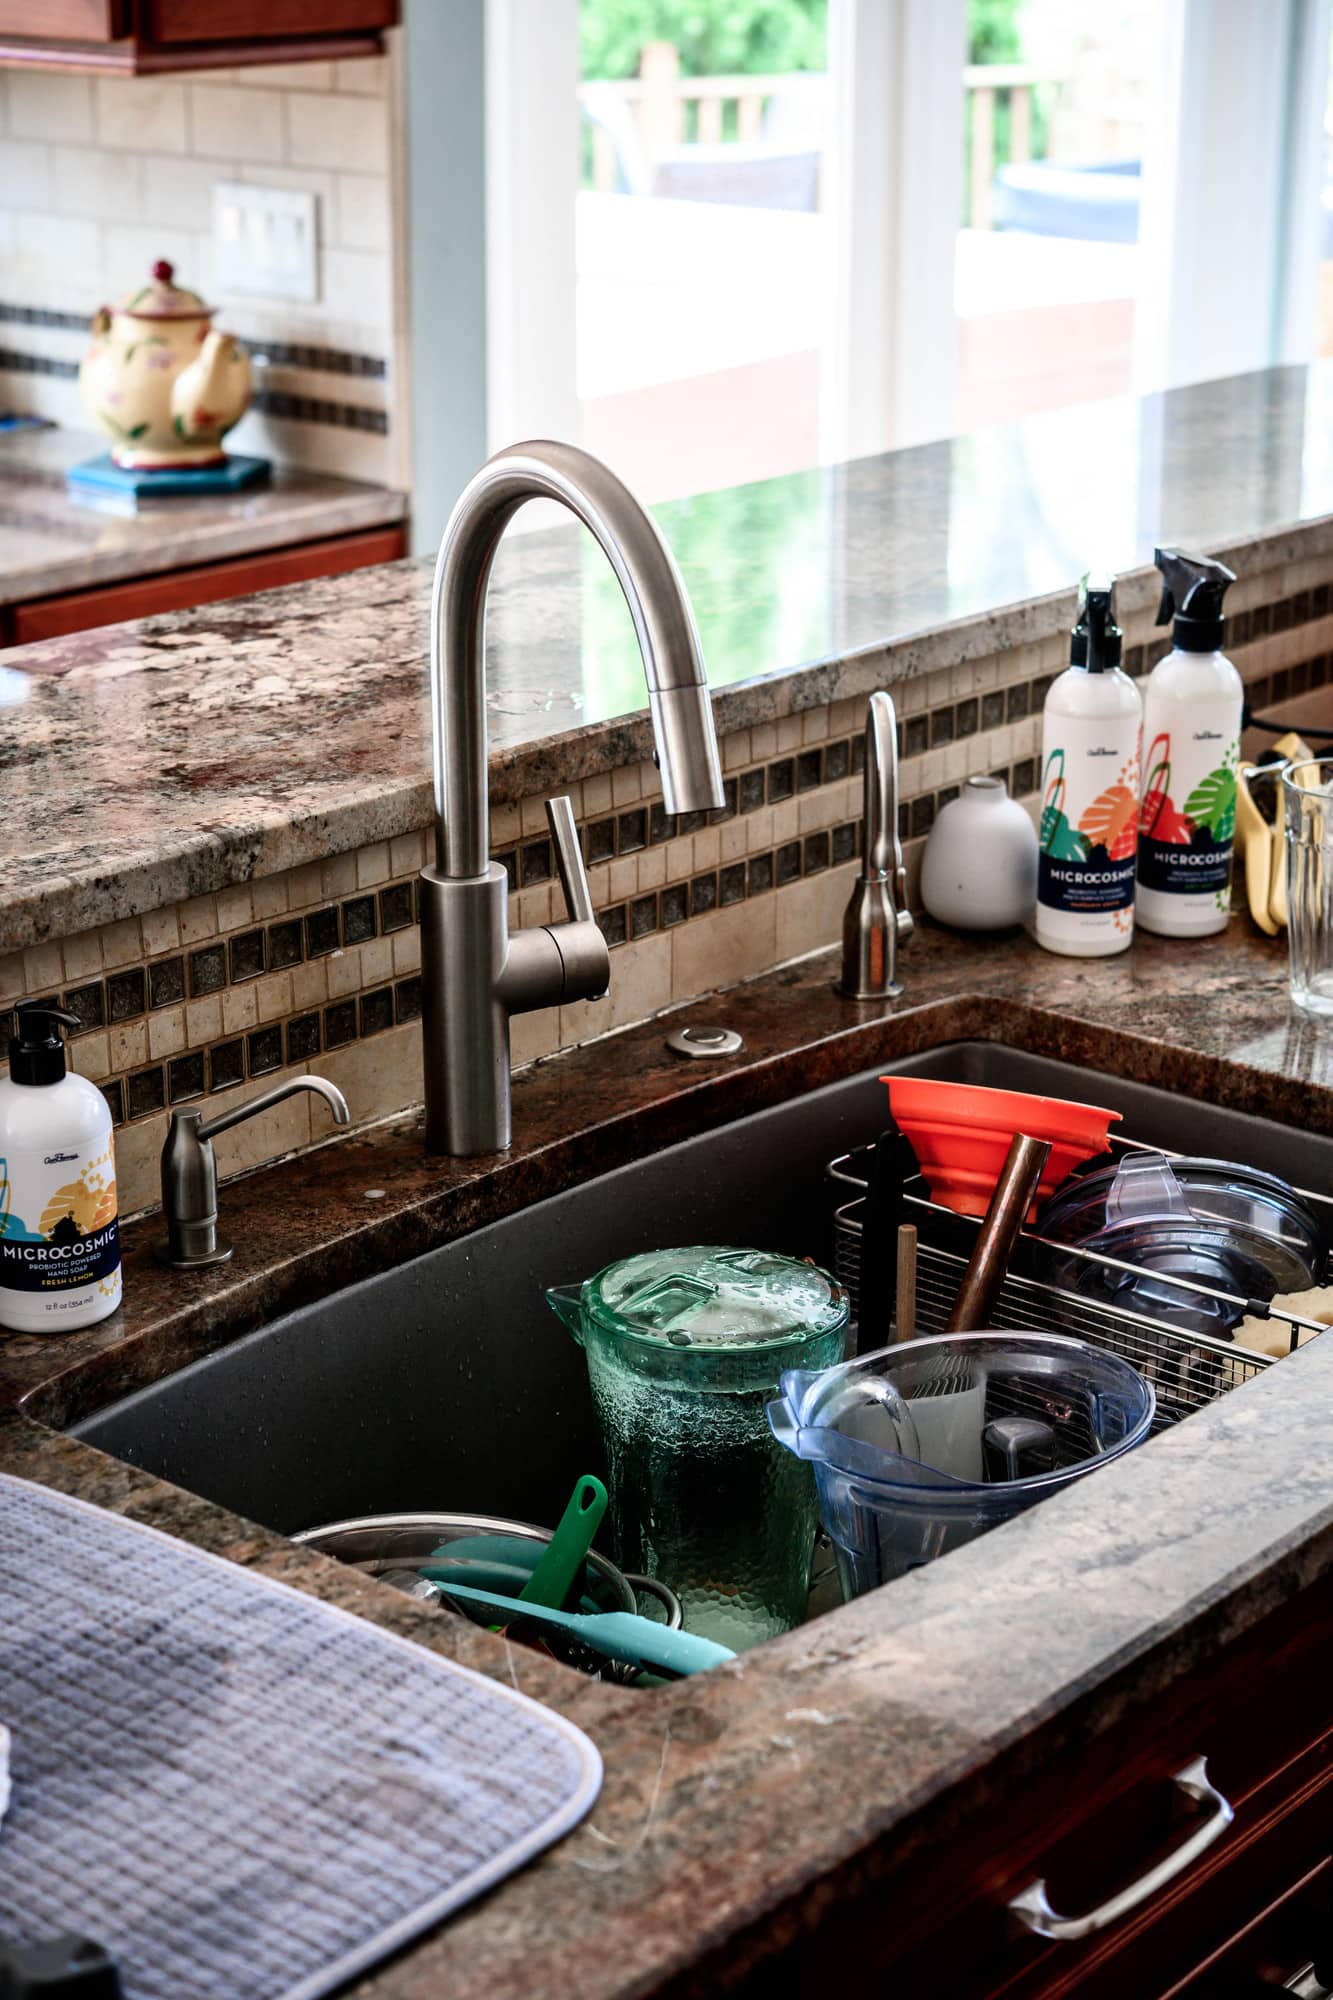
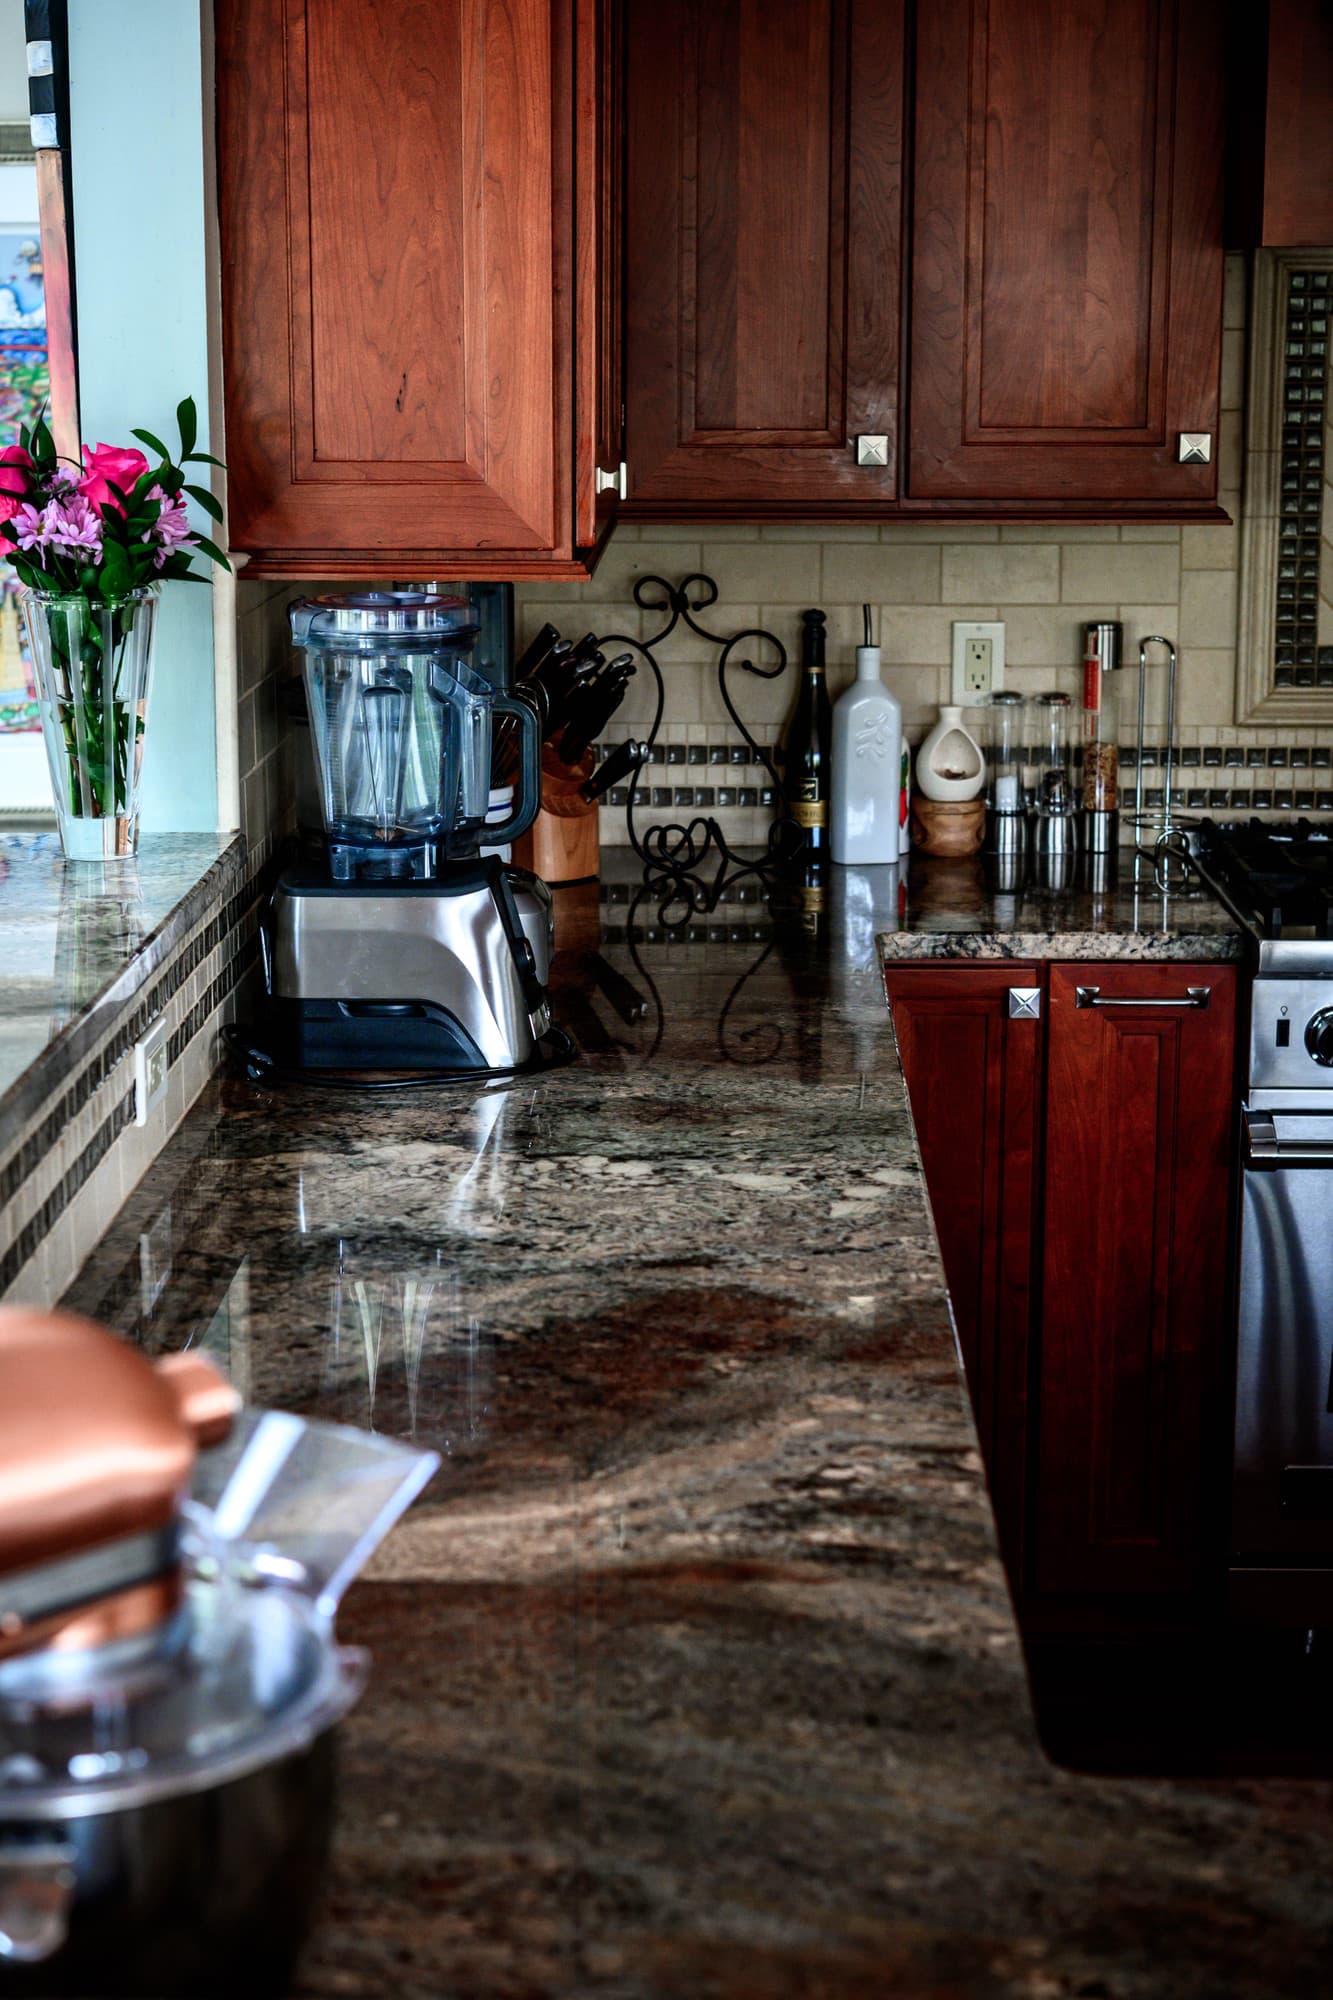
At the end of a busy work day, our kitchen and studio are trashed. (See below for evidence!) No matter how much we keep up with dishes during the day, we essentially have to do a full clean every single evening.
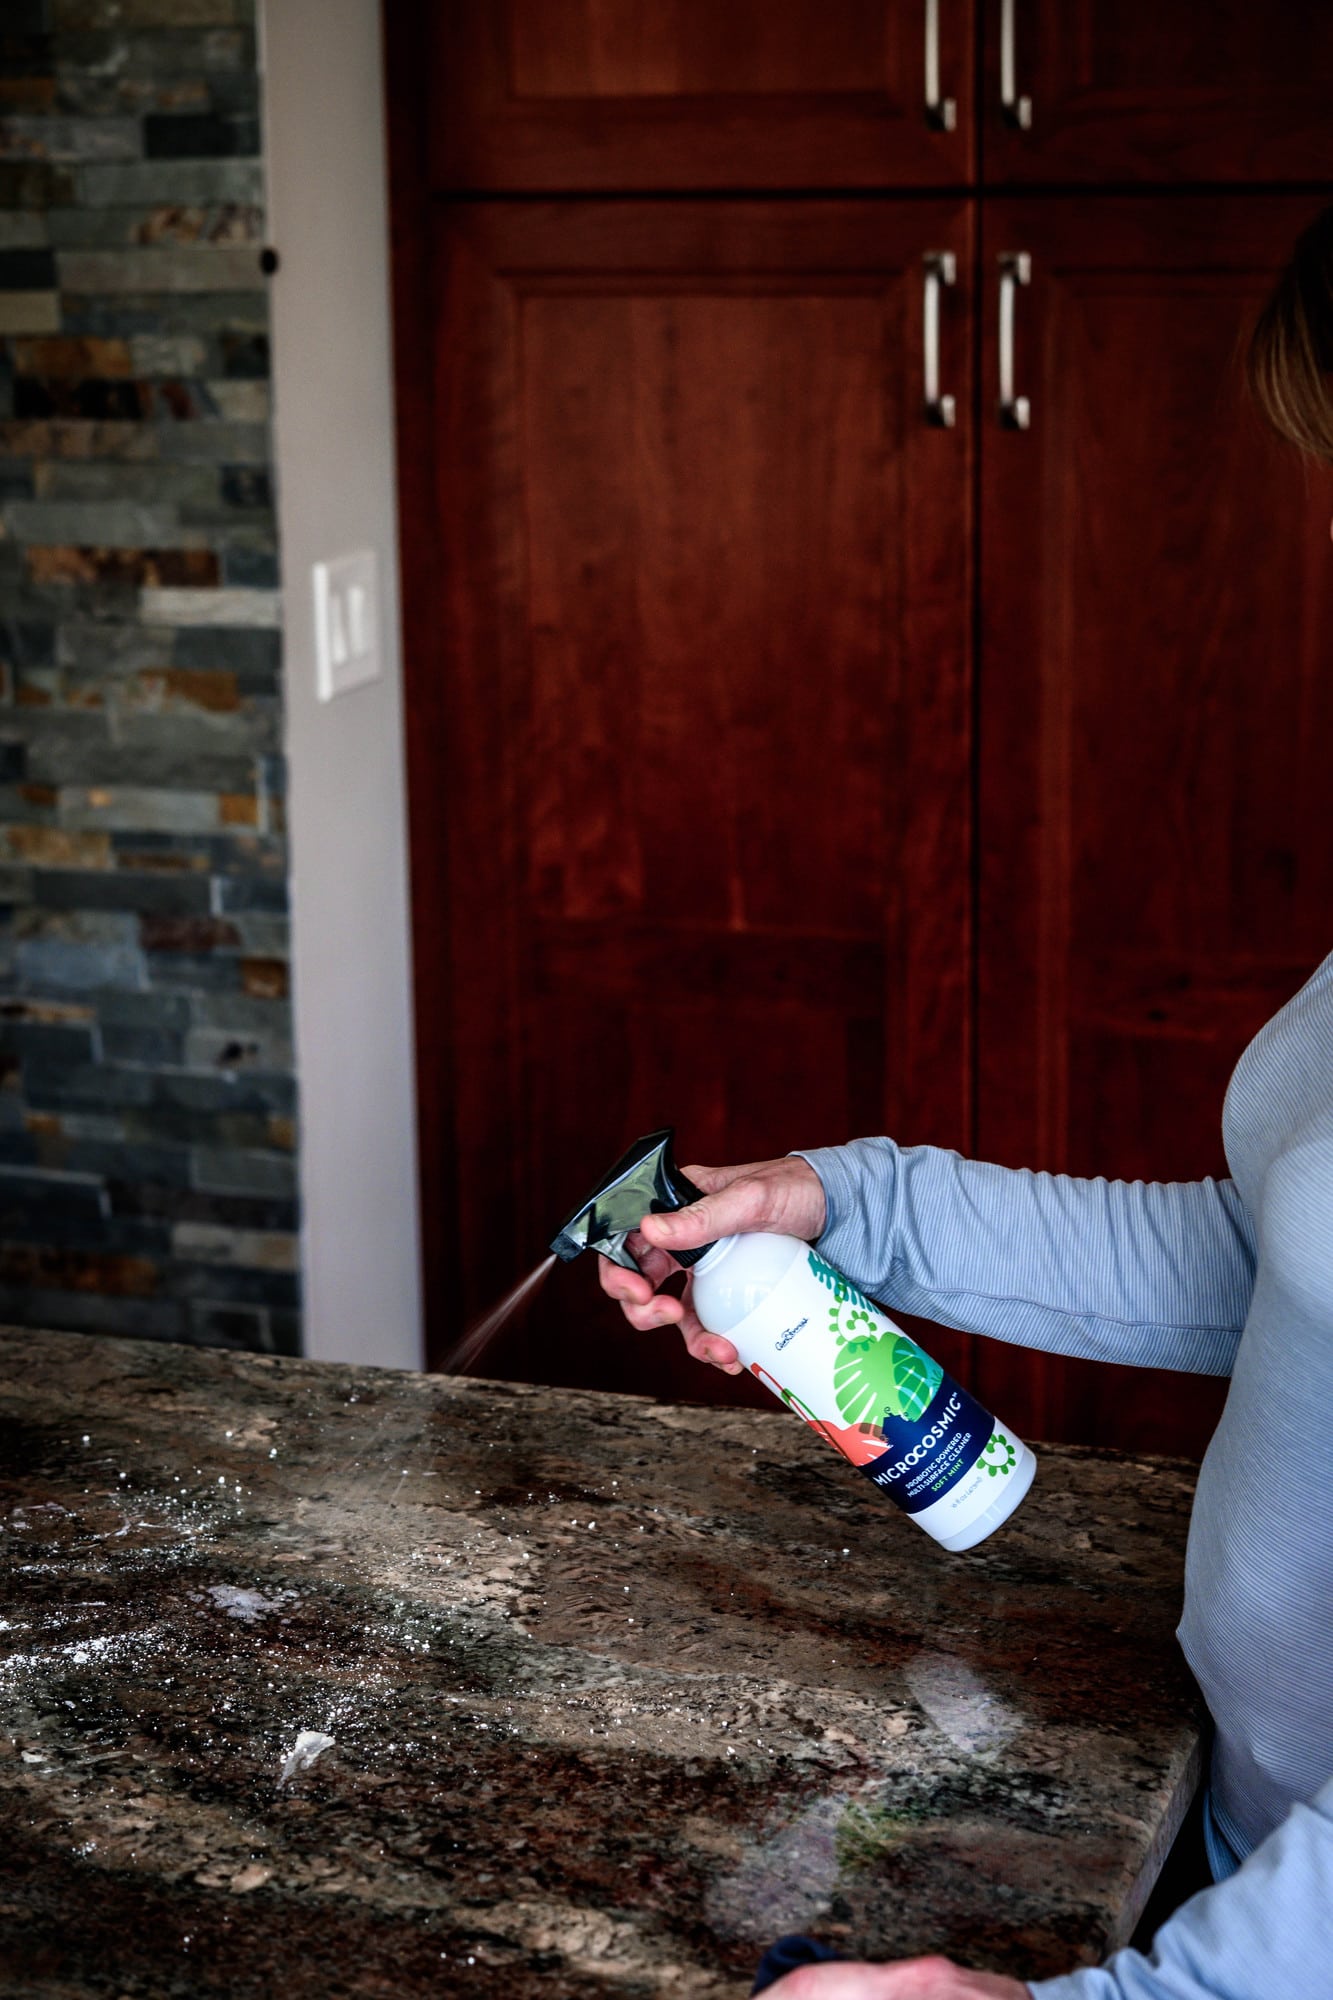
This includes wiping down counters, appliances, photography surfaces, floors, the stove (ugh, the worst!) and the sink. Although we're not always particularly excited to clean up, it's a necessary part of the job, and it's all the more important for us to use high quality cleaning products.
We've never been the type to use harsh chemical cleaning products. We always opt for more natural solutions, and we have been incredibly impressed with Aunt Fannie's products. We particularly love their line of Microcosmic® Probiotic Power hand soaps and multi-surface cleaners. The Aunt Fannie's team sums it up best: their cleaners are "tough on dirt, gentle on you".
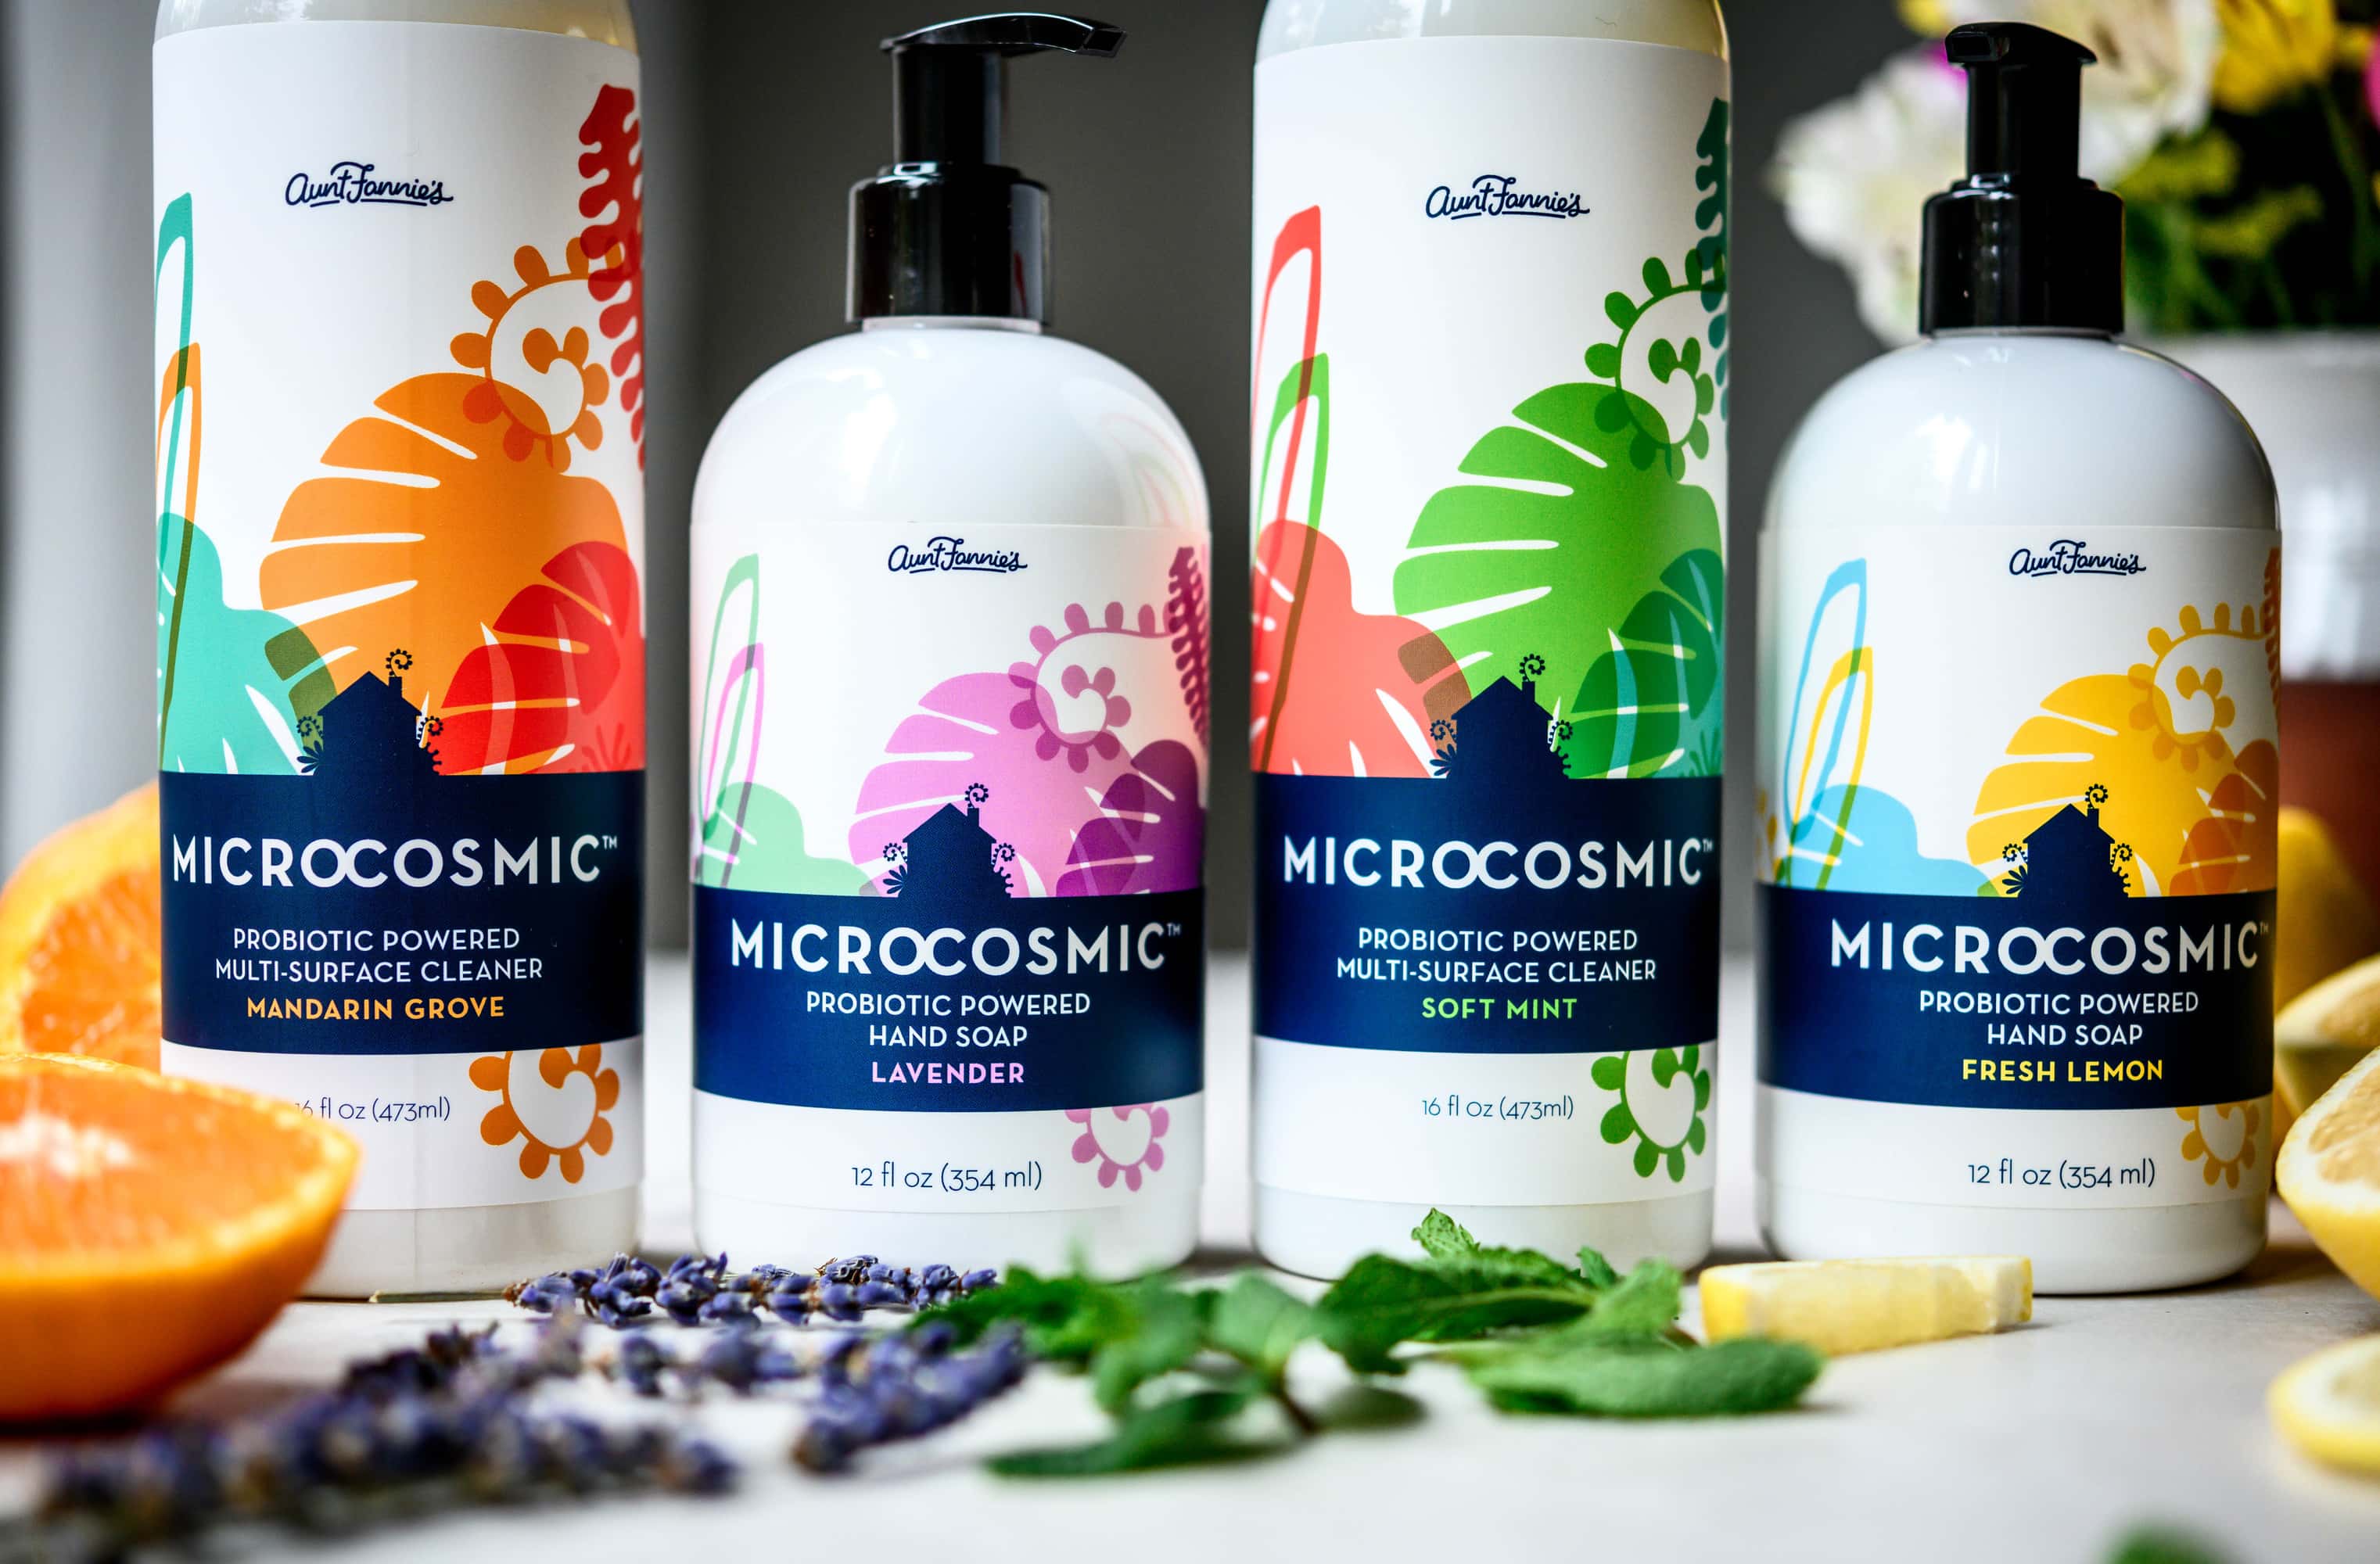
Their cleaners and hand soaps are made with a probiotic extract of beneficial bacteria and safe plant surfactants that clean while simultaneously keeping the health of your home's microbiome in mind. I love the awareness that Aunt Fannie's is bringing to the importance of the microbiome.
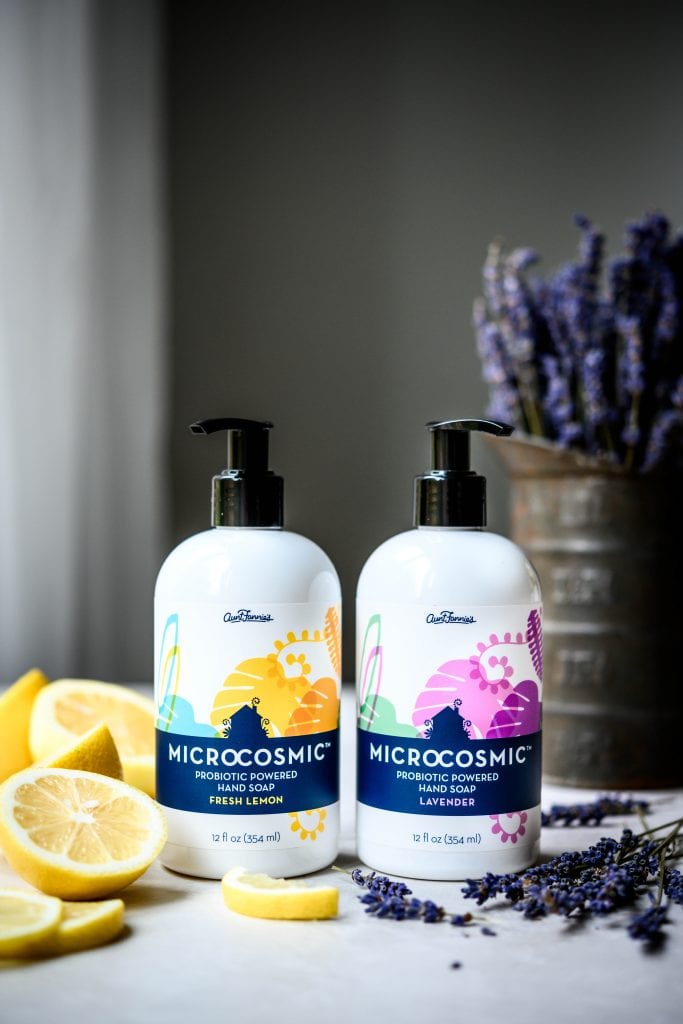
"Microbiome" refers to the beneficial microorganisms (microbes and microflora) that exist in, on and all around us. Microbiomes play an important role in supporting our health and immunity, as well as our general well-being. Over-sterilization can harm the balance of your personal microbiome (and the microbiome of your home), which can contribute to a rise in allergies, autoimmunity issues and other health concerns.
It's actually perfect timing that we're sharing this post - I'm currently halfway through a book about the science of microbiomes! The book -- I Contain Multitudes: The Microbes Within Us and a Grander View of Life by Ed Yong -- examines the importance of microbiomes and how these invisible organisms shape life as we know it. It's a fascinating book and a surprisingly easy read considering the material. I highly suggest it if you're interested in learning more about the science behind microbiomes!
Back to cleaning - we think it's fantastic that Aunt Fannie's recognizes the importance of good health when formulating their high quality cleaning products. Their products are formulated in the same pH range as our skin, so you don't need to use gloves. They contain no parabens, phthalates, MIT/BIT preservative, gluten, animal products/testing, sulfates, dyes or synthetic fragrances. Not to mention - they smell and look great!
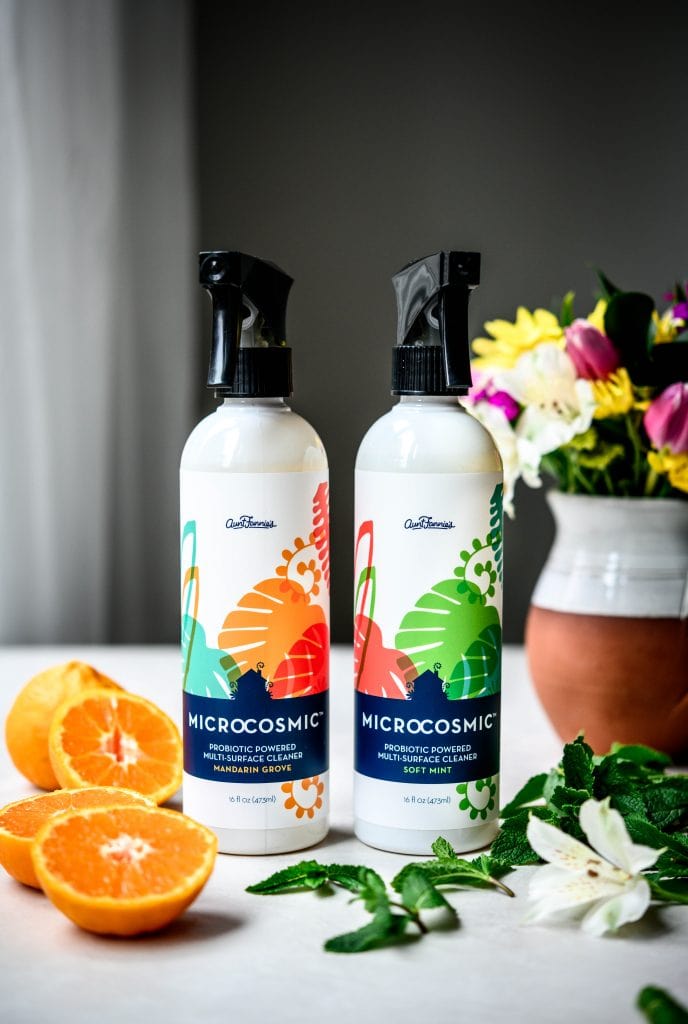
If you'd like to give Aunt Fannie's products a try, head here and use our code "CROWDEDKITCHEN" for 30% off your order. Even if you don't spend as much time cleaning as we do, we highly suggest giving them a try. After all, it's important to consider the health of your entire home - not just what you're putting into your body!

kw
Your photos are amazing!
What camera do you use?
Lexi
Thank you so much! We just got a new camera - the Nikon z7. We've been using it for a few months now and absolutely love it!