
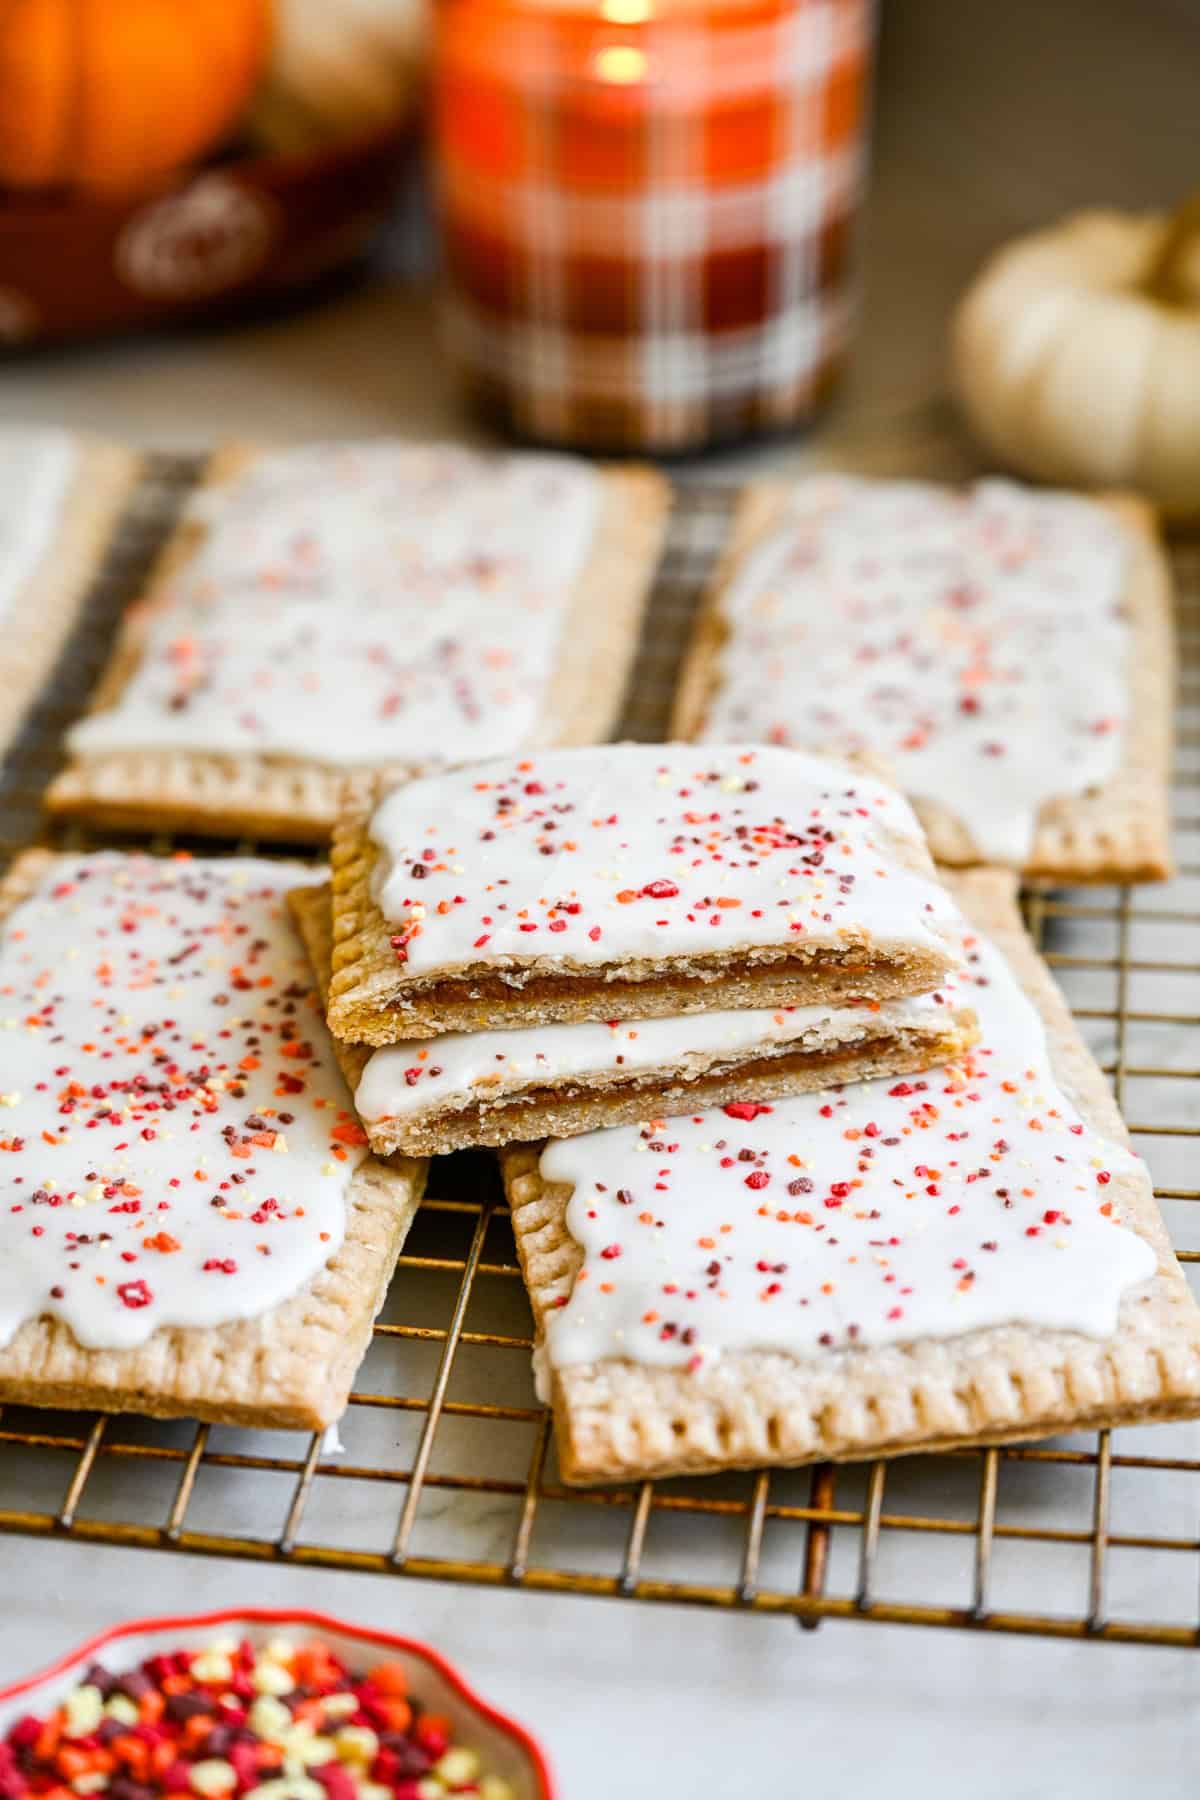
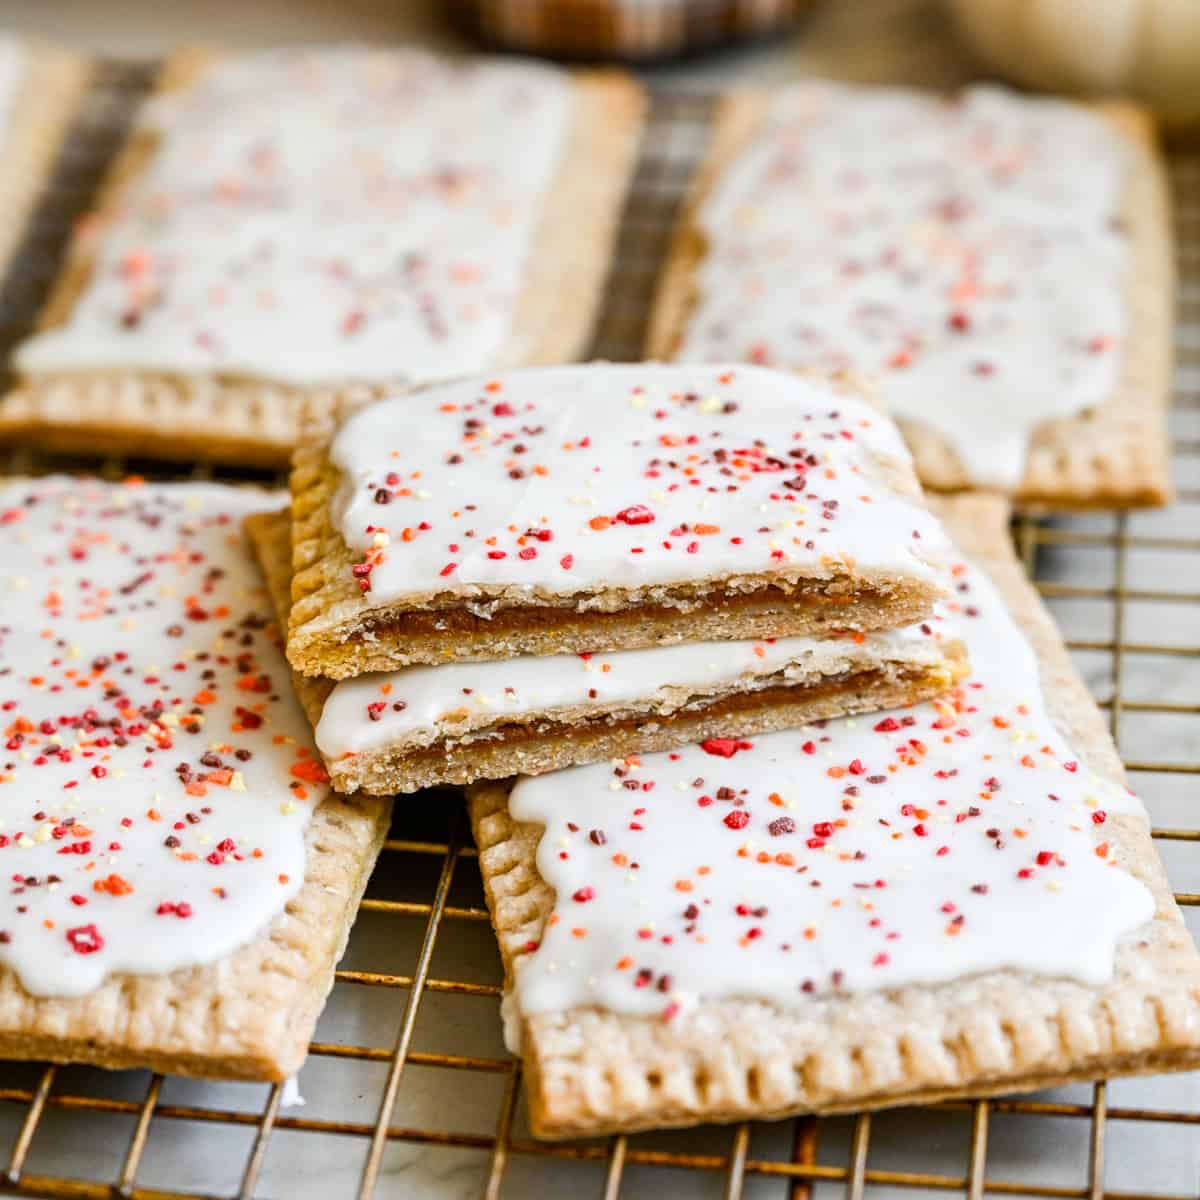
We've made homemade Blueberry Pop Tarts, Brown Sugar Cinnamon Pop Tarts, and Strawberry Pop Tarts, but these homemade Pumpkin Pie Pop Tarts are a delicious seasonal spin for fall! These are made with our classic pop tart dough with a pinch of pumpkin pie spice added, plus a rich, smooth Homemade Pumpkin Butter filling, a simple icing and fall-colored sprinkles.
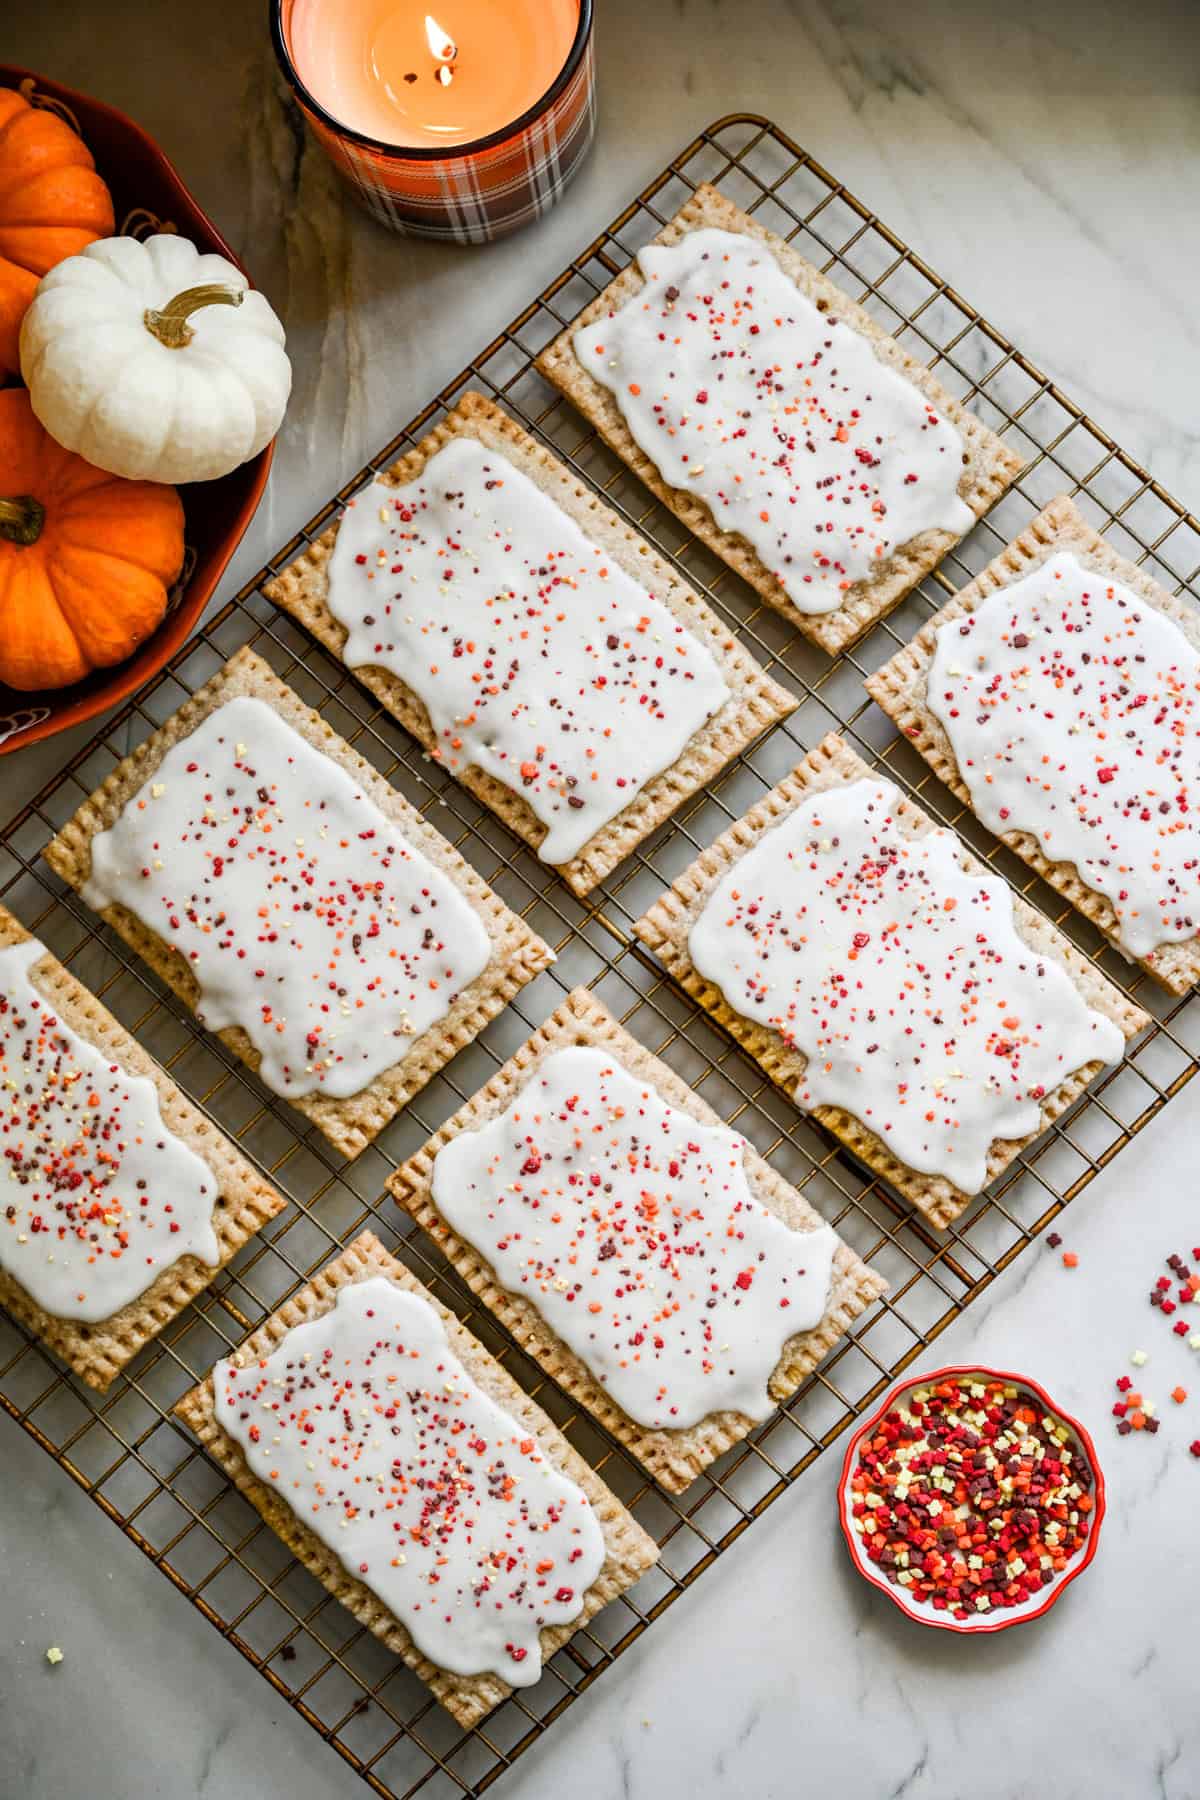
A Seasonal Pop Tart Flavor, Made Better!
Our homemade pop tart recipes are consistently some of the most popular in our Better Than Store-Bought Series, so when we saw the official Kellogg's brand Frosted Pumpkin Pie Pop-Tarts, we knew we had to recreate it for our readers.
With a lightly spiced dough and the most delicious pumpkin butter filling that's super concentrated in pumpkin flavor, these are truly lightyears ahead of the store-bought version.
True to our series, we fixed all of the things you don't like about store-bought.
Stale, cardboard-like crust? Not here. This one is buttery and flaky like pie dough, but still has that characteristic pale color.
Skimpy, artificial filling? No way. Ours is made with real pumpkin, real spices, and there are 2 tablespoons in each pop tart.
Brittle icing? Nope! This one is a softer glaze that still hardens at room temp, but doesn't get chalky or dry.
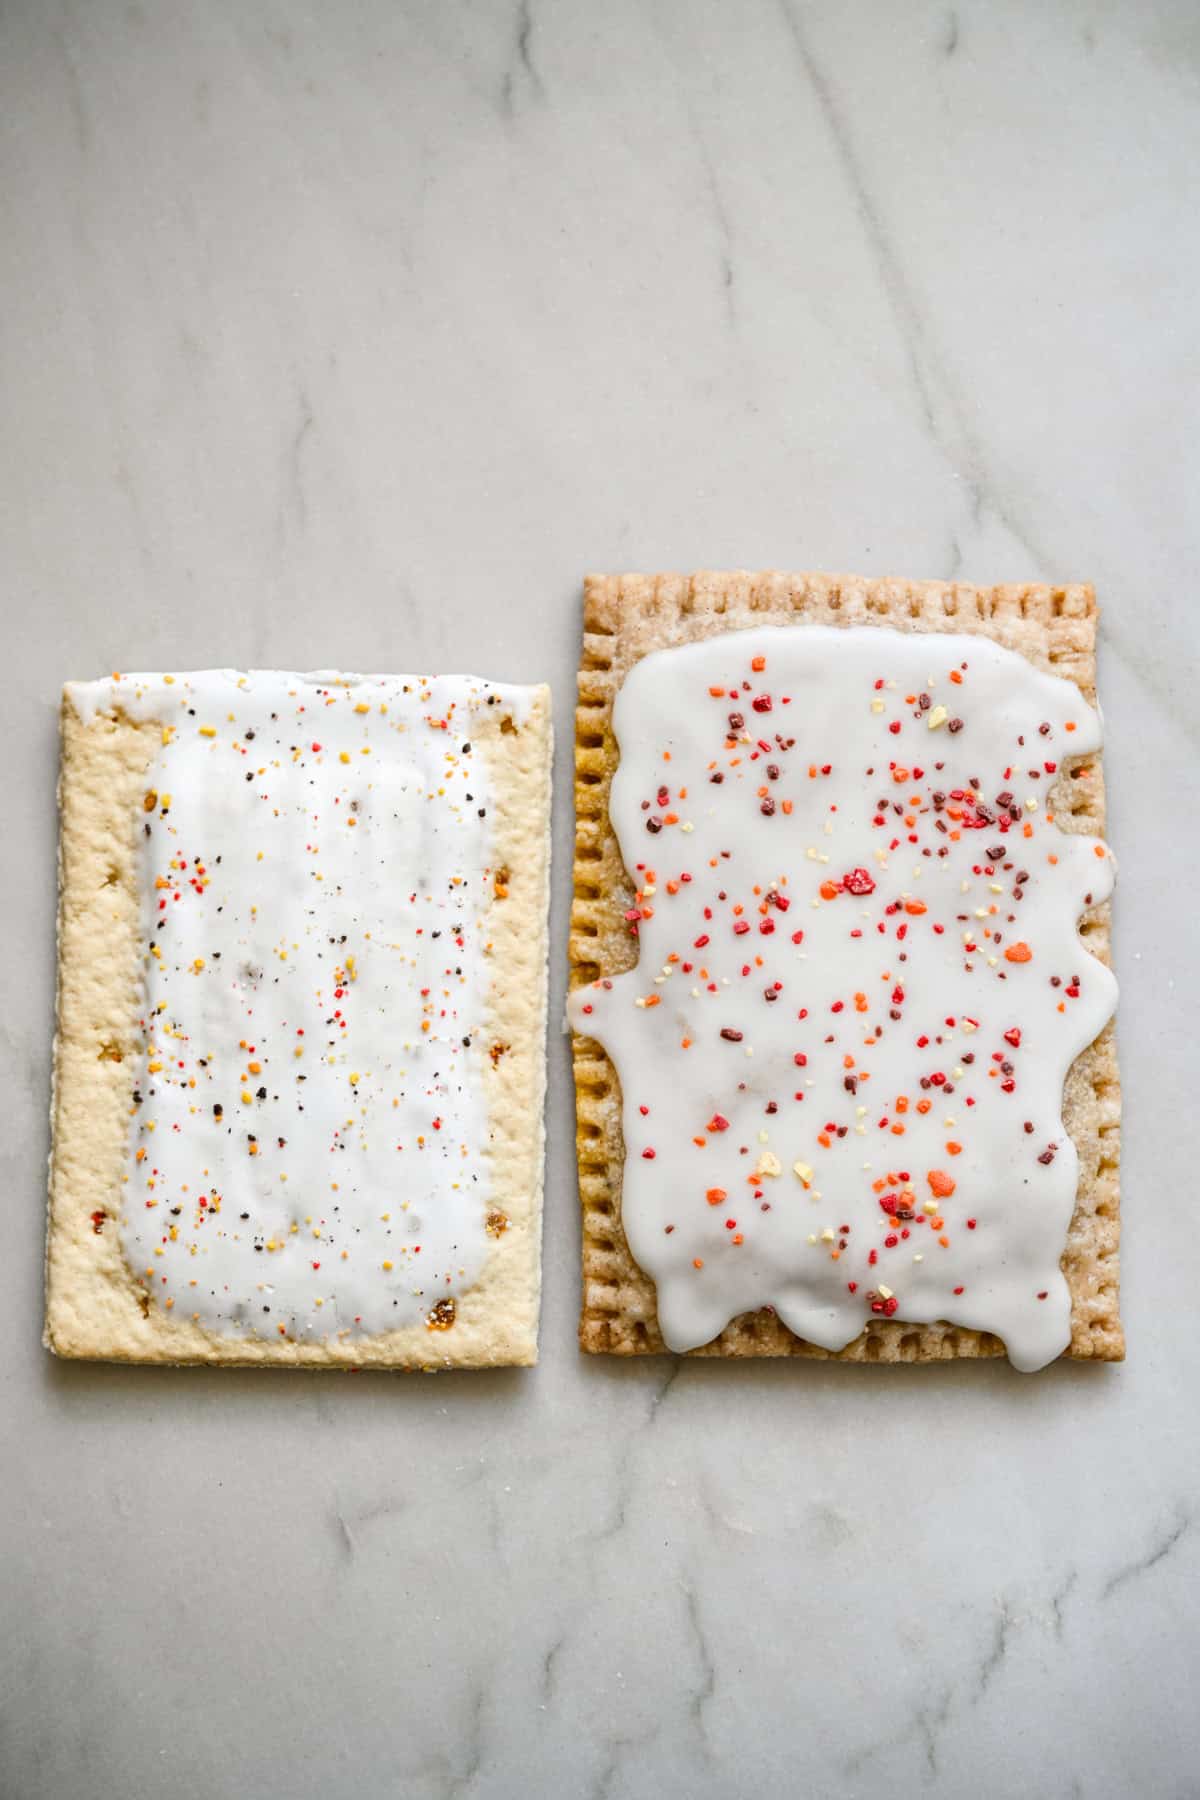
Don't get me wrong – these still have plenty of sugar, butter, and all of that good stuff. But they taste 10x better, they don't have artificial colors or flavors, and you probably already have most of the ingredients.
So what seasonal pop tart flavor should we make next? I have my eye on those caramel apple ones... (P.S. for another fall flavor, you could fill these with our Apple Butter instead!)
Key Ingredients Needed for Pumpkin Pie Pop Tarts
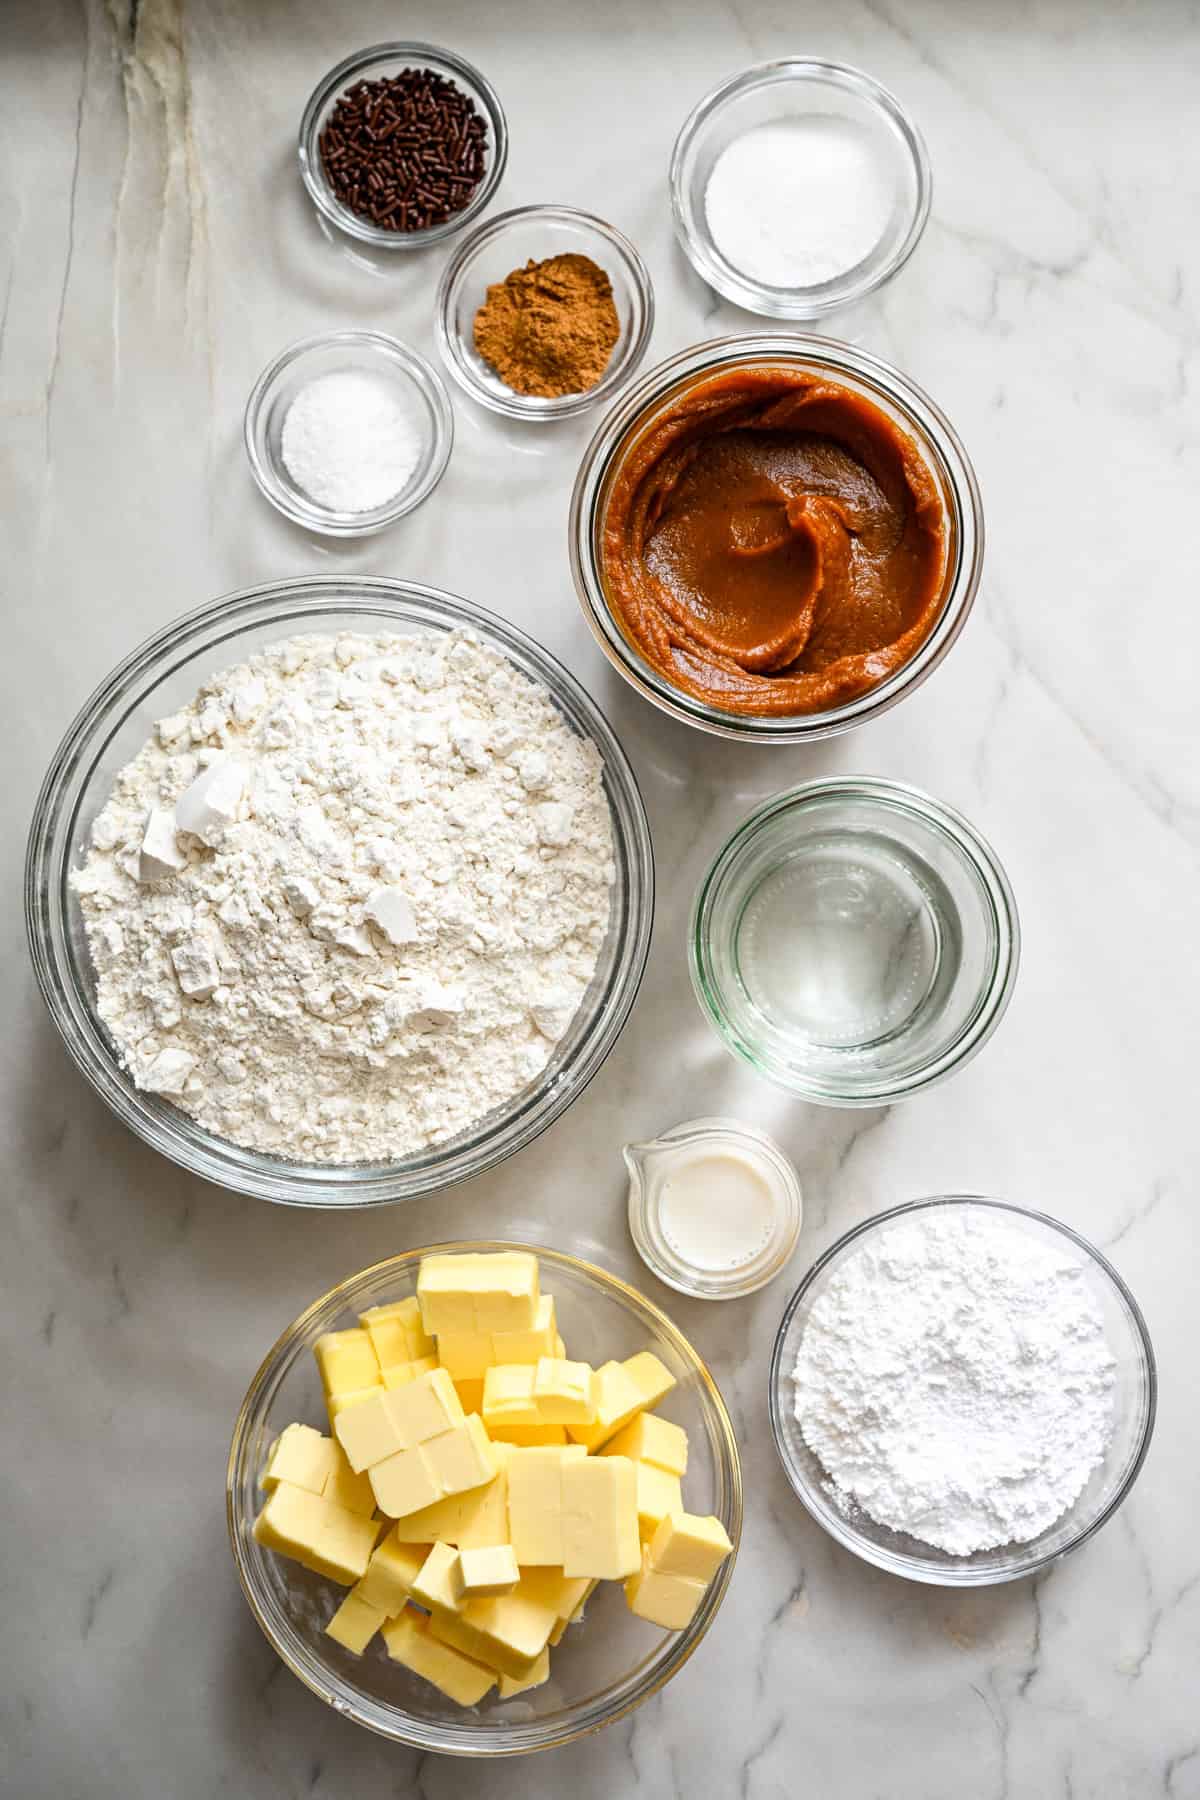
- Butter: Make sure it's very cold! We cube ours and then pop it in the freezer for 10 minutes or so before adding to the dough.
- All-purpose flour: Spoon the flour into your measuring cup and then level with a knife to make sure you're using the right amount. We haven't personally tried this recipe with gluten free flour but some of you have tried it on our other pop tart recipes with success.
- Pumpkin pie spice: Don't have any on hand? To make 4 teaspoon worth (the amount you need for this recipe), mix together 2 teaspoon cinnamon, 1 teaspoon ginger, ½ teaspoon nutmeg, ¼ teaspoon cloves and (optional) ¼ teaspoon allspice.
- Pumpkin butter: The star ingredient! We use our Homemade Pumpkin Butter and it's rich, flavorful and delicious. We did test this pop tart recipe without cooking down the pumpkin into a thicker butter, and while it did work and saved time, we unanimously agreed that cooking it down to concentrate the flavor is absolutely worth it.
- Sprinkles: Any sprinkles will do. We picked up seasonal, fall-colored sprinkles from the store but use any you have. Chocolate sprinkles would look great!
How to Bake These Pumpkin Pie Pop Tarts
Make the crust
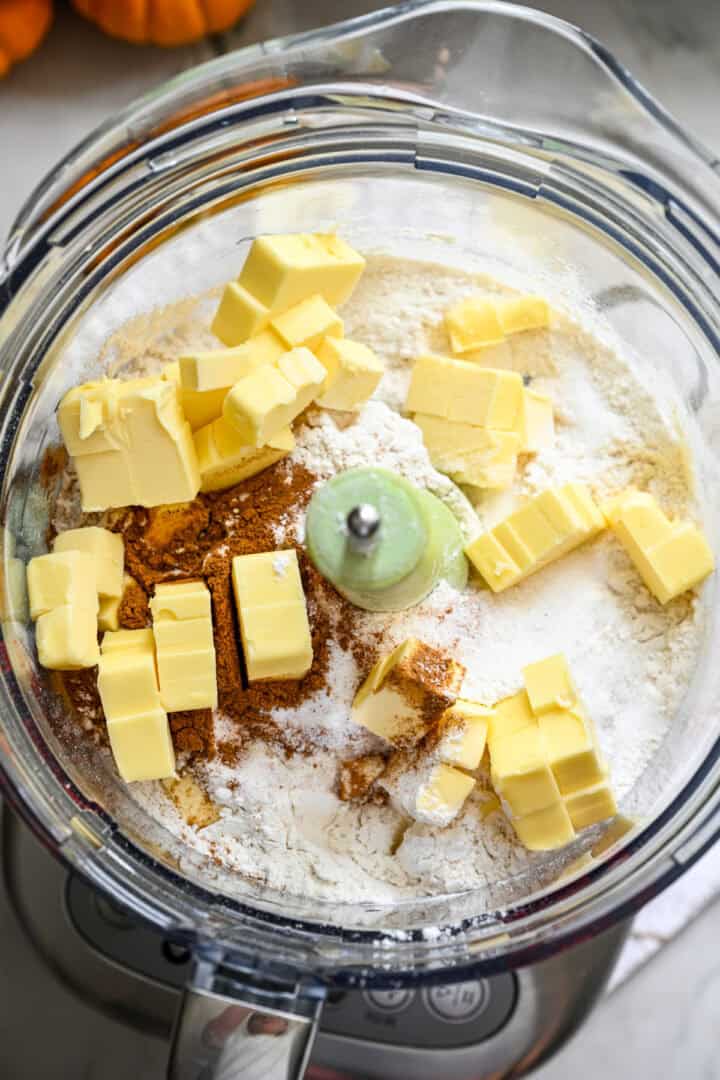
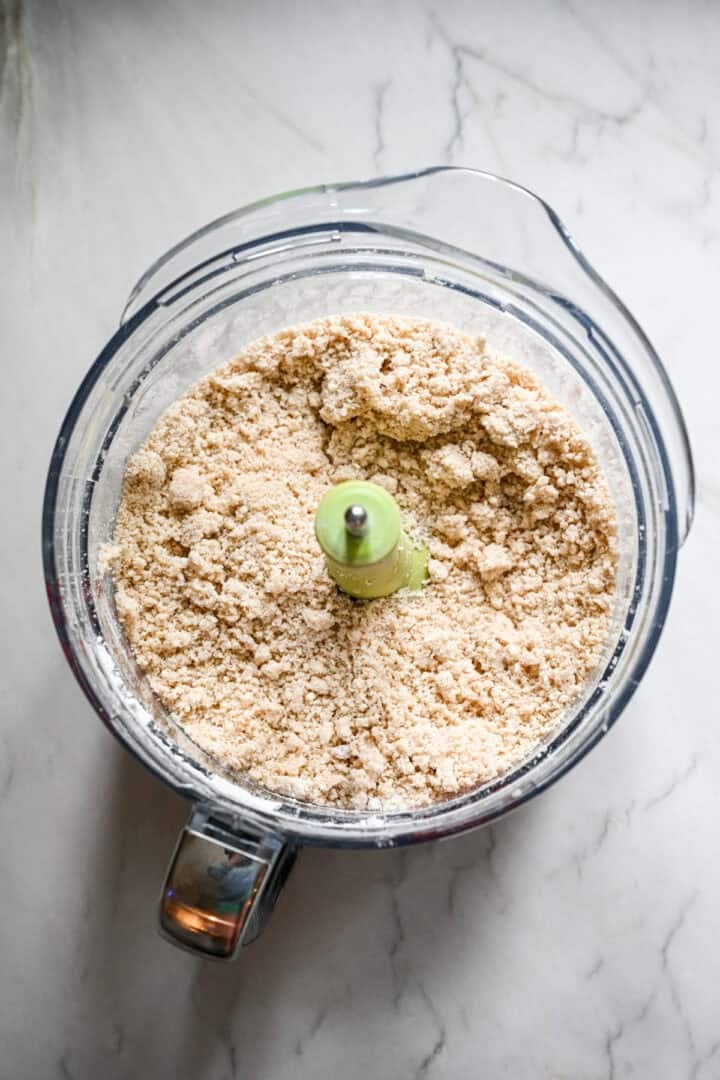
- Pulse flour, butter, sugar, salt, and pumpkin pie spice in a food processor, until the butter pieces are pea-sized. Stream in the cold water, pulsing until a crumbly dough forms.
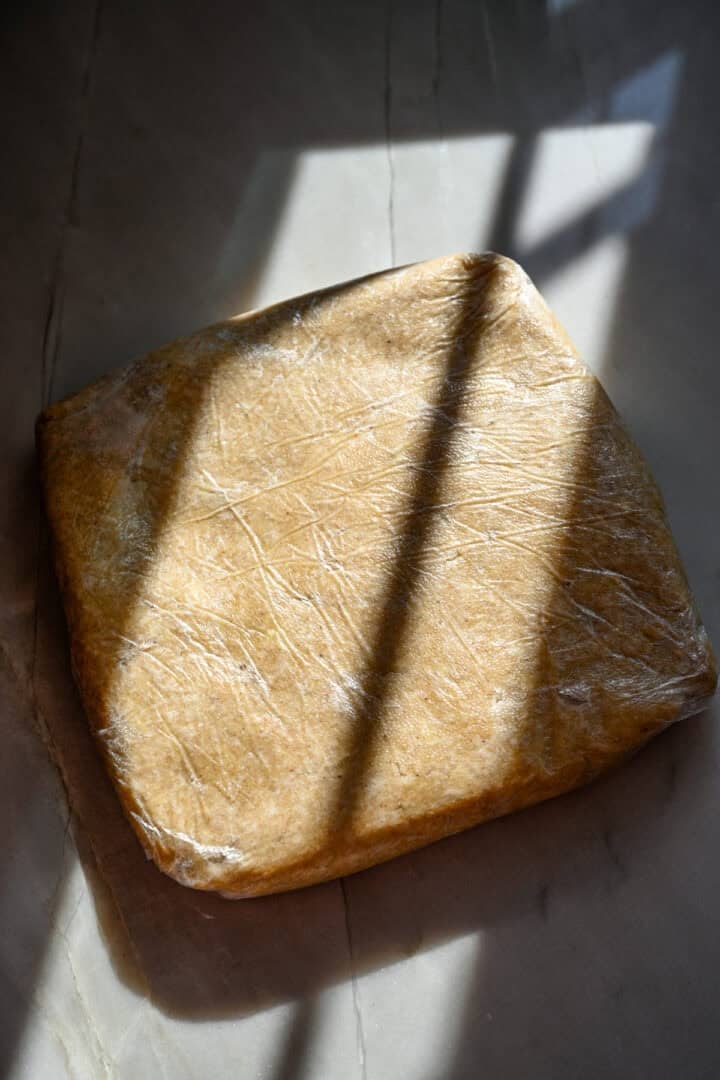
- Shape the dough into a rectangle, wrap in plastic & refrigerate for 1-2 hours.
Make the pumpkin butter
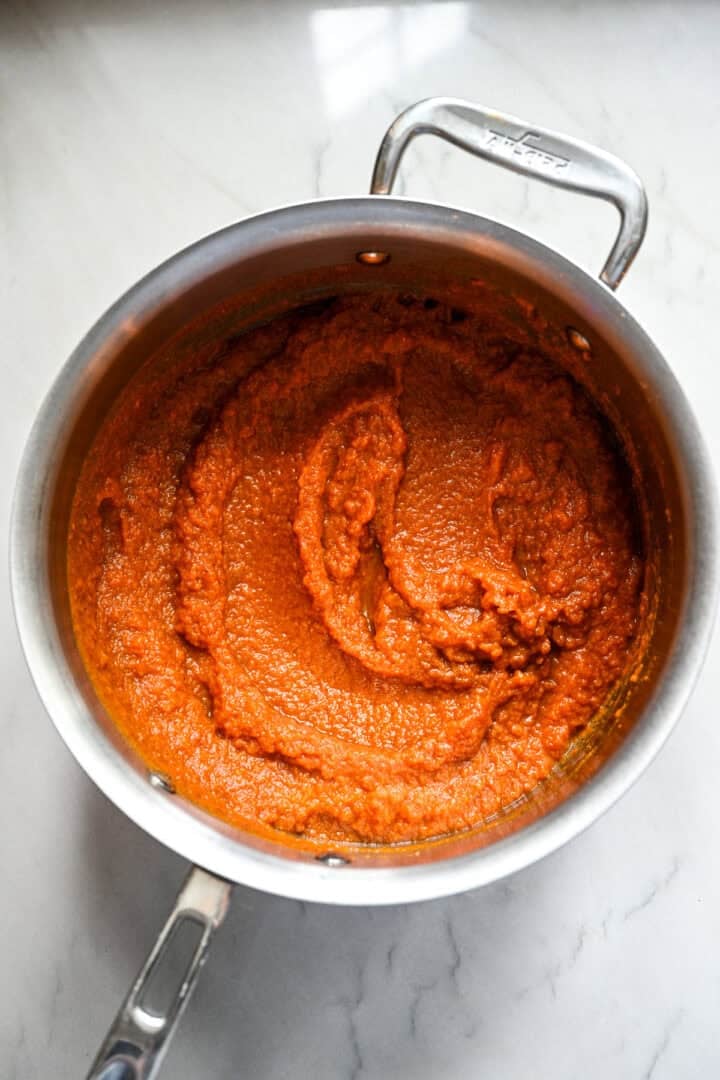
- Add all ingredients to a saucepan over medium heat and stir.
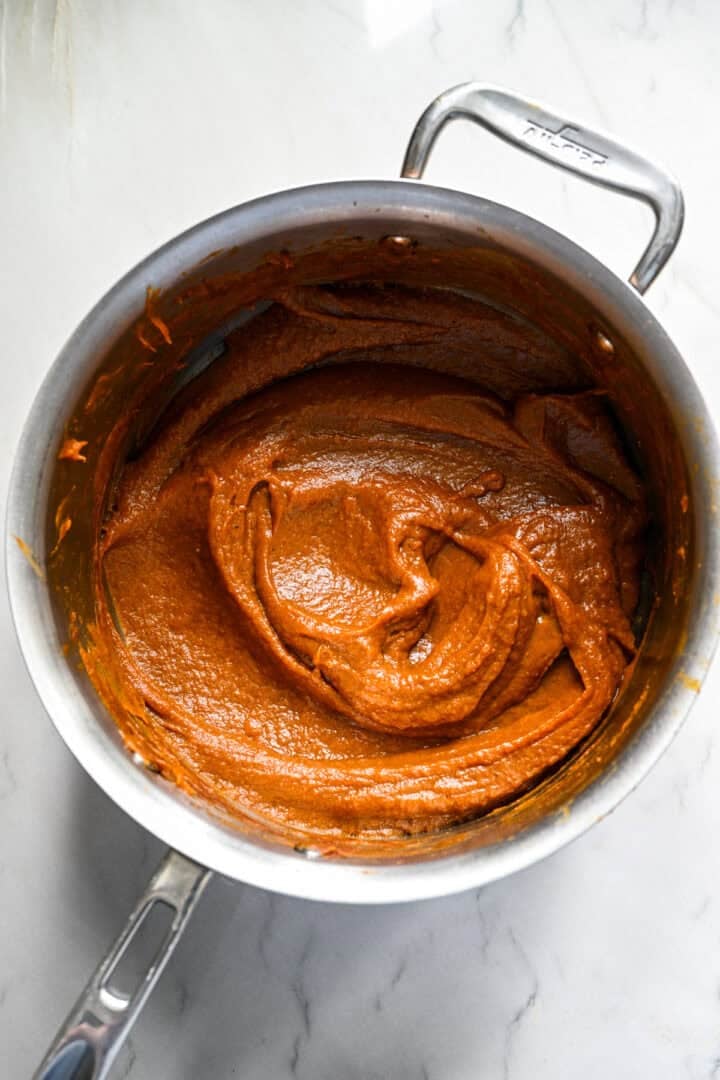
- Let the mixture cook on medium-low for ~30 minutes, stirring occasionally, until the pumpkin butter reduces by about 25%. Let the pumpkin butter cool completely while the dough chills.
Assemble and bake the pop tarts
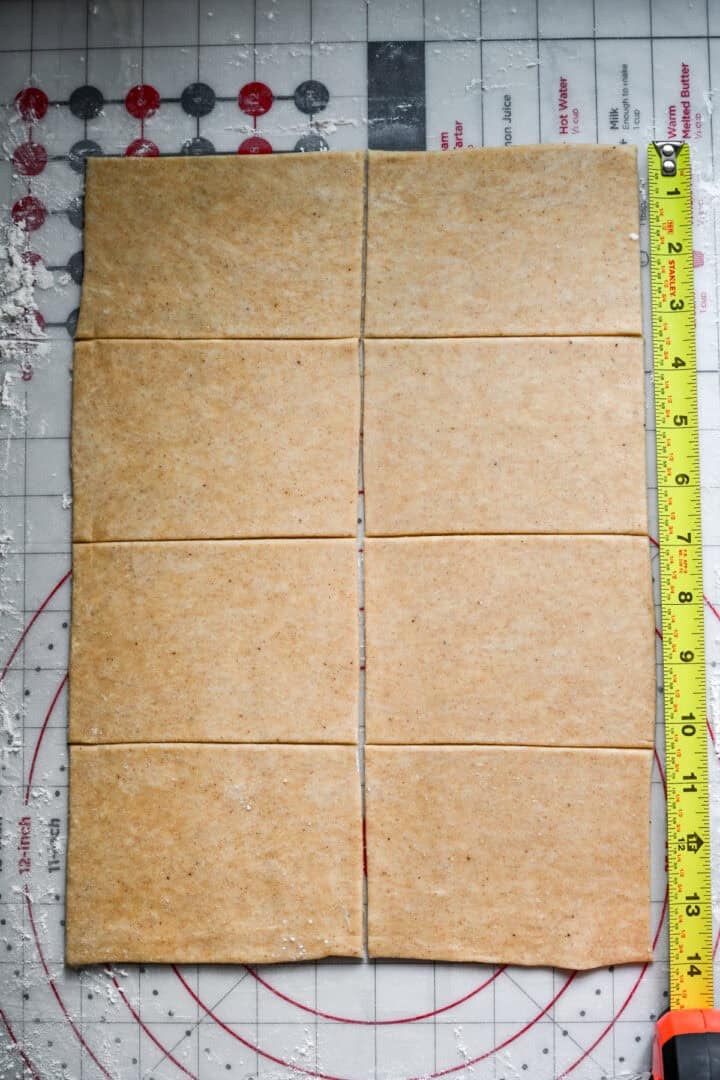
- Cut the dough in half & roll one half into a large, straight-edged rectangle that's 14x10 inches. Cut the rectangle in half lengthwise, then cut each half into 4 rectangles for 8 total rectangles. Repeat with the other half of the dough.
- Using a wooden skewer, dock several holes in the center of 8 of the rectangles (these will be the tops). Into the centers of the other 8 rectangles, spoon about 2 tablespoons of the filling and spread into a thin layer, leaving a border around the edges.
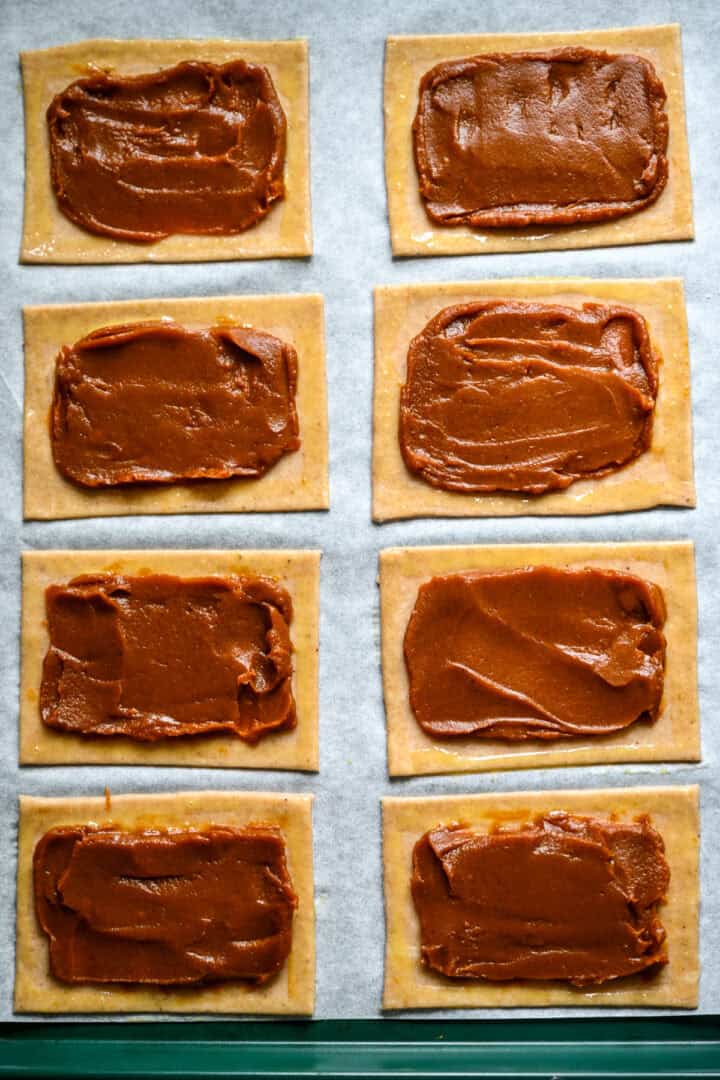
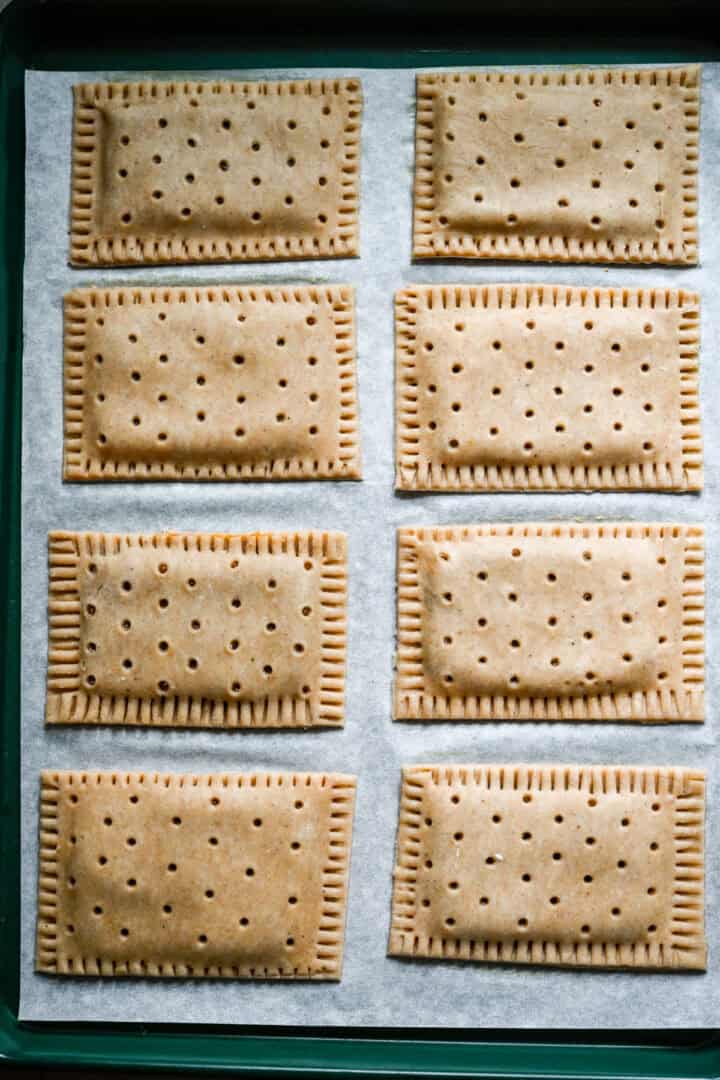
- Brush egg yolk around the border of the filling, then place one of the docked rectangles on top, pressing down the edges to secure. Crimp and seal the edges of each tart. Transfer to a parchment-lined sheet pan.
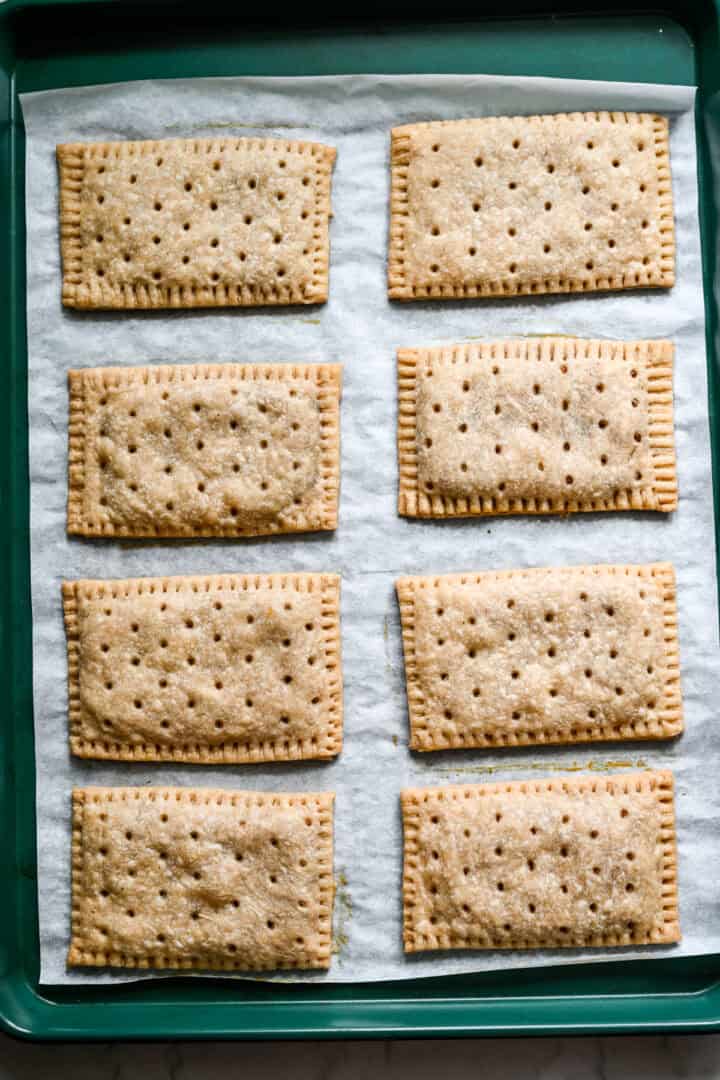
- Bake the tarts for 30-35 minutes at 300˚F (yes, 300˚F! We bake them low and slow to retain that characteristic pale color), until light golden brown on the bottom. Cool completely before topping with icing.
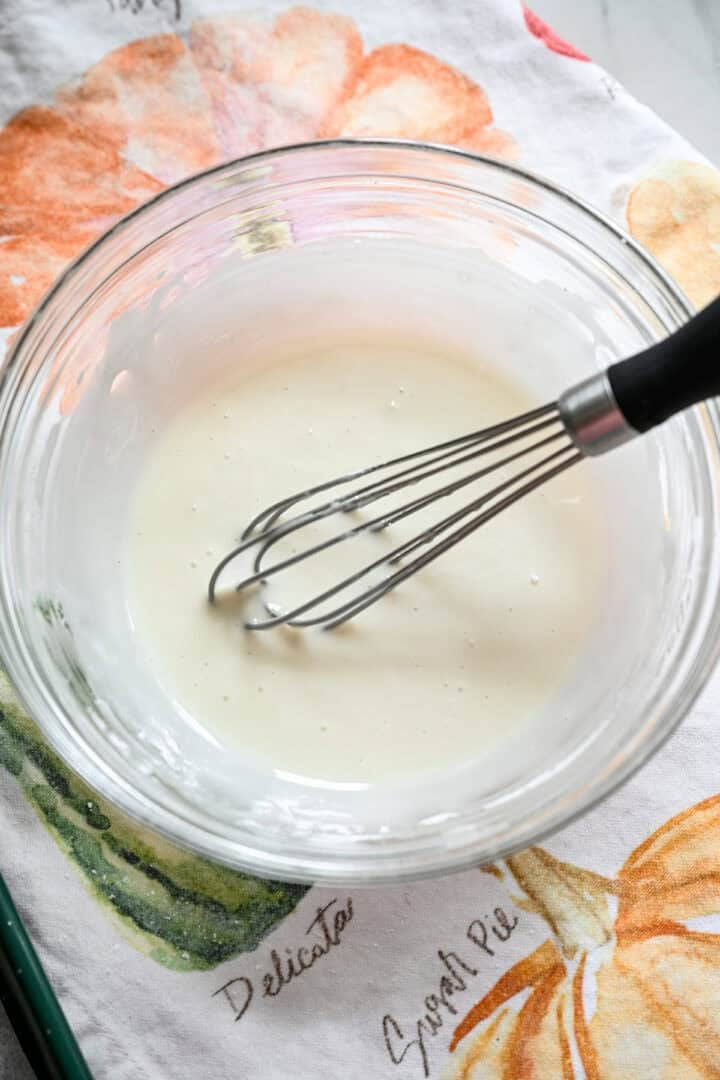
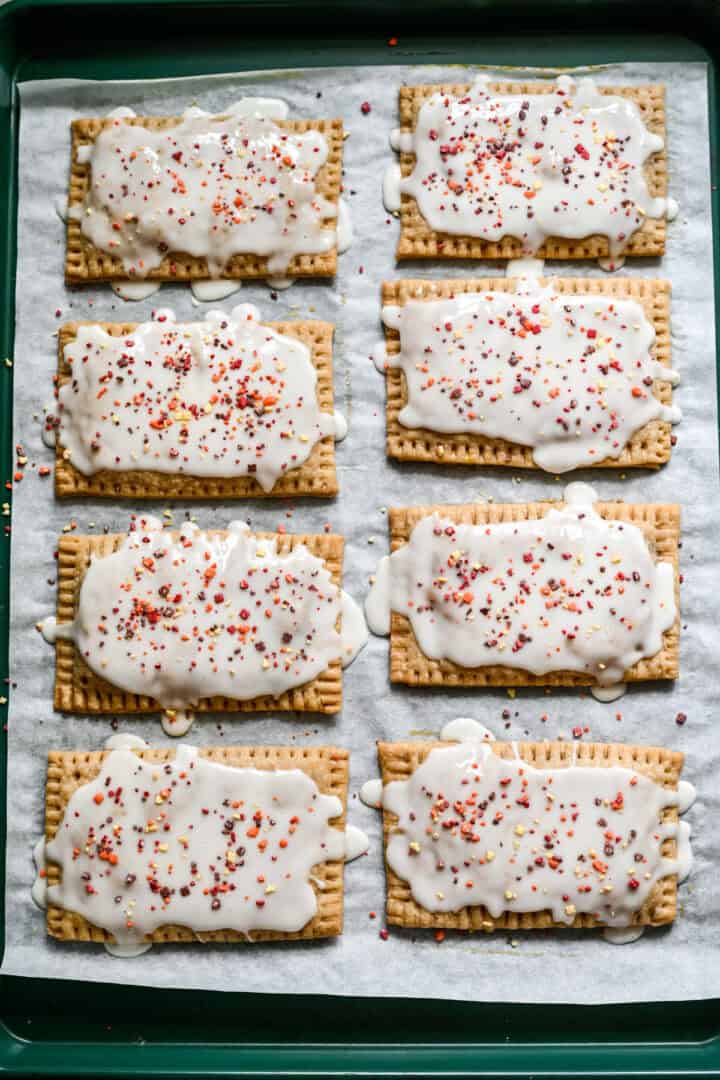
- To make the icing, whisk together the powdered sugar and milk. It should be thick, but still pourable. Test a small amount on one pop tart. If you can see the dough through the icing, it's probably a bit too thin, so add a touch more powdered sugar. Top with sprinkles and let the icing set before you enjoy!
Top Tips from the CK Test Kitchen!
- If you don't have a food processor, you can stir the dry ingredients together, and then grate in the butter, or chop it into the dough with a bench scraper, then just work the butter into the flour with your fingers, just like you would pie dough.
- If the dough ever seems unworkable (it's too stretchy, soft, or the butter is melting), pop it in the freezer for 10 minutes to re-solidify the butter.
- Our secret for super neat, picture-perfect pop tarts: Use a bench scraper to trim the edges into straight lines after crimping. We also always use a ruler when cutting the dough to make sure each pop tart is the exact same size.
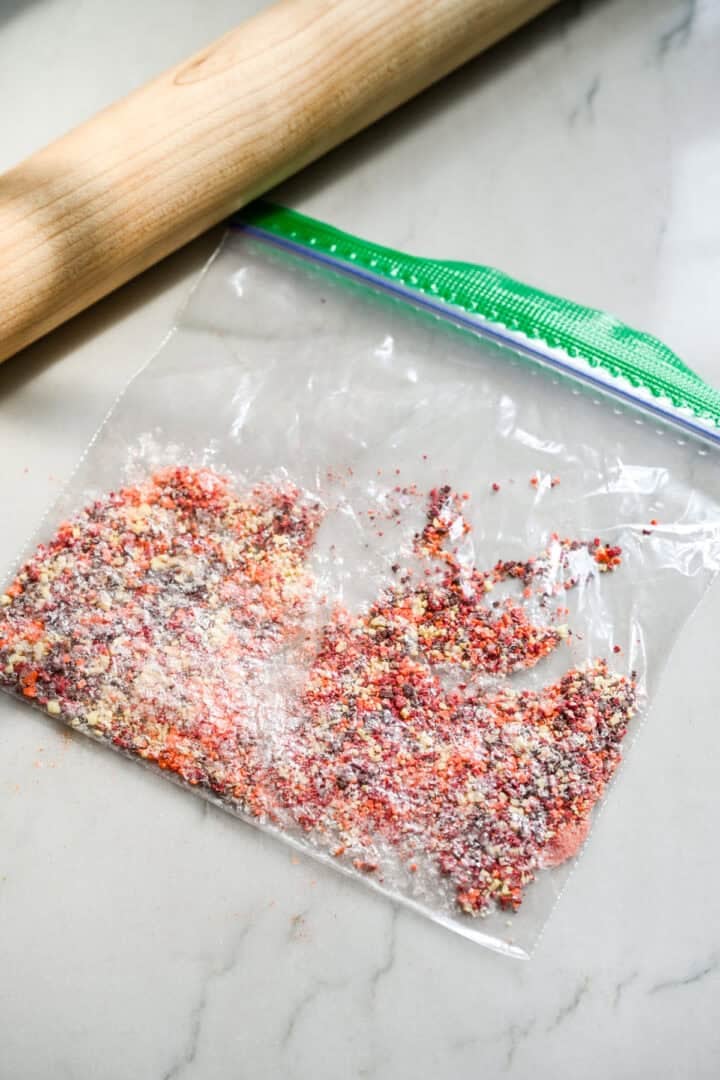
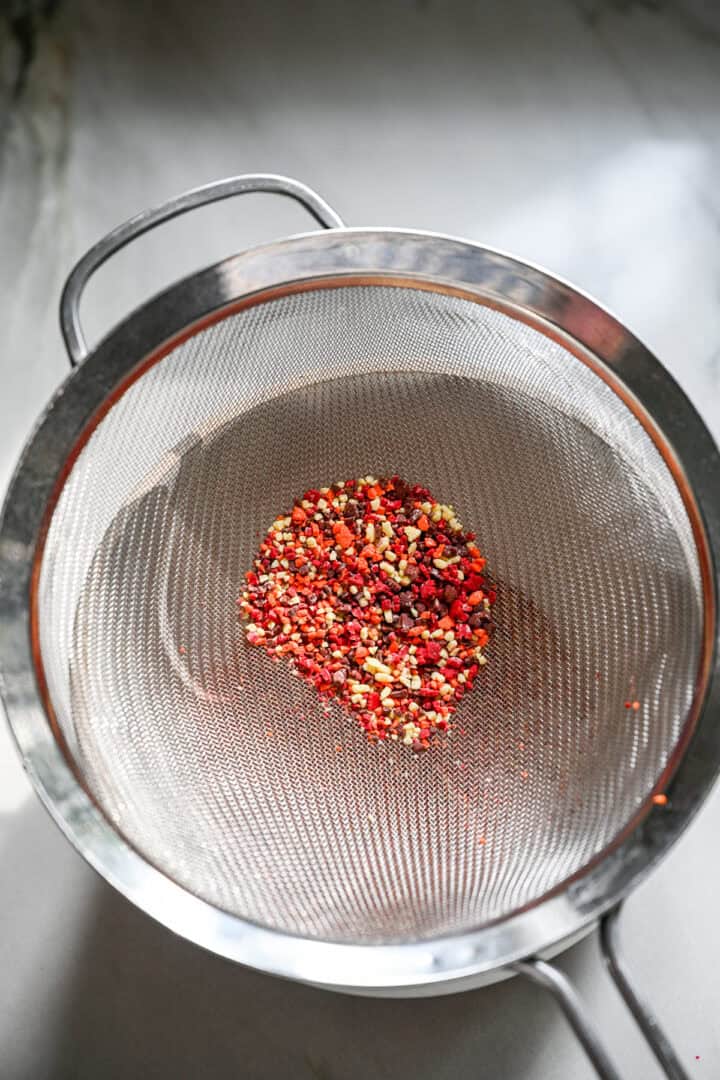
- To get those characteristic sprinkle bits for topping, we put our sprinkles in a plastic bag and break them into small pieces with a rolling pin. Then, we shake them through a sieve so we're just left with the best pieces. This is 100% optional and totally not necessary!
- Make it ahead: To cut down on single-day prep, we usually make the filling and dough the day before baking. Just wrap the dough tightly in plastic wrap and roll it out when you're ready to bake.
- Storage: Let the icing fully set before storing the pop tarts in an airtight container. (We learned the hard way that if it's not totally dry, it will stay wet in the container and your pop tarts will look like a mess!) Keep them for 3 days at room temperature or up to a week in the refrigerator.
- Freeze them unbaked: Freeze the fully assembled but unbaked pop tarts on a sheet pan (on parchment paper) first, then transfer them to a freezer container or bag and freeze for up to 3 months. You can bake straight from frozen – just add a few extra minutes.
- Freeze after baking: Bake, but don't add the glaze. Freeze them on a sheet pan with parchment paper until solid, then transfer the pop tarts to a freezer container or bag and freeze for up to 3 months. Defrost overnight in the fridge. You can reheat for a few minutes in a 300˚F oven, then top with icing.
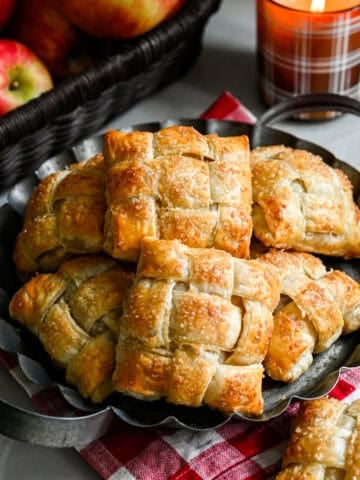
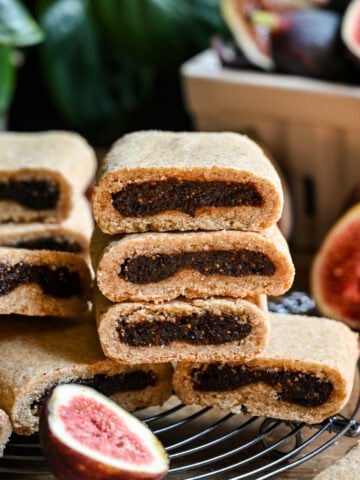
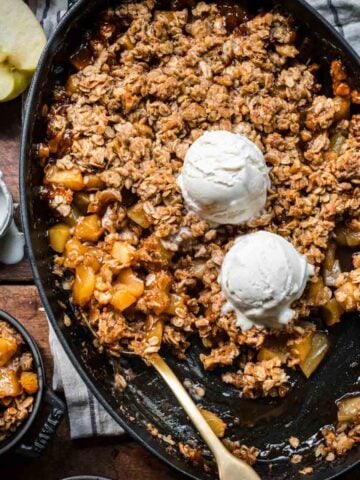
More Fall Baking Recipes You'll Love
We can't wait for you to bake these pumpkin pie pop tarts in your own home! If you do, be sure to let us know! Leave a comment with a star rating below. You can also snap a photo and tag @crowded_kitchen on Instagram. We can't wait to see what you're cooking!
📖 Recipe
Pumpkin Pie Pop Tarts
Ingredients
Method
- In a food processor, combine the flour, butter, sugar, salt, and pumpkin pie spice and pulse a few times until the butter pieces are pea-sized. Stream in the cold water, pulsing as you go, until a crumbly dough forms.
- Transfer the dough to a lightly floured surface and gently knead it into a ball. Flatten the dough into a rectangle about 1" thick, wrap in plastic wrap and refrigerate for 1-2 hours.
- To make the pumpkin butter filling, add all ingredients to a medium-sized saucepan over medium heat and whisk or stir with a spatula until everything is well incorporated.
- Bring the pumpkin butter to a gentle simmer, then reduce the heat to medium-low.
- Let the mixture cook for about 30 minutes, stirring every 5 or so minutes, until the pumpkin butter reduces by about 25%. It should be thick, darker in color than when you started, smooth, and more like a paste than a purée. You should end up with almost exactly 2 cups of pumpkin butter.
- Let the pumpkin butter cool completely while the dough chills.
- Preheat the oven to 300˚F (150˚C) and line a sheet pan with parchment paper.
- On a well-floured surface, roll one half of the dough into a large rectangle about ⅛-inch thick, then trim it into a straight-edged rectangle that's 14x10 inches. Cut the rectangle in half lengthwise, then cut each half into 4 rectangles for 8 total rectangles, each roughly 5" long and 3.5" wide.
- Repeat with the other half of the dough. In total, you will have 16 rectangles of the same size. Note: If at any point the dough starts getting too soft to work with, just pop it in the freezer for 10 minutes, then carry on.
- Using a the flat end of a wooden skewer or a fork, dock several holes in the center of 8 of the rectangles (these will be the tops). Make sure the holes go all the way through the dough, otherwise the steam will cause the tops of your pop tarts to puff up.
- Into the centers of the other 8 rectangles, spoon about 2 tablespoons of the filling and spread into a thin layer, leaving a border around the edges.
- Around the border of the filling, brush the beaten egg yolk, then place one of the docked rectangles on top, pressing down the edges to secure. Using the tines of a fork, crimp and seal the edges of each tart. Transfer to the sheet pan, then repeat with the remaining pop tarts.
- Bake the tarts for 30-35 minutes, until very lightly browned on the top and edges and golden brown on the bottom. Carefully transfer to a cooling rack to cool completely.
- To make the icing, whisk together the powdered sugar and milk. It should be thick, but still pourable. Test a small amount on one pop tart. If you can see the dough through the icing, it's probably a bit too thin, so add a touch more powdered sugar. Top with sprinkles and let the icing set before you enjoy!
Lora Adams says
Your recipes are very awesome.
Lexi Harrison says
Thank you so much!
Julianne says
I honestly didn't know Pop-Tarts could taste this good! These were super easy to assemble, and the kids had fun decorating them with me! We all loved the pumpkin filling, the perfect fall flavor. I will absolutely be making these again this October.
Lexi Harrison says
That's the best thing to hear 🙂 So glad you enjoyed!!
Kadance Butterfield says
So amazing 🥰🤩 will be a staple in my home now!
Lexi Harrison says
So glad you enjoyed!
Julie Evans says
I'm dying to try this and thank you for sending me the link. If I go on from my knowledge of baking this sounds like a winner.
Lexi Harrison says
Thank you, I hope you love it!