
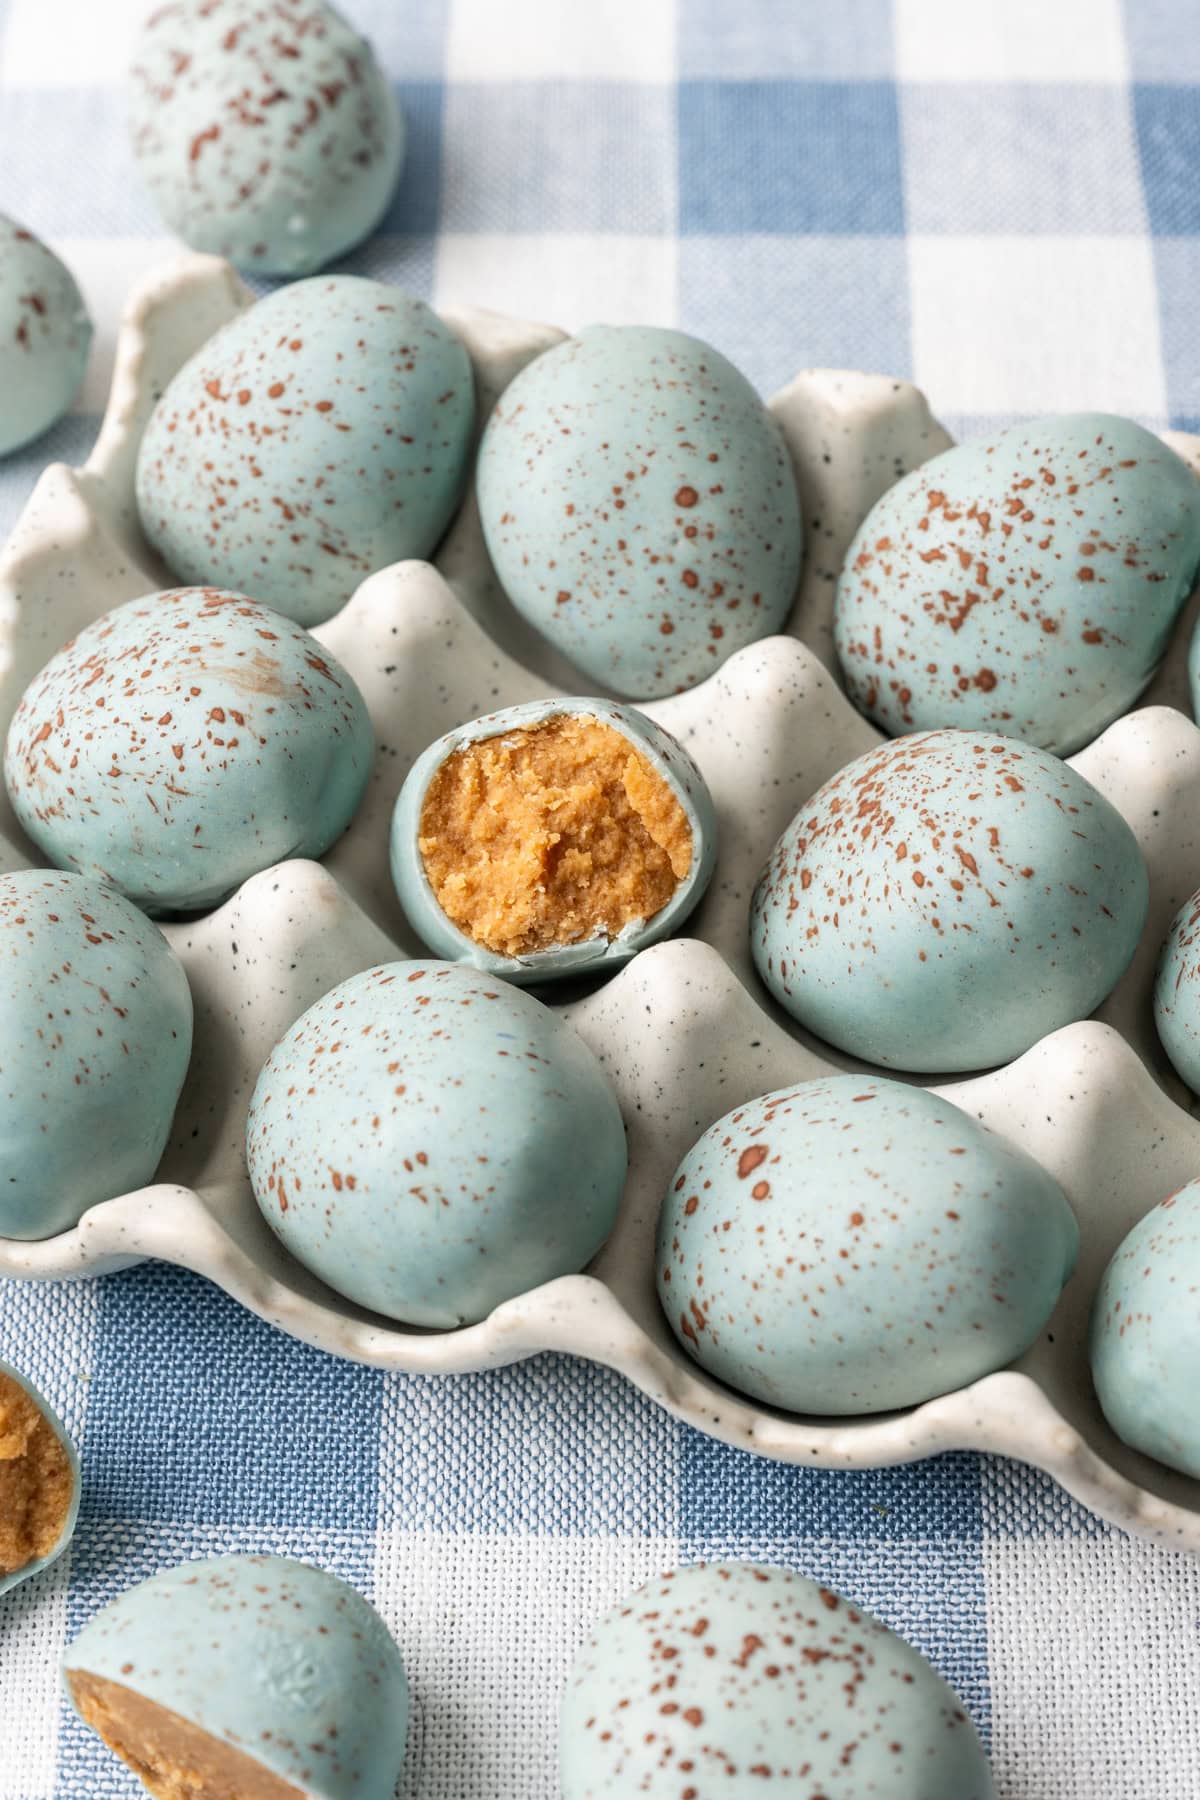
Inspired by everyone's favorite Reese's candy, these homemade White Chocolate Peanut Butter Easter Eggs look exactly like a real speckled robin's egg! They're easy to make, with just 6 ingredients in the filling, and we use all natural ingredients to dye the white chocolate.
With the price (and scarcity) of real eggs this year, we're going to skip the Easter egg dying and save them for something that we'll actually eat (like this Sheet Pan Frittata!). We love that these look like an actual dyed Easter egg, and you can make them any color you'd like. This recipe is part of our Better Than Store-Bought Series, where we recreate popular store-bought snacks from scratch.
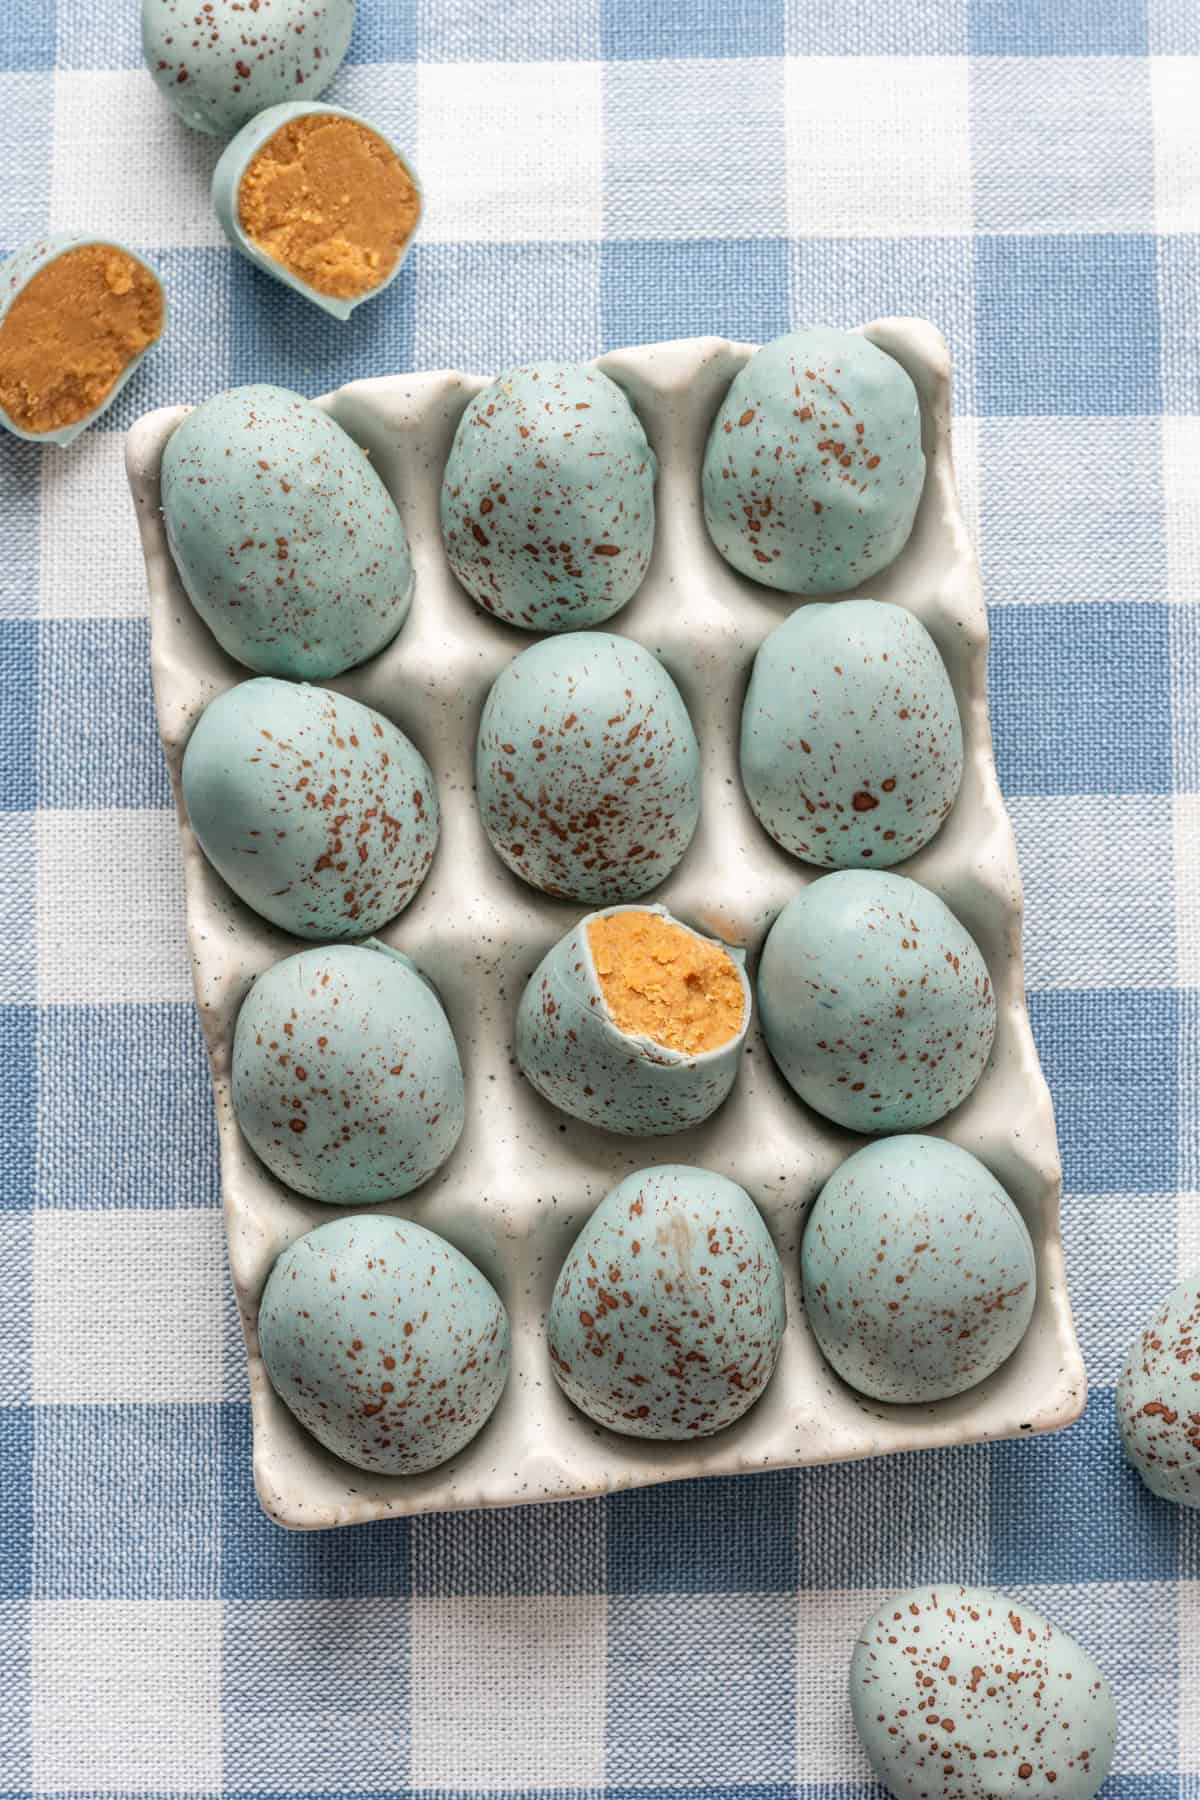
We love to create a good copycat recipe. Last year for Easter we made homemade Peeps, but this year, we knew we had to make a Reese's peanut butter egg copycat recipe! They're the best Easter candy (IMO) and they're actually very easy to make at home.
I did my best to keep the sugar level a bit lower than most peanut butter egg recipes. This one uses a mixture of maple syrup and a little bit of powdered sugar for consistency. You could use just maple syrup if you'd like, but they won't be quite as creamy and soft inside.
Almond flour helps to bind the peanut butter mixture together. It's important to use runny, natural peanut butter (no sugar added) to get the consistency right.
White chocolate is best for coating if you want to make these look like an actual dyed egg (or a real robin's egg!). That said, you can substitute white chocolate with dark or milk chocolate for a more classic version.
Step-by-step instructions
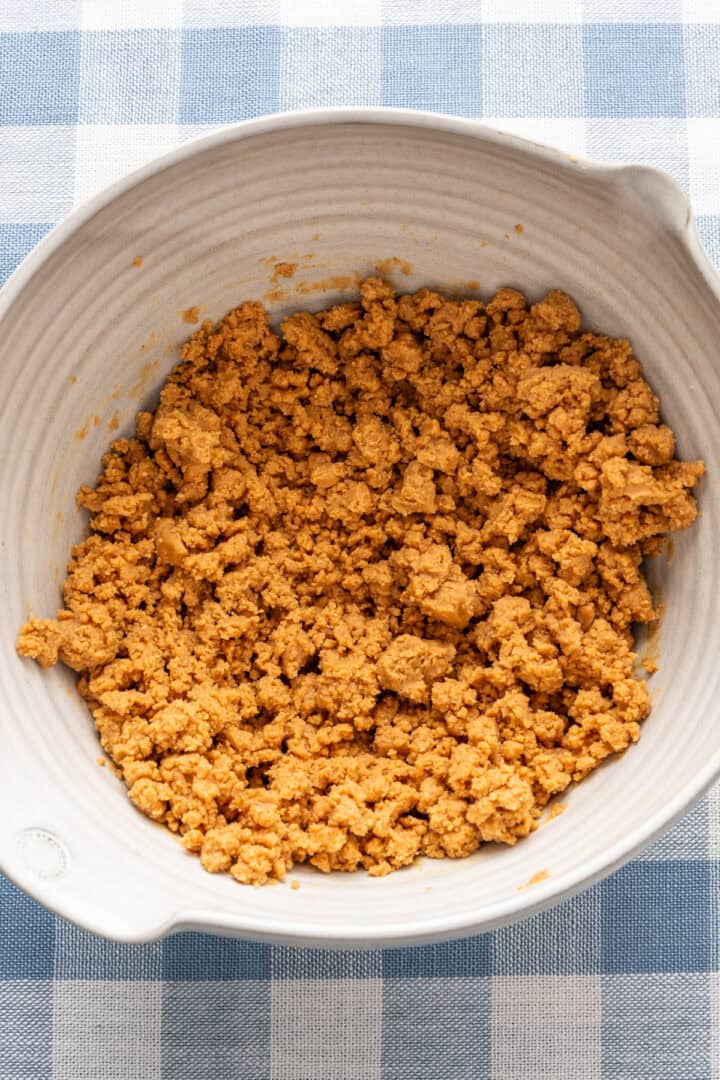
STEP 1: In a mixing bowl, beat together the peanut butter, maple syrup, powdered sugar, almond flour, vanilla extract and salt until well combined.
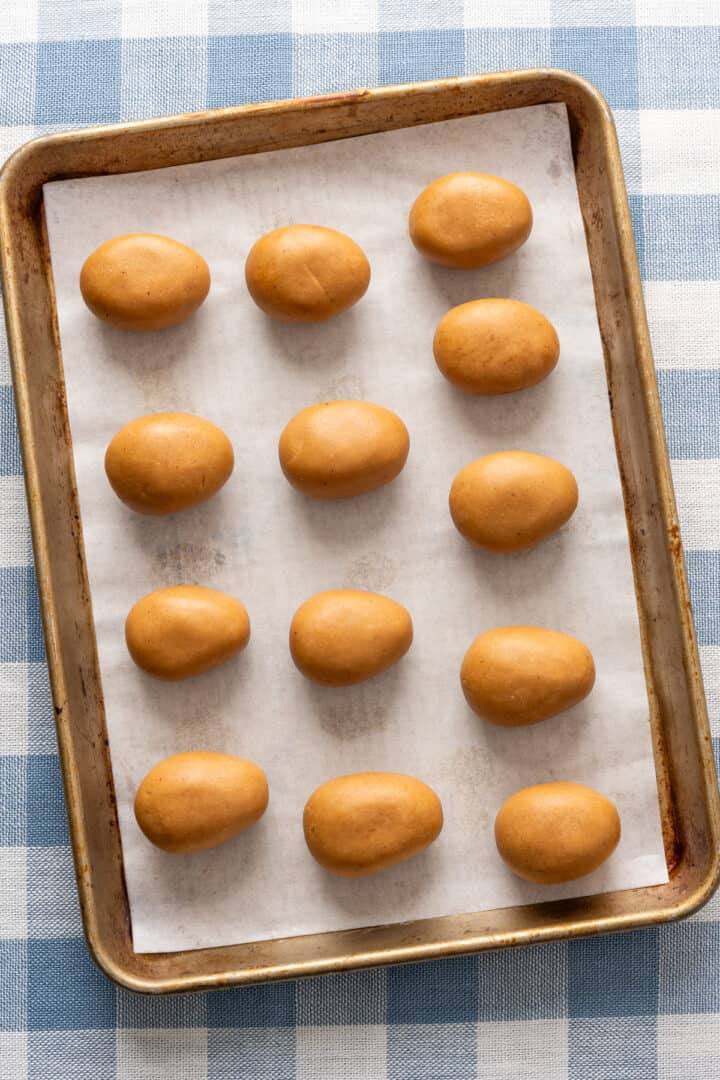
STEP 2: Portion the peanut butter filling into 2-tablespoon portions. You can make them smaller if you'd like. These eggs are on the larger side so they resemble actual eggs. Roll each one into a ball using your hands, then use your hands to shape the ball into an oval.
Place on a parchment paper-lined baking sheet and freeze while you prepare the coating.
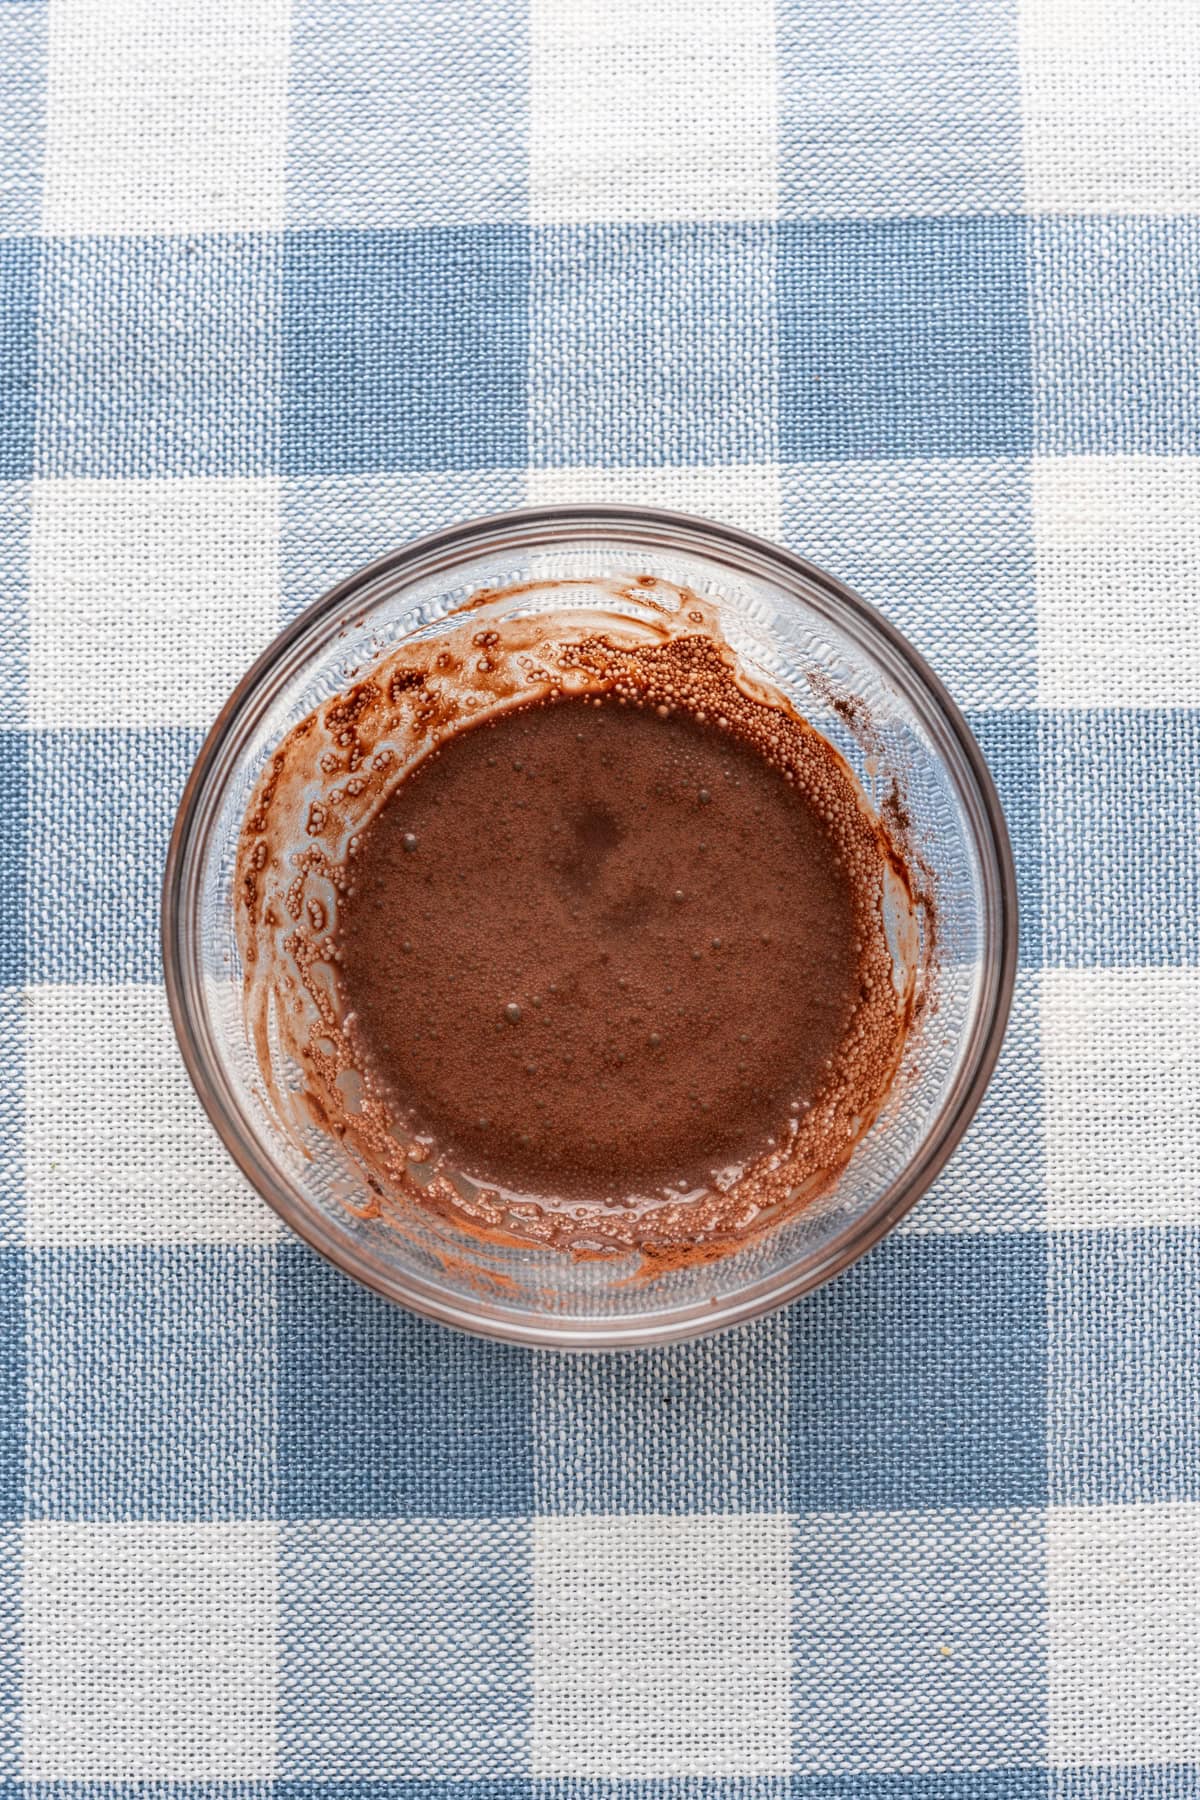
STEP 3: In a small bowl, whisk together the cocoa powder and water and set aside.
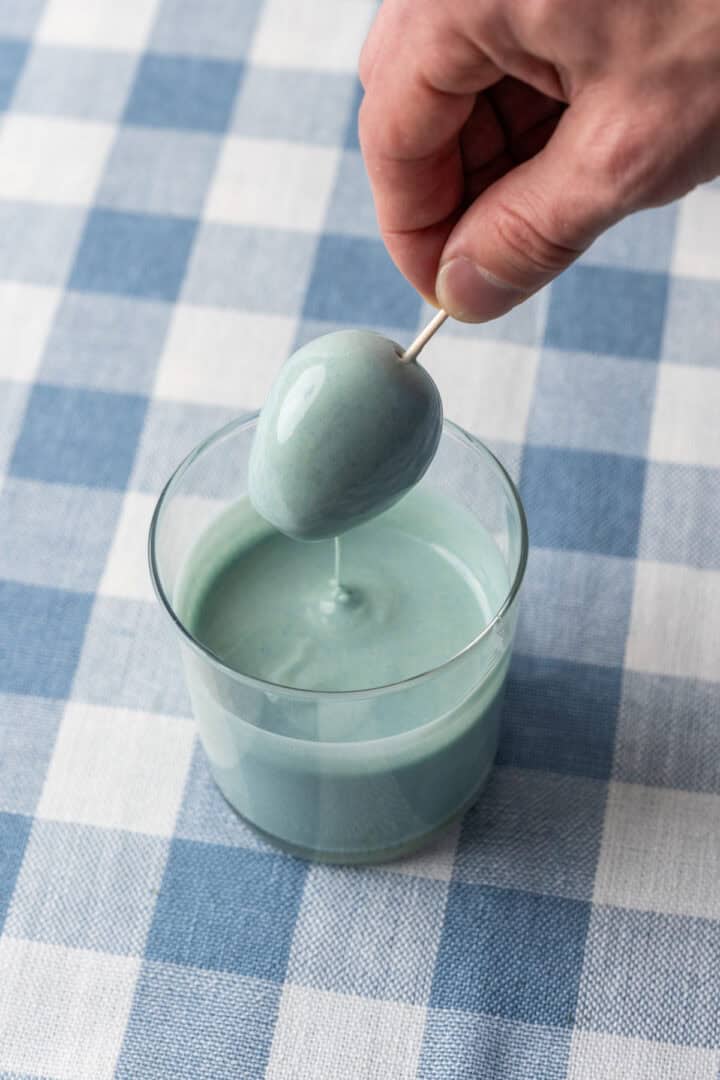
STEP 4: Add the white chocolate and coconut oil to a microwave-safe bowl. Microwave in 15-20 second intervals, stirring well between each interval, until fully melted. Whisk in the spirulina and matcha (or food coloring) and adjust colors as desired. Pour into a short drinking glass or a similar vessel.
Quick tip: If you don't have blue spirulina and/or matcha, you can use any food coloring (regular gel or natural) to dye the white chocolate. Try mixing together blue and green for the perfect robin's egg blue.
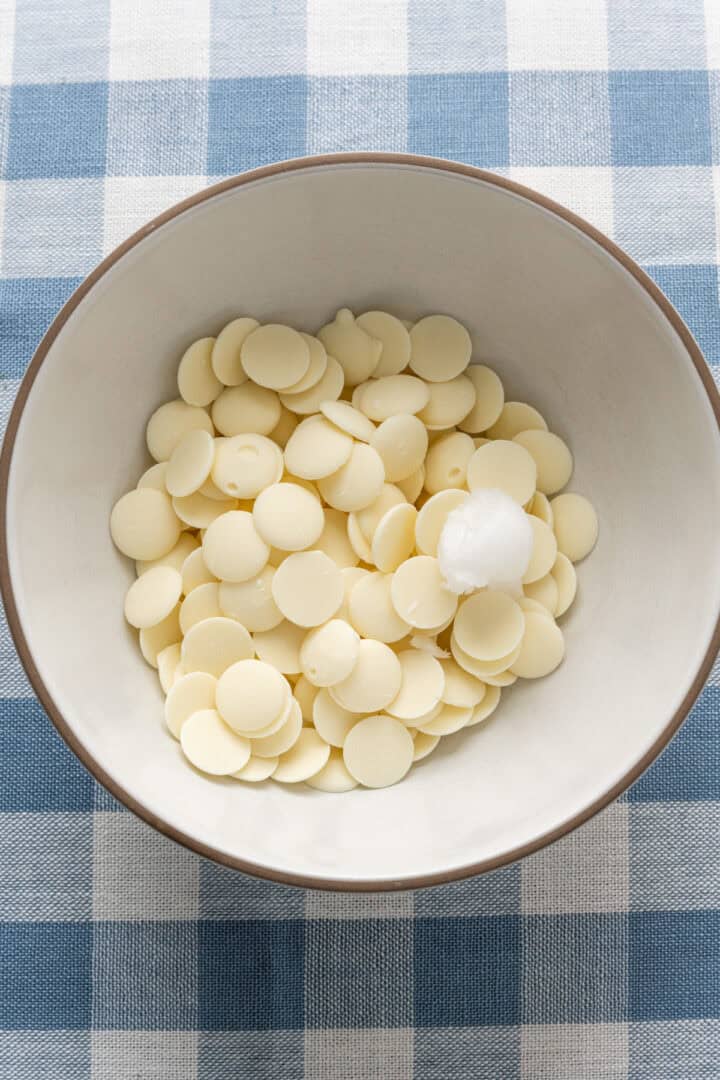
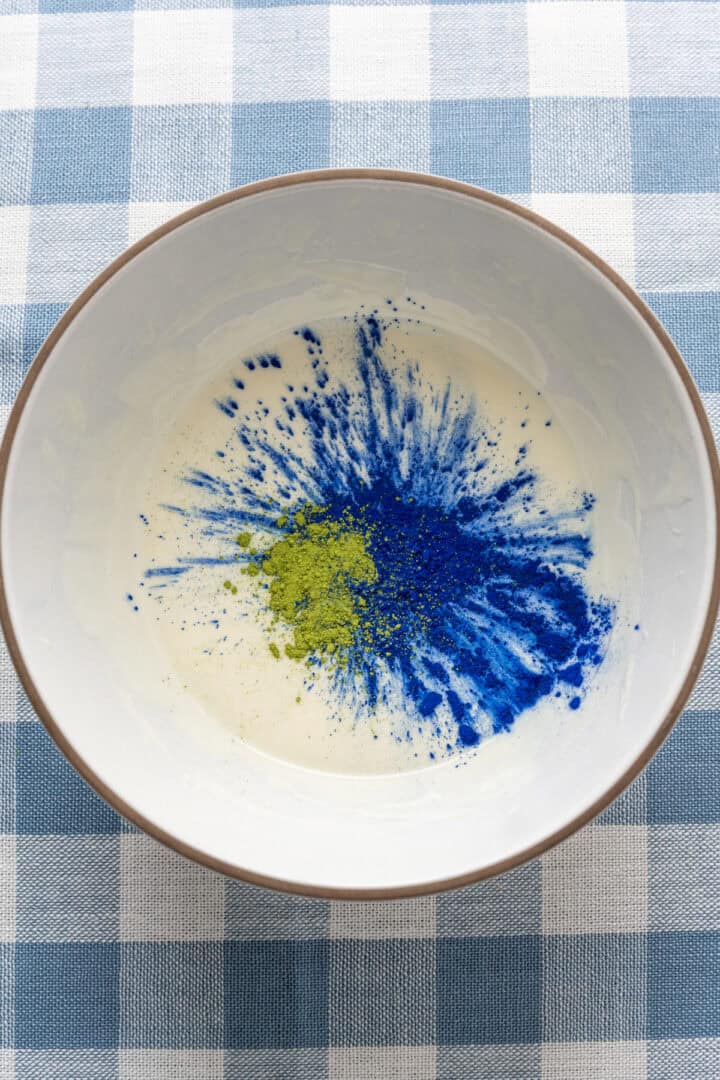
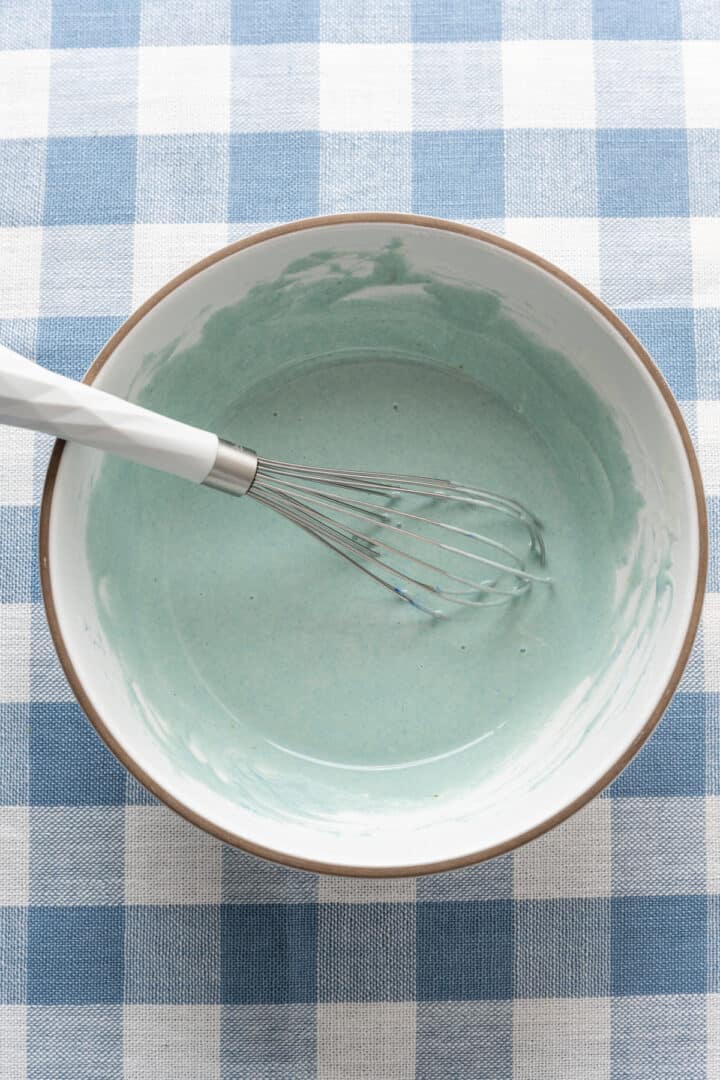
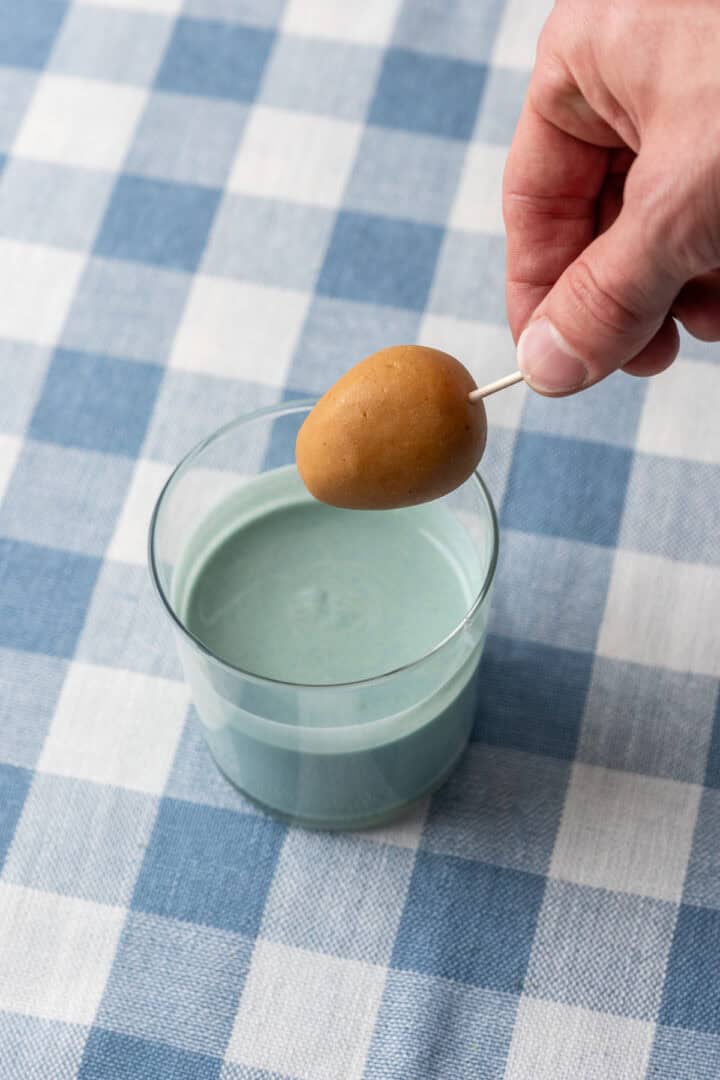
STEP 5: Coating the eggs works best when they are semi-frozen. This helps the white chocolate coating firm up quickly so it doesn't pool when you set it down on the baking sheet. Stick a toothpick in the bottom of an egg, then dip in the white chocolate. Let the excess chocolate drip off. Wait until the white chocolate is mostly hardened, then return to the parchment paper and immediately remove the toothpick. If you wait too long to remove the toothpick, the chocolate coating may crack.
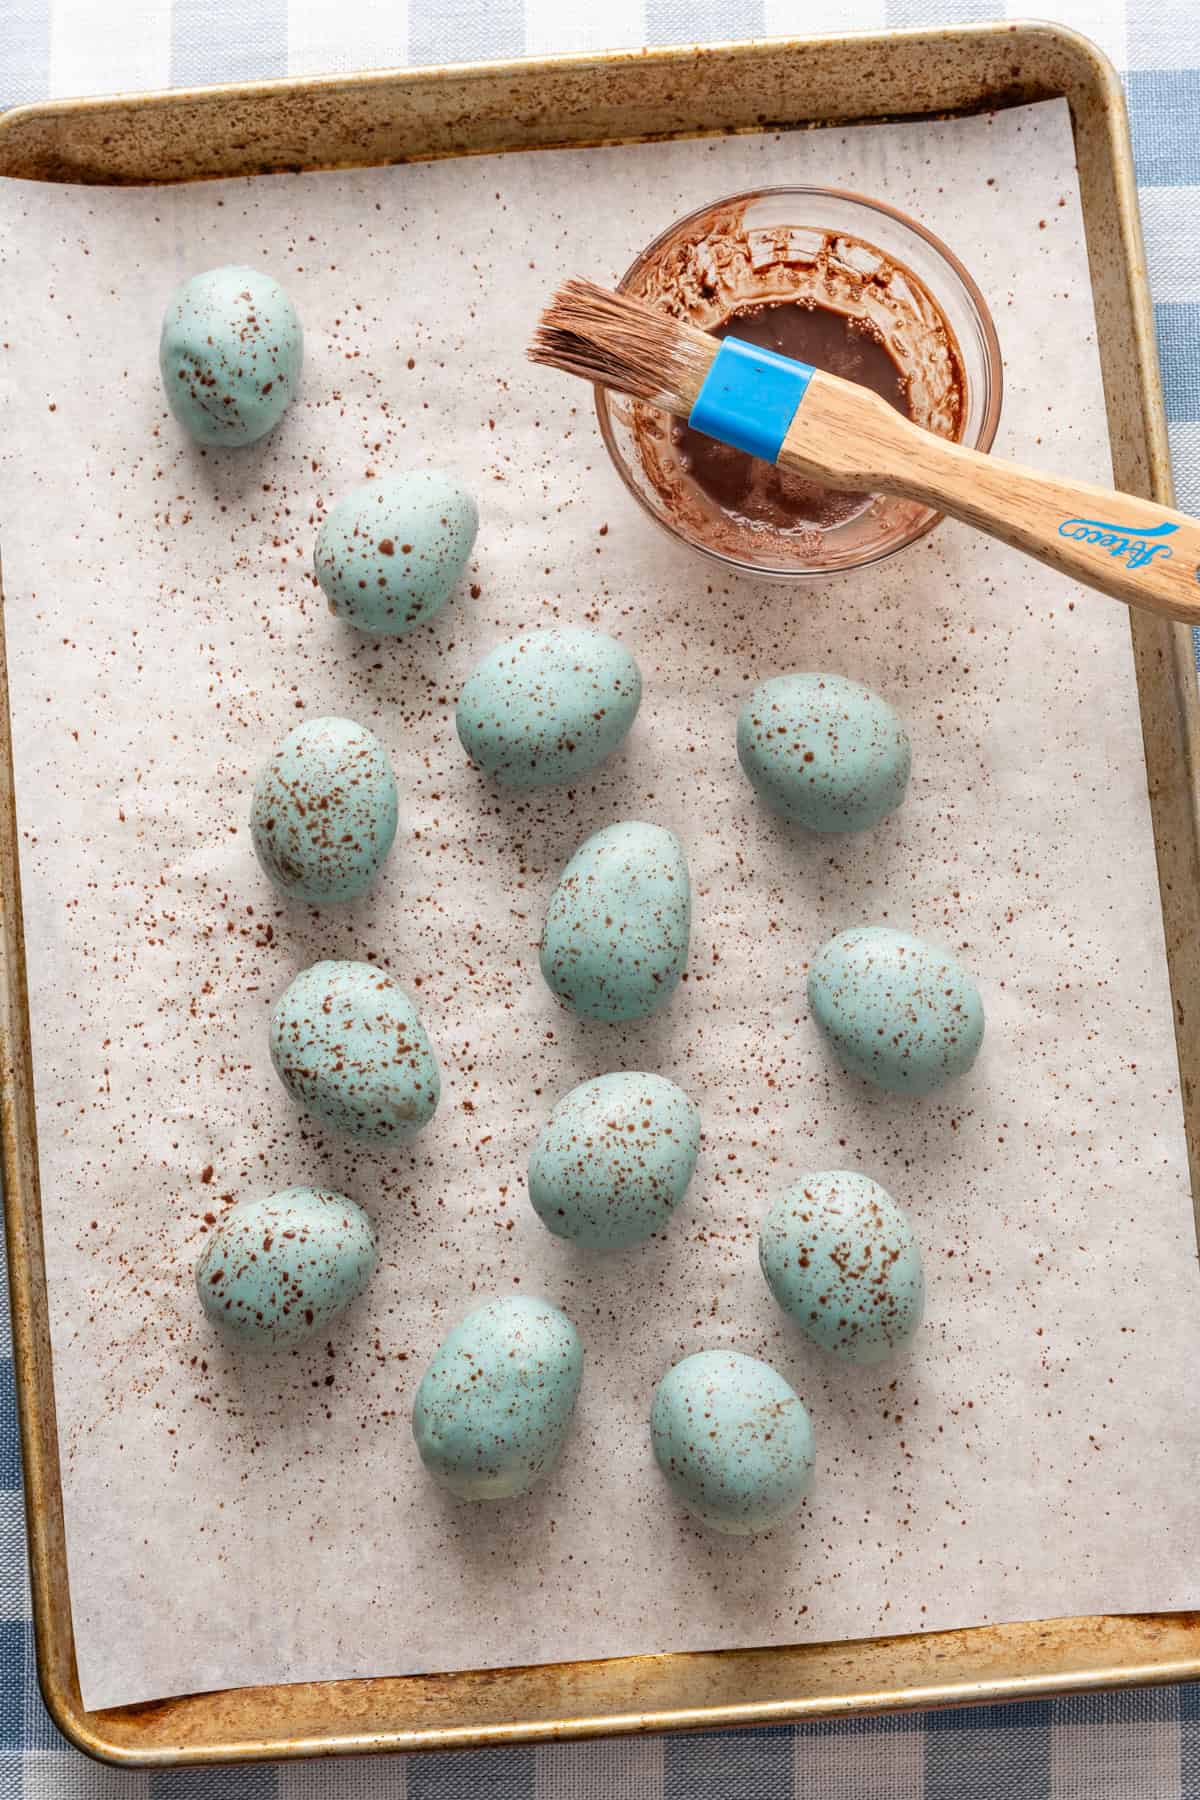
STEP 6: To make the speckles, dip a pastry brush in the cocoa powder/water mixture. Holding it about 8 inches above the baking sheet, flick the tip of the pastry brush over the eggs to create speckles. Note: this can get messy, so wear an apron!) Refrigerate until the chocolate dries out (~10 minutes).
Storage Tips
You can keep these stored at room temperature, but I prefer to keep them stored in an airtight container in the refrigerator. If your house runs on the warmer side, the coating and filling might get a bit too soft at room temp.
For longer storage, keep them in an airtight container in the freezer. Just make sure to let them defrost at room temperature for at least 15 minutes so you don't break a tooth!
Peanut Butter Easter Eggs
- Total Time: 35 minutes
- Yield: 14 eggs 1x
- Diet: Vegetarian
Description
Inspired by everyone's favorite Reese's candy, these homemade White Chocolate Peanut Butter Easter Eggs look exactly like a real speckled robin's egg! They're easy to make, with just 6 ingredients in the filling, and we use all natural ingredients to dye the white chocolate.
Ingredients
Peanut Butter Egg Filling:
- 1 ¼ cup natural, runny peanut butter (no sugar added)
- ¼ cup maple syrup
- ¼ cup powdered sugar
- ⅓ cup almond flour
- ½ teaspoon vanilla extract
- Pinch of salt
White Chocolate Coating:
- 8 ounces white chocolate melting wafers (we use Ghirardelli brand)
- 2 teaspoons coconut oil
- ½ teaspoon blue spirulina + ¼ teaspoon matcha powder (or use a 2:1 ratio of any blue and green food dye)
- For the speckles: 1 teaspoon cocoa powder + 1 tablespoon water
Instructions
- In a mixing bowl, beat together the peanut butter, maple syrup, powdered sugar, almond flour, vanilla extract and salt until well combined.
- Portion the peanut butter filling into 2-tablespoon portions. Roll each one into a ball using your hands, then use your hands to shape the ball into an oval (egg-shaped).
- Place on a parchment paper-lined baking sheet and freeze while you prepare the coating.
- In a small bowl, whisk together the cocoa powder and water and set aside.
- Add the white chocolate and coconut oil to a microwave-safe bowl. Microwave in 15-20 second intervals, stirring well between each interval, until fully melted. Whisk in the spirulina and matcha (or food coloring) and adjust colors as desired. Pour into a short drinking glass or a similar vessel.
- Coating the eggs works best when they are semi-frozen. This helps the white chocolate coating firm up quickly so it doesn't pool when you set it down on the baking sheet. Stick a toothpick in the bottom of an egg, then dip in the white chocolate. Let the excess chocolate drip off. Wait until the white chocolate is mostly hardened, then return to the parchment paper and immediately remove the toothpick. If you wait too long to remove the toothpick, the chocolate coating may crack.
- To make the speckles, dip a pastry brush in the cocoa powder/water mixture. Holding it about 8 inches above the baking sheet, flick the tip of the pastry brush over the eggs to create speckles. Note: this can get messy, so wear an apron!) Refrigerate until the chocolate dries out (~10 minutes).
Notes
Food dye: If you don't have blue spirulina and/or matcha, you can use any food coloring (regular gel or natural) to dye the white chocolate. Try mixing together blue and green for the perfect robin's egg blue.
Storage: These are best stored in an airtight container in the refrigerator. You can also store them in the freezer for up to 4 months (but let them defrost slightly before eating!).
- Prep Time: 30 minutes
- Cook Time: 5 minutes
- Category: Dessert
- Method: No bake
- Cuisine: America
Nutrition
- Serving Size: 1 egg
- Calories: 248
- Sugar: 15.2 g
- Sodium: 130.6 mg
- Fat: 16.8 g
- Carbohydrates: 18.7 g
- Fiber: 1.3 g
- Protein: 6.2 g

Janet says
These were a BIG hit at Easter. They were delicious!
They are gluten free which is a plus and they are easy to put together, that's a big win for me.
Will definitely make again. (Even when it's not Easter) They would make adorable Christmas baubles, too! Or maybe pumpkins for Thanksgiving.
Ashlee Quatman says
Would it be alright to use olive oil instead of coconut oil?
Lexi says
That should be fine!
Jackie S says
These taste great and I like that they use more natural ingredients.
Next time I'm going to make these adjustments:
- I made them a little smaller so had more surface area to cover with the chocolate. I suggest doubling the amount of melted chocolate which also makes it easier for dipping.
- Mine came out fairly dark and a little more green so next time I'll use less of the blue spirulina and even less matcha and mix them in really slowly to get the perfect color.
- I had some trouble with removing the toothpick after dipping and also running low on chocolate, so by the end I just dipped the eggs 3/4 into the chocolate leaving the top part with the toothpick not covered. Then after setting it back on the tray, I took a small spoon of chocolate and covered the top.
Isabel says
Loved this, they turned out great and tasted amazing!
Lexi says
So glad to hear that!
Karen Parra says
Omg!! So good! We absolutely loved it! Great recipe.
Made it for Easter brunch. Everyone loved them.
Lexi says
So glad to hear that! 🙂
Nona says
These taste AMAZING!
IT was quite a learning curve for me toward the end..I gathered the ingredients and put everything together very well...but my execution from dipping them into melted chocolate...to the cocoa part...well...let's just say that the 35 minutes listed to complete the recipe..
I used for the cleanup!
Very yummy, even if mine resembled blue speckled potatoes rather than eggs...that's on me!
Maybe a video showing your process ?
Will make them again...maybe learning curve will be shorter!
Andrea Willis says
I made these for our Easter party and they were a huge hit! They are super cute and delicious. The consistency was perfect. Thank you for the recipe!
Lexi says
So thrilled to hear that! Thanks so much 🙂
Marie Terranova says
These came out beautiful and are even more delicious than they taste! I wish I could share a photo! Thanks for the wonderful recipe!
Lexi says
Yay, I'm so glad to hear that! 🙂
Anna says
How long do you let the peanut butter eggs freeze?
Lexi says
About 15-20 minutes works well. They should feel semi-frozen but not completely hard.
Scott says
Thanks for this recipe. They actually came out better than I expected. The hard part is the chocolate dip. I found that I needed to keep heating up the chocolate to get it to work.
Do they look amazing? No they look like I made them and tried my best. My wife and daughter may have high expectations of me as a person but they don't expect my first foray into Easter confections to be cake boss grade and have me posting about it like a domestic IG influencer. No, I suspect they will appreciate that I took the time to make something special instead of just throwing a Reece's cup in the Easter basket and calling it good. Thanks for posting this and giving me the opportunity to try something I've never done.
Lexi says
That's so awesome to hear, Scott! I am sure your wife and daughter will absolutely love and appreciate them! Have a great day 🙂
Ashley Estabrook says
Can you sub coconut flour?
Lexi says
Yes, but you will likely need less as it absorbs more liquid
Tabitha Cawthorne says
I am about to try this with coconut flour and see how it goes.
Sara L says
Be ready for an epic Pinterest fail and for these to look nothing like the picture. Yes, I followed the recipe. Yes, I’m a careful artistic person. No, they do not look anything like their cute eggs when you are done. I’m sure they will taste nice but I’m ashamed I wasted $10 in ingredients and my time to even attempt these.
Lexi says
Hi Sara, I'm sorry to hear that. We have had many people make these and tag us on social media with no issues. Would you please share more about what went wrong so I can help you troubleshoot?
Gina says
Me too, I used the natural runny peanubutter...did not sub ANY ingredients. The filling was so crumbly that they broke in the chocolate. I did not even get one. They all went in the trash☹️
Lexi says
Hello Gina, every peanut butter brand is a little different, and it's impossible for me to control for the exact consistency of the brand you used. In the future, if your filling is too dry and doesn't look like it did in the photos here, you can simply add more peanut butter until the consistency looks right to you. If you can squeeze it between your fingers without it crumbling, it's good to go. That would save you from having to throw out an entire batch!
Kristen says
Haha same here Sara. They probably will taste good but mine look terrible too. It’s hard when you have to make sure the chocolate stays warm while doing them plus keeping the eggs cold enough too. Was a pain!
Pat says
No matter what I do I can’t get the color right. I have matcha powder and blue food coloring but it comes out either too green or too gray.
Lexi says
If you're using a darker blue food coloring, that's probably the issue! More of an aqua color will get you the right color. I would also try just using food coloring instead of combining it with matcha. The color of your matcha could also be a factor.
Danika Vanderpyl says
A little bit of a crunchy mama over here so I skipped the icing sugar and just did more almond flour. We used butterfly pea powder to make the light blue color. I find most spirulinas are the green colouring. I would be sure to sift these colourings into the chocolate to avoid specks but it also looks like natural egg specks. I think we will make another batch for the cousins with ground turmeric and beet powder!
Lexi says
So glad to hear that! Love the idea of using turmeric and beet powder.
Phoebe says
These are so beautiful! I'm making them this Easter weekend for my daughter's boyfriend who loves peanut butter. Quick question: since the recipe calls for coconut oil with the white chocolate, does that mean it's meant to be a soft chocolate shell? I'm considering omitting the coconut oil and tempering the chocolate so it hardens, but wanted to check if it's actually intended to be a soft bite. Thank you!!!
Lexi says
Hi! Since it's such a small amount of coconut oil, it doesn't affect the consistency much. It just makes it easier to dip into the chocolate. Tempering would be great if you can do it – I've never been able to get it quite right with white chocolate!
Jacin says
It definitely hardens to a nice shell with the coconut oil!
Brianna M says
Can you use almond meal? Thank you!
Lexi says
Yes!
Brittni says
I'm wondering if we do a milk chocolate coating, if there's a way to get colored speckles on them, since the brown speckles would just blend in with the milk chocolate?
Lexi says
You could use white chocolate for contrast!