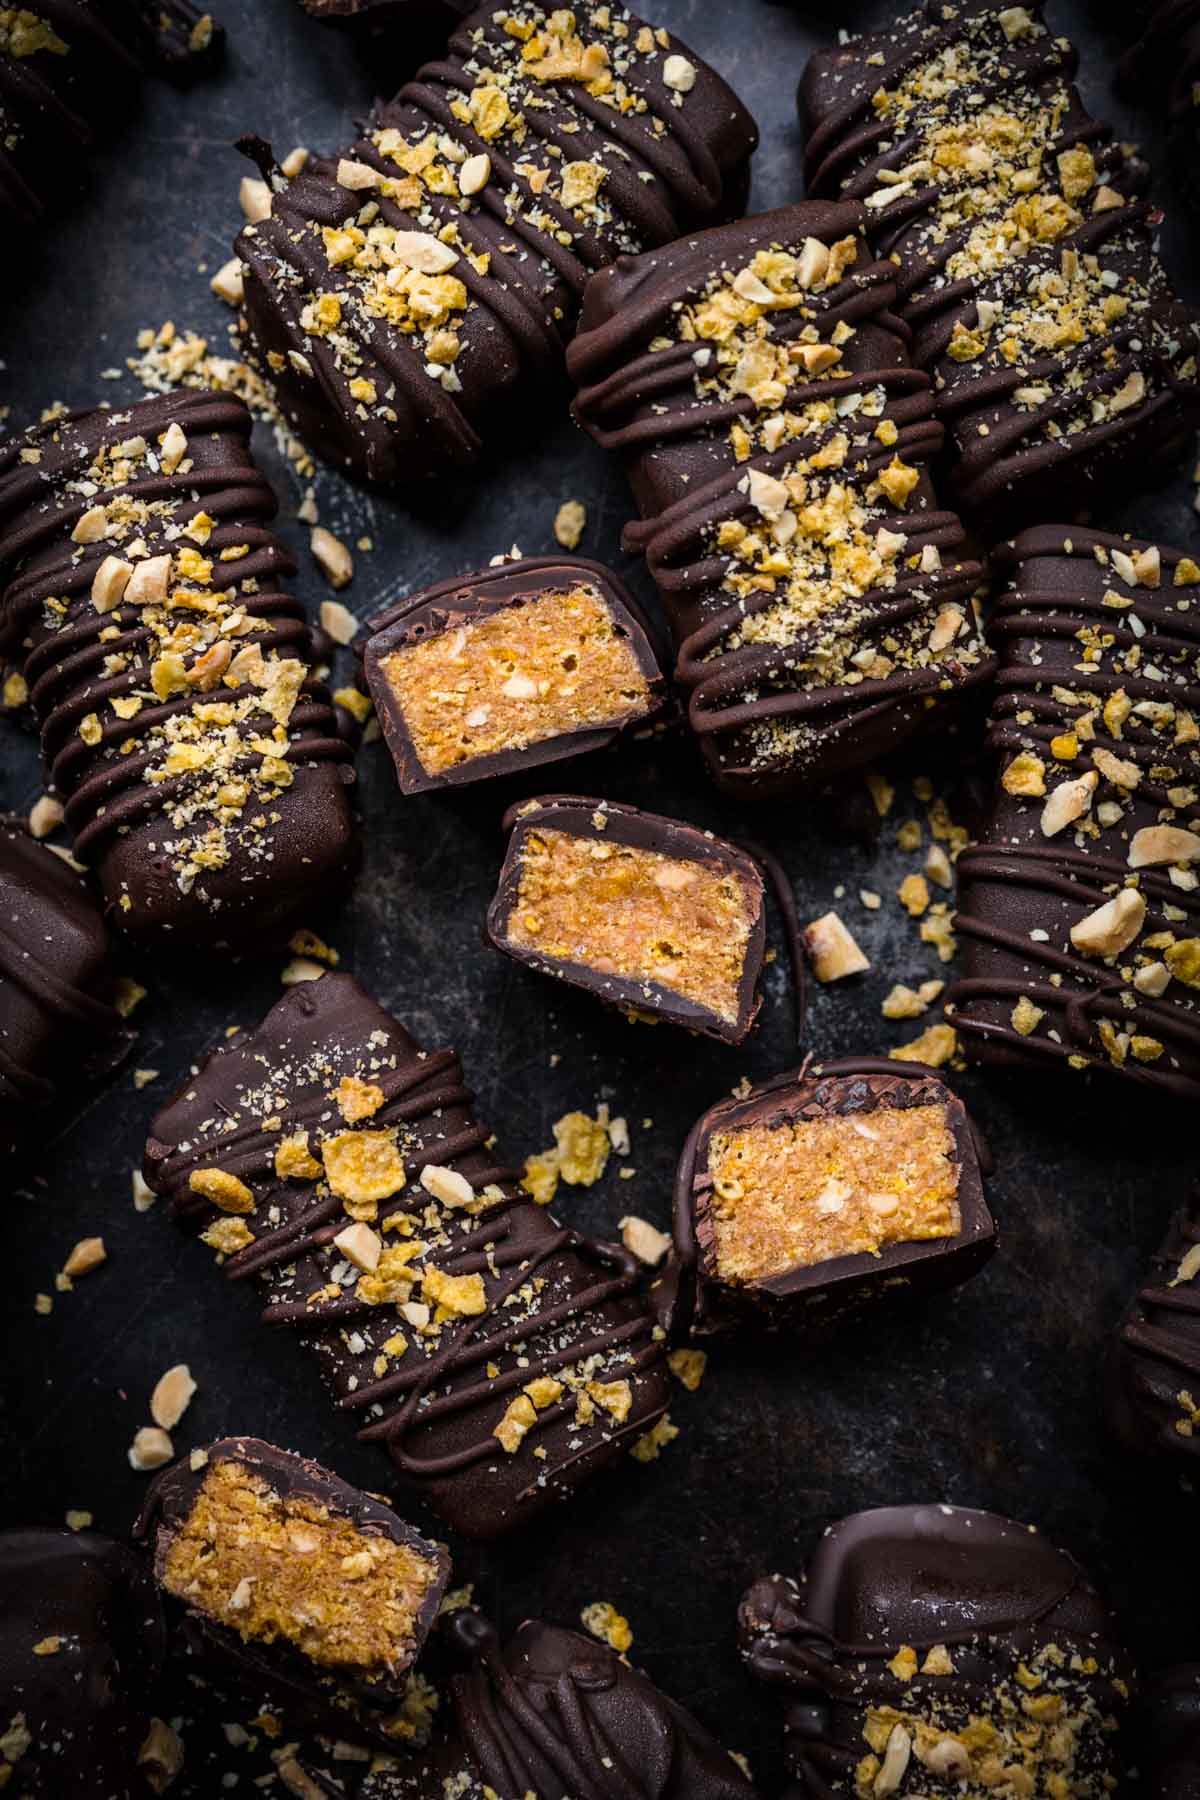
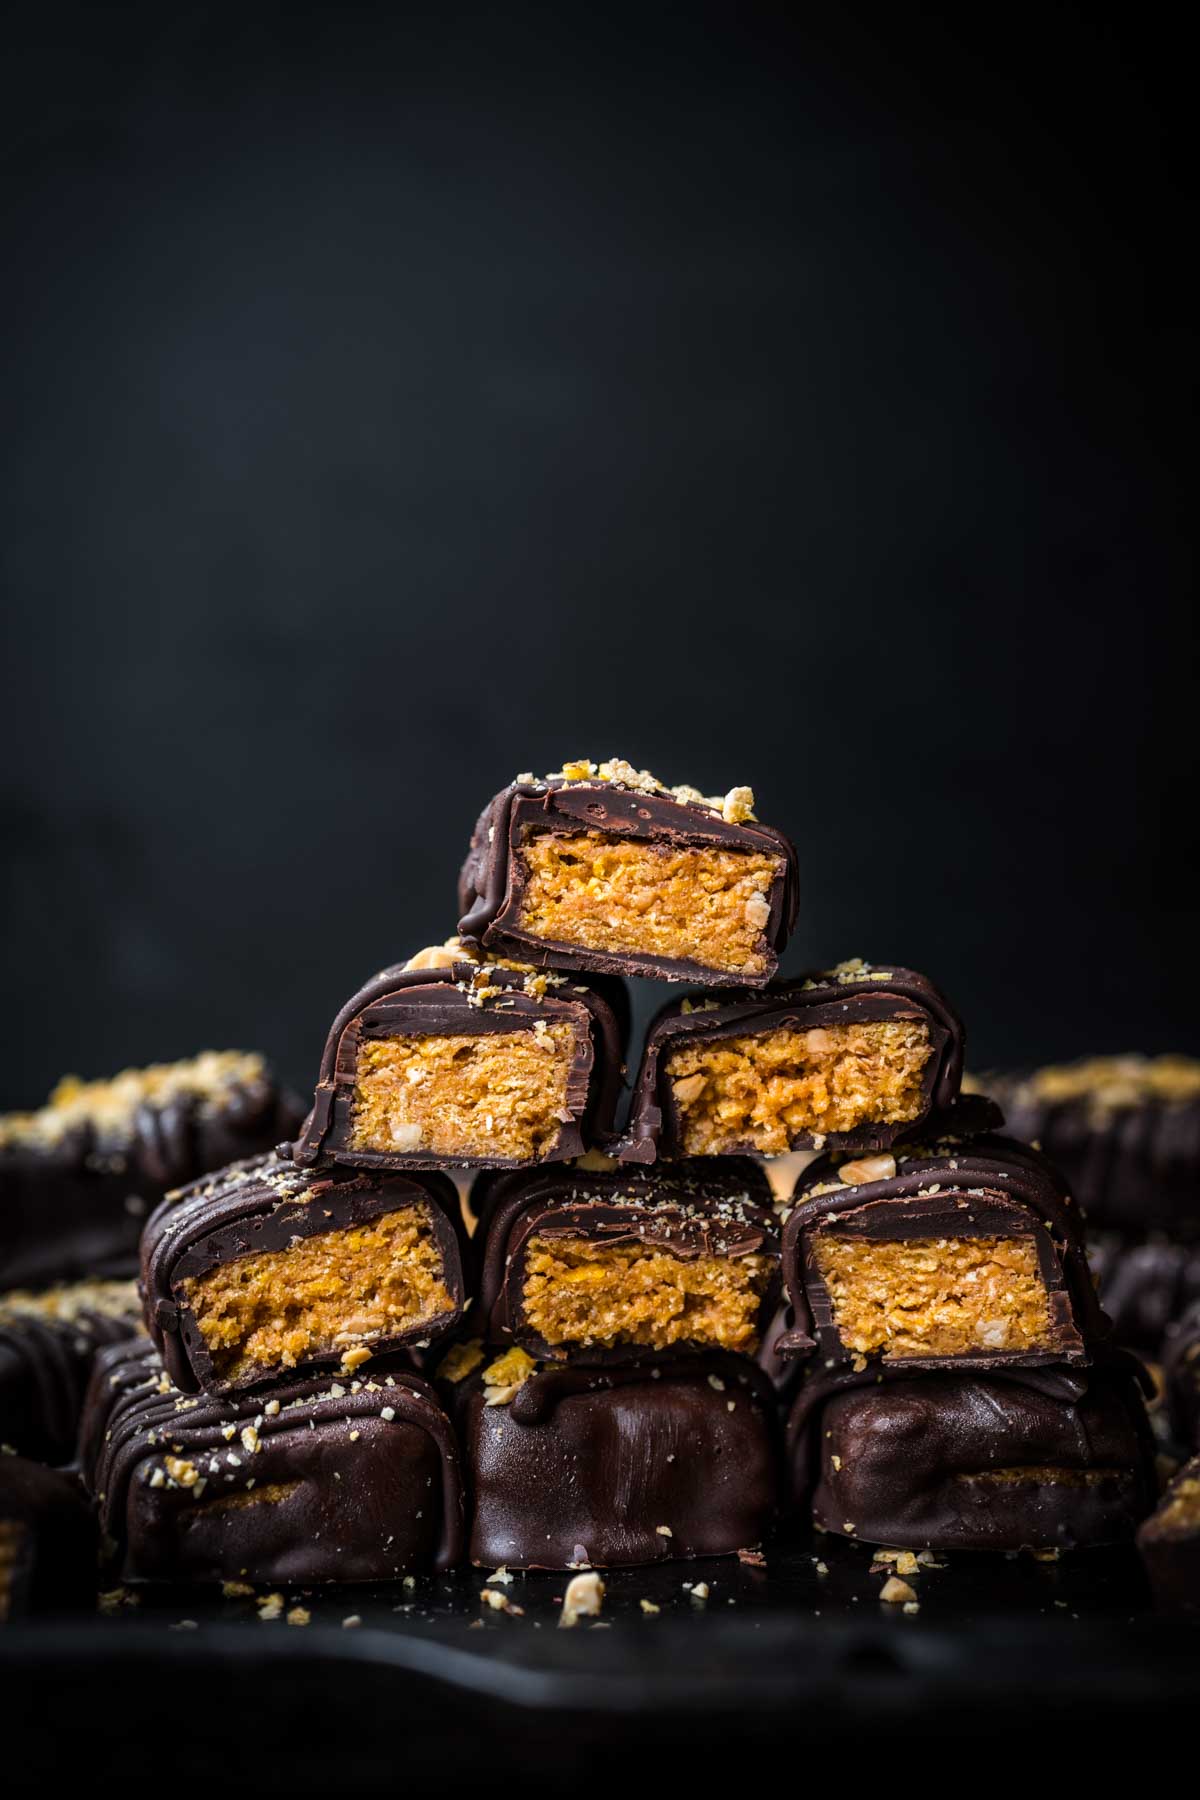
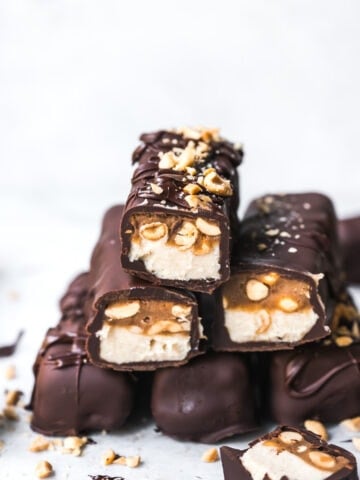
These homemade vegan butterfingers are just like the candy you know and love – crispy, buttery, rich, and coated in chocolate. They're quick and easy to make and perfect as a kid and adult-friendly Halloween treat!
Jump to:
🍬 Why We Love This Recipe
- Just as delicious as the original: to be honest, I haven't had a real Butterfinger in several years, but they used to be my absolute favorite. These homemade vegan butterfingers truly satisfy that craving, and although they aren't exactly the same, they're equally tasty (not to mention way healthier).
- Allergy friendly: these homemade butterfingers are naturally vegan (no dairy needed to make them delicious!) and gluten free, since we use cornflakes. They're also tree nut free and can be made peanut free if you use a different nut butter.
- Easy to make: just 6 ingredients for the peanut butter/cornflake-based filling, plus some dark chocolate for dipping and you're good to go! These vegan butterfinger bars come together quickly and easily, so even the kids can help.
- Homemade Halloween treat: we love celebrating Halloween, but with dietary restrictions, it can be a challenge to enjoy traditional treats. We love creating our own versions of classic candies we grew up with, and these vegan butterfingers are no exception! Make a big batch before Halloween and you'll feel just like a kid again.
🍫 Ingredients
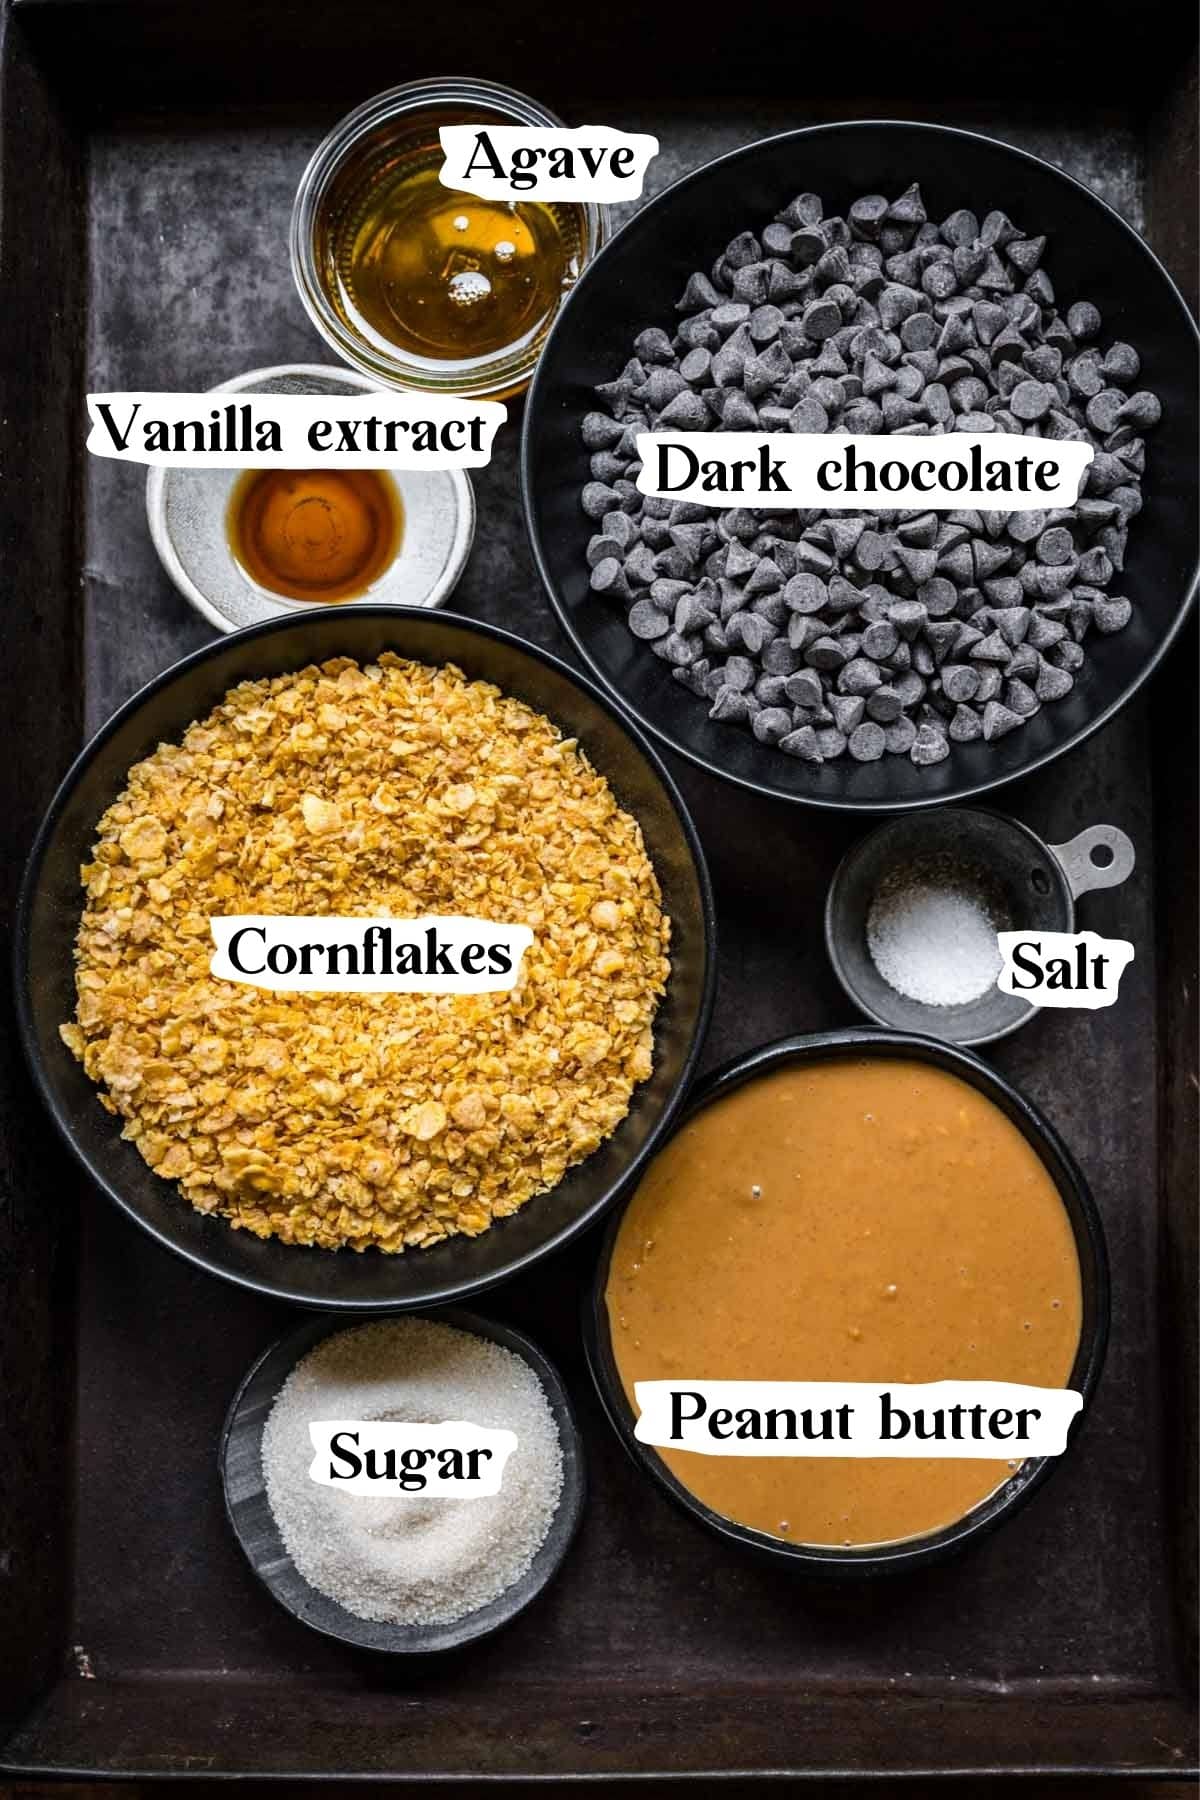
Here's what you'll need to make this vegan butterfinger recipe:
📋 Ingredient Notes
- Peanut butter: we use natural, crunchy, unsweetened peanut butter in this recipe. The crunch adds extra texture, which we love, but feel free to use creamy if that's all you have on hand.
- Note that if you're using a sweetened, more processed peanut butter (like Jif), the texture may be slightly different. Natural peanut butter tends to be more liquidy, so it mixes better with the cornflake mixture. If using a different variety, you may need to add in 1-2 tablespoon of melted coconut oil to loosen it up.
- Cornflakes: many cornflake cereals (especially the organic/natural brands) are naturally gluten free, but if you have Celiac disease or a severe allergy, be sure to use a certified gluten free brand. If you're not gluten free, any variety will do!
- Agave: feel free to substitute with maple syrup or another liquid sweetener.
- Chocolate: the peanut butter/cornflake filling is pretty sweet and rich, so we like to use dark chocolate for the coating. That being said, if you prefer a sweeter candy, feel free to use semisweet or even milk chocolate. (There are plenty of vegan varieties nowadays, or if you're not vegan, regular works too!)
- Salt: don't skip it! A small pinch of salt goes a long way in balancing out the sweetness.
🔪 Step-by-step Instructions
(1) In a large mixing bowl, whisk together peanut butter, agave, vanilla, sugar, and salt.
(2) Add crushed cornflakes to the peanut butter mixture and stir well until the cornflakes are evenly coated.
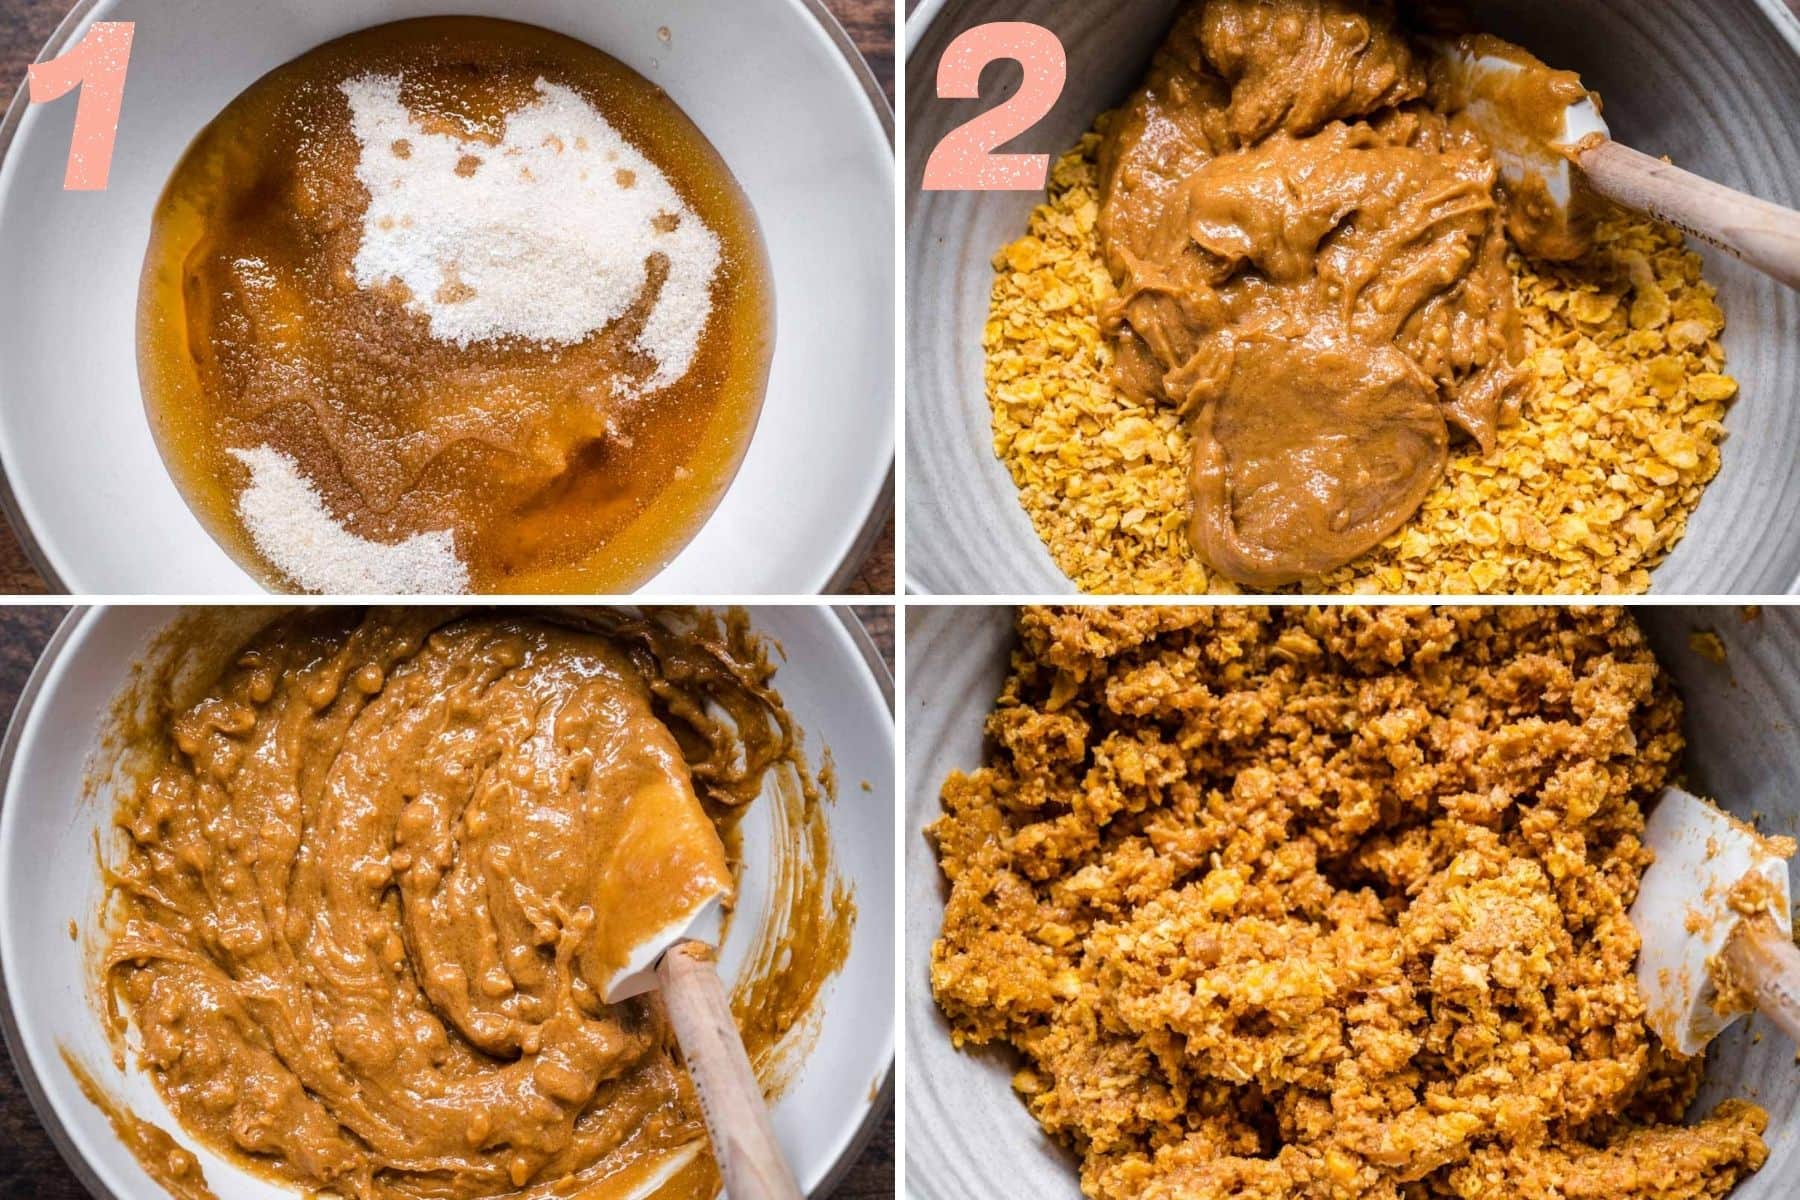
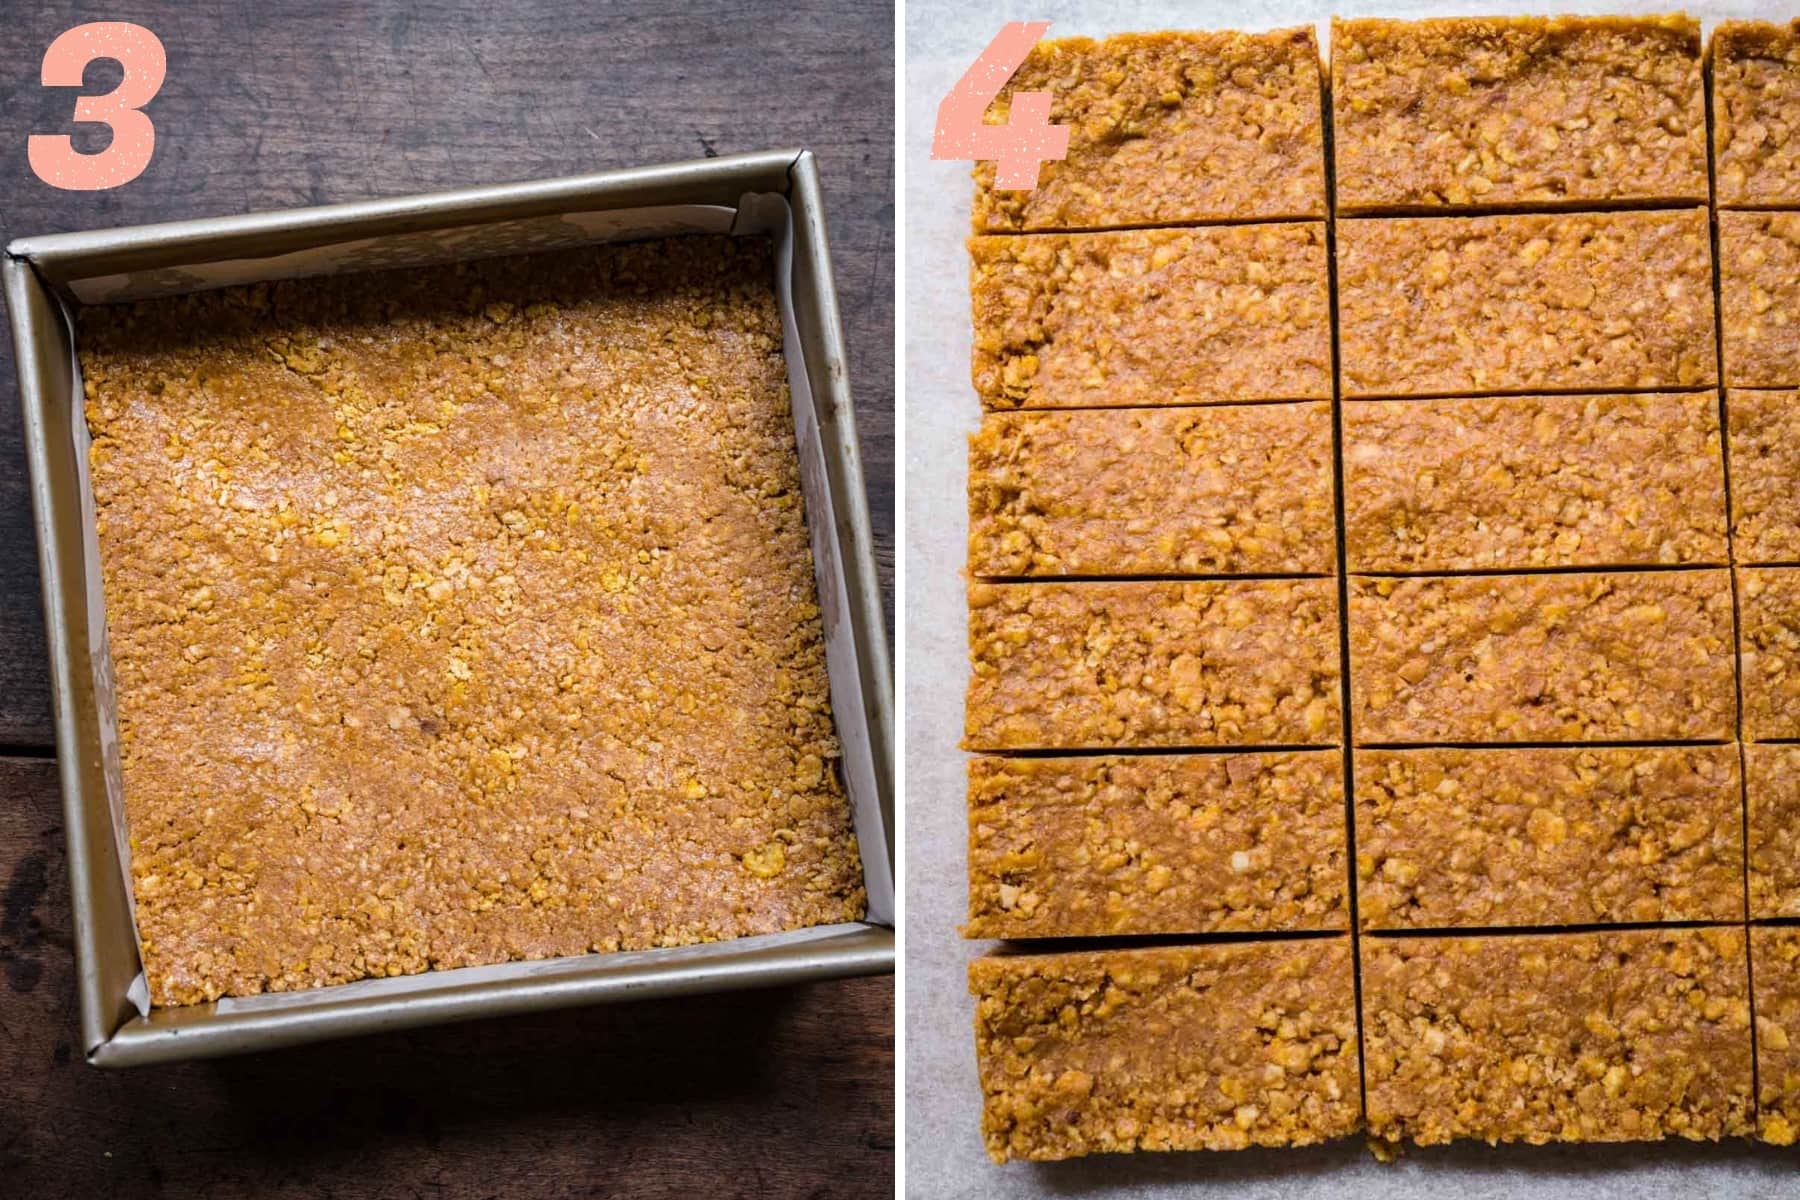
(3) Line an 8x8 or 9x9 inch pan with parchment paper. Spread the cornflake and peanut butter mixture evenly into the pan and transfer to freezer for 4 hours (or overnight).
(4) Remove from pan after freezing and slice into 18 rectangular bars. Return to freezer immediately. For best results, wait an hour before coating in chocolate.
(5) Melt chocolate with coconut oil in a double boiler or in 30 second intervals in the microwave, stirring in between each interval, until fully melted.
(6) Use two forks to coat each bar in melted chocolate. Coat well and let the excess chocolate drip off back into the bowl.
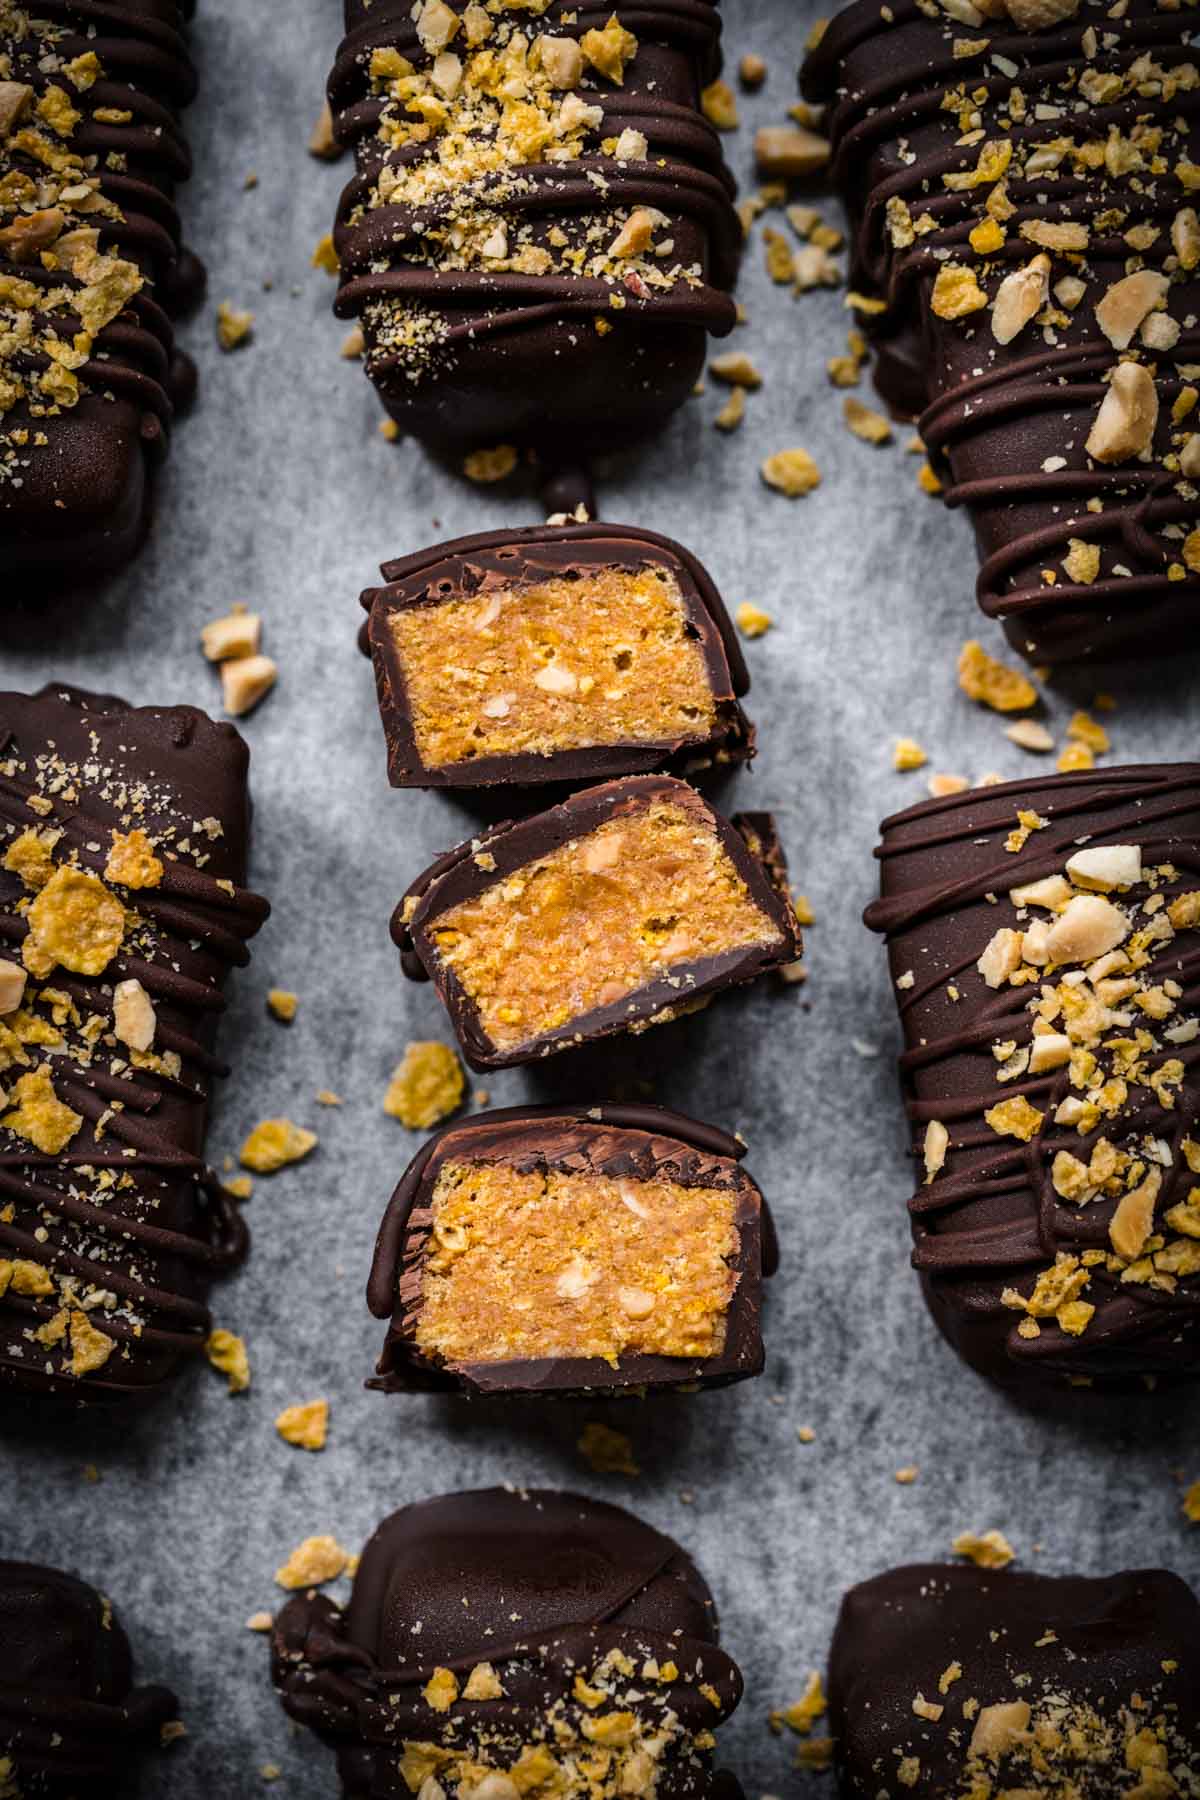
(7) Transfer to a parchment paper-lined tray, and top with crushed cornflakes and peanuts (optional).
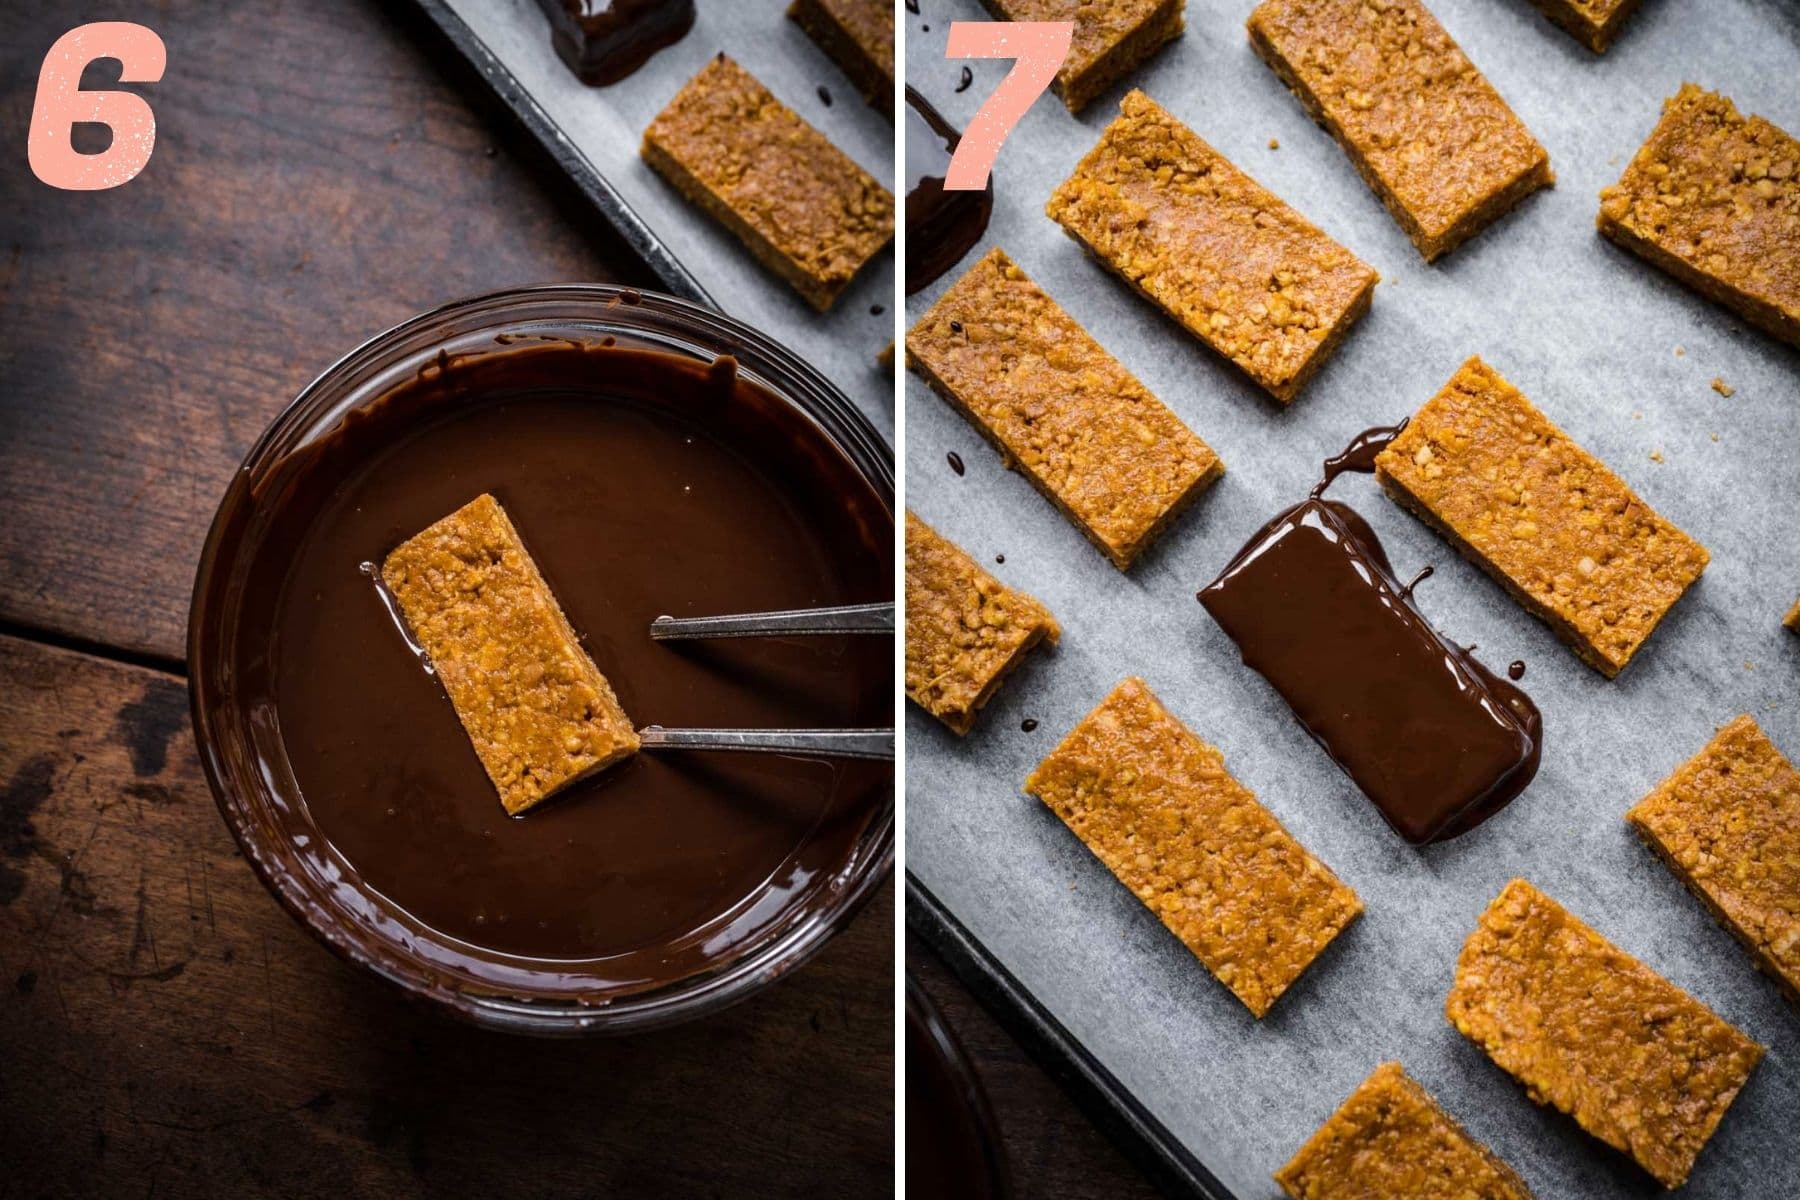
(8) Return to freezer for 30 minutes to let the chocolate firm up. Remove from freezer and enjoy!
💭 Expert Tips and FAQs
- Don't skip the freezer: for best results, you want the butterfingers to be nice and firm before dipping into the chocolate. Otherwise, they will be messy and may break in half. For best results, we suggest freezing for at least 4 hours, but up to overnight.
- Storage: these vegan butterfingers get pretty soft at room temperature, so we suggest storing in the refrigerator or freezer. You can store in the freezer for up 6 months, but be sure to let them thaw for at least 15 minutes at room temperature before eating (to avoid breaking a tooth!).
- Chocolate: a small amount of coconut oil helps loosen up the melted chocolate so it's easier to coat the butterfingers. If the chocolate starts to cool and thicken too much, pop it back into the microwave for 15-30 seconds and stir well.
Option 1: place the cornflakes in a sealable bag, seal and crush with your hands or a rolling pin.
Option 2: place in a food processor and pulse for just a few seconds. Don't pulse for too long – you don't want a powder.
Tried this recipe? Please leave a star ⭐️⭐️⭐️⭐️⭐️ rating below and/or a review in the comments section further down the page. You can also stay in touch with us through social media by following us on Instagram, Pinterest, and Facebook or by subscribing to our newsletter.
Print📖 Recipe
Homemade Butterfinger Bars
- Total Time: 3 hours
- Yield: 18 bars
- Diet: Vegan
Description
These homemade vegan butterfingers are just like the candy you know and love – crispy, buttery, rich, and coated in chocolate. They're quick and easy to make and perfect as a kid and adult-friendly Halloween treat!
Ingredients
- 3 cups crushed cornflakes
- 1 ½ cup natural (unsweetened) crunchy peanut butter
- ½ cup agave, maple syrup or honey
- 1 teaspoon vanilla extract
- ⅓ cup granulated sugar, coconut sugar, or sugar alternative
- ½ teaspoon salt
- 12 oz dark or semisweet chocolate
- 2-3 teaspoons coconut oil
Instructions
- In a large mixing bowl, whisk together peanut butter, agave, vanilla, sugar, and salt.
- Add crushed cornflakes to the peanut butter mixture and stir well until the cornflakes are evenly coated.
- Line an 8x8-inch pan with parchment paper. Spread the cornflake and peanut butter mixture evenly into the pan and transfer to freezer for 4 hours (or overnight).
- Remove from pan after freezing and slice into 18 rectangular bars. Return to freezer immediately. For best results, wait 30-60 minutes before coating in chocolate.
- Melt chocolate with coconut oil in a double boiler or in 30 second intervals in the microwave, stirring in between each interval, until fully melted.
- Use two forks to coat each bar in melted chocolate. Coat well and let the excess chocolate drip off back into the bowl.
- Transfer to a parchment paper-lined tray. Return to freezer for 30 minutes to let the chocolate firm up. Remove from freezer and enjoy!
Notes
Don't skip the freezer: for best results, you want the butterfingers to be nice and firm before dipping into the chocolate. Otherwise, they will be messy and may break in half. For best results, we suggest freezing for at least 2 hours, but up to overnight.
Peanut butter: we use natural, crunchy, unsweetened peanut butter in this recipe. The crunch adds extra texture, which we love, but feel free to use creamy if that's all you have on hand.
Agave: feel free to sub with another liquid sweetener.
Storage: these vegan butterfingers get pretty soft at room temperature, so we suggest storing in the refrigerator or freezer. You can store in the freezer for up 6 months, but be sure to let them thaw for a few minutes at room temperature before eating.
- Prep Time: 30 minutes
- Freeze Time: 4 hours 30 minutes
- Category: Desserts
- Method: Freezer
- Cuisine: American
Nutrition
- Serving Size:
- Calories: 250
- Sugar: 18.8 g
- Sodium: 188.4 mg
- Fat: 13.8 g
- Carbohydrates: 29.7 g
- Fiber: 2.3 g
- Protein: 5.5 g

That Linda says
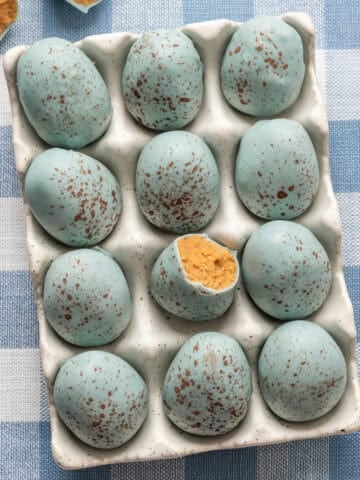
These are amazing! Perfectly crunchy and delicious. How do you come up with these awesome recipes??!! I used this to fill chocolate molded Easter eggs. They were a definite star on the dessert table. I marvel how the crushed corn flakes stay crunchy. Keep these gems coming, Crowded Kitchen!
Lexi says
Great idea to use them as Easter egg filling!!
Kim says
These are delicious!!! Thank you so much for this recipe. The bars were crispy, peanut buttery, and scrumptious.