With Halloween right around the corner, we've had candy on our mind. These homemade vegan and gluten free "Twix" bars are insanely delicious, and the perfect allergy-friendly recipe alternative to a classic candy bar!
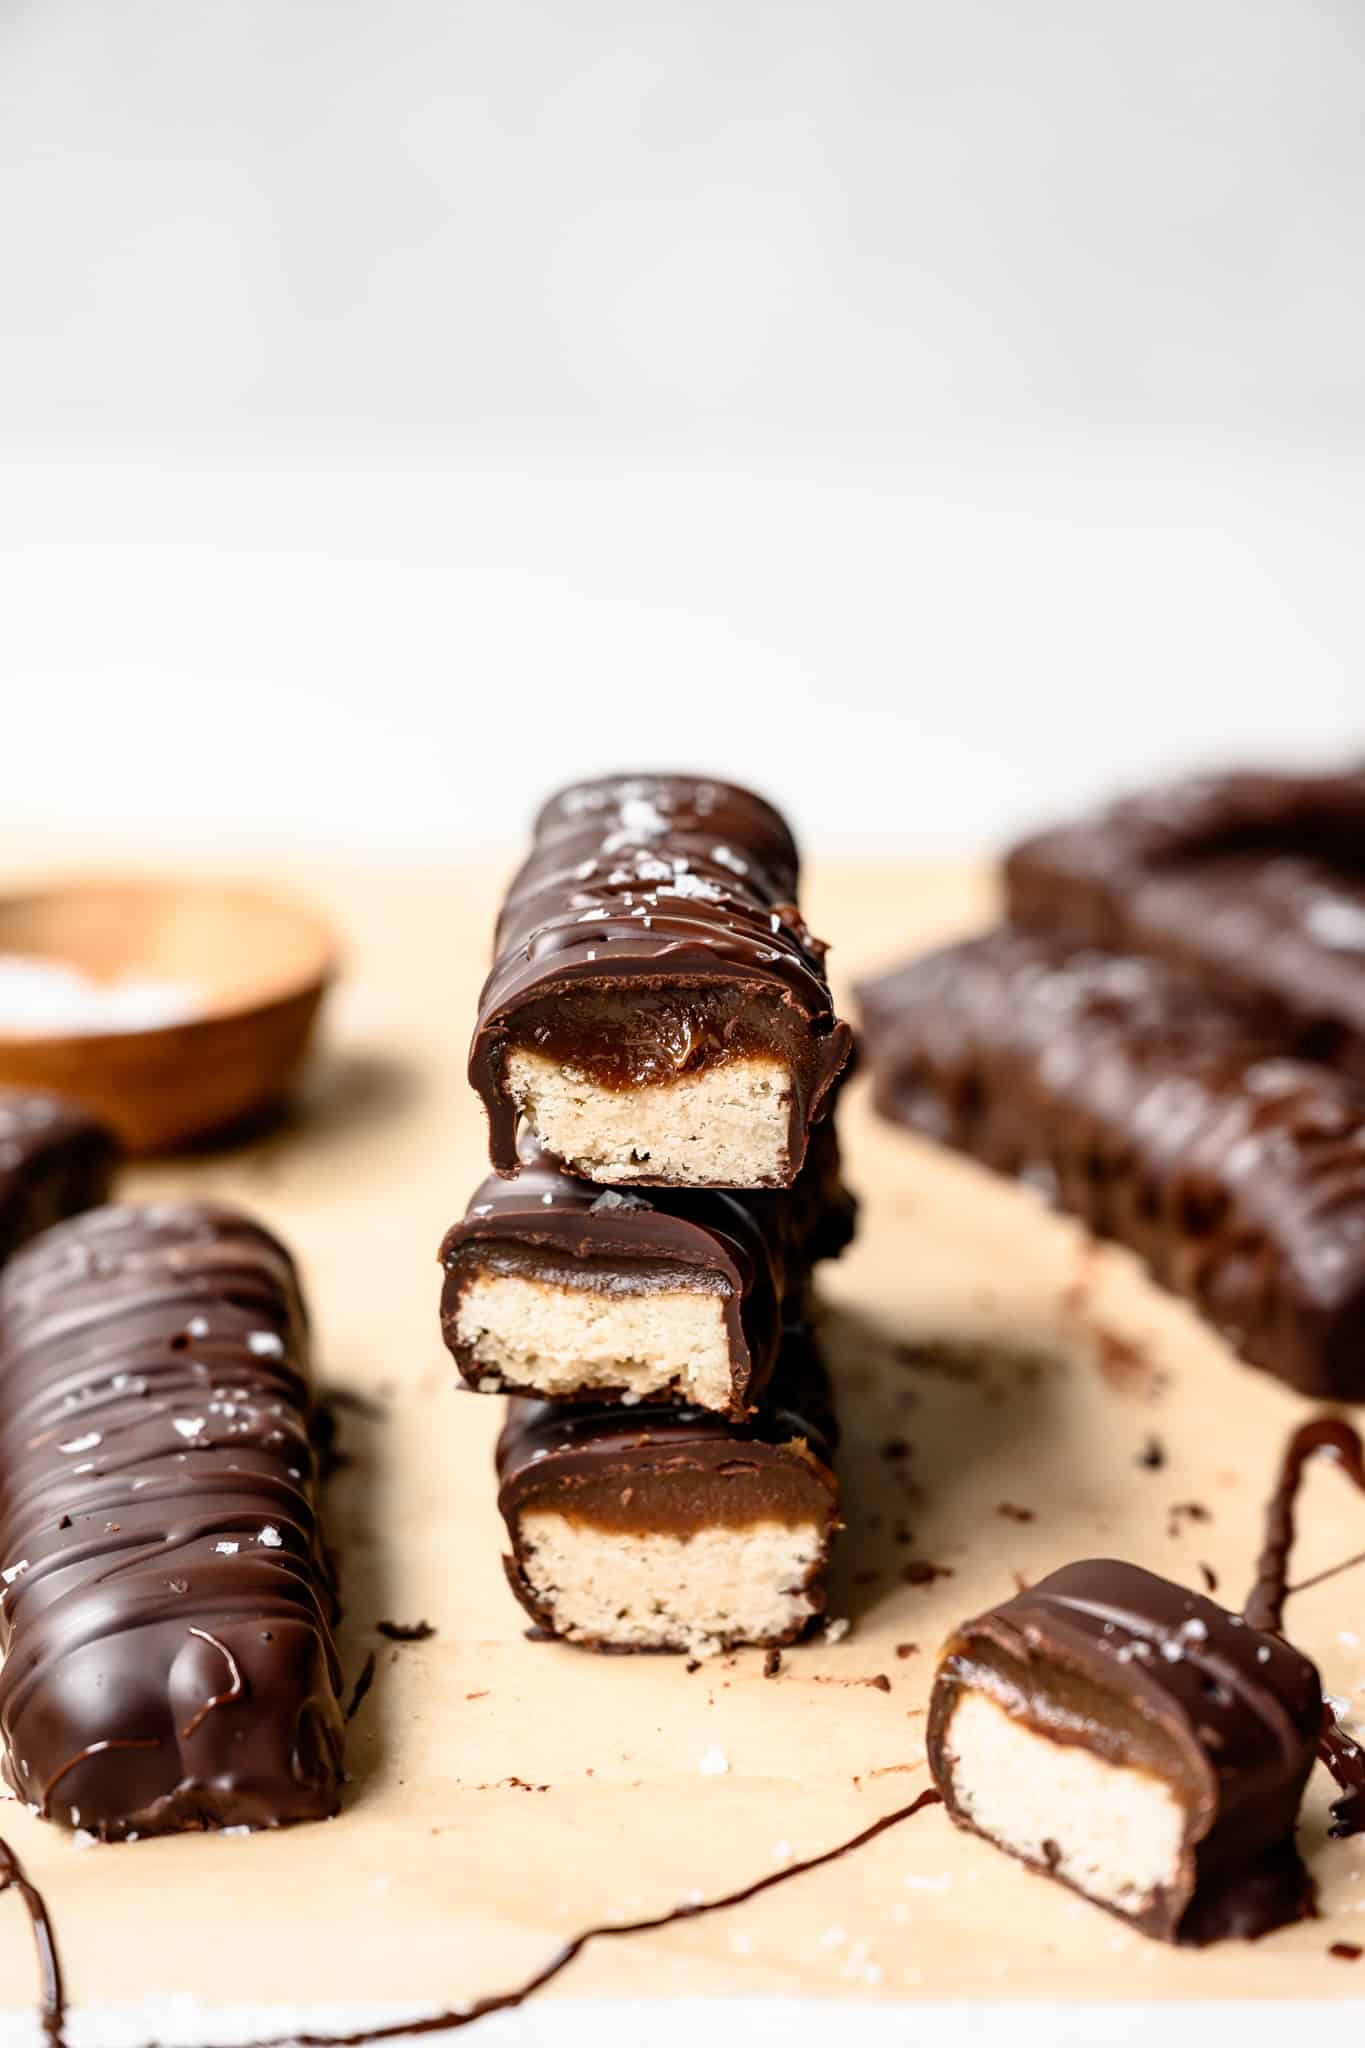
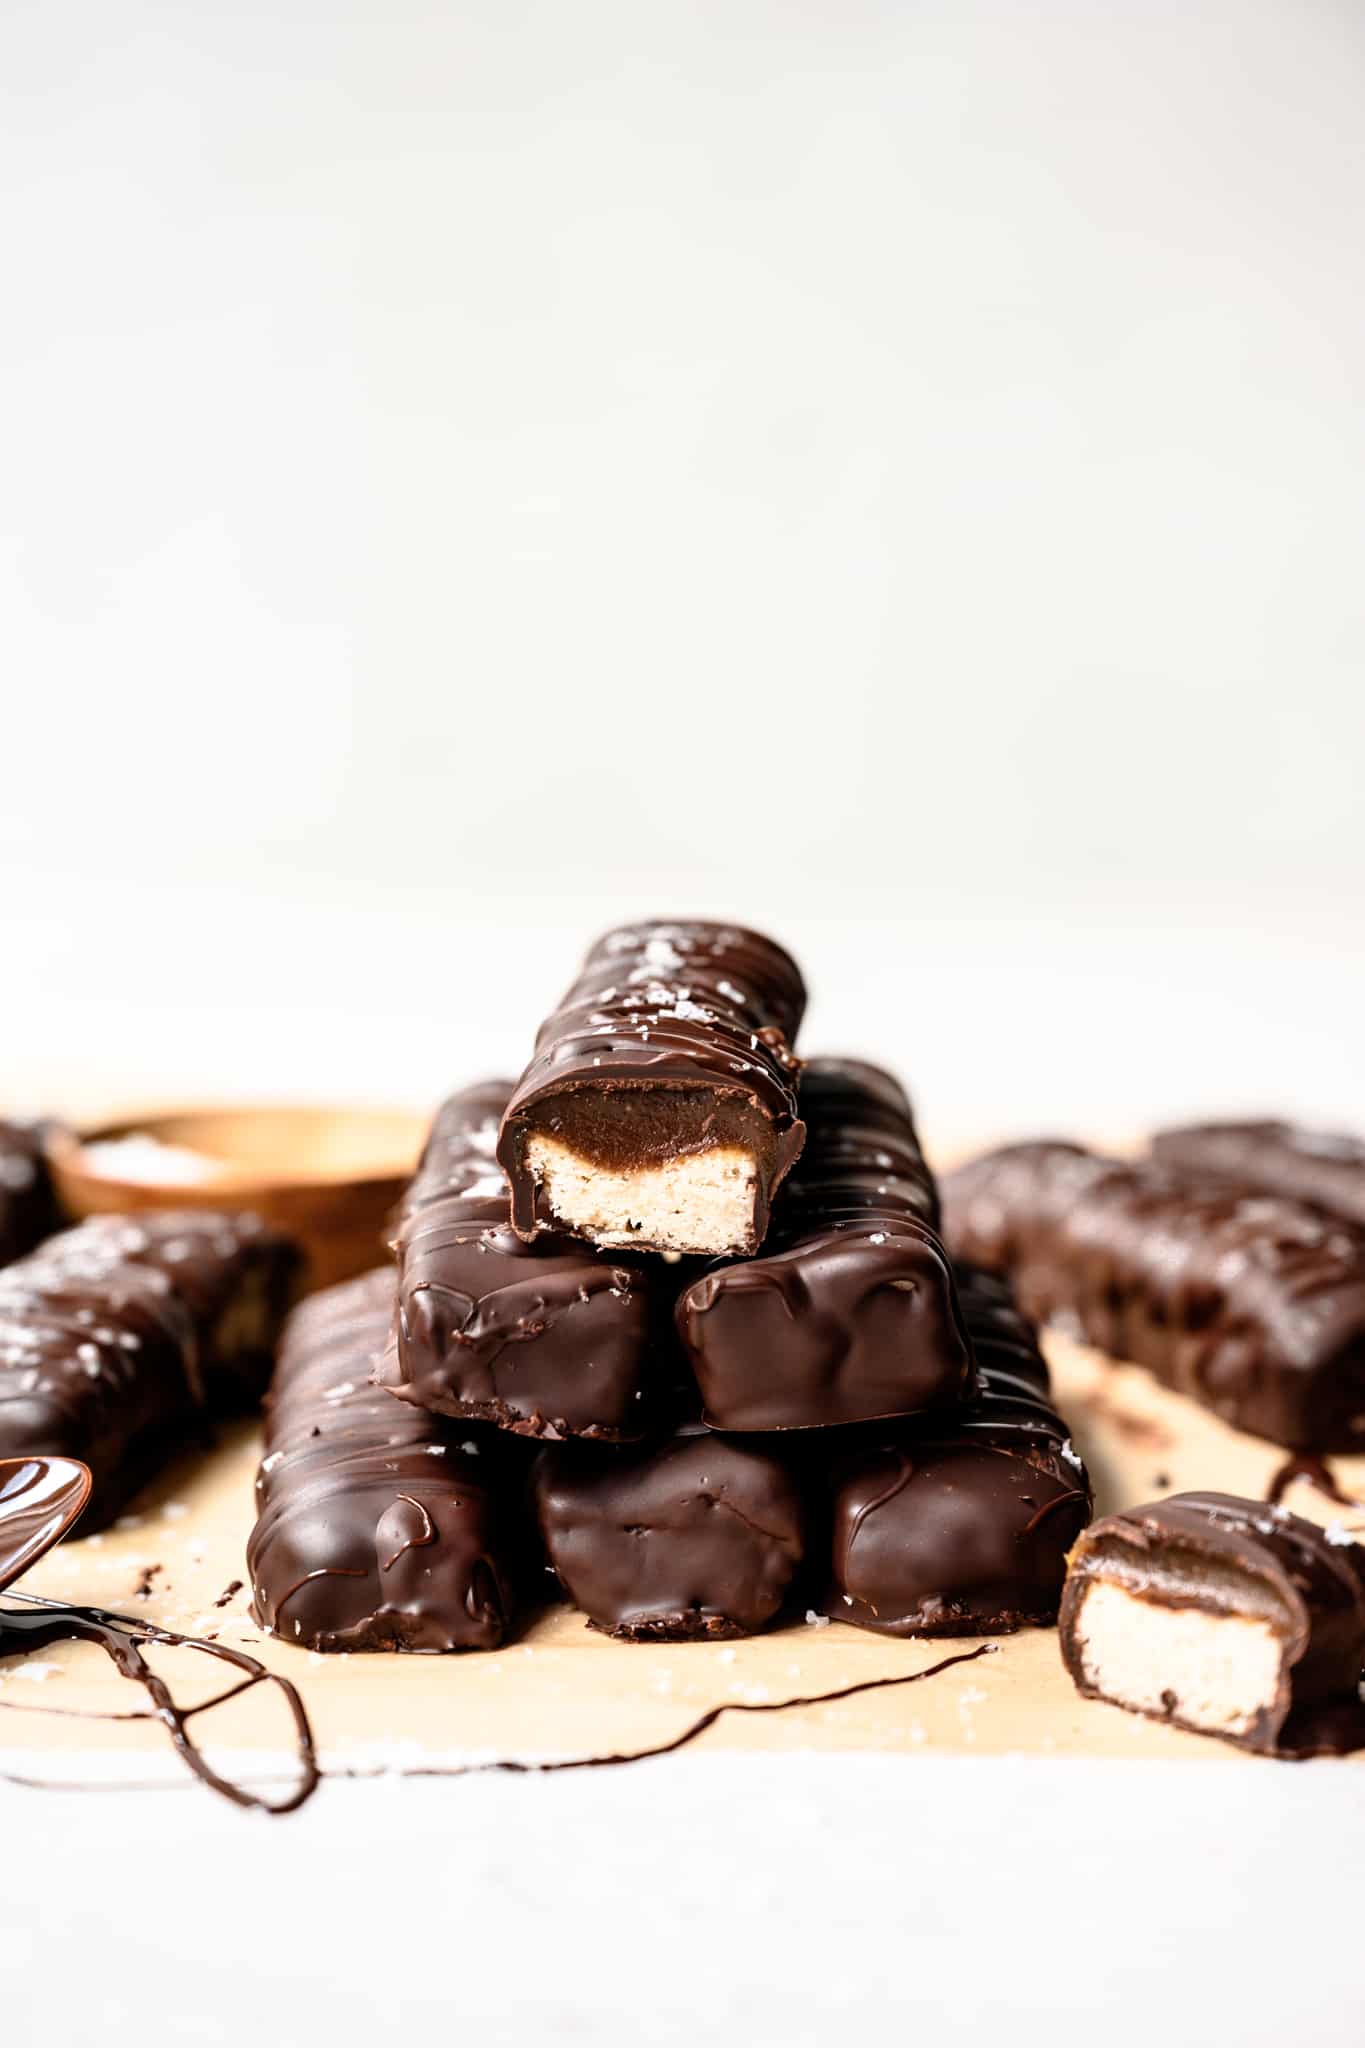
Words don't do these vegan Twix bars justice. There's a buttery gluten free shortbread layer, a peanut butter caramel filling and a rich dark chocolate coating. Oh, and then a bit more chocolate, and a sprinkle of flaky salt to top it off. Sound good?
Yeah, I thought so. 😉
We tested these homemade Twix bars quite a few times last month, and DAMN. They are perfect. I mean, look at these!
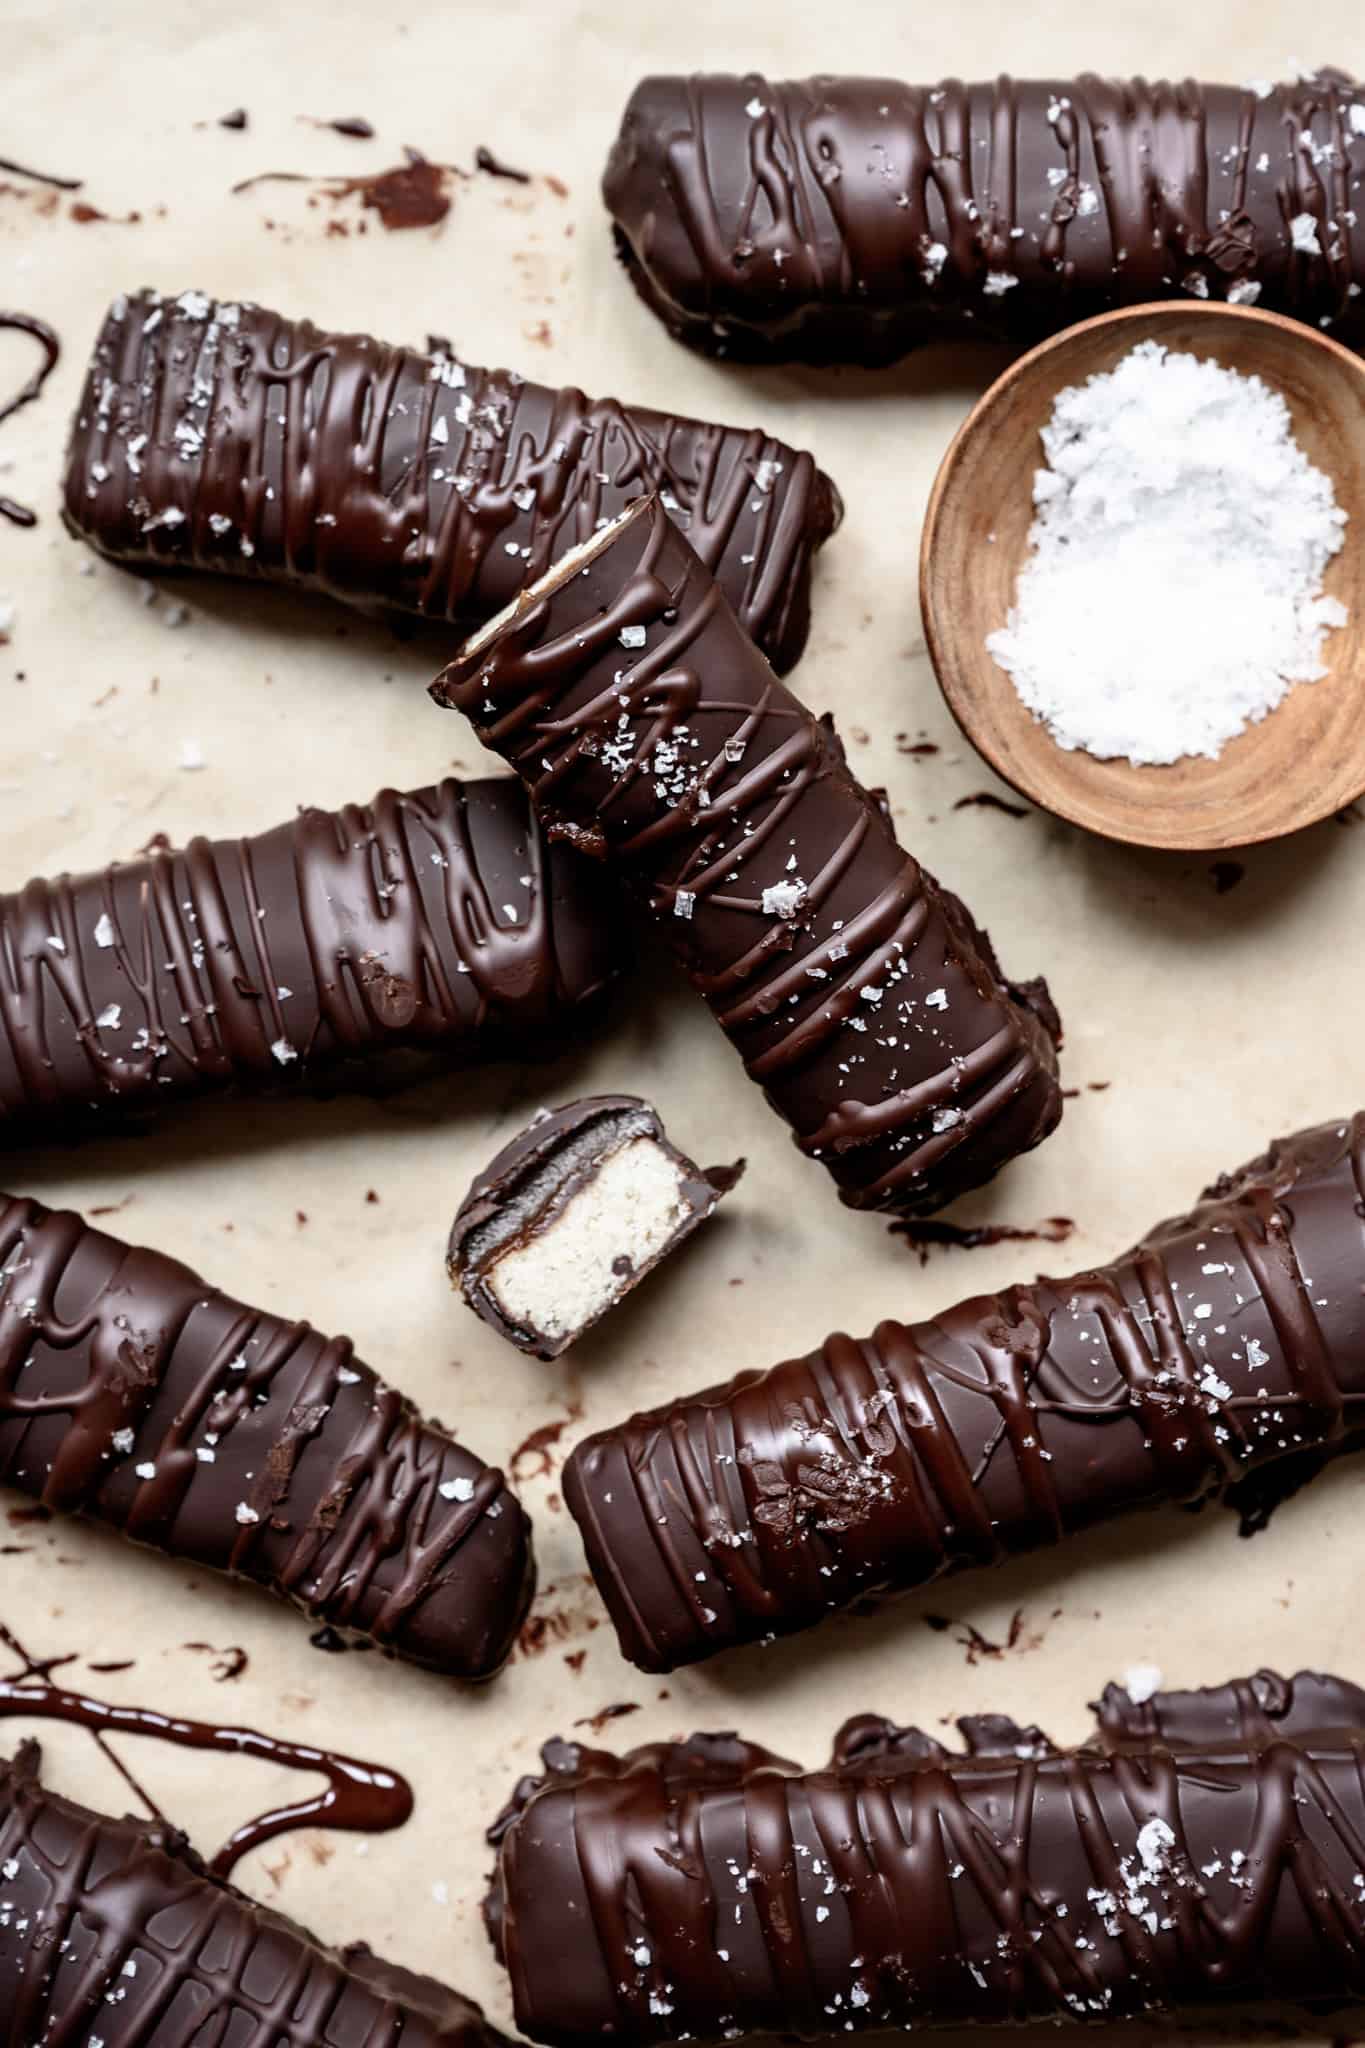
I feel okay saying that because my mom does all of the recipe creation, so I'm not bragging about my own skills. She's truly a genius in the kitchen, especially when it comes to vegan and gluten free desserts!
These were a HUGE hit in our family. You know they're good when my 82-year old grandpa asks for seconds (and thirds). Granted, he has a significant sweet tooth, but he's also usually a bit suspicious of anything vegan.
We ended up sending most of the batch home with him and his caretakers. This has the added benefit of keeping them out of our reach - it's really hard to stop eating these!
Although I haven't had a real Twix bar in years, I feel pretty confident saying these are better. Anything homemade is usually better, right?
Especially when it comes to mass-produced, corn syrup laden candy bars. With Halloween coming up, we highly suggest giving this homemade vegan and gluten free version a try!
Instructions
These homemade vegan and gluten free Twix bars aren't the easiest or least messy recipe, but they're most certainly worth the effort (and mess!). If you have children with gluten or dairy allergies, this is a great project to work on together. They'll be so excited to have a chance to enjoy a real candy bar!
Shortbread cookie layer
First up: homemade gluten free shortbread. It's easier than you might think, and just six basic ingredients.
We use coconut oil in place of vegan butter, which always works perfectly. The key is to make sure it's completely softened to room temperature, but not melted.
If you live somewhere unusually warm, you may need to refrigerate it for a few minutes to harden it up. Likewise, if you live somewhere very cold, you may need to soften it in the microwave.
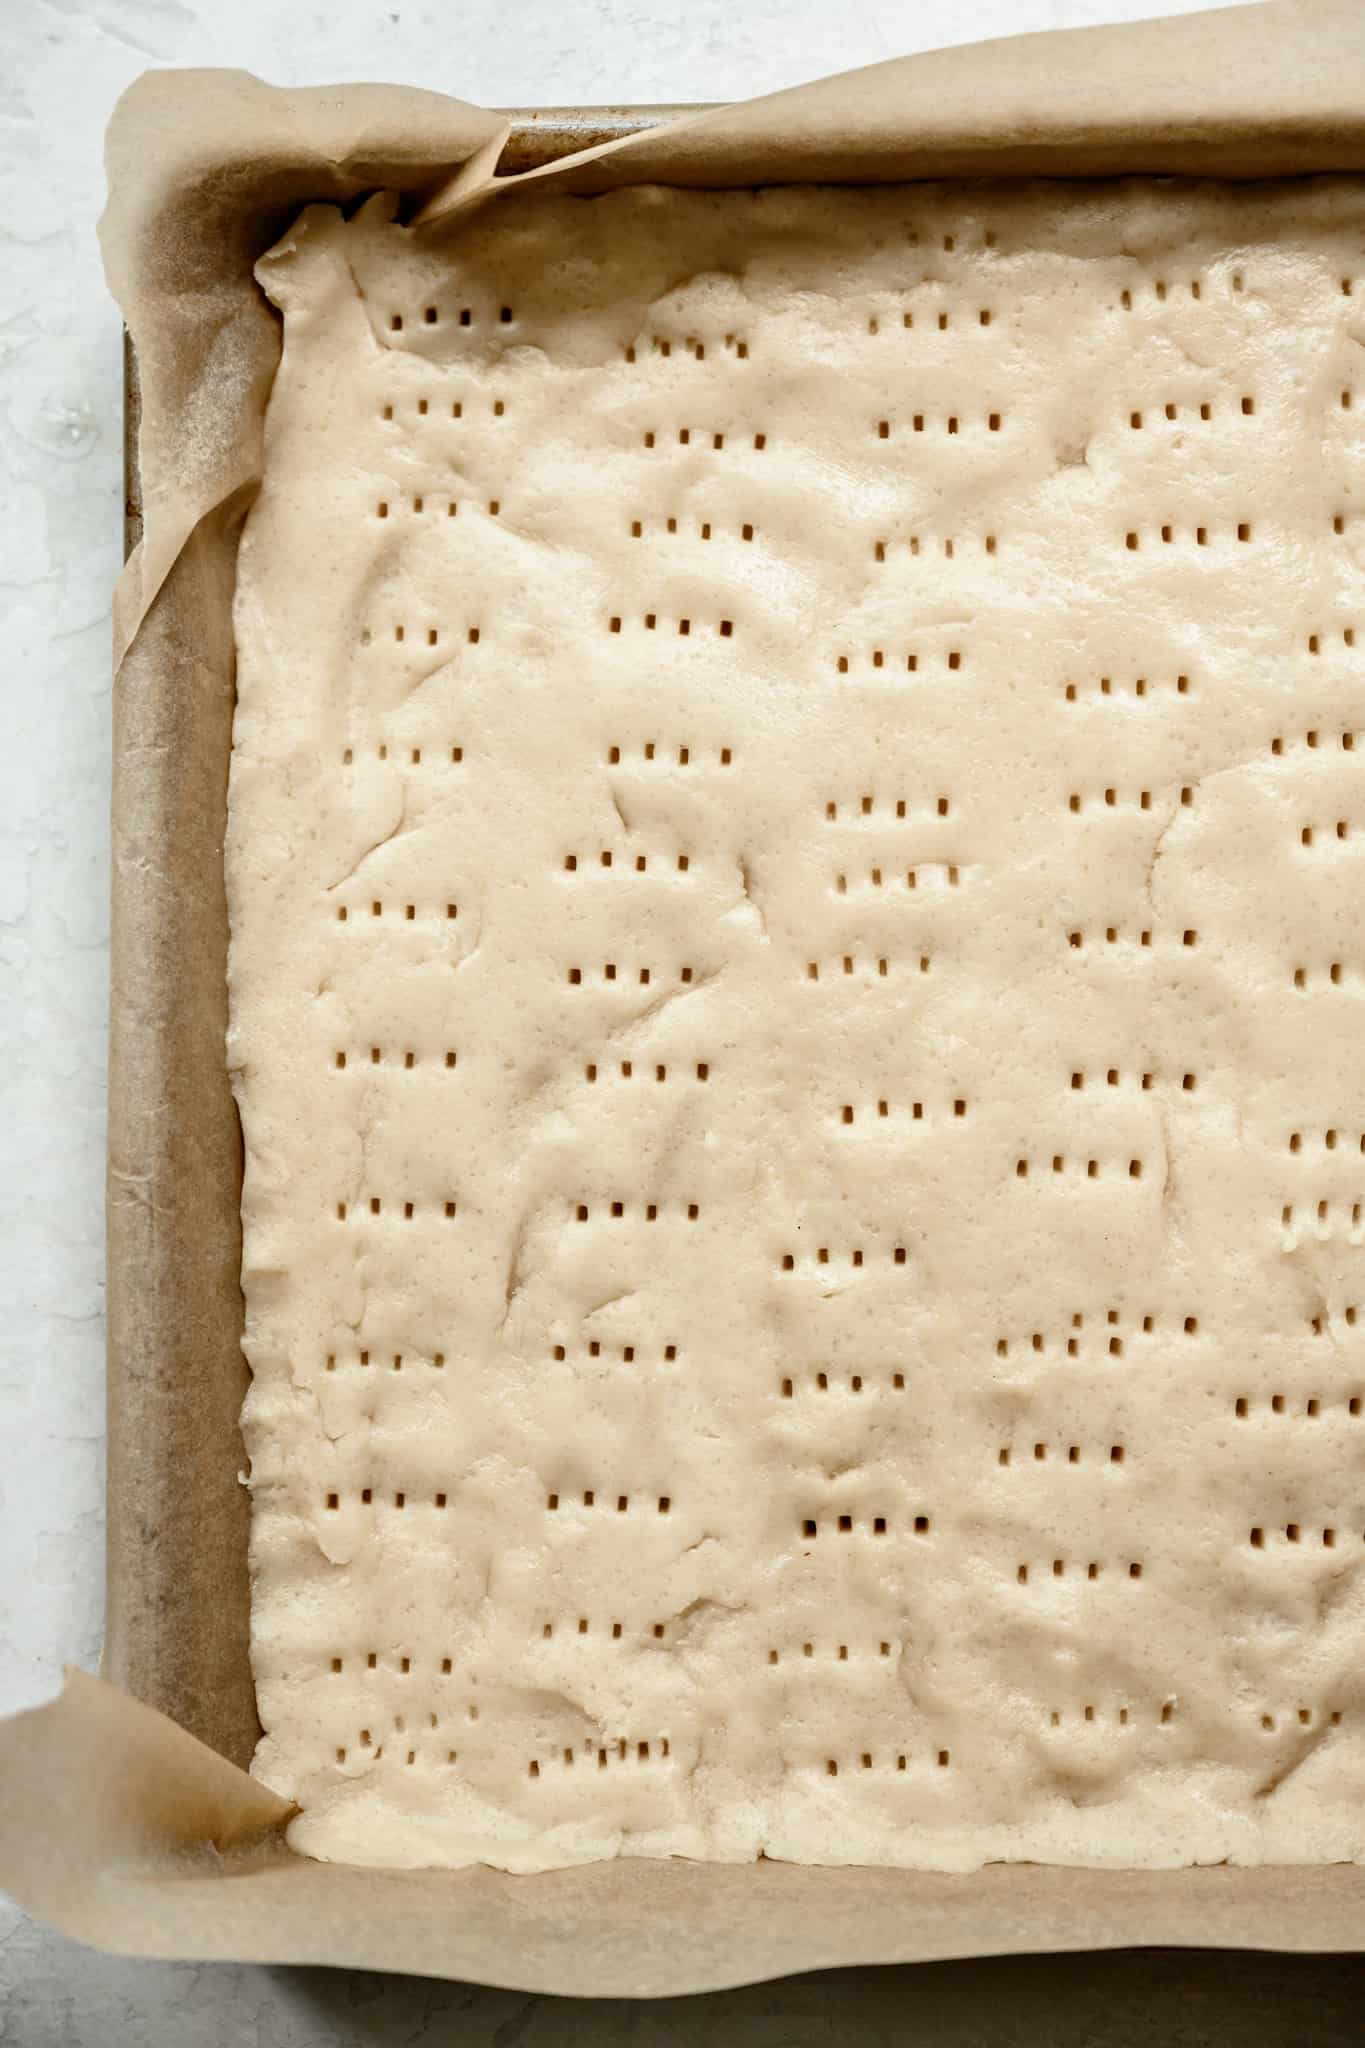
Then, simply cream the coconut oil, sugar and vanilla in a stand mixer (or using a hand mixer) until it's light and fluffy. In addition to using regular cane sugar, we also use maple syrup, which adds more moisture and flavor. Gluten free all purpose flour and salt round out the ingredient list.
When the dough is all ready, you'll need to flatten it out in a very thin, even layer in a parchment-paper lined baking sheet/pan. You don't want this layer to be too thick, otherwise it will overtake the whole candy bar. About ½ inch is perfect.
While the shortbread is in the oven...
Make homemade vegan caramel
We make homemade vegan caramel by combining coconut cream and sugar. You have to cook it down until it boils, caramelizes and thickens.
For this recipe, we also added peanut butter, which not only adds delicious flavor but also helps thicken it up. It works particularly well in this recipe, because you don't want the caramel layer to be too thin. Otherwise these vegan Twix bars would be difficult to eat (and super messy!).
We always add salt and vanilla to our homemade caramel to round out the flavors. Who doesn't love salted caramel? Speaking of, check out this 4-ingredient vegan salted caramel recipe if you're looking for a more basic caramel sauce!
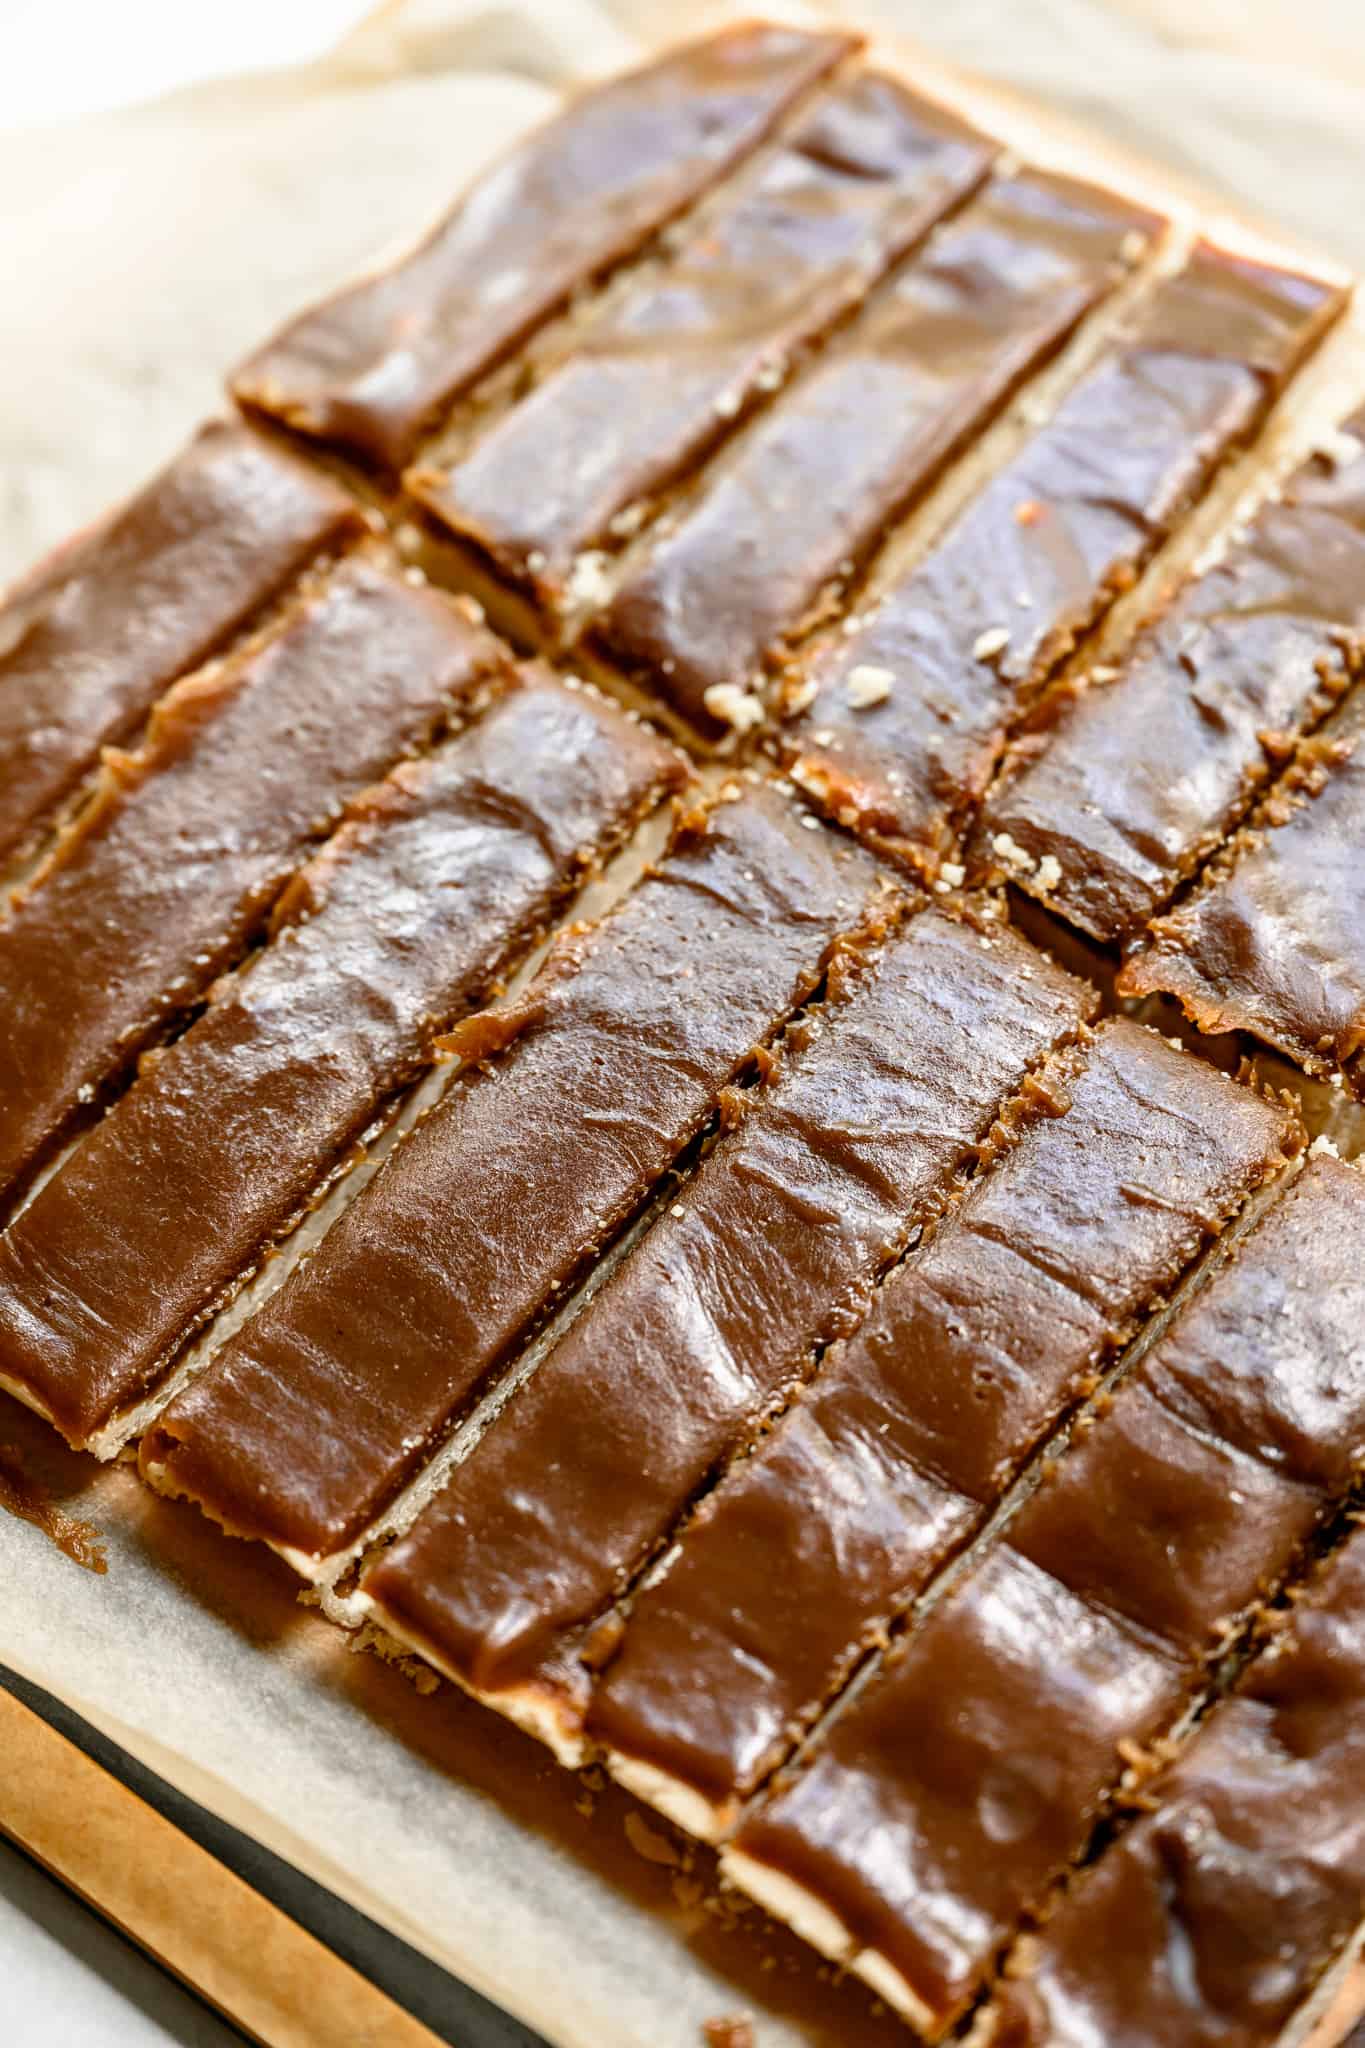
Once the shortbread is done baking, you spread the caramel on top in an even layer, then chill in the refrigerator. After 30 minutes in the fridge, it's time to transfer to the freezer so it hardens up completely before you slice into bars. This is an essential step, otherwise the bars will be a mess!
Once the bars are chilled and ready to slice...
Make a silky dark chocolate coating
This is the easiest step! Simply melt your favorite dark chocolate in the microwave in 30 second intervals. Be sure to stir well between each interval. We typically stir in about 2 teaspoon of coconut oil as well to loosen it up a bit.
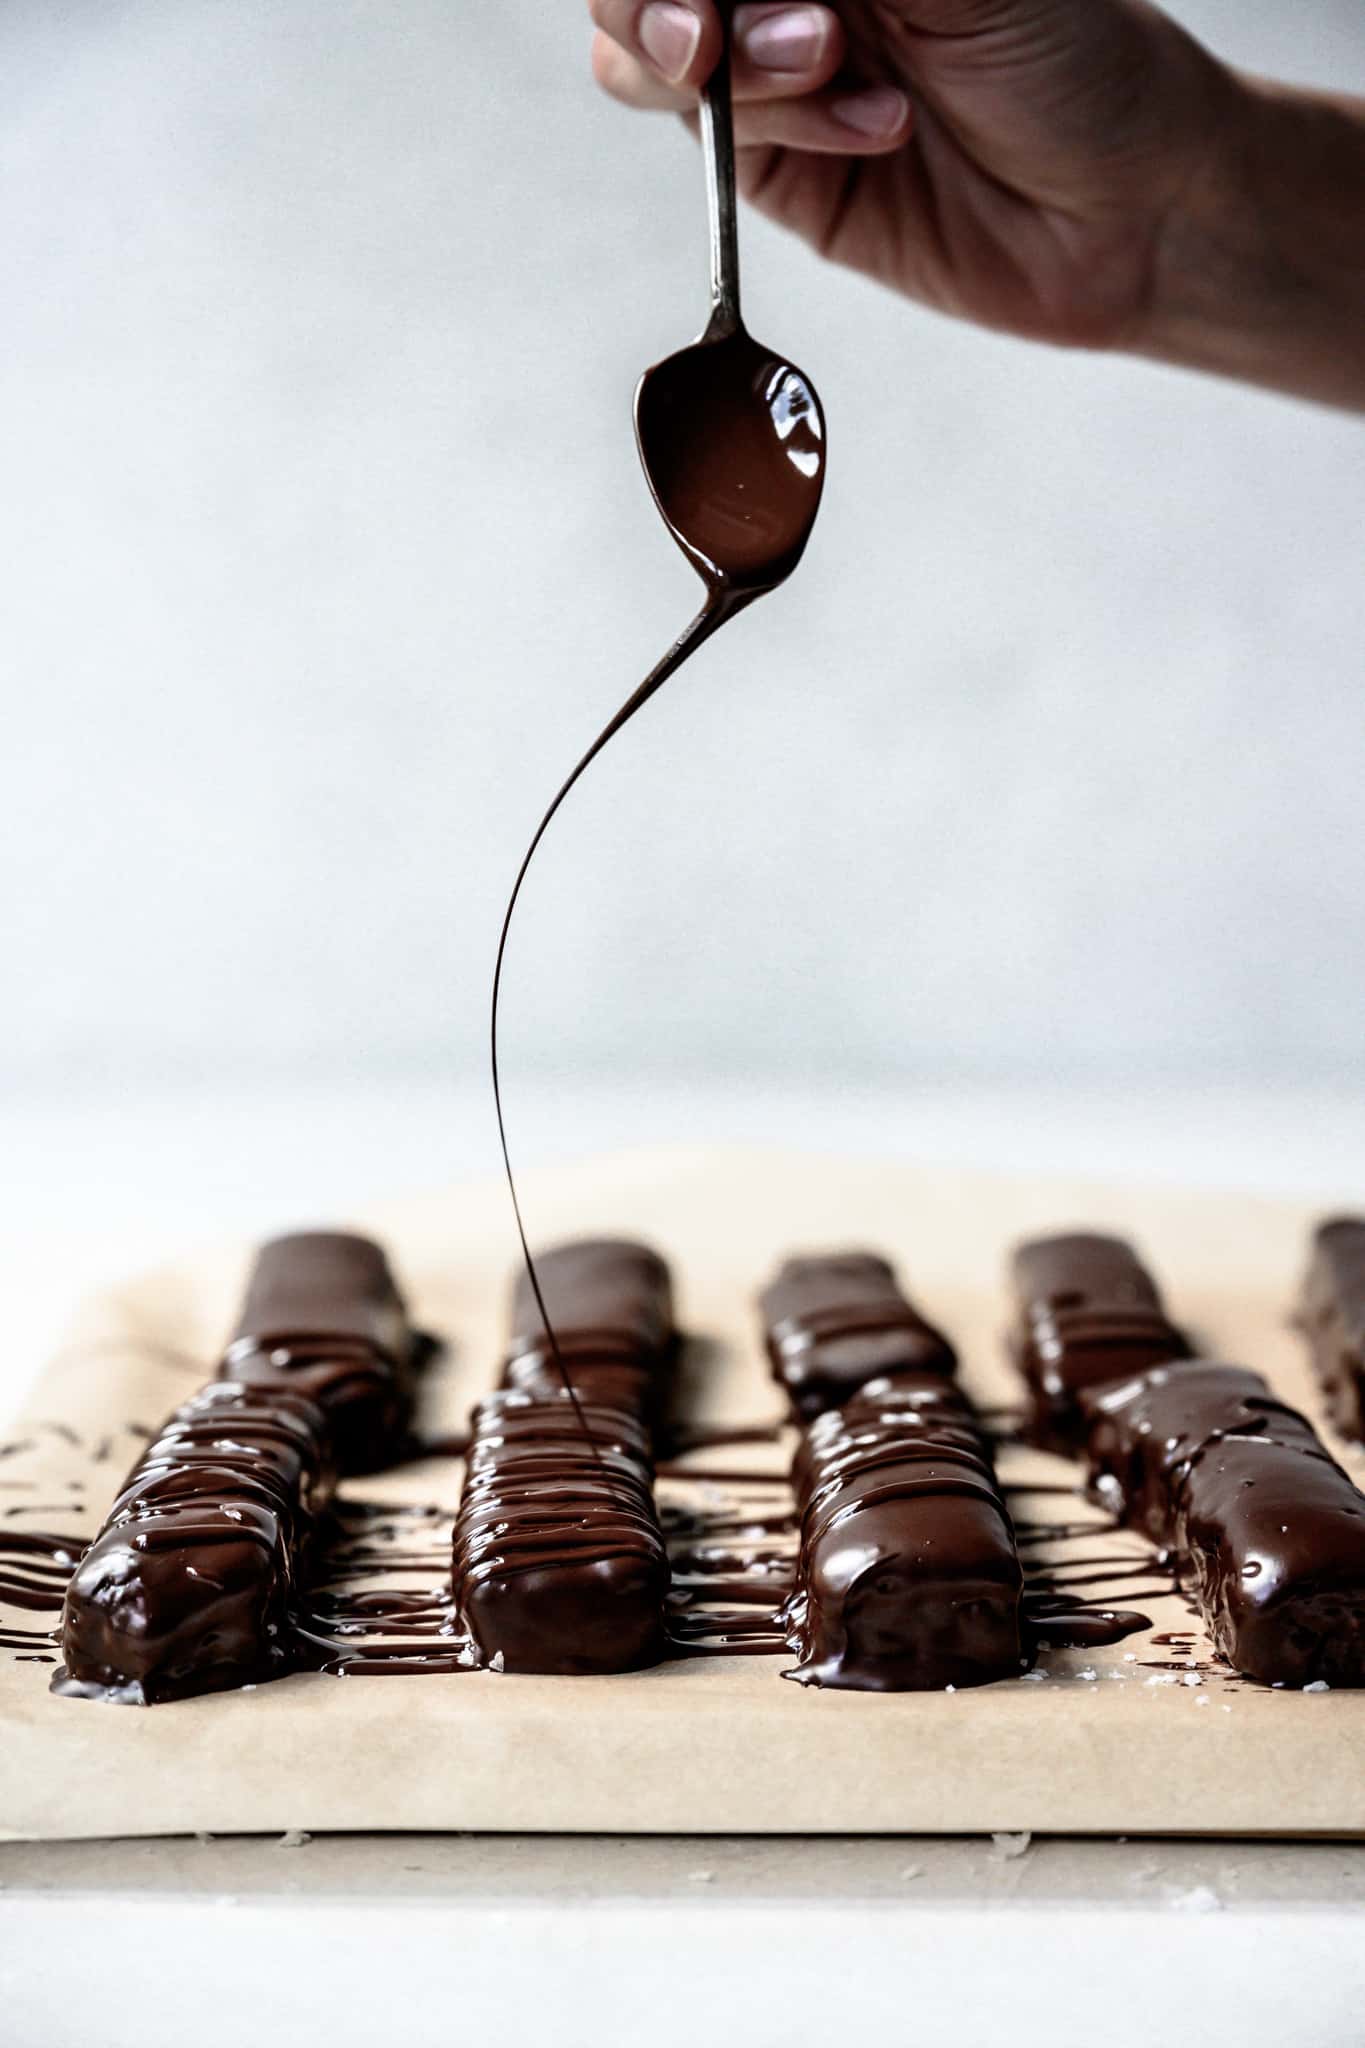
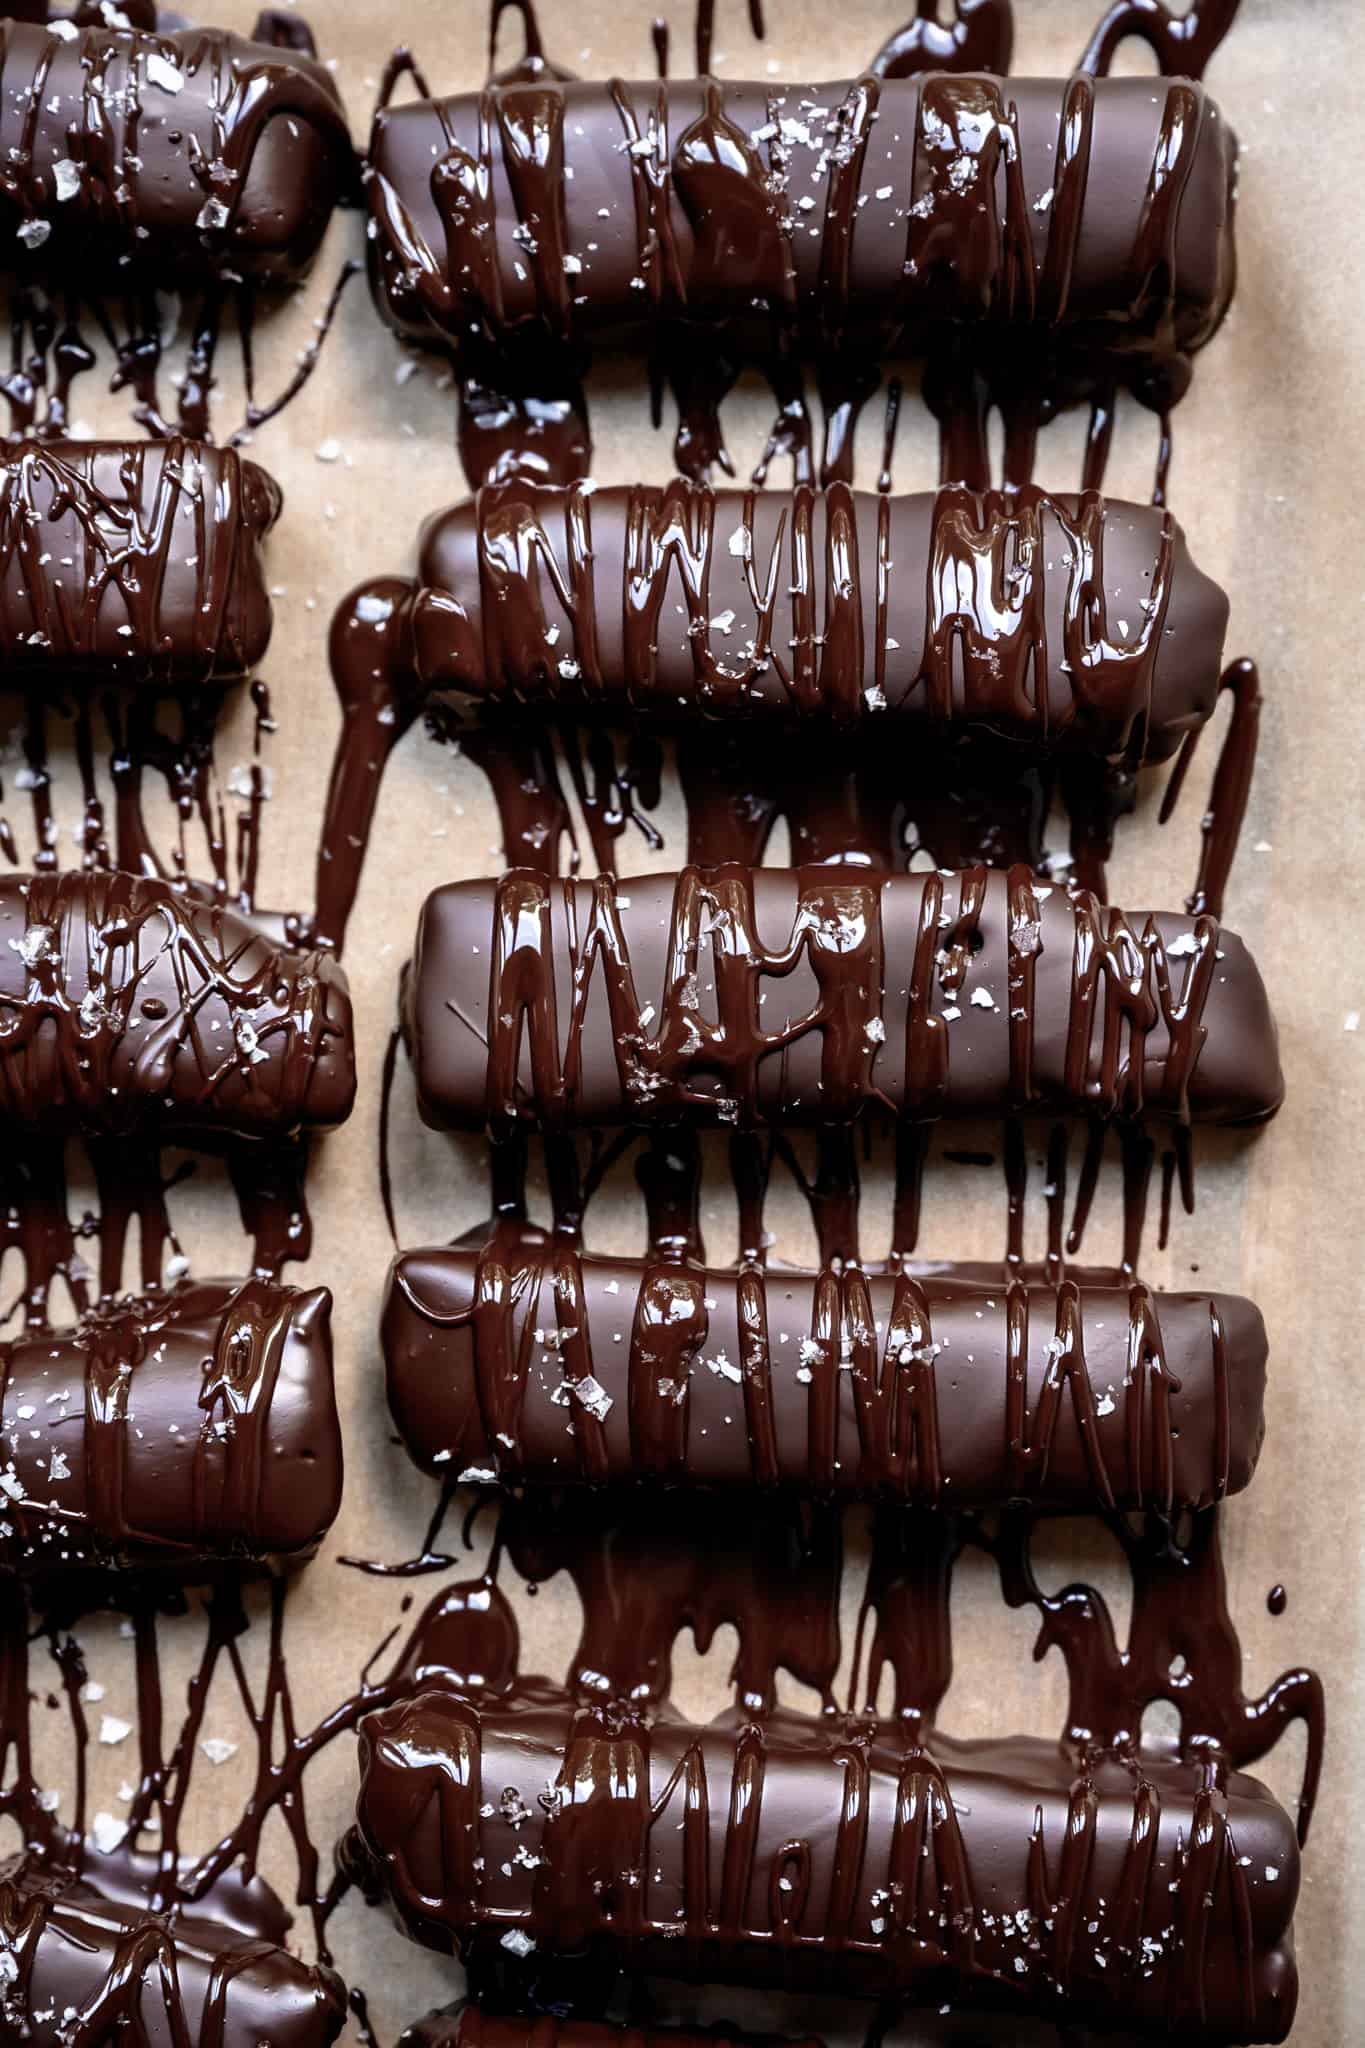
When the homemade Twix bars are chilled and sliced, it's time to dip them in chocolate. We do so by using two forks to carefully dip the bars in a bowl of melted chocolate, then shake a bit to remove as much excess chocolate as possible.
You'll need to carefully transfer to a parchment paper-lined baking sheet to let harden.
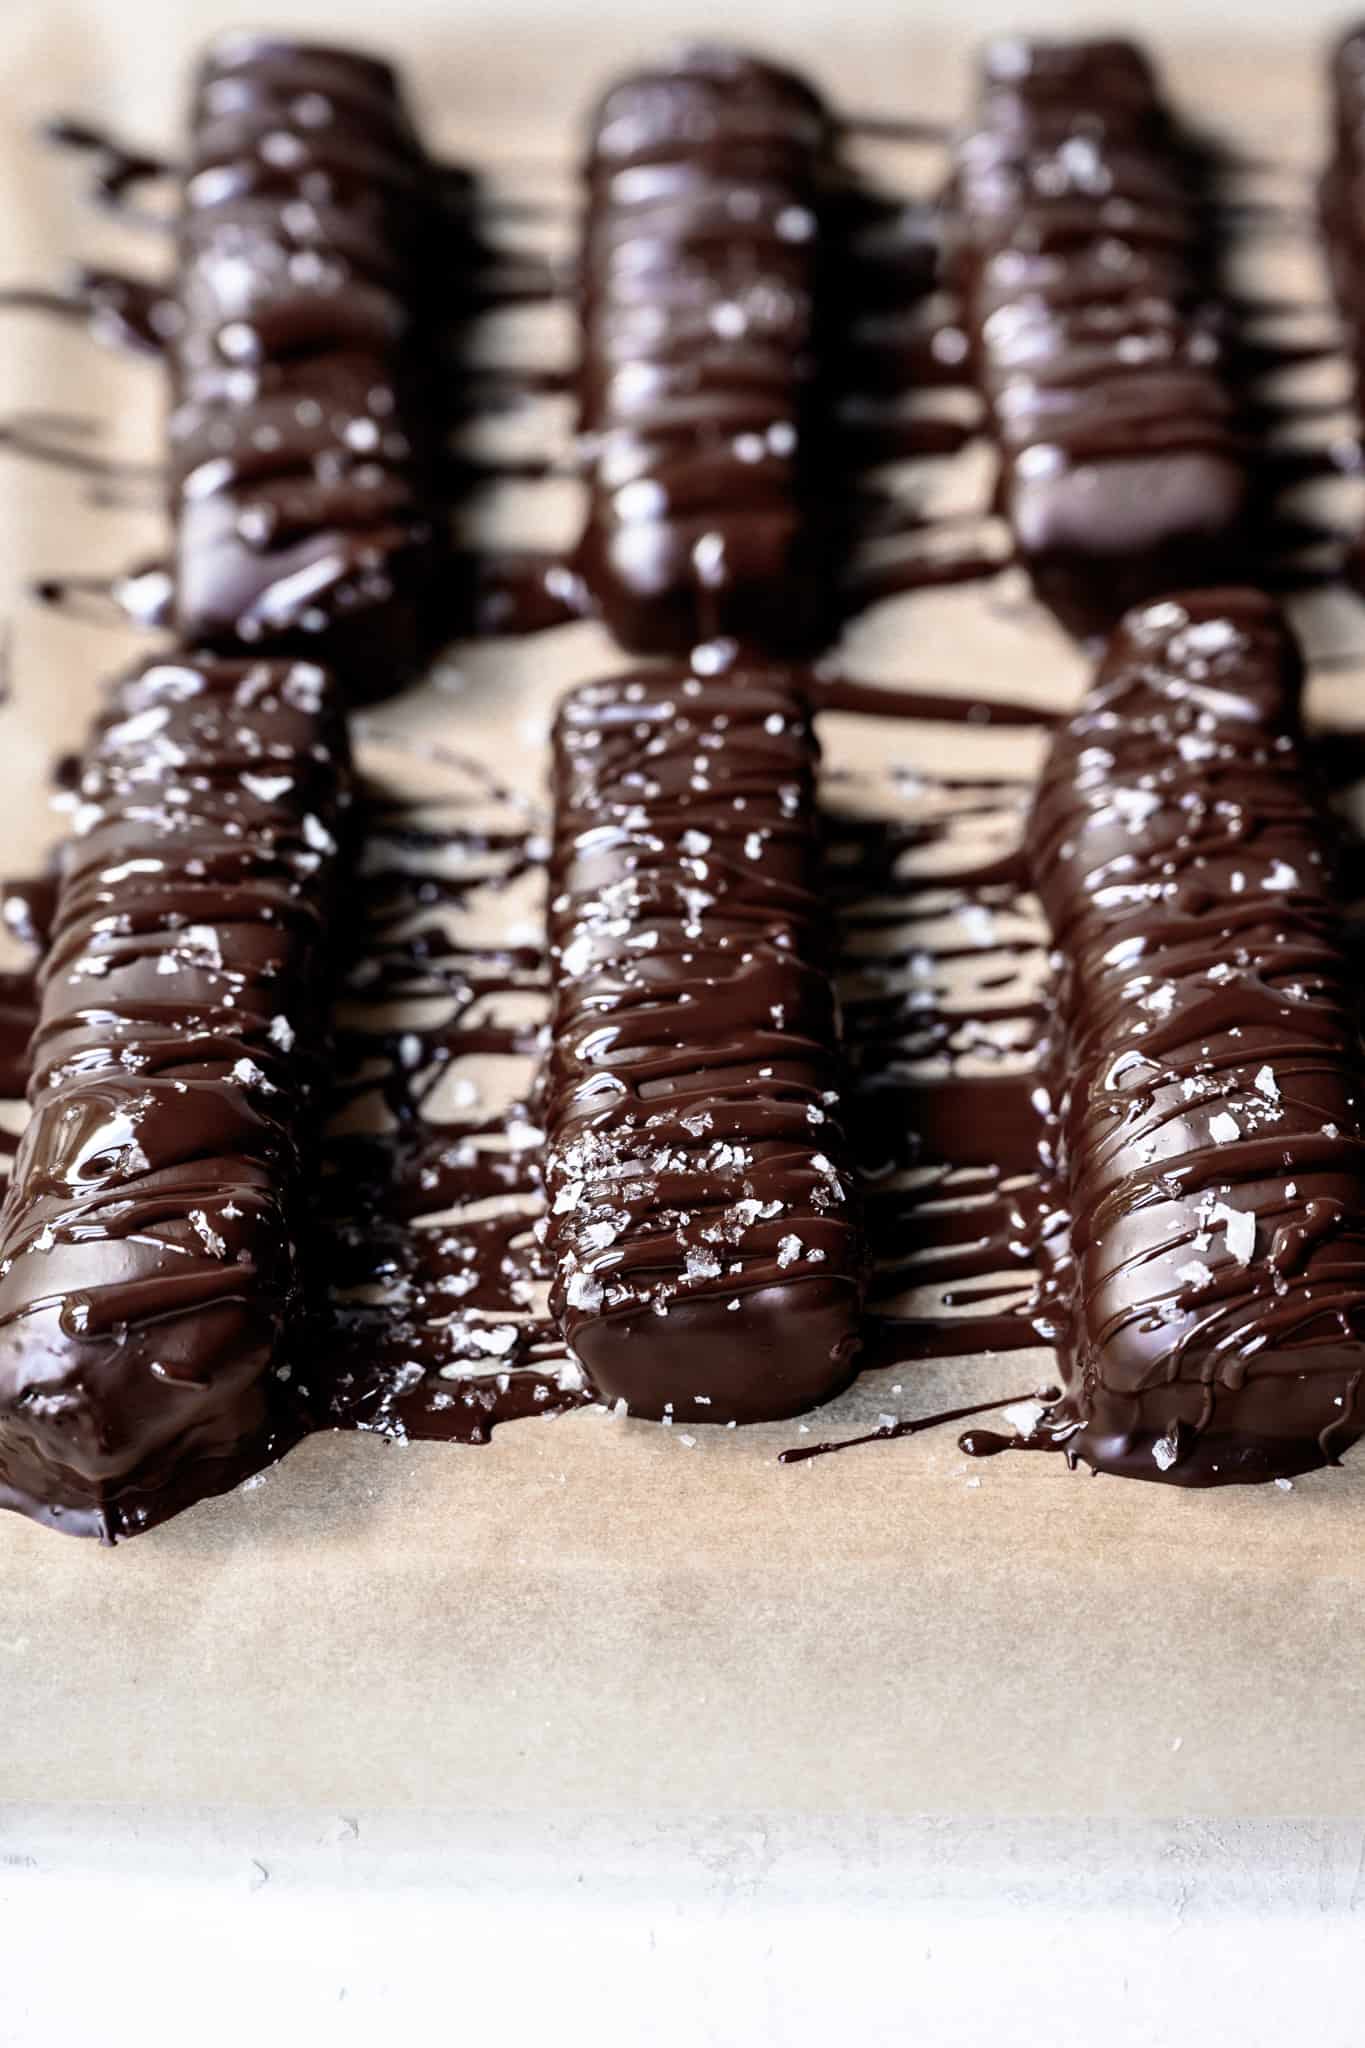
At this point, you can sprinkle some flaky sea salt on top if you'd like. If not, that's fine, too! You can either let the Twix bars harden at room temperature, or if you're feeling impatient, chill them in the refrigerator or freezer.
When the chocolate is completely solidified, they're ready to eat!
Storage
While these can certainly be enjoyed at room temperature, we suggest storing them in an airtight container in the refrigerator. If they sit out for a while in a warm kitchen, the chocolate and caramel may get a bit messy. They still taste perfectly fine, but they're easier to eat when they've been chilled.
To prevent sticking, separate each layer of Twix bars with parchment paper. You can also wrap them individually in parchment paper if desired.
More favorite vegan desserts
It's safe to say that these homemade Twix bars have made it onto our list of all-time favorite vegan desserts. What's not to like? I'm a sucker for anything chocolate + caramel, and if you add a shortbread cookie in there, even better.
Here are a few more of our favorites to try next:
- Vegan Peanut Butter Cups - the easiest, most satisfying dessert I can think of.
- GF & Vegan Samoa Cookies - your favorite Girl Scout cookie with an allergy-friendly twist.
- Vegan Dark Chocolate Mousse - can you guess the secret ingredient that makes this mousse so fluffy and airy?
- Classic Oatmeal Chocolate Chip Cookies - they contain oats, so they're practically breakfast.
- Gluten Free & Vegan Oreos via Feasting on Fruit - another childhood classic! Need to try these asap.
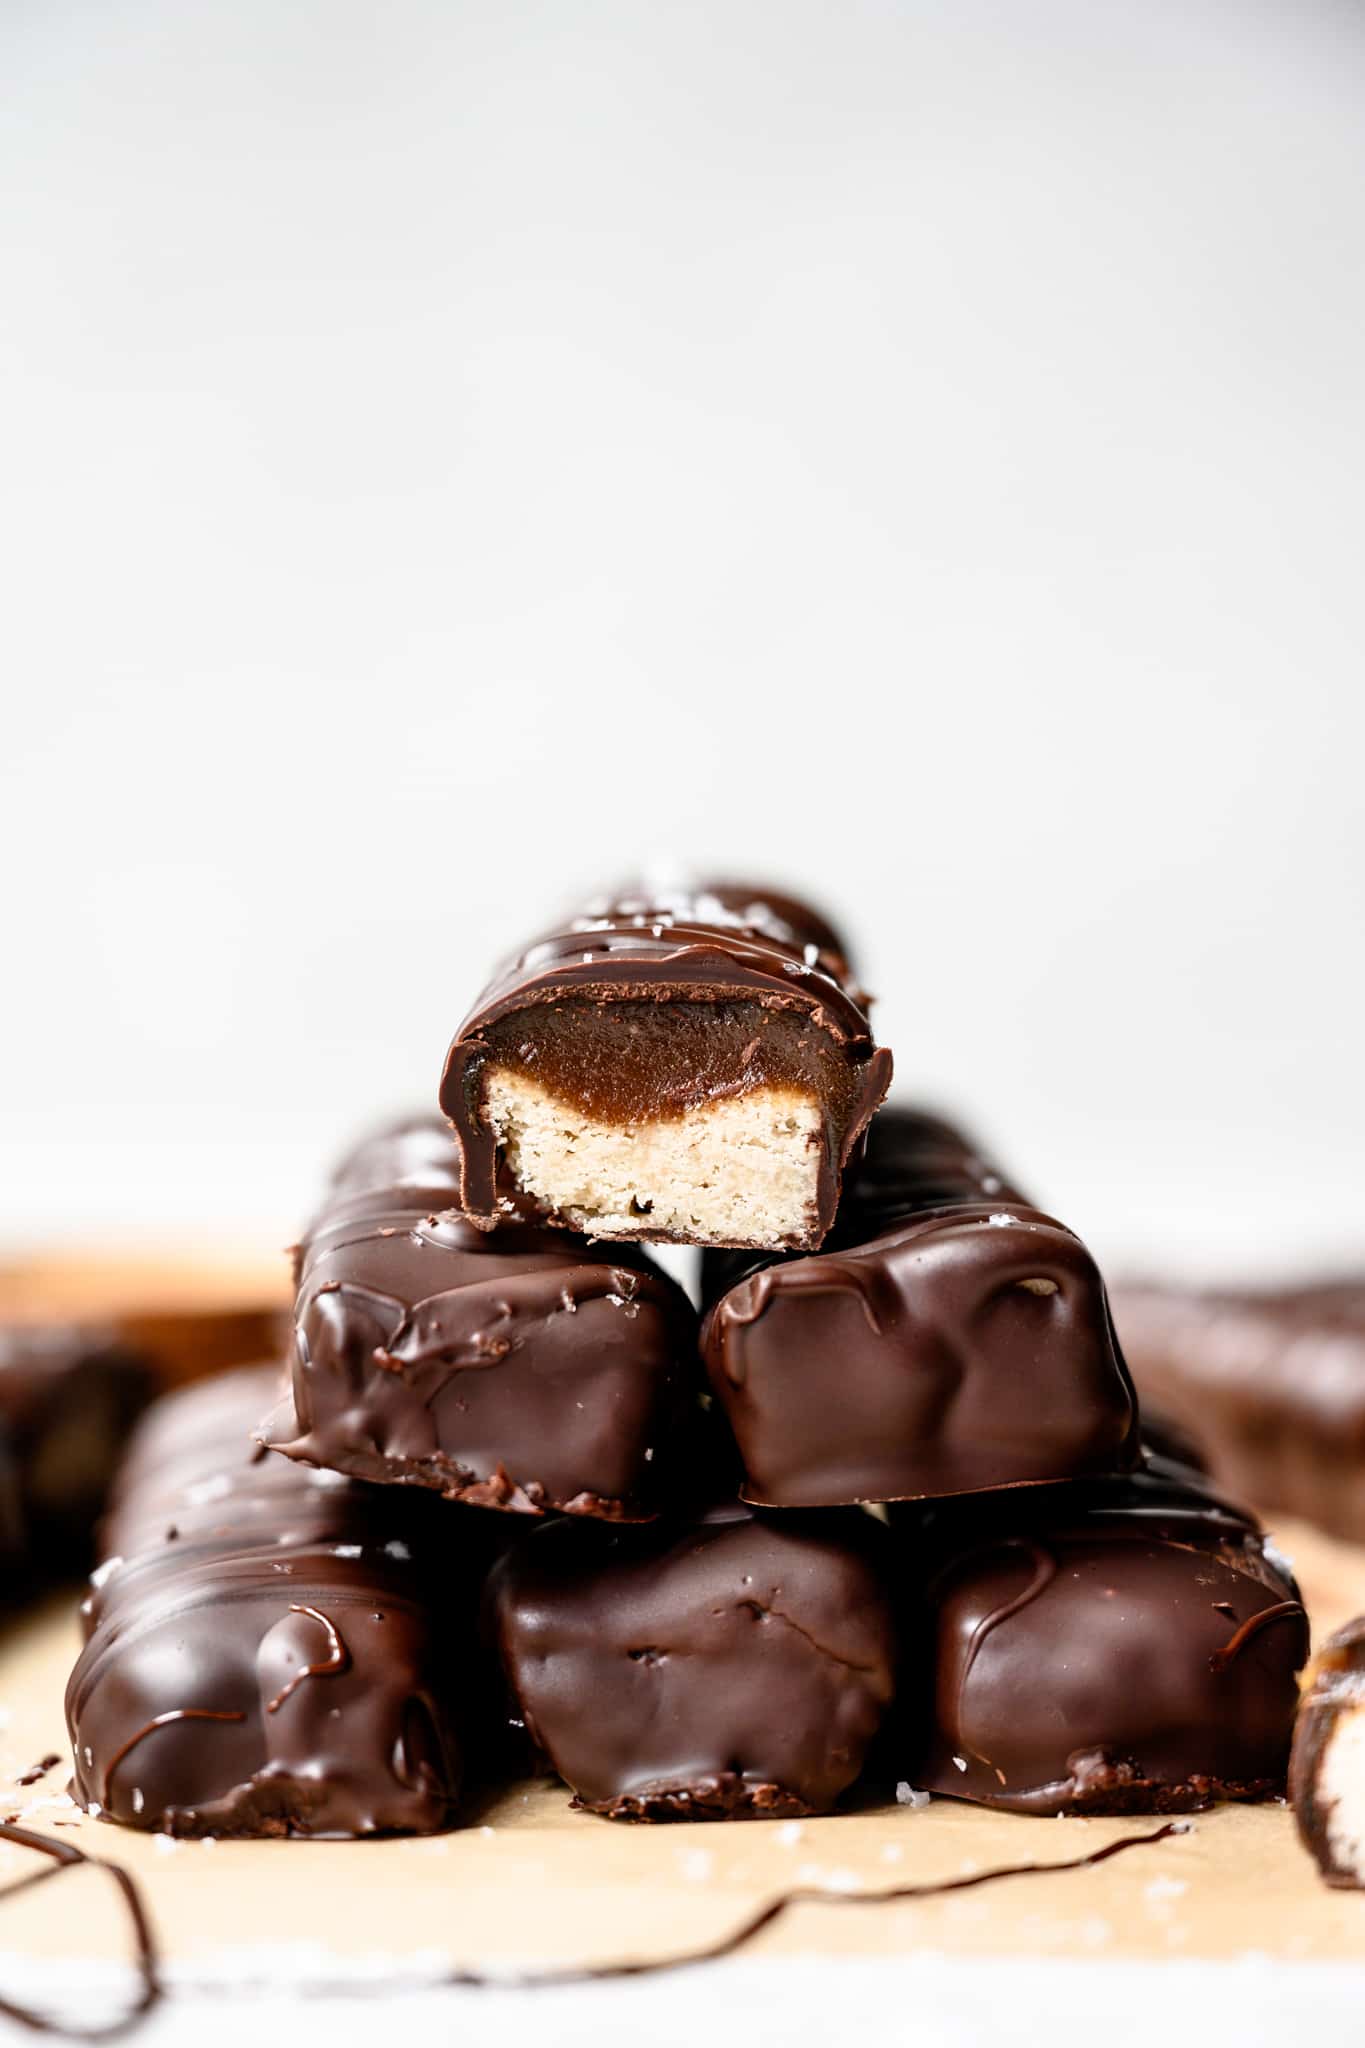
If you make these vegan and gluten free Twix Bars for Halloween, be sure to tag us on Instagram and leave a comment & rating below. We love to hear from you!
Print📖 Recipe
Homemade Twix Bars (Vegan and Gluten Free)
- Total Time: 2 hours 30 minutes
- Yield: 2 dozen
- Diet: Vegan
Description
With Halloween right around the corner, we've had candy on our mind. These homemade vegan and gluten free "Twix" bars are insanely delicious, and the perfect allergy-friendly recipe alternative to a classic candy bar!
Ingredients
Shortbread base:
- ¾ cup coconut oil (softened at room temp, but not melted)
- ⅓ cup cane sugar
- ½ cup maple syrup
- 2 tsp vanilla extract
- ¼ tsp salt
- 2 ¼ cups gluten free all-purpose flour
Vegan Caramel Layer:
- 1 cup coconut cream (the solid fat layer at the top of a can of full-fat coconut milk)
- 1 cup coconut sugar
- ⅓ cup creamy peanut butter
- 2 tsp vanilla extract
- 1 tsp sea salt
Chocolate Layer:
- 16-20 oz dark chocolate chips, melted
- 1 tbsp coconut oil
- Flaky sea salt (optional)
Instructions
Shortbread Layer:
- Preheat oven to 350 F.
- In a stand mixer, cream coconut oil, sugar, maple syrup, and vanilla at medium speed. (Alternatively, add to a large mixing bowl and use a hand mixer. Add in salt and flour in a few batches and continue mixing until dough comes together.
- Line a 10x10 pan (or similar sized pan) with parchment paper and press dough evenly into pan. Pierce dough with a fork in several places, then bake for 16-18 minutes. Remove from oven and cool (don't remove from the pan!).
- Meanwhile, add all caramel ingredients to a small saucepan and whisk well. Bring to a boil, then reduce heat and let simmer for 10-15 minutes, stirring occasionally. When caramel is finished, set aside and let cool.
- When shortbread is finished, spoon caramel over the top in an even layer. Refrigerate for 30 minutes, and then transfer to the freezer for a minimum of 40 minutes.
- Remove from freezer and transfer to a cutting board. Using a very sharp knife, slice into 1-inch rows. Then, slice into thirds to create evenly-sized bars. You should end up with 20-24.
- Add chocolate chips and coconut oil to a large bowl and melt in microwave in 30 second intervals, stirring well between each interval.
- Using two forks, dip bars in chocolate, then let drain to remove some excess chocolate. Set down on parchment paper. Optional: when the chocolate solidifies, feel free to drizzle with more chocolate and flaky salt.
- To speed things up, refrigerate the chocolate bars until solid. Alternatively, leave out at room temp until solid. Store in an airtight container in fridge, with parchment paper between each bar.
- Prep Time: 30 minutes
- Cook Time: 2 hours
- Category: Dessert
- Method: Baking
- Cuisine: Candy
Nutrition
- Serving Size:
- Calories: 3847
- Sugar: 267.4 g
- Sodium: 1817.9 mg
- Fat: 196.9 g
- Saturated Fat: 127.5 g
- Trans Fat: 0.2 g
- Carbohydrates: 424.6 g
- Fiber: 29.3 g
- Protein: 34 g
- Cholesterol: 13.6 mg



Catupi says
Demasiado buenas para ser reales!!!!!