
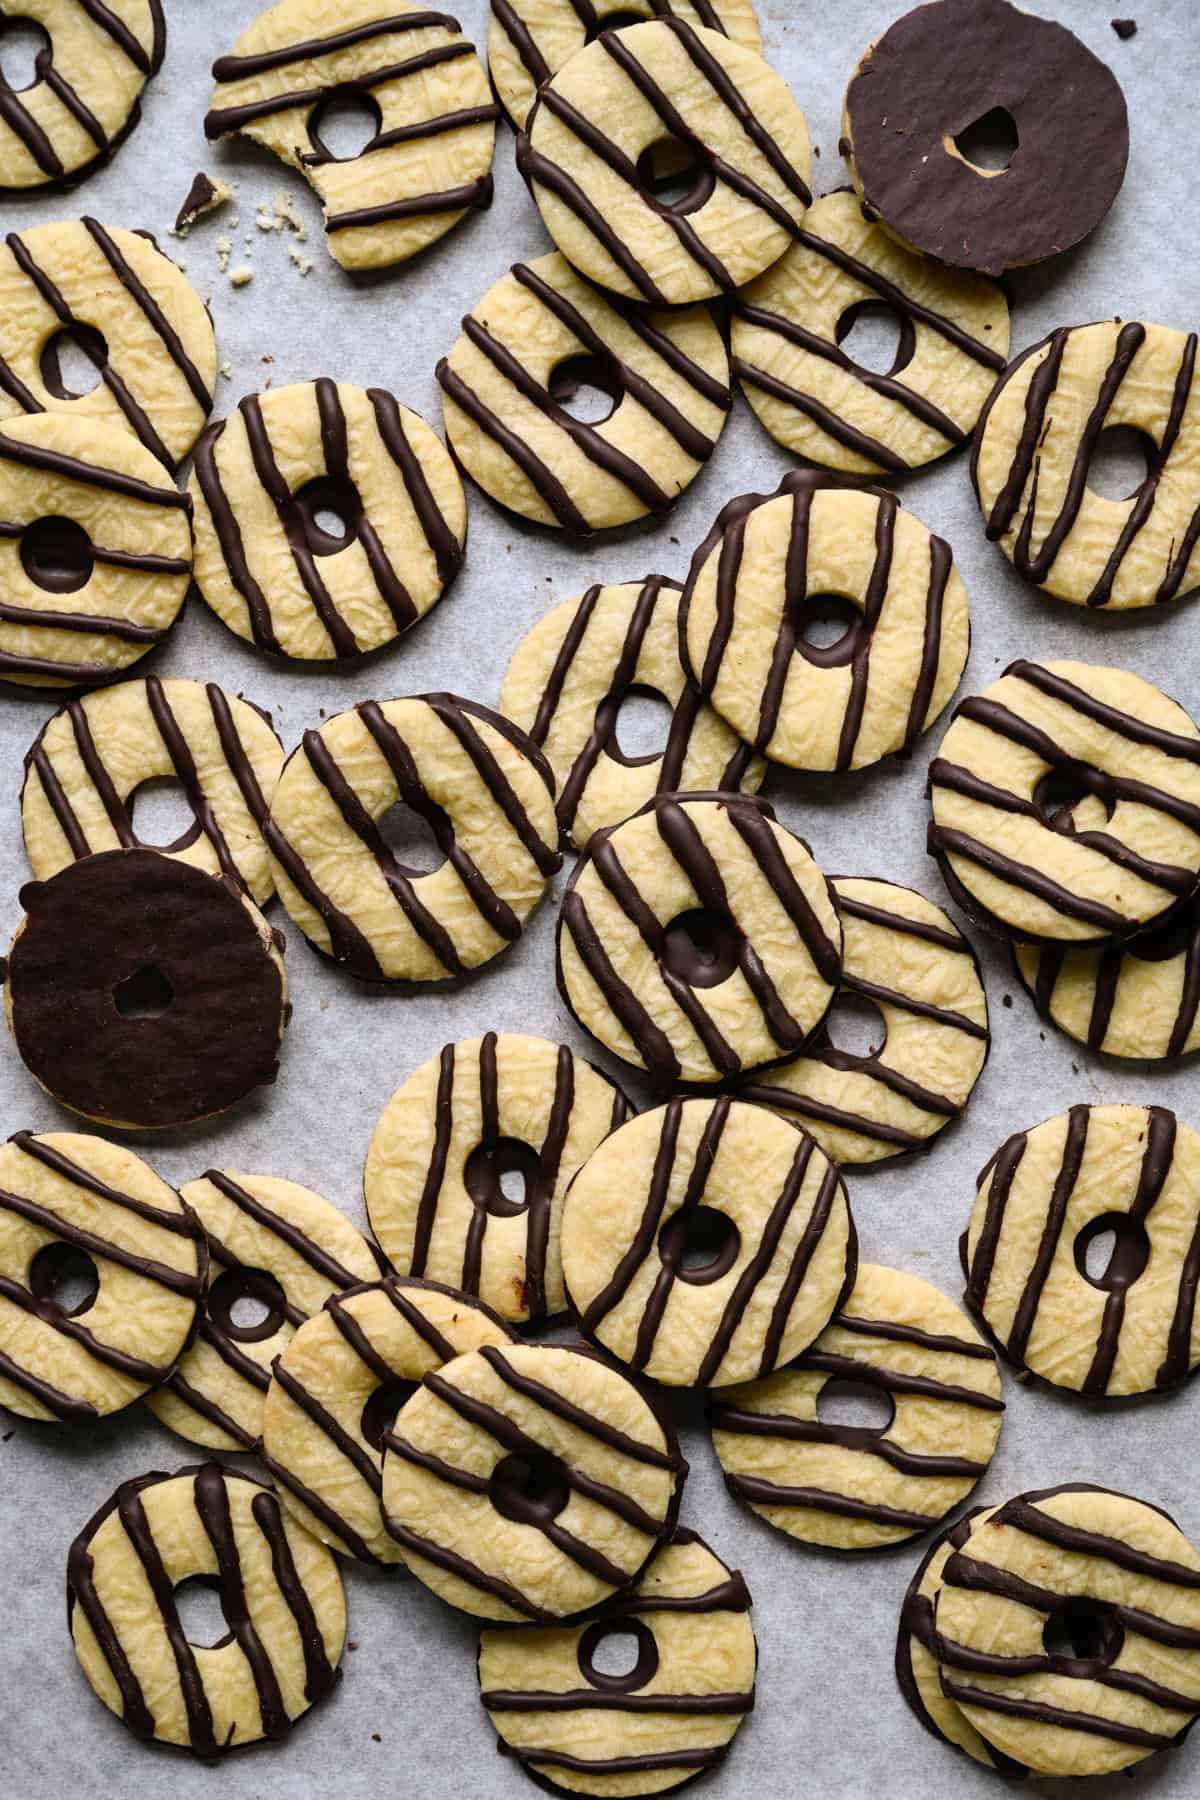
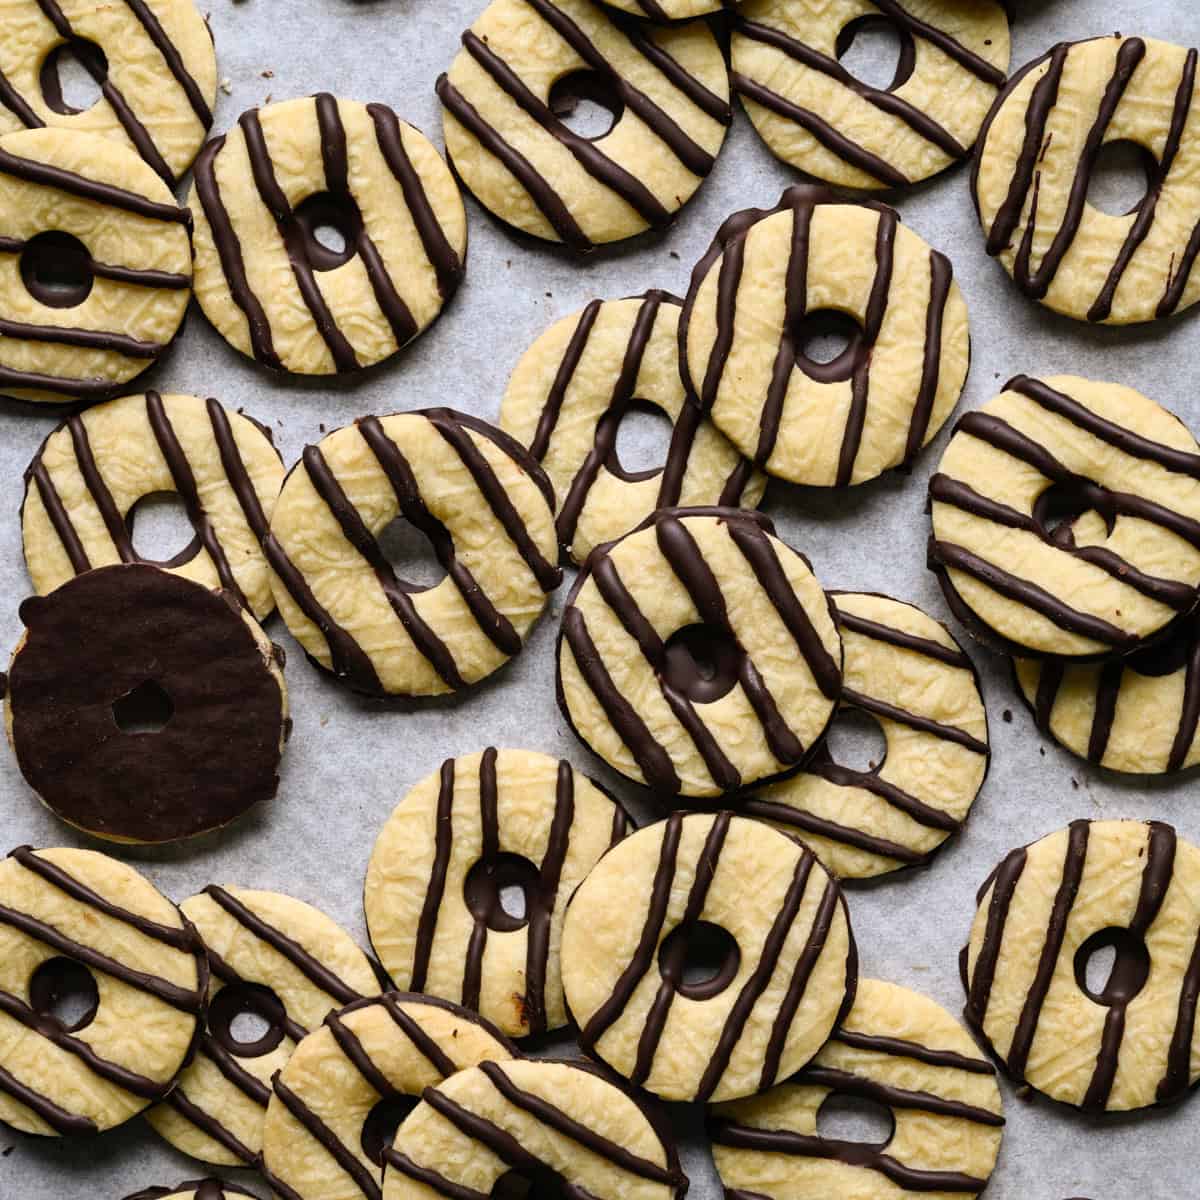
Homemade Fudge Stripes are the newest addition to our Better Than Store-Bought series, where we recreate your favorite store-bought snacks from scratch. Based on the Keebler classic, these are made with a buttery, shortbread cookie base and then dipped in/drizzled with semisweet chocolate. You only need 6 ingredients and the dough comes together quickly and easily!
Keebler, who?
After more than 60 episodes of our Better Than Store-Bought series, I think we've more than proven that you don't need to rely on Nabisco, Little Debbie or Keebler anymore. Our homemade Oreos, Oatmeal Cream Pies, Nutter Butters and now these Fudge Stripes really are so much better than store-bought!
The extra fun thing about this recipe in particular is that they're surprisingly easy to make! It's basically just a simple shortbread cookie (5 ingredients) that's dipped in semisweet chocolate and drizzled with even more chocolate.
The cookies are buttery, rich, crisp and honestly delicious on their own. We often make them at Christmas, dip them in chocolate and top with crushed candy canes! These are rolled pretty thin, so they have a nice snap just like the Keebler version.
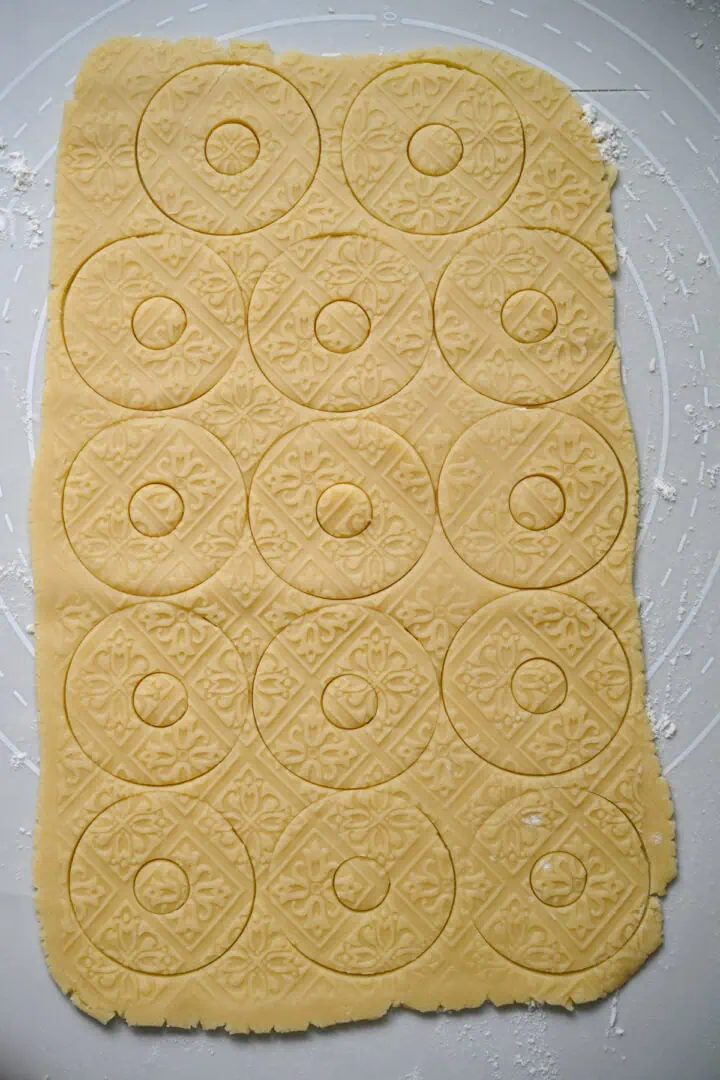
We always strive to make our Better Than Store-Bought recipes look as similar to the original as possible, so for this one, we got out our embossed rolling pin (the same one we use for our oreos.) It's totally optional, but it does create that characteristic pattern and texture.
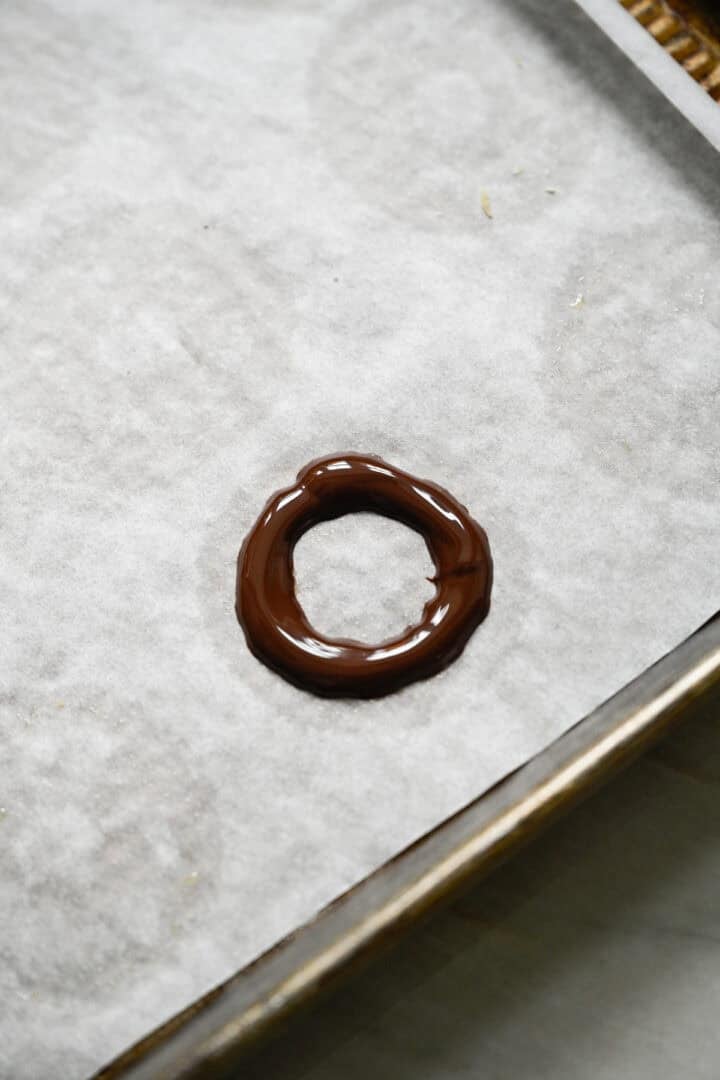
When it comes to coating the cookies, we first tried dipping them in chocolate, but it's a pretty messy and annoying process. We realized the easier method is to pipe chocolate into a circle, then place the cookie on top. Much easier, especially if you just use the parchment you baked the cookies on as a guide!
Key Ingredients Needed for Fudge Stripes
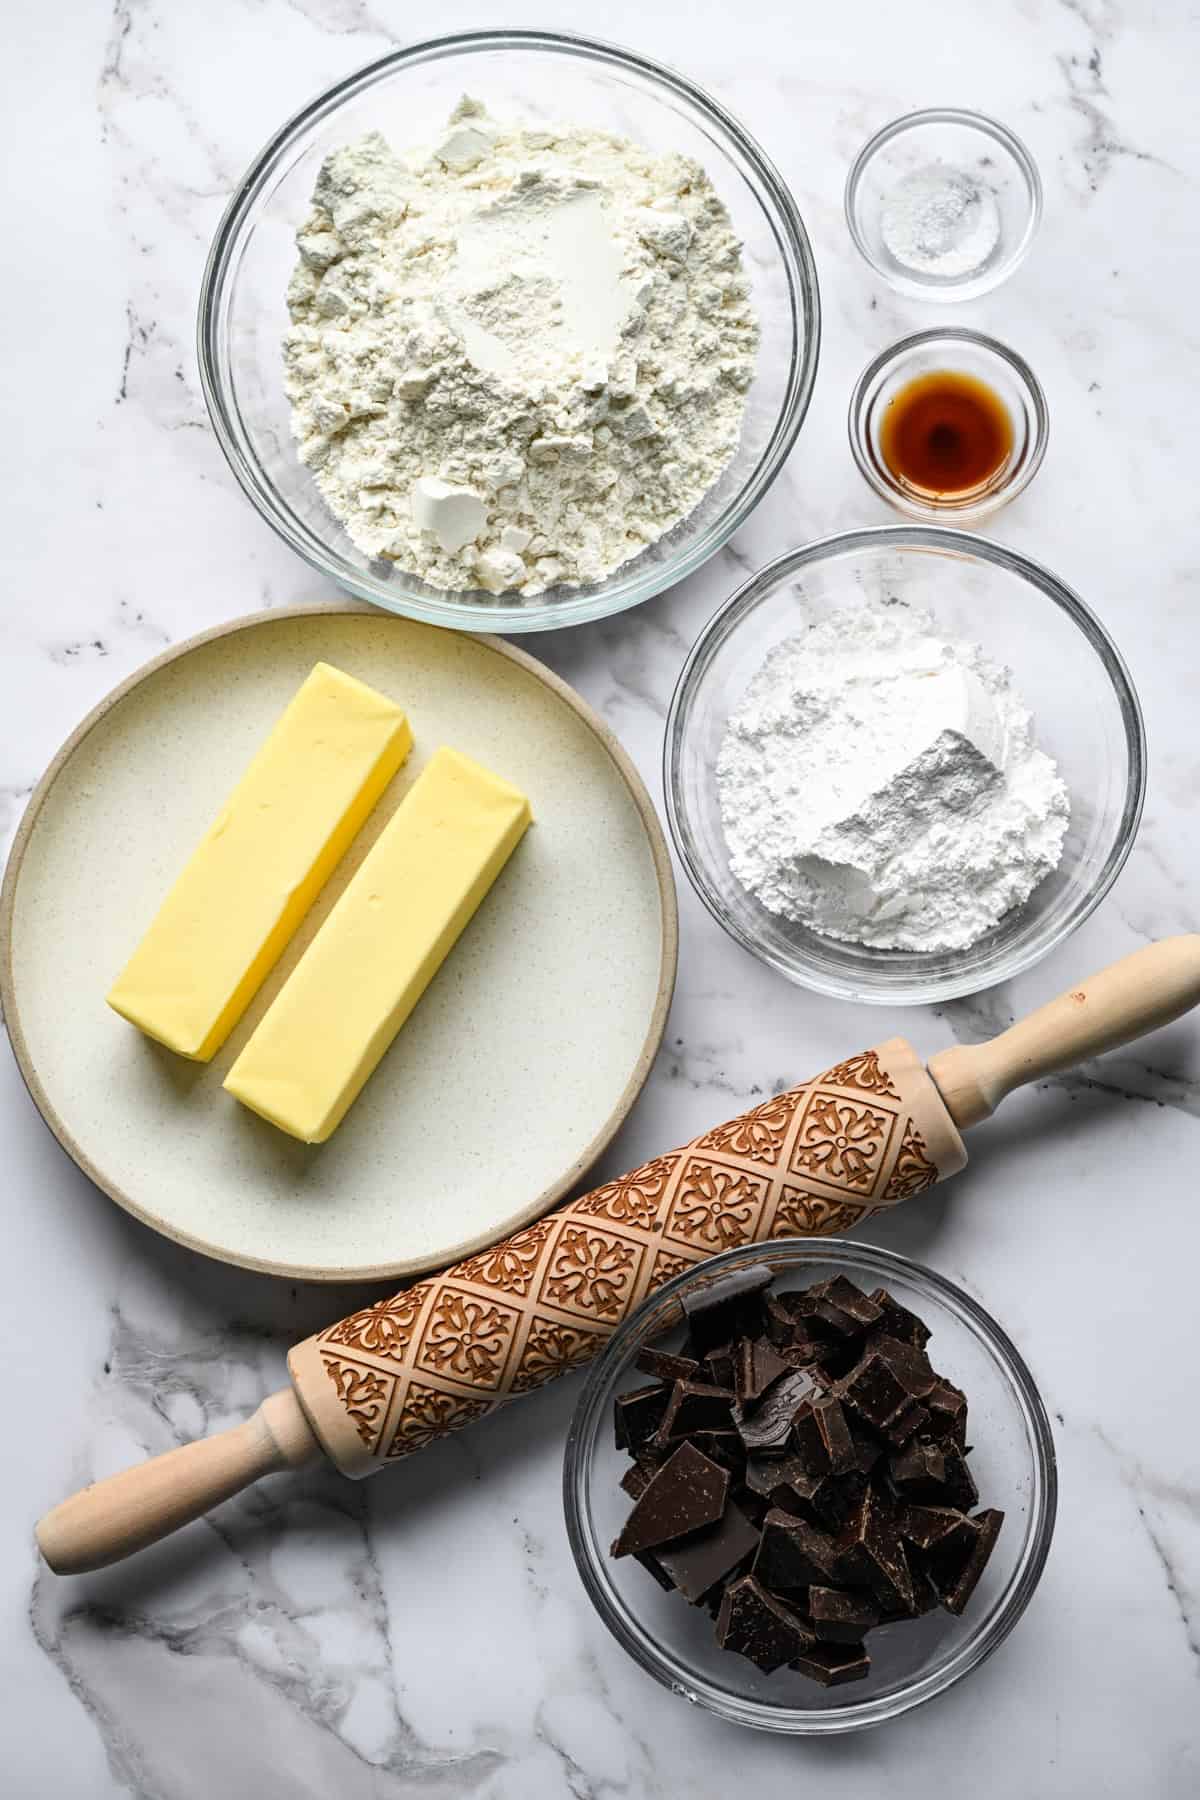
- Powdered sugar: We use powdered sugar instead of granulated in this shortbread to give it a tender, melt-in-your-mouth texture. It also keeps the cookies pale instead of golden brown.
- Chocolate: We prefer these with semisweet chocolate, but you can also use milk or dark chocolate depending on how sweet you want them to be. Although chocolate chips will work in a pinch, we prefer chopped chocolate bars – they don't have any added stabilizers, so they melt better and more evenly.
How to Bake Homemade Fudge Stripes
Make the dough
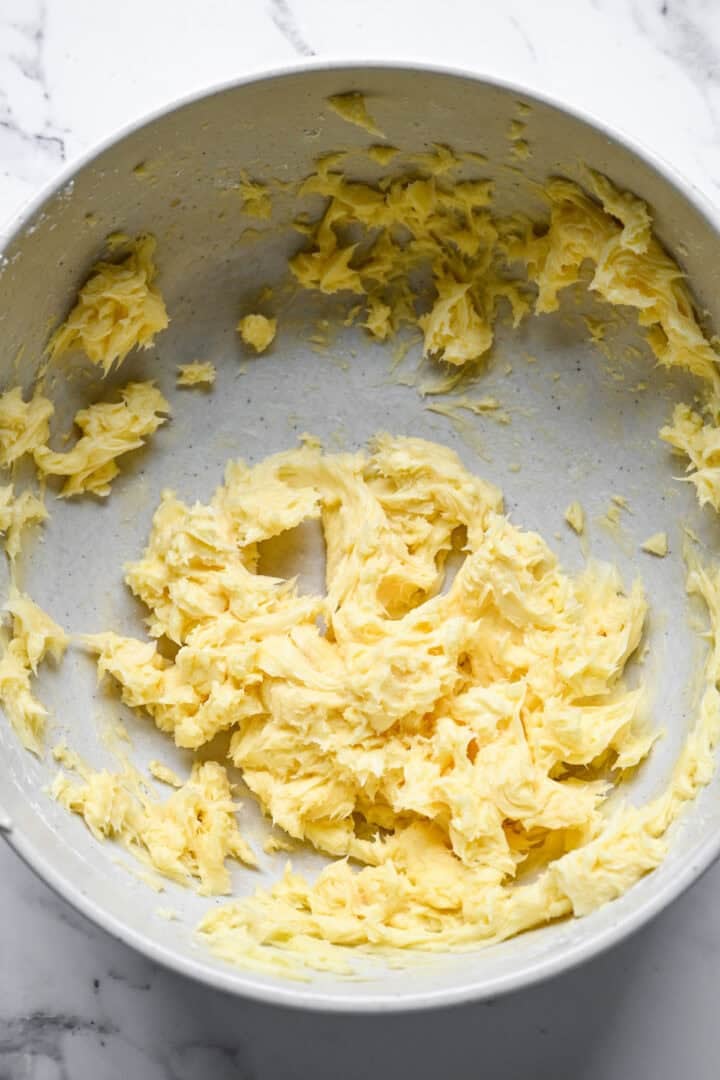
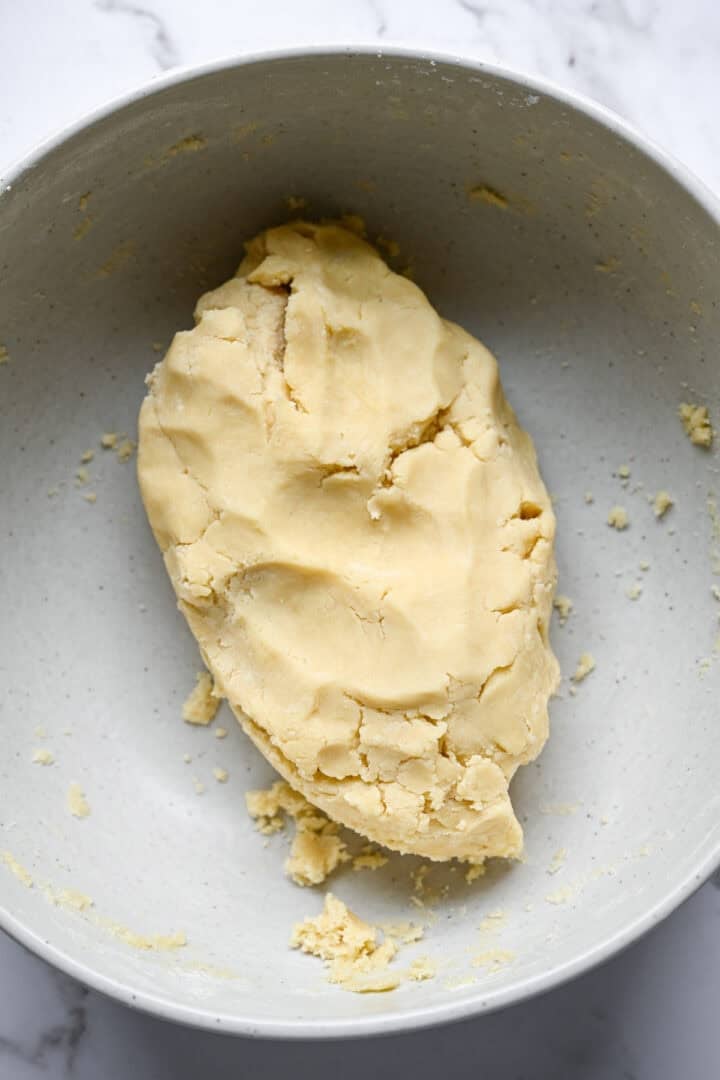
- Beat the butter and sugar just until it comes together, then add in the vanilla. Mix in the flour and salt and mix just until a dough forms. If the butter is soft enough, you might not even need to use a mixer – just a spatula and some arm muscle.
- Chill the dough for an hour. This makes it much easier to roll out!
Roll out the dough and bake
- Roll it out on a lightly floured surface to ¼ inch thick. Now's the time to use your embossed rolling pin if you have one! Make sure to press it into the dough pretty firmly, otherwise the pattern will flatten out in the oven.
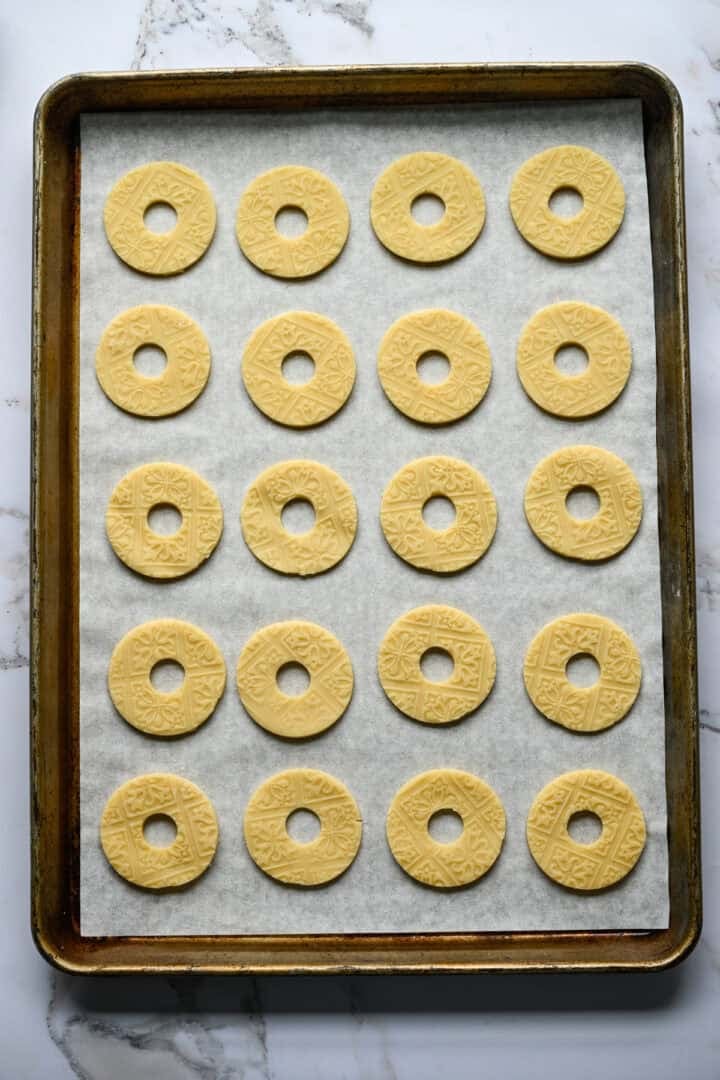
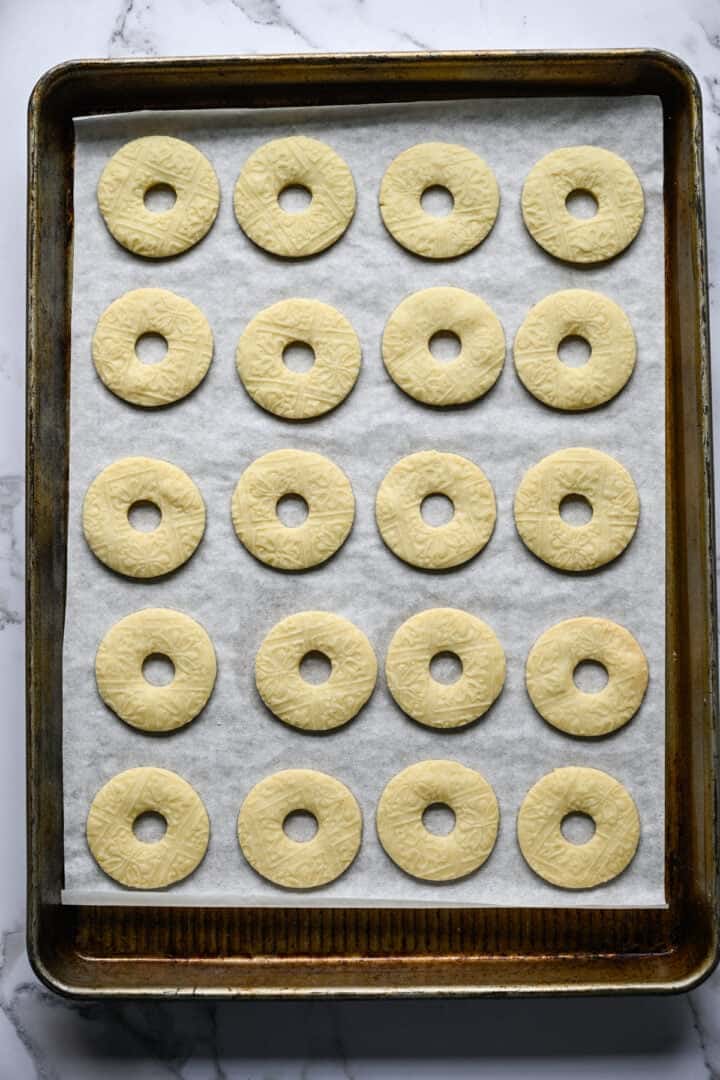
- Cut out the cookies. Cut out a smaller circle in the center of each cookie. Chill the cookies for about 15-30 minutes in the fridge, then bake for ~14 minutes at 325˚F.
Dip in chocolate and add the stripes
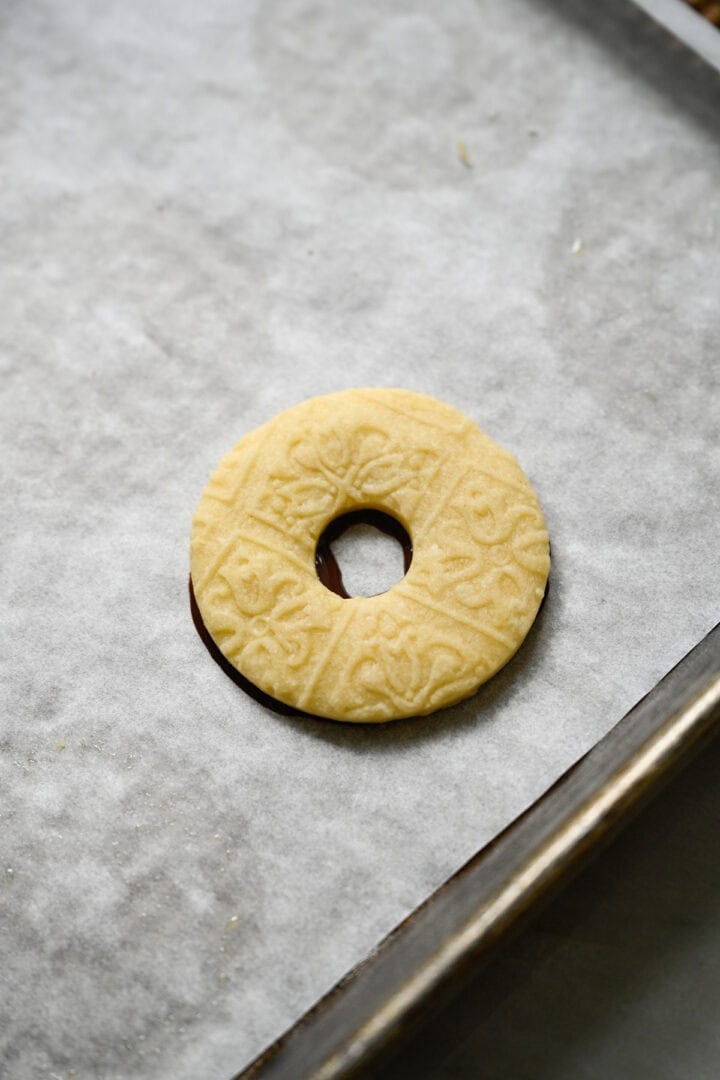
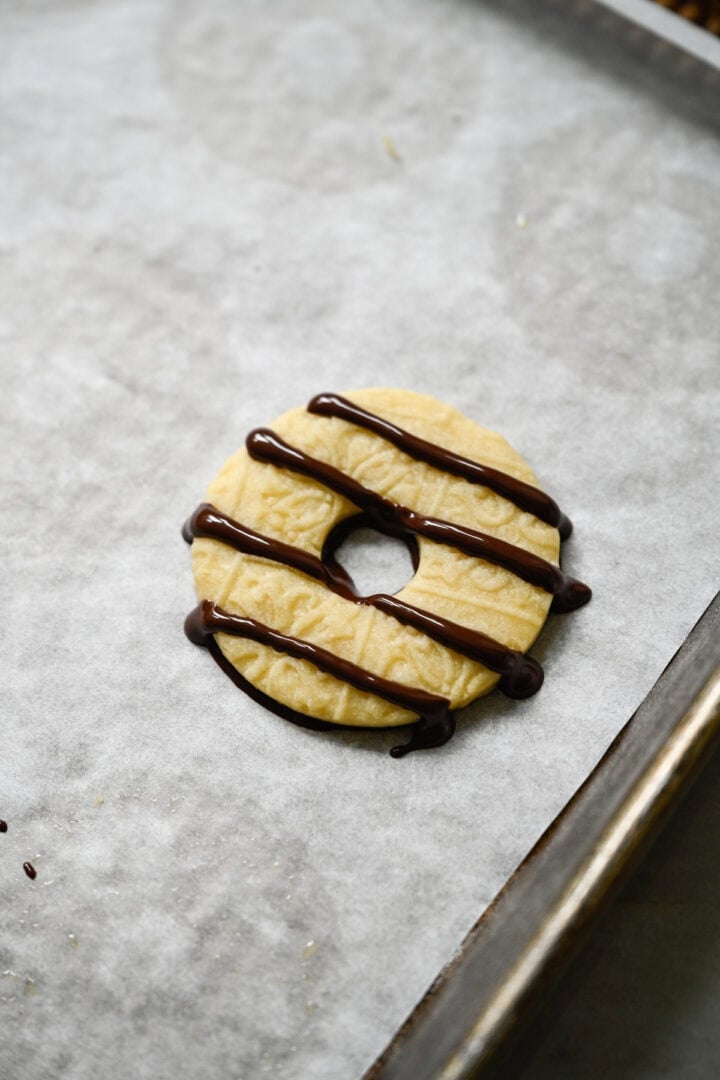
- Once the cookies are totally cool, pipe some chocolate on the parchment paper (using the imprint from the cookies as a guide). Place a cookie on top and move it around a little to coat the bottom.
- Pipe 4 lines atop each cookie, then let the chocolate set completely. The cookies will peel right off the parchment paper!
Top Tips from the CK Test Kitchen!
- Don't skip the chill times: This dough is super soft, which makes for a tender, buttery, delicious cookie, but it also means that it can be challenging to work with when it gets too warm. Chilling the dough both before and after rolling it out ensures that your cookies look as good as they taste! (It also prevents the cookies from spreading in the oven.)
- Super pro baker tip: If you don't want the chocolate melting on your hands, you can go the extra mile and temper your chocolate. I honestly don't have that kind of patience, but if you do, you can find a guide on tempering chocolate in our homemade chocolate bar recipe.
- Storage: Once the chocolate has fully set, transfer the cookies to an airtight container and store them at room temperature for up to 1 week. Shortbread keeps really well because of all that butter, so these actually stay crisp for days (if they last that long). We like to layer them between sheets of parchment paper so the chocolate stripes don't stick together. If your kitchen runs warm, keep the container in a cool spot away from the stove or a sunny window, since the chocolate will soften.
- Freezer storage: Freeze the cookies in a single layer on parchment paper for 30 mins, then transfer to a freezer-safe bag or container with parchment between the layers and freeze for up to 3 months. The unbaked dough freezes well too. Wrap the disc tightly in plastic wrap, freeze for up to 3 months, and thaw overnight in the fridge before rolling and cutting.
More Cookie Recipes You'll Love



We can't wait for you to bake these homemade Fudge Stripes in your own home! If you do, be sure to let us know! Leave a comment with a star rating below. You can also snap a photo and tag @crowded_kitchen on Instagram. We can't wait to see what you're cooking!
📖 Recipe
Homemade Fudge Stripes
Ingredients
Equipment
Method
- In a large mixing bowl, cream the butter and sugar just until well combined, about 1 minute. Add in the vanilla and mix just until combined.
- Add in the flour and salt and continue just until the dough comes together. It will be a soft and sticky dough. Transfer the dough to plastic wrap, flatten into a rectangle and refrigerate for about 1 hour.
- Preheat the oven to 325˚F and line two baking sheets with parchment paper.
- On a floured surface, roll the dough about ¼-inch thick (using a regular rolling pin). If you're using an embossed rolling pin, stop just before it's ¼-inch thick, then roll the embossed rolling pin on your last pass over the dough.
- Cut the cookies out using a 2-2 ½ inch cookie cutter, then use a smaller circle (we use a ¾-inch piping tip) to cut out the center. If the dough is very soft, we suggest placing it in the freezer for 5-10 minutes before transferring the cookies to your prepared baking sheets.
- Re-roll the remaining dough and repeat.
- Chill the cookies in the fridge for 15-30 minutes, then bake for 12-14 minutes until very lightly browned on the bottoms. If your oven tends to run hot (like ours), stack another sheet pan directly underneath the one you're baking on. This prevents the bottoms from burning, but also means the cookies may take a few extra minutes to bake. (Ours took ~16 minutes.)
- Let the cookies cool on the baking sheet for 5 minutes, then transfer to a cooling rack to cool completely. Save the parchment paper you baked the cookies on!
- Melt your chocolate in a double boiler or in 30 second intervals in the microwave, stirring between each interval, until fully melted. Transfer the melted chocolate to a piping bag.
- Using the parchment paper you baked the cookies on, pipe chocolate into a circle (using the imprint from each cookie as a guide.) Place a cookie on top and move it around a bit so the entire bottom is coated. You'll need to try one or two to get a feel for how much chocolate to use. Drizzle more chocolate over the top of each cookie, then refrigerate until the chocolate is set. Enjoy!




Comments
No Comments