
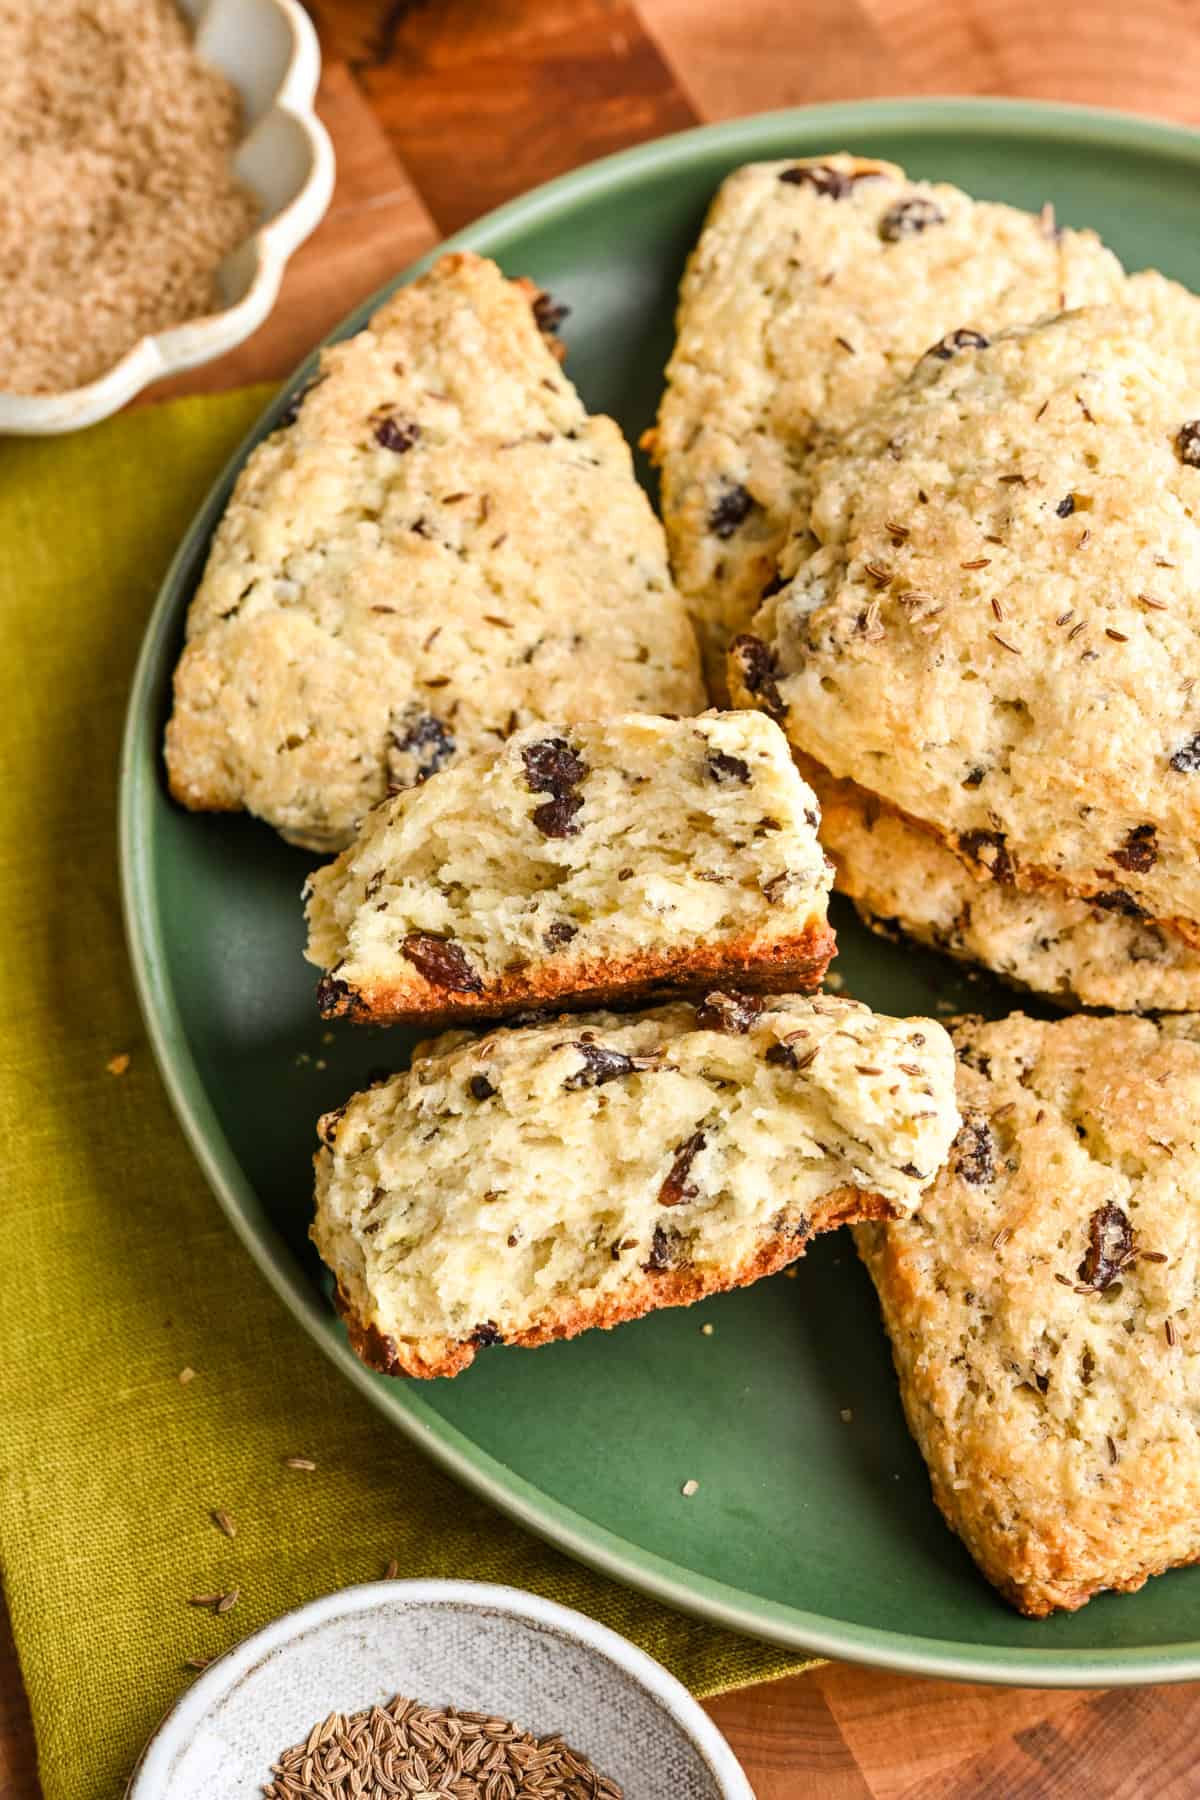
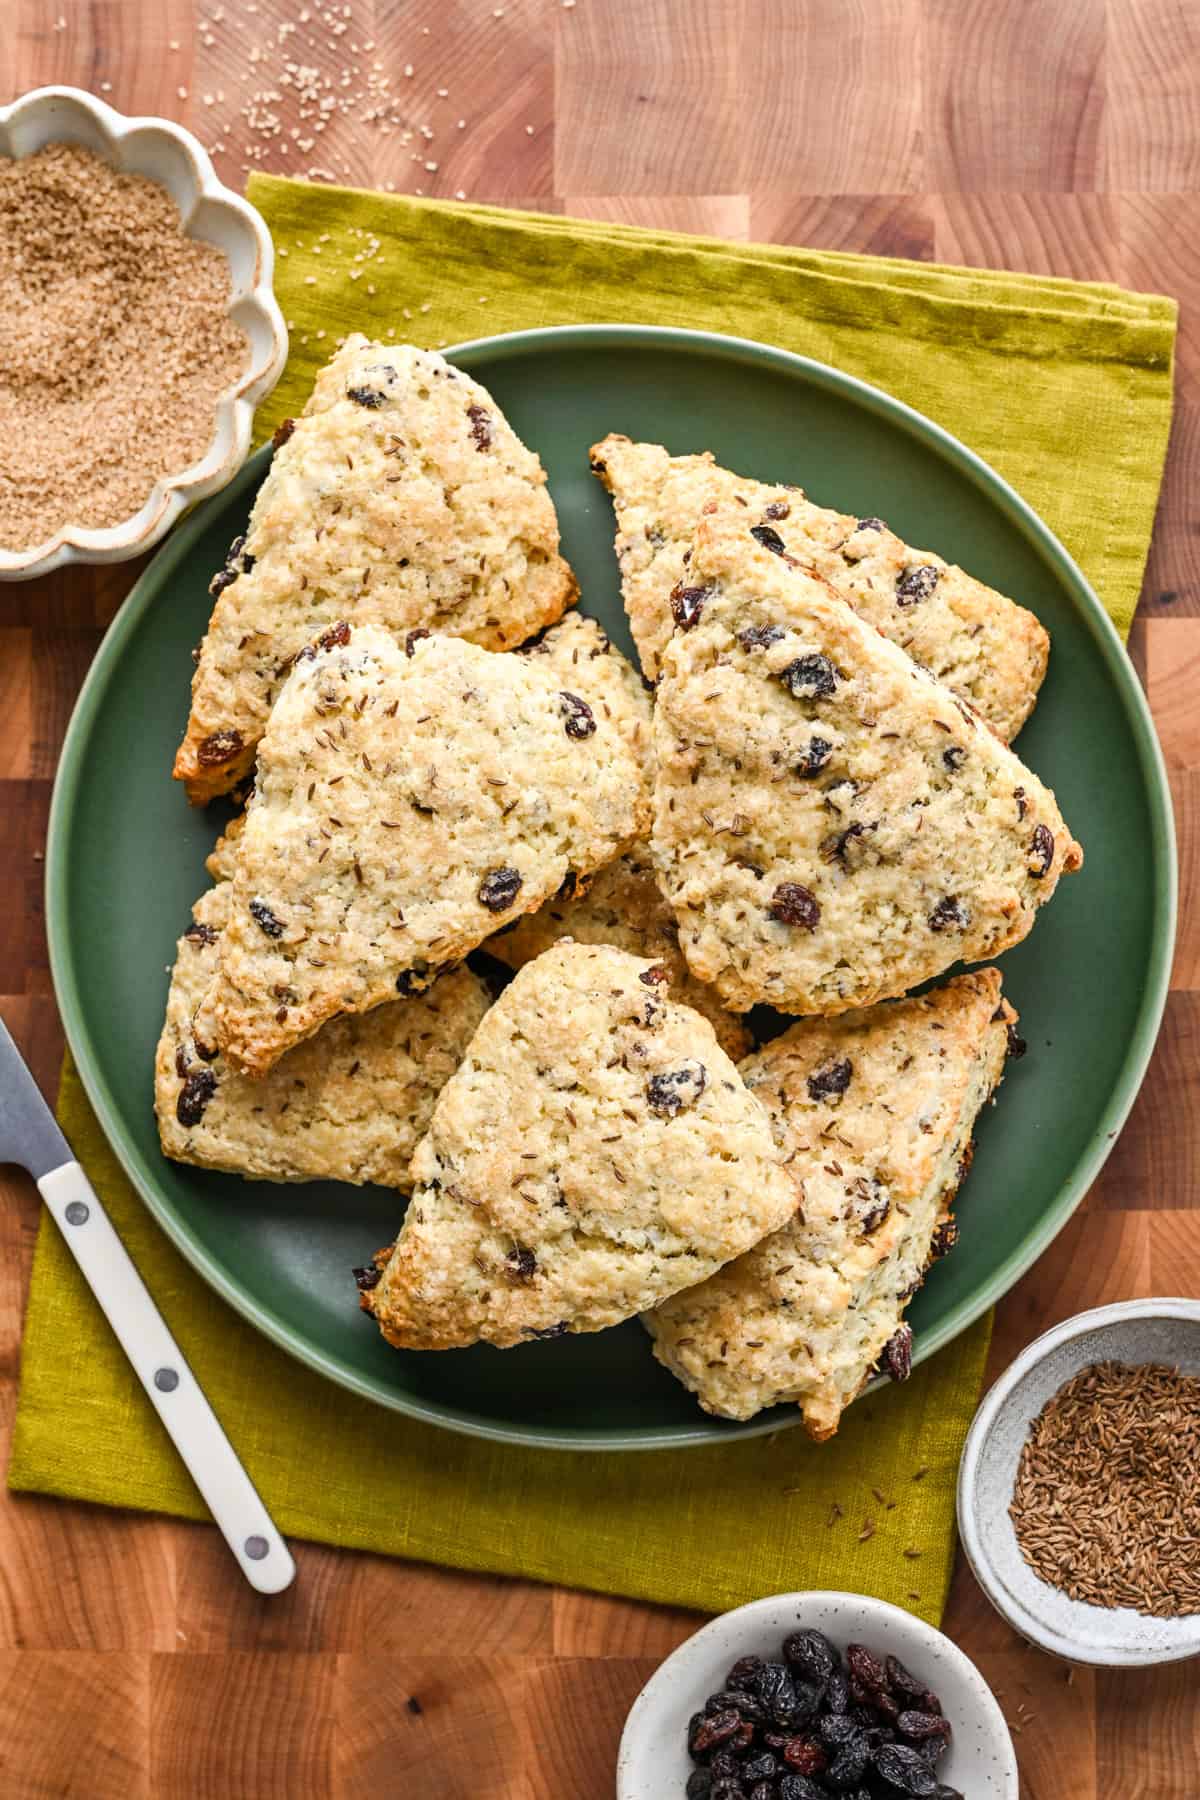
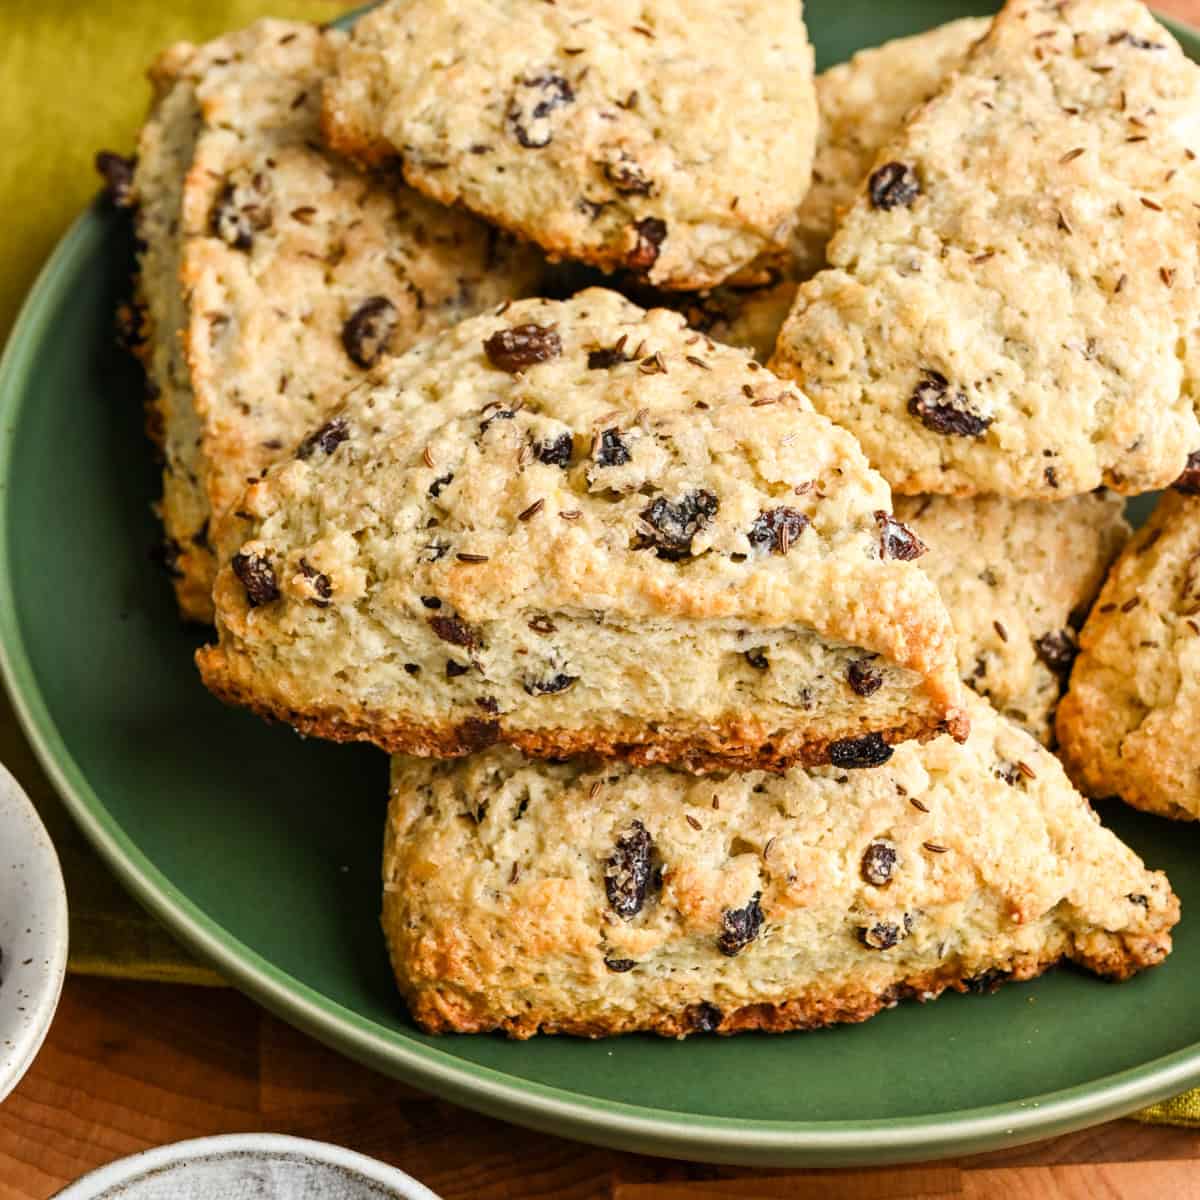
Unlike a traditional loaf of Irish Soda Bread, which can often taste a bit dense and dry, these scones are tender, flaky and totally foolproof. They're studded with raisins and caraway seeds and have a crunchy sugar topping, but they're not overwhelmingly sweet.
This recipe takes a maximum of 20 minutes of hands on work, and they're as good as any treat from your local bakery! Enjoy with butter and jam, and give them a try for St. Patrick's Day.

I've never been a huge fan of Irish soda bread, although to be fair, I've probably never had a properly made loaf. But even then, I'm not much of a bread baker, and I much prefer making baked goods.
Scones are a favorite in our house – they're SO easy to make and I love that they're not too sweet! Carrot cake scones are a spring favorite in our family, but there's something really special about these Irish soda bread scones.
They don't sound (or look) particularly exciting, but I'm telling you, every single person that tried these absolutely loved them! I think it comes down to the caraway seeds, which have an earthy, aromatic flavor that keeps you coming back for more. (The crunchy sugar topping helps, too!)
I'll be making these for St. Patrick's Day this year, alongside a nice beef stew over Irish Colcannon (mashed potatoes with leeks and kale). Yum!
What You'll Need to Make This Recipe
- Dry ingredients: All purpose flour, sugar, salt, baking soda and baking powder
- Butter: It's absolutely essential that your butter is cold. We freeze ours a few hours before baking. If you're short on time, even 30 minutes will do.
- Buttermilk: Keep this cold, too! If you don't have buttermilk, you can make it by stirring 1 tablespoon of lemon juice or white vinegar into 1 cup of whole milk. Let it sit for about 5-10 minutes at room temperature to thicken, then refrigerate to keep it cold before using in this recipe.
- Egg and vanilla extract
- Add-ins: Raisins and caraway seeds. Dried currants are actually traditional for Irish soda bread, but a little harder to find. We weren't able to find them in store, so we used raisins instead. You could also use another dried fruit like dried cherries or cranberries. The best substitute for caraway seeds are fennel seeds, which are slightly sweeter and have a more licorice-like flavor.
How to Make This Recipe
In a large bowl, whisk together the flour, sugar, salt, baking soda, baking powder, and caraway seeds. Add in the raisins, tossing to coat in the flour mixture.
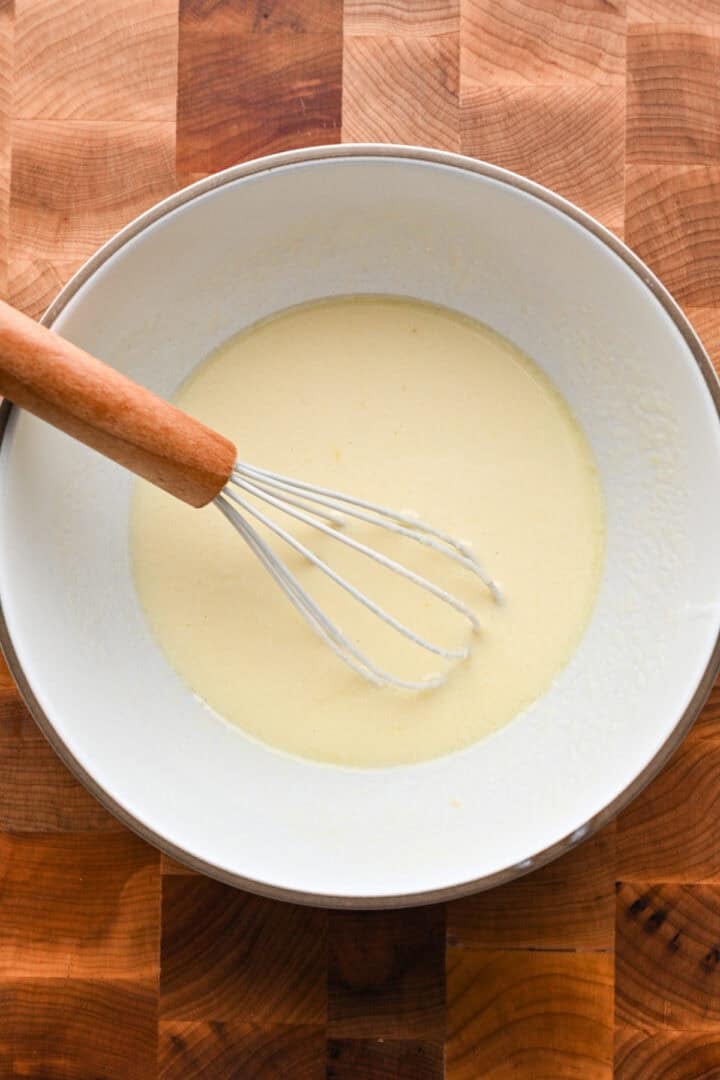
In a separate medium bowl, whisk together the buttermilk, egg, and vanilla.
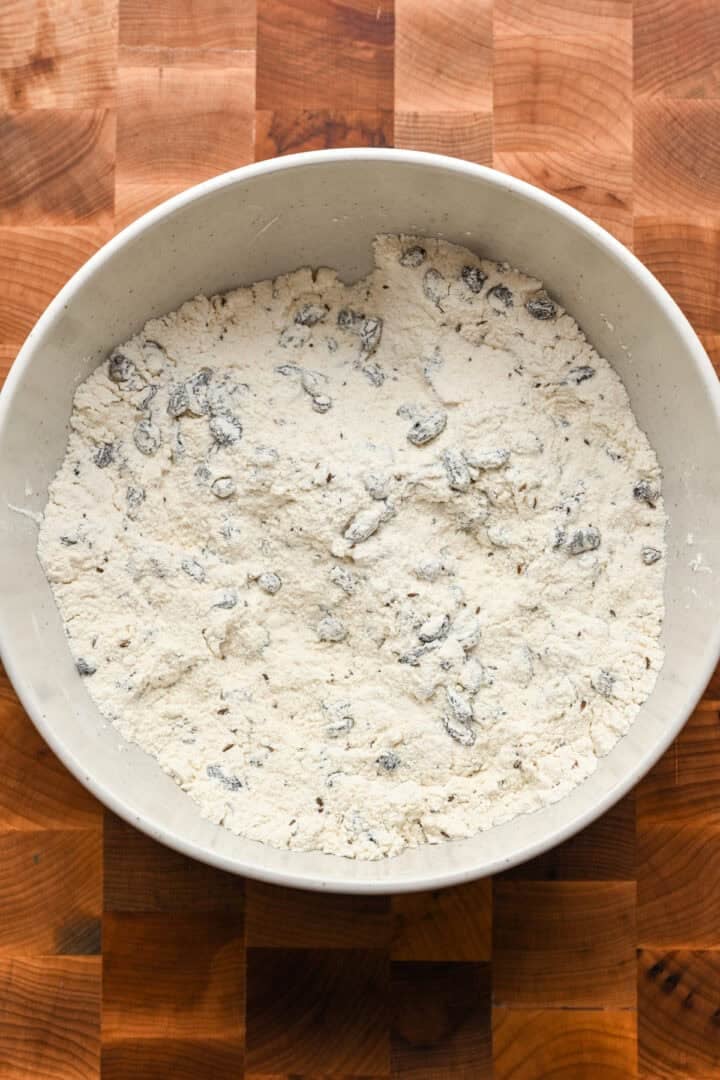
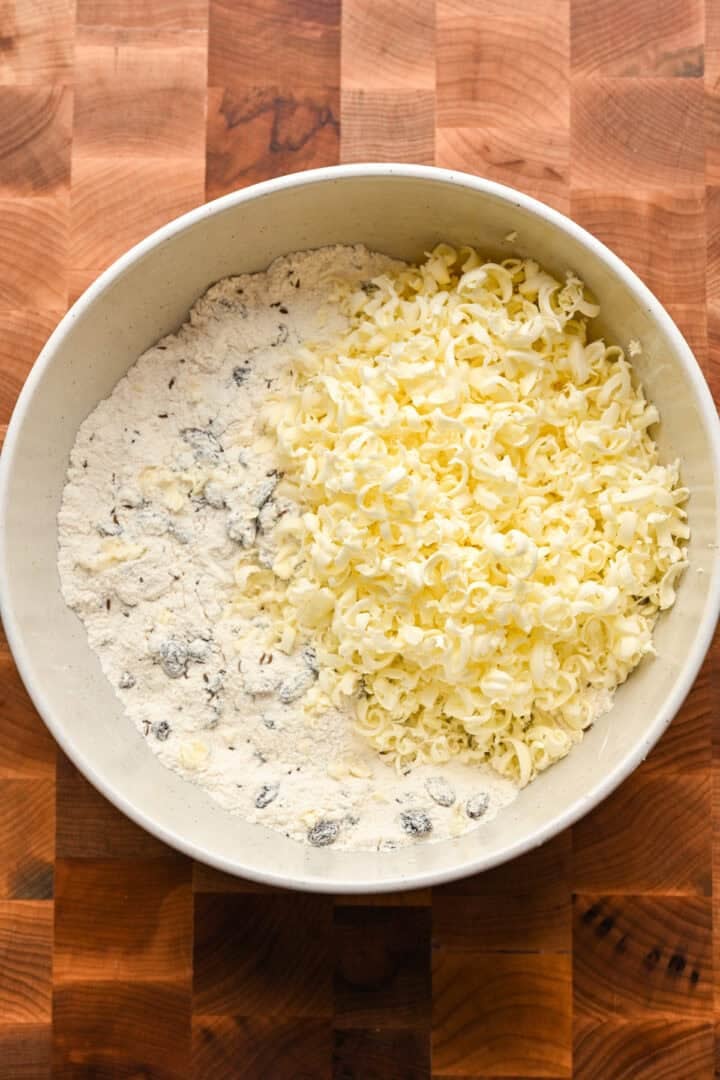
Using a box grater, grate the frozen butter into the bowl with the flour mixture. Gently work the ingredients together with a spatula or your hands so butter is evenly distributed. Work quickly so the butter doesn’t melt.
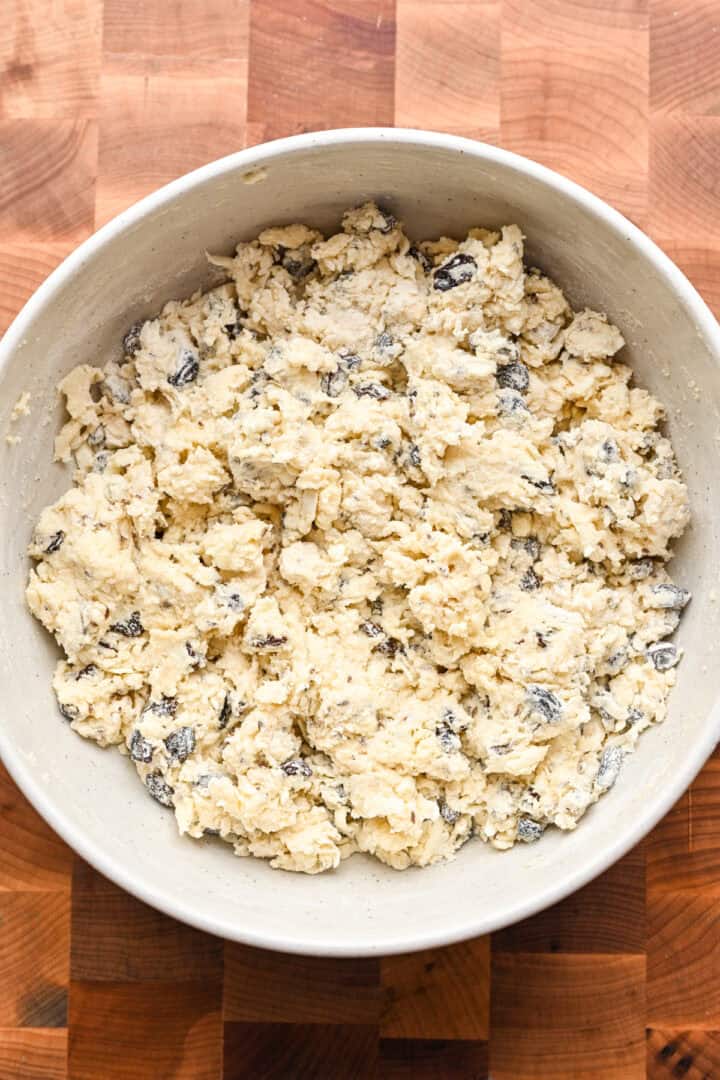
Add in the buttermilk mixture and gently mix just until a shaggy dough forms. Avoid over-mixing – you should still be able to see the butter pieces throughout the dough.
Transfer the dough to a clean, lightly floured surface. Using floured hands, shape the dough into a roughly 10-inch disk. Using a sharp knife or bench scraper, cut the dough into 8 triangle wedges.
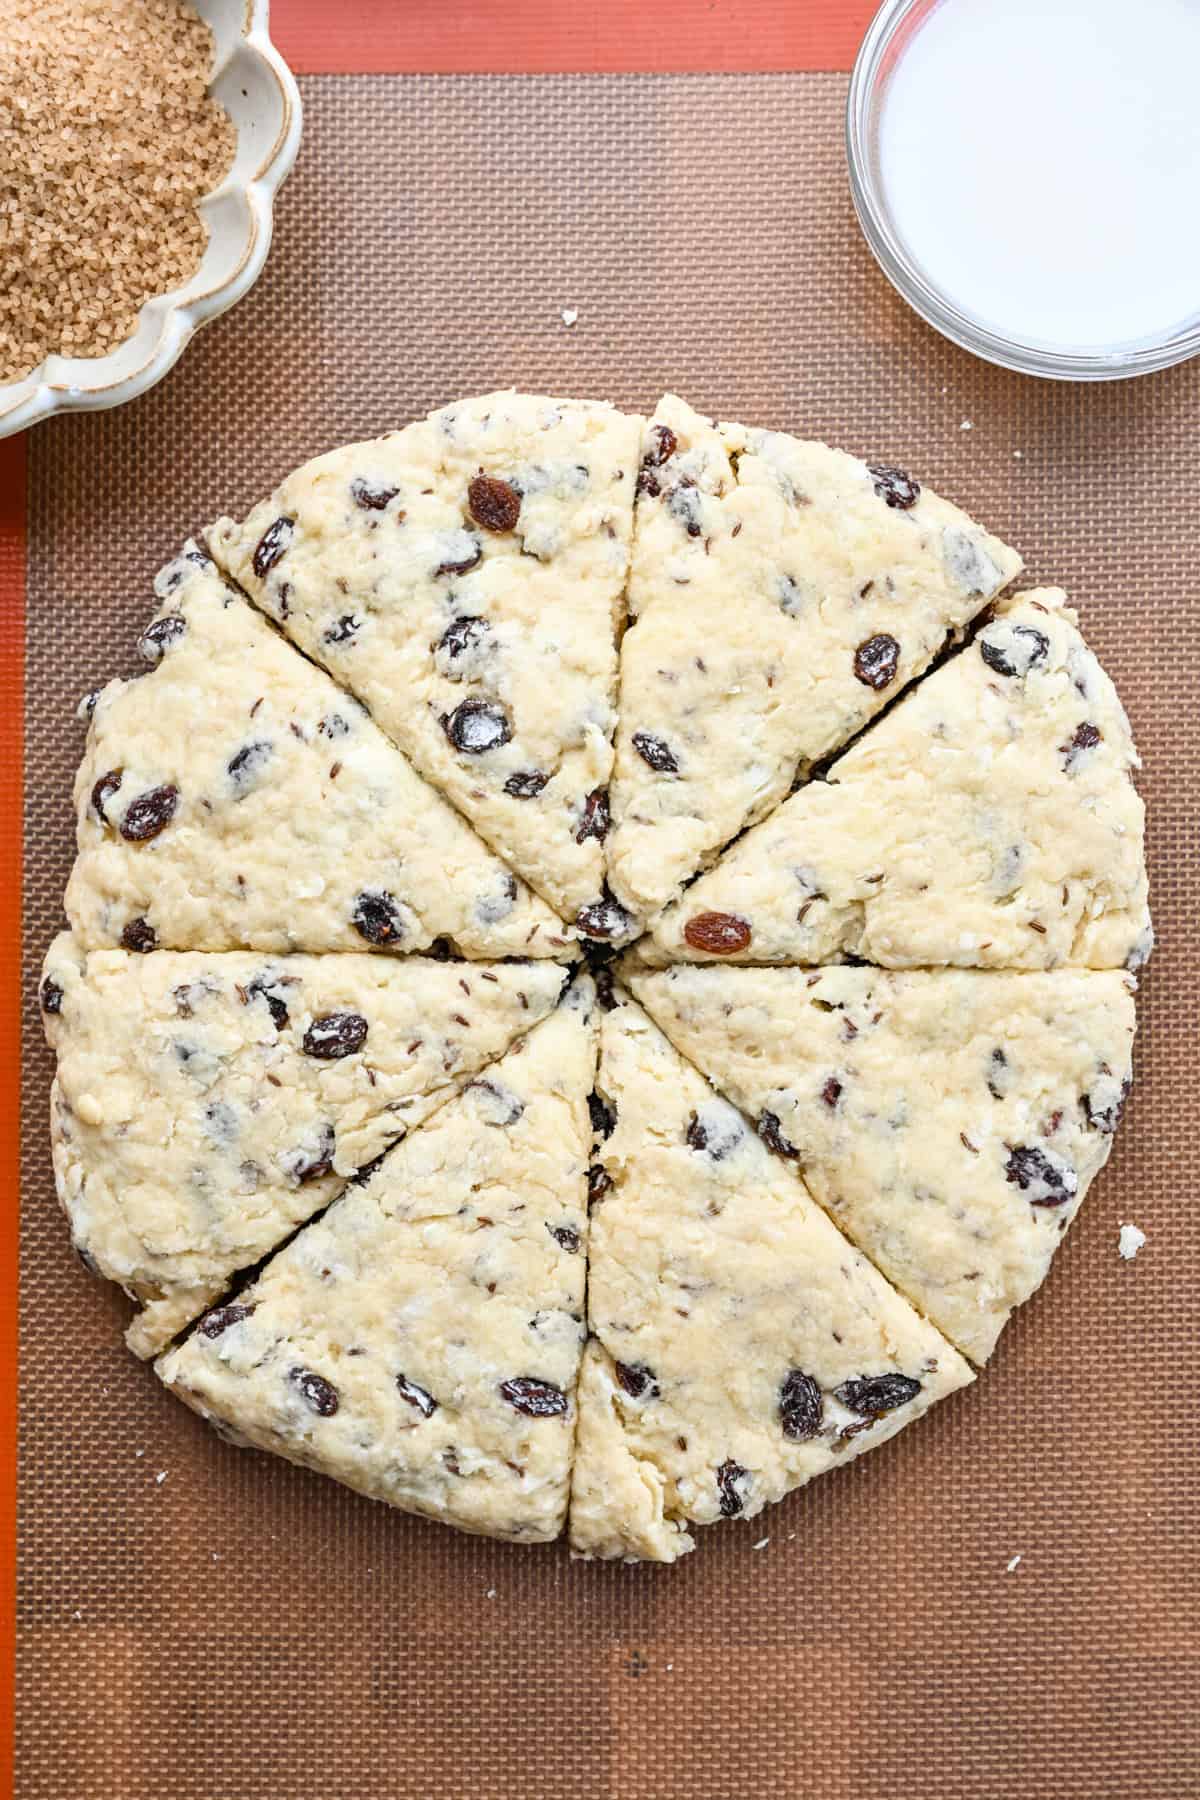
Transfer the scones to a parchment paper-lined baking sheet. Place the scones in the freezer for 15 minutes, or in the refrigerator for 30 minutes to chill.
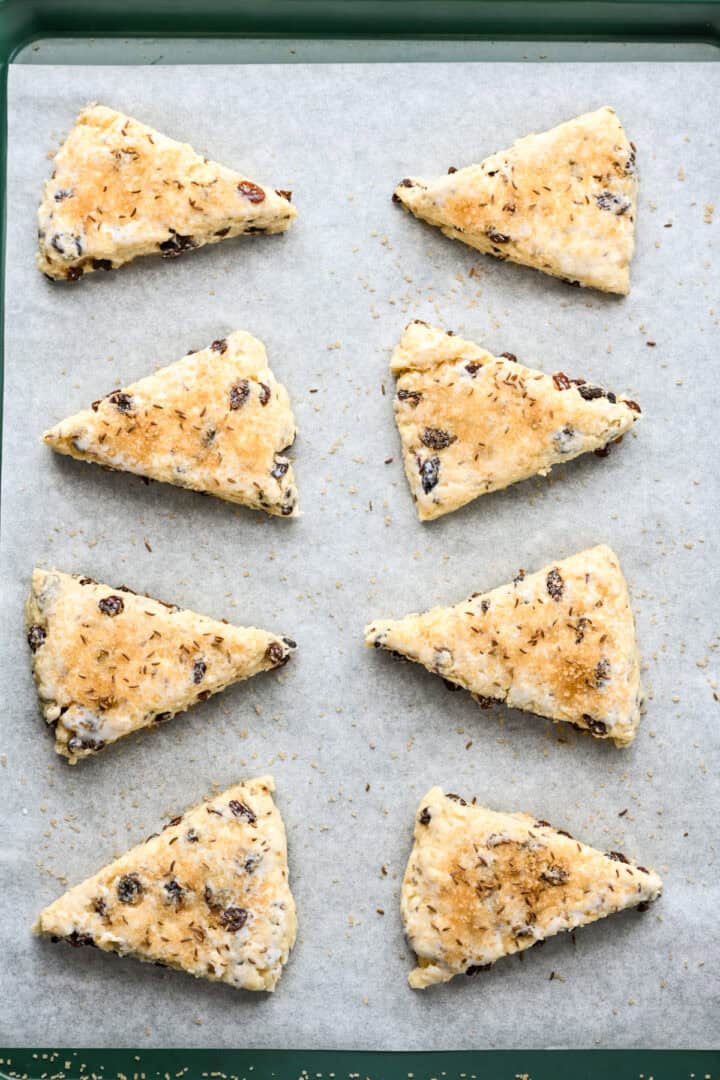
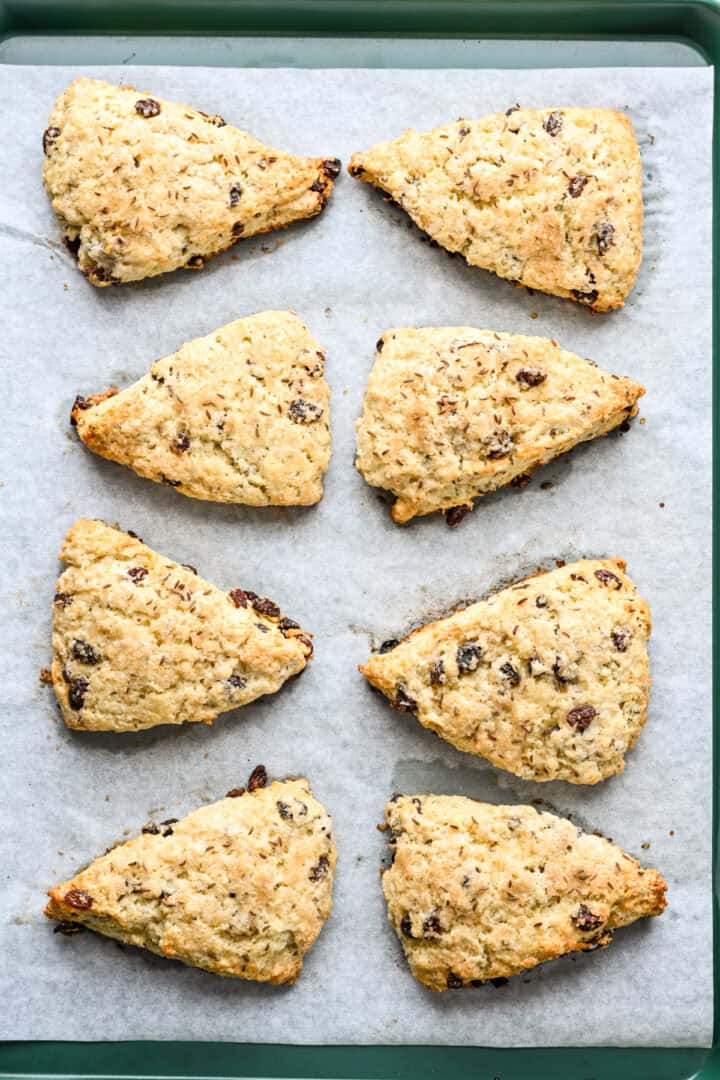
Before baking, brush the tops with more buttermilk, then sprinkle with coarse sugar and a few additional caraway seeds. Bake for 20-25 minutes, until light golden brown on top.
Storage
Once baked and cooled, store the scones in an airtight container at room temperature for up to 3 days maximum. Scones tend to dry out fairly quickly, so they will taste best fresh (within 24 hours).
For longer term storage, freeze the baked scones for up to 3 months. You can reheat them straight from the freezer in a 300˚F oven for 8-10 minutes. For best results, freeze the scones as soon as they are baked and cooled – they'll taste freshest this way!
Lexi & Beth's Best Tips
- Make ahead: You can prep the scones the night before baking, cover and refrigerate overnight. In the morning, bake them straight from the fridge.
- Or, for longer storage, you can freeze the scones before baking, then transfer to a freezer safe container or bag for up to 3 months. Bake the scones straight from the freezer – they just may need an extra minute or two in the oven.
- Use a light-colored baking sheet to keep the bottoms from browning too quickly. This tip goes for all baked goods – a dark nonstick baking sheet can cause premature browning on the bottoms of baked goods. These are the baking sheets we typically use. If you don't have any, you can also stack a second baking sheet underneath to keep it from heating too quickly.
- Keep everything cold: For perfect, flaky scones, it's super important that your butter and buttermilk are cold. We freeze our butter for an hour or two before making the dough. Don't overwork the dough – this not only makes your scones tough, but the more handling, the warmer the butter. For best results, refrigerate or briefly freeze the scones before baking.
More Baking Recipes You'll Love




📖 Recipe
Recipe
Irish Soda Bread Scones
Ingredients
Method
- Preheat the oven to 350˚F/180˚C.
- In a large bowl, whisk together the flour, sugar, salt, baking soda, baking powder, and caraway seeds.
- Add in the raisins, tossing to coat in the flour mixture.
- In a separate medium bowl, whisk together the buttermilk, egg, and vanilla.
- Using a box grater, grate the frozen butter into the bowl with the flour mixture. Gently work the ingredients together with a spatula or your hands so butter is evenly distributed. Work quickly so the butter doesn’t melt.
- Add in the buttermilk mixture and gently mix just until a shaggy dough forms. Avoid over-mixing – you should still be able to see the butter pieces throughout the dough.
- Transfer the dough to a clean, lightly floured surface. Using floured hands, shape the dough into a roughly 10-inch disk. Using a sharp knife or bench scraper, cut the dough into 8 triangle wedges.
- Transfer the scones to a parchment paper-lined baking sheet. Place the scones in the freezer for 15 minutes, or in the refrigerator for 30 minutes to chill.
- Before baking, brush the tops with more buttermilk, then sprinkle with coarse sugar and a few additional caraway seeds. Bake for 20-25 minutes, until light golden brown on top. Let cool, then enjoy!




Joy says
Great recipe!! These came out so good. So tasty. Ready to celebrate St Paddy's Day!
Joy says
Replying to myself because I just made these for a second time 😂. Perfection!!
Lexi says
haha you're the best, thank you!!
Kate says
This recipe raised a lot of alarms in my head (I’m a more advanced baker, particularly with pastry), but I forged on, hoping to be delightfully surprised. Unfortunately, these came out about the same as my brain told me they might. For starters, vanilla is a very odd ingredient for a soda bread, and generally for most scones as well. I should have omitted that, but again, wanted to see where the recipe would take me. The next red flag was how incredibly wet the dough was for a scone pastry. Maybe this one was on me; I should’ve stopped adding liquids when it felt right rather than use the recommended amount. The final very odd thing for a pastry dough is baking at 350° - I don’t think I’ve ever baked a scone that wasn’t at 425°. So despite freezing, this resulted in all of my nice flakes of butter melting out in the oven. The end result is a very cakey, very spread out, vanillay/sweeter “soda bread”. I don’t mind the flavor honestly, but I wouldn’t classify it as a soda bread. If I were to make these again, I would cut down on the sugar, omit the vanilla, useless liquids, and bake at 425° for 18 to 22 minutes.