
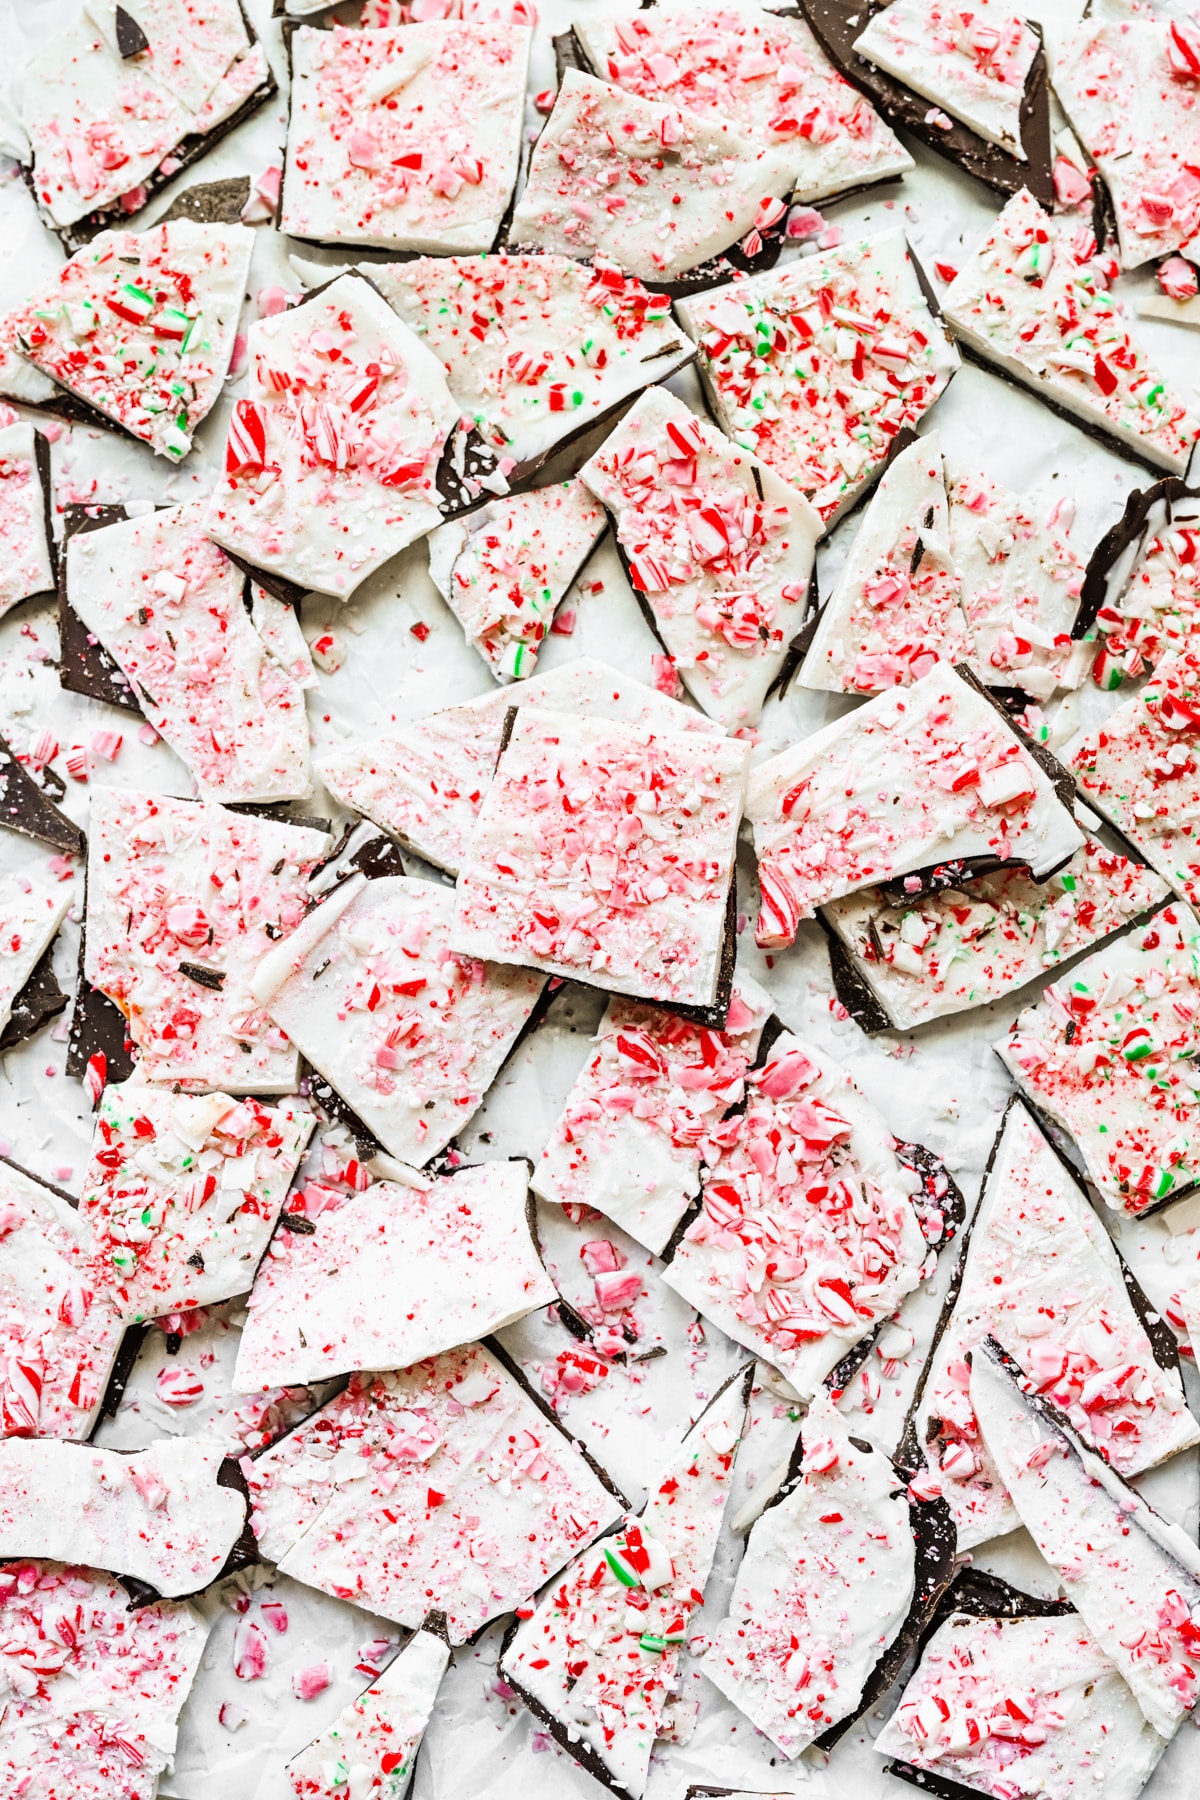
This homemade Vegan Peppermint Bark is the perfect holiday treat! This recipe couldn't be any easier to make. You just need 4 ingredients and a few minutes of prep time. We love to keep a batch on hand in the fridge or freezer all holiday season long!

Jump to:
Why We Love This Recipe
- Quick and easy: This vegan peppermint bark only requires 4 ingredients and about 15 minutes of active cooking time. After that, you can just pop it into the fridge until ready to serve!
- Holiday flavor: We incorporate crushed candy canes and peppermint extract into the bark for festive holiday flavor in every bite.
- Great DIY gift: We absolutely love gifting this festive bark to hosts/ hostesses this season. Place it in a cute holiday gift box with a ribbon around the top for the perfect homemade present.
- Much easier than cookies: We love to keep a batch on hand all holiday season for a quick holiday dessert or snack that requires way less effort than cut out sugar cookies. Much less mess, too!
Ingredients
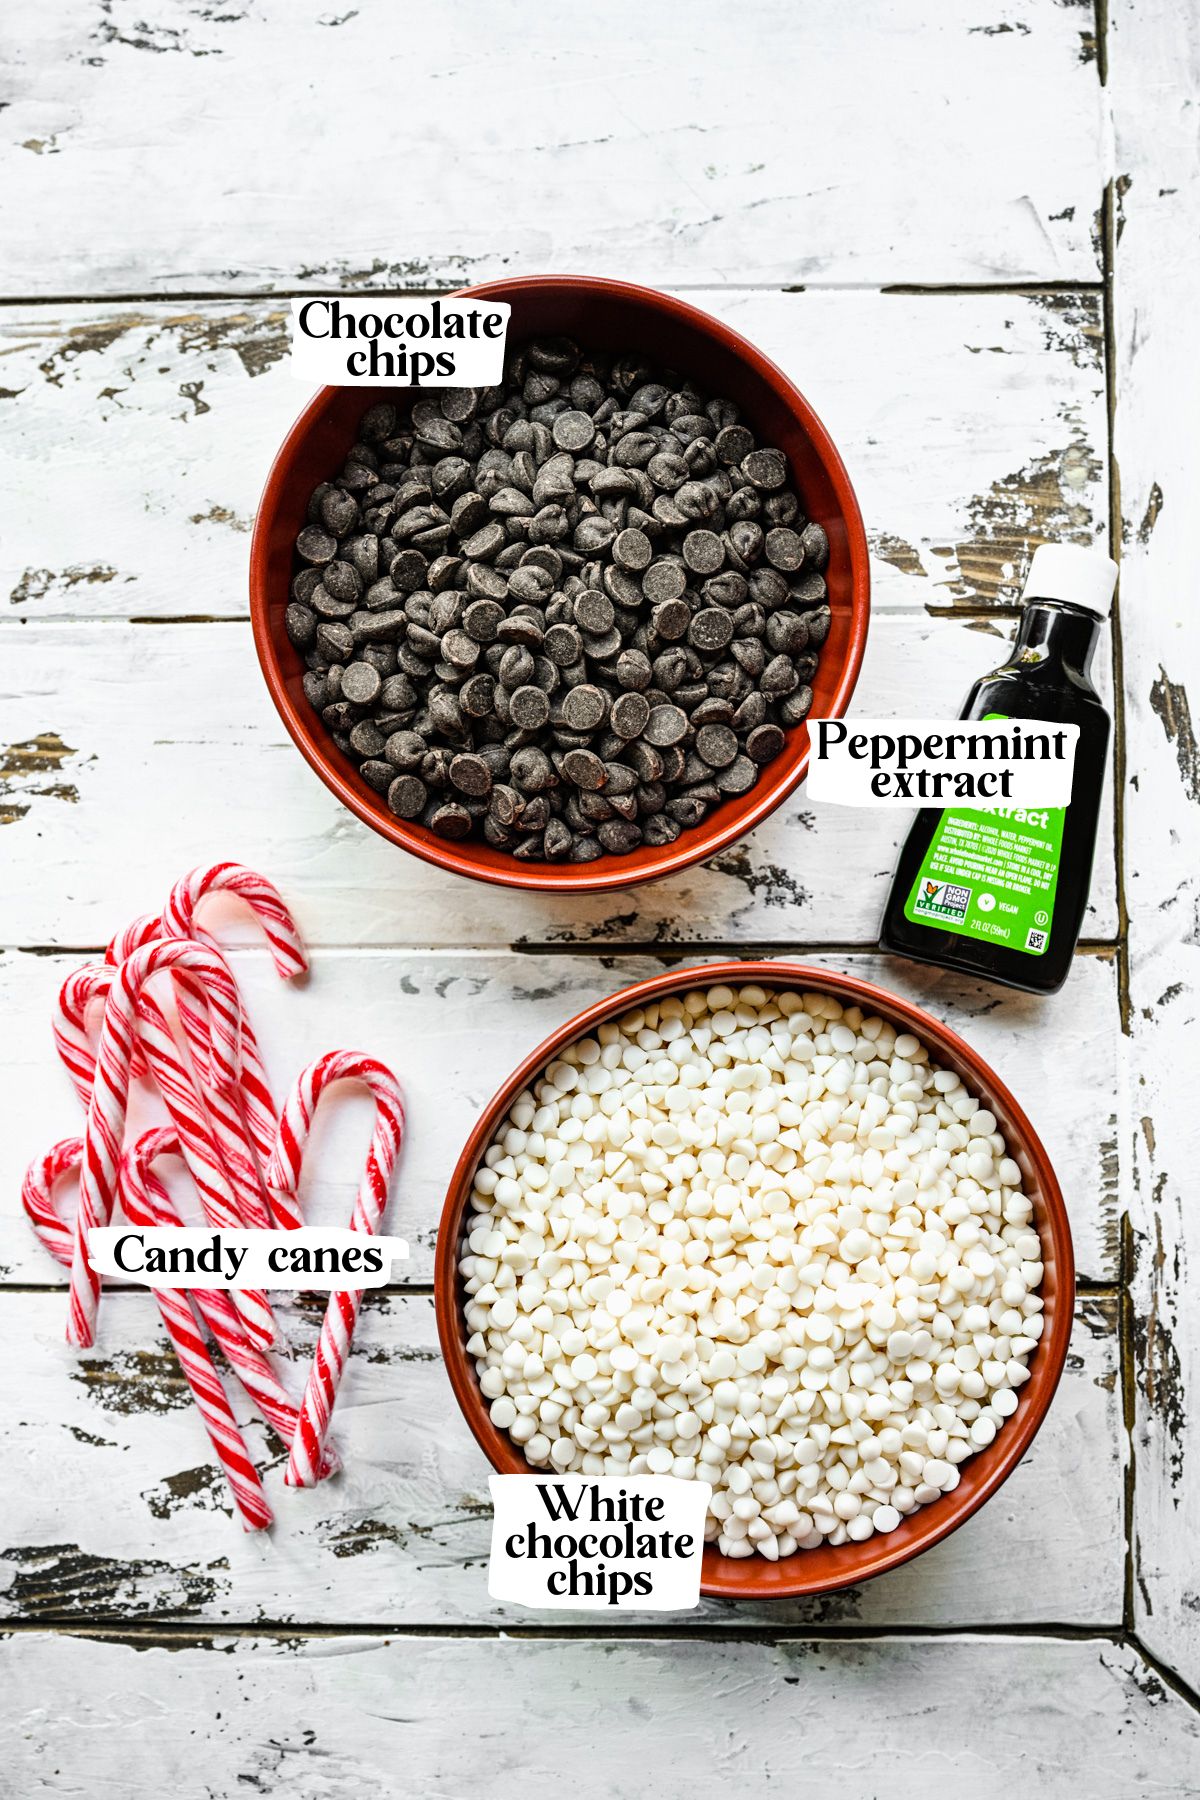
Here's what you'll need to make this vegan peppermint bark:
Ingredient Notes
- Peppermint extract: Look for pure peppermint extract, NOT peppermint oil, which is much more concentrated and can sometimes cause the chocolate to seize up.
- Crushed candy canes: Place the candy canes in a plastic or reusable bag and crush with a rolling pin (or pulse in a food processor for a few seconds). Don't crush them too much – you still want some bigger pieces for lots of texture.
- White chocolate chips: We use vegan white chocolate chips to keep this recipe fully dairy free. We use these and LOVE them. They taste exactly like regular white chocolate! They can be a bit hard to find, but you can always order online. You can also use a bar of chocolate instead of chocolate chips if that's easier to find.
- Chocolate chips: We use vegan semisweet chocolate chips, but dark chocolate works well, too. You can use a bar or chocolate chips.

Instructions
Prep: Line a quarter sheet pan with parchment paper.
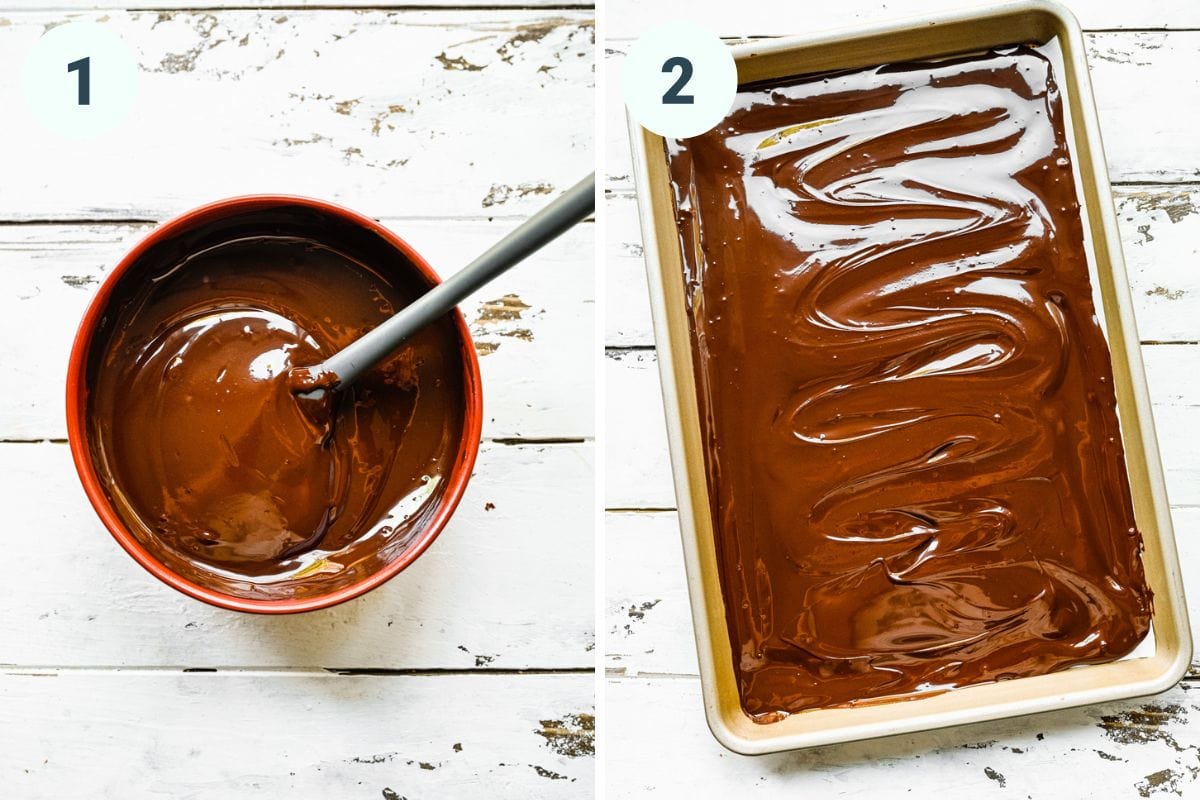
(1) Melt dark chocolate in a double boiler or a microwave. To melt in the microwave, heat in 30 second intervals, stirring well in between each interval (probably will take 3-4 cycles). Once melted, immediately stir in ¼ teaspoon of peppermint extract.
(2) Once the chocolate is melted, spread into an even layer on the sheet pan (make sure to use parchment paper or the chocolate will stick). Place the tray in the refrigerator for 10-15 minutes, until just set. It's okay if it's still not completely set. If you let it set for too long, the white chocolate layer may separate when you break up the bark later on.
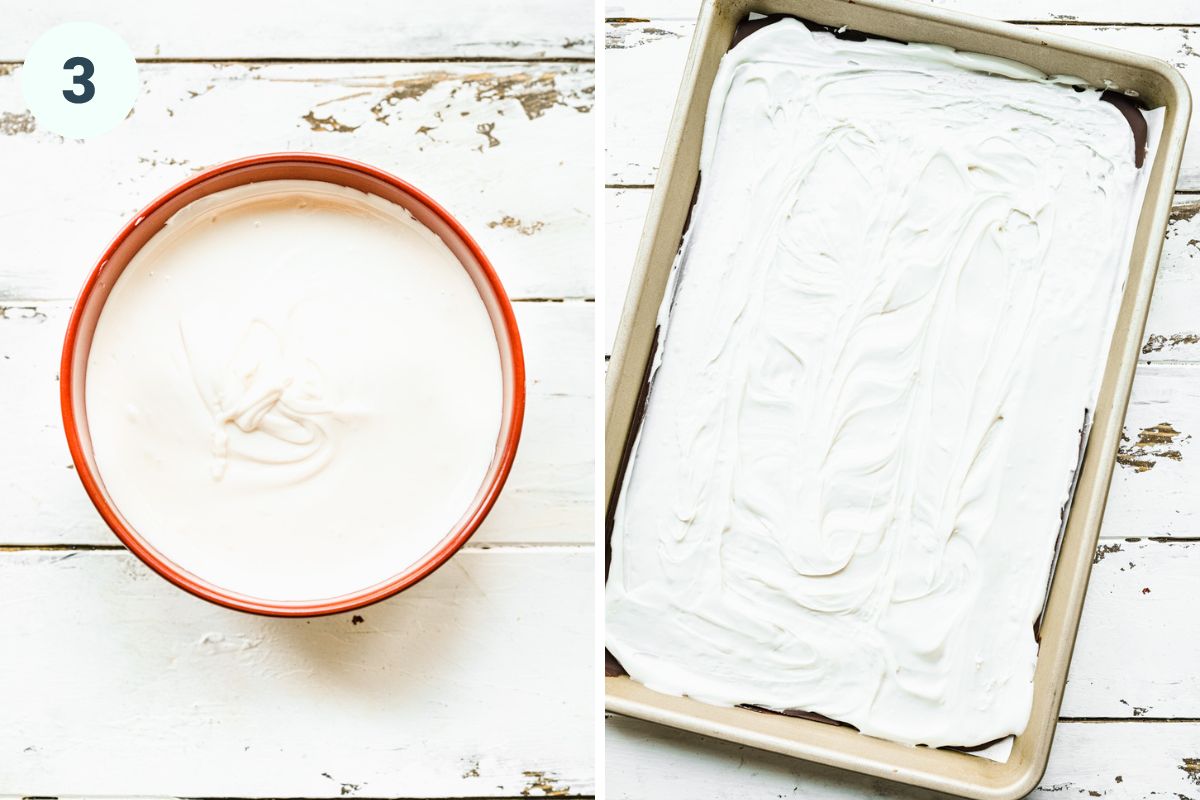
(3) Repeat the melting process with the white chocolate, then stir in remaining peppermint extract. Once the semisweet chocolate layer is mostly set, spread the white chocolate over the top in an even layer.
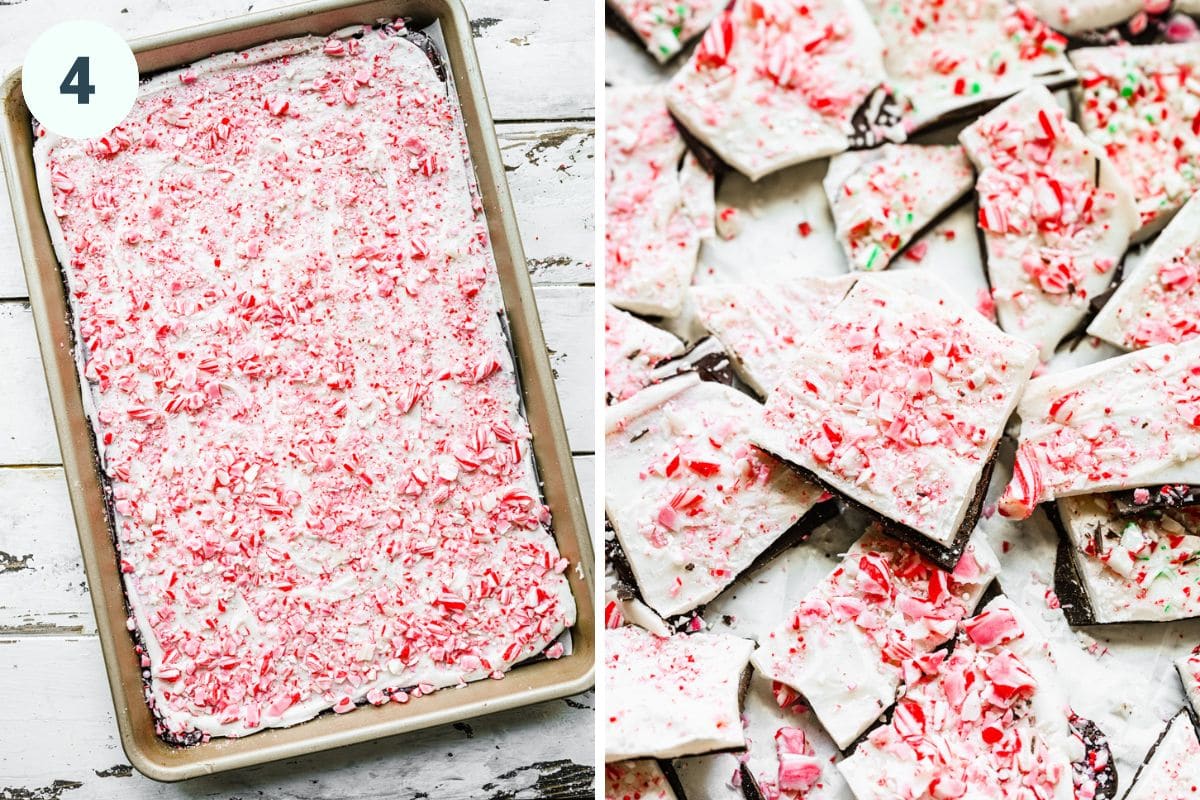
(4) Immediately sprinkle crushed candy canes evenly over the top of the white chocolate. (Don't wait or else the white chocolate will set and the candy canes won't stick.)
Place the bark in the refrigerator for 1 hour (or more) to fully set. Break into pieces with a knife or your hands.
Tips and FAQs
- Do not leave the first layer of chocolate in the freezer or fridge for too long! This is super important. If it's too cold/too set, you may end up with two issues: First, the white chocolate won't stick as well, and will separate when you break it up into pieces later on. Second, if the bottom layer is too cold, the white chocolate will start to set right away and it will be harder to spread or you won't be able to get the crushed candy canes to stick.
- Stir in the peppermint extract immediately: make sure to stir in the peppermint extract right after melting the chocolate so that it doesn't seize up.
- To make smaller pieces of bark instead of one big sheet pan, you can make this bark in mini muffin tins! Simply follow the same process, but in individual liners versus one big sheet pan.
- Storage: We store our vegan peppermint bark in a sealed container in the refrigerator. It will last for up to a few weeks.
- Freezer storage: Store in an airtight container for up to 6 months. Defrost at room temperature before enjoying (unless you want to end up with a broken tooth!).
- Enjoy with a homemade vegan peppermint mocha, your regular morning coffee, or this peppermint White Russian cocktail!
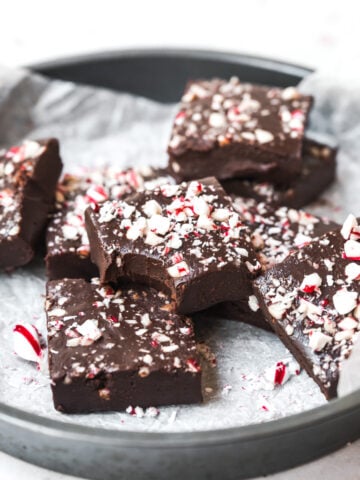
More Peppermint Desserts to Enjoy



Tried this recipe? Leave a comment with a star rating ⭐⭐⭐⭐⭐ below. You can also snap a photo and tag @crowded_kitchen on Instagram. We can't wait to see what you're cooking!
Cook with us often? Tell Google you want Crowded Kitchen recipes near the top of your results.

Vegan Peppermint Bark
- Total Time: 1 hour 15 minutes
- Yield: 16 servings 1x
- Diet: Vegan
Description
This homemade Vegan Peppermint Bark is the perfect holiday treat! This recipe couldn't be any easier to make. You just need 4 ingredients and a few minutes of prep time. We love to keep a batch on hand in the fridge or freezer all holiday season long!
Ingredients
- 16 ounces vegan white chocolate
- 12 ounces dark or semisweet vegan chocolate
- ½ teaspoon peppermint extract, divided
- ½ cup crushed candy canes (~3 ounces)
Instructions
- Line a quarter sheet pan with parchment paper.
- Melt dark chocolate in a double boiler or a microwave. To melt in the microwave, heat in 30 second intervals, stirring well in between each interval (probably will take 3-4 cycles). Once melted, immediately stir in ¼ teaspoon of peppermint extract.
- Once the chocolate is melted, spread into an even layer on the sheet pan (make sure to use parchment paper or the chocolate will stick). Place the tray in the refrigerator for 10-15 minutes, until just set. It's okay if it's still not completely set. If you let it set for too long, the white chocolate layer may separate when you break up the bark later on.
- Repeat the melting process with the white chocolate, then stir in remaining peppermint extract. Once the semisweet chocolate layer is mostly set, spread the white chocolate over the top in an even layer.
- Immediately sprinkle crushed candy canes evenly over the top of the white chocolate. (Don't wait or else the white chocolate will set and the candy canes won't stick.)
- Place the bark in the refrigerator for 1 hour (or more) to fully set. Break into pieces with a knife or your hands. Store in a sealed container in the refrigerator.
Notes
Do not leave the first layer of chocolate in the freezer or fridge for too long! This is super important. If it's too cold/too set, you may end up with two issues: First, the white chocolate won't stick as well, and will separate when you break it up into pieces later on. Second, if the bottom layer is too cold, the white chocolate will start to set right away and it will be harder to spread or you won't be able to get the crushed candy canes to stick.
Stir in the peppermint extract immediately: make sure to stir in the peppermint extract right after melting the chocolate so that it doesn't seize up.
Storage: We store our vegan peppermint bark in a sealed container in the refrigerator. It will last for up to a few weeks.
Freezer storage: Store in an airtight container for up to 6 months. Defrost at room temperature before enjoying.
Peppermint extract: Look for pure peppermint extract, NOT peppermint oil, which is much more concentrated and can sometimes cause the chocolate to seize up.
- Prep Time: 15 minutes
- Cook Time: 1 hour
- Category: Desserts
- Method: No cook
- Cuisine: American
Nutrition
- Serving Size:
- Calories: 269
- Sugar: 30.8 g
- Sodium: 25.5 mg
- Fat: 15.2 g
- Carbohydrates: 33.1 g
- Fiber: 1.6 g
- Protein: 3.2 g



Jane says
Delicious, thank you for the recipe!
Lexi says
So glad you enjoyed!