
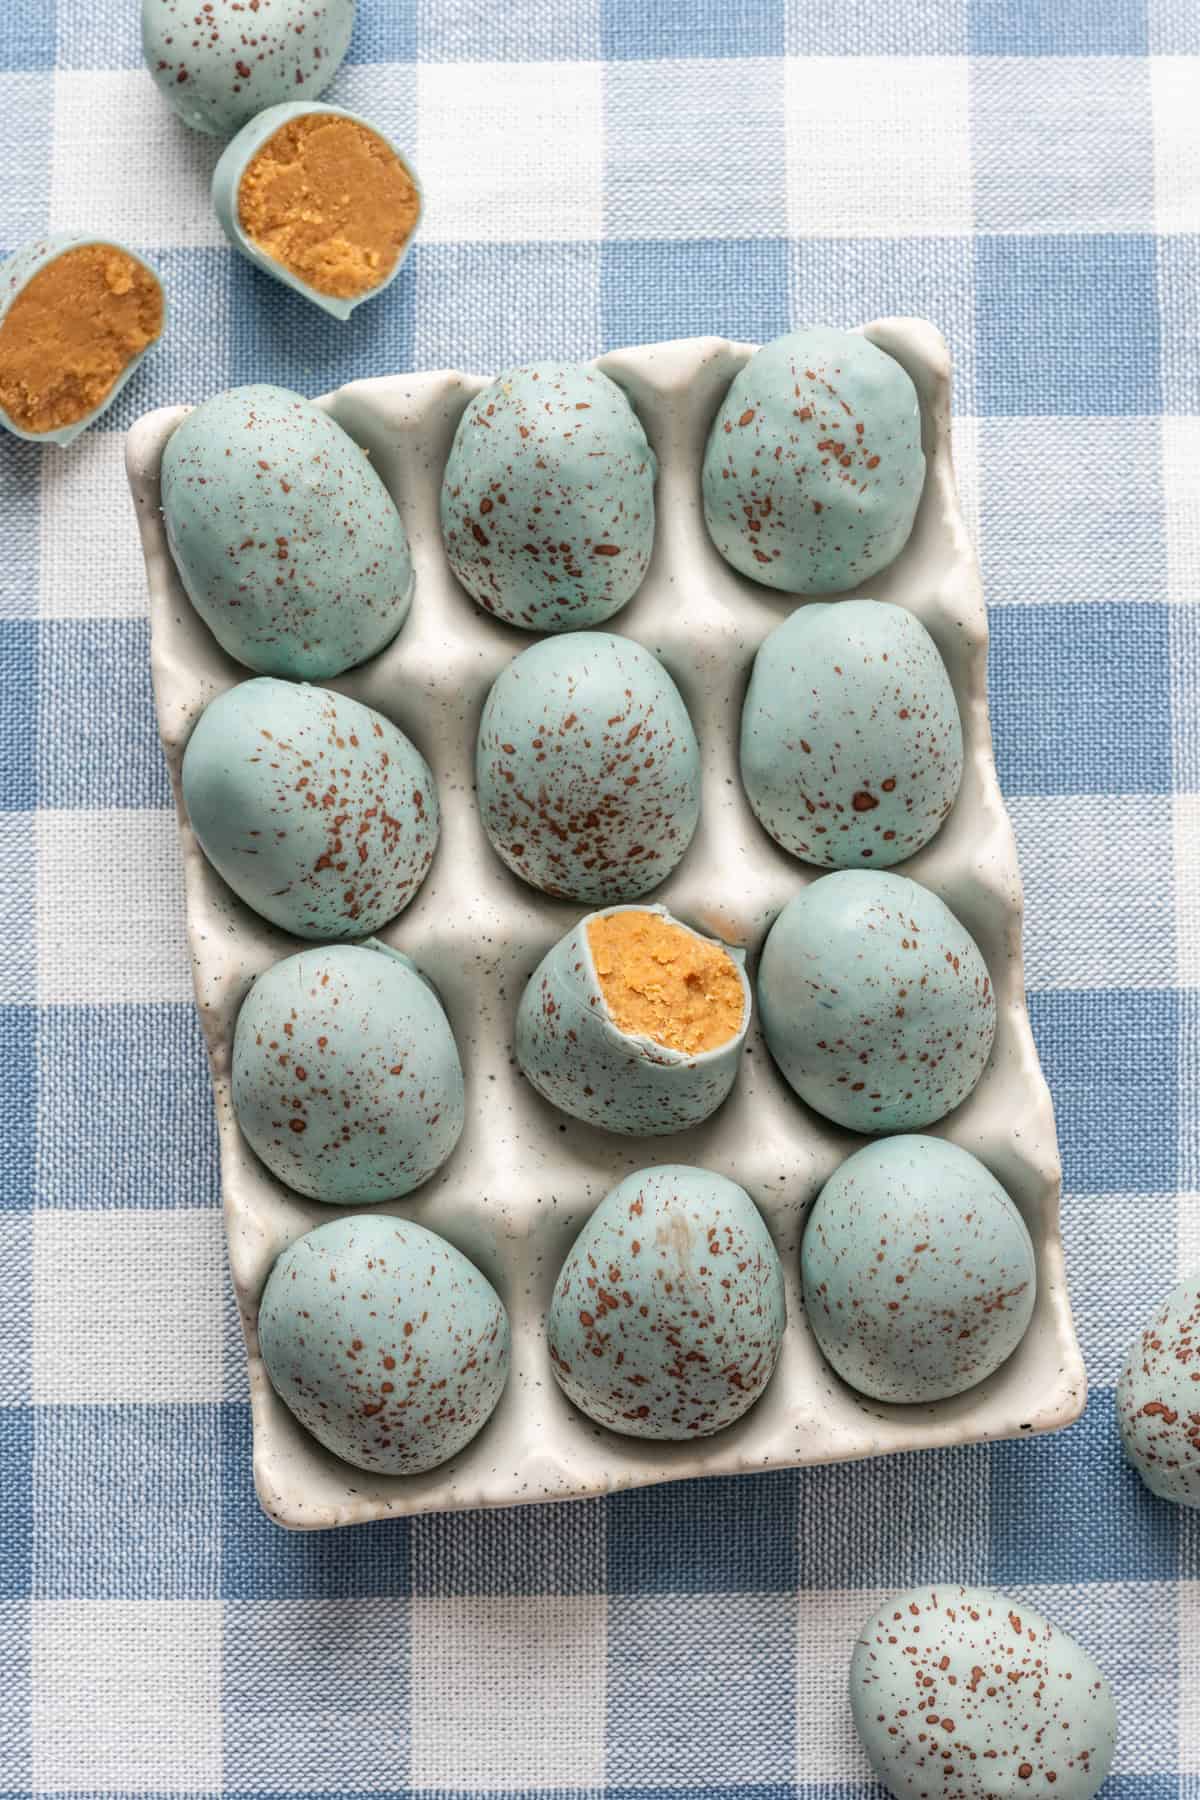
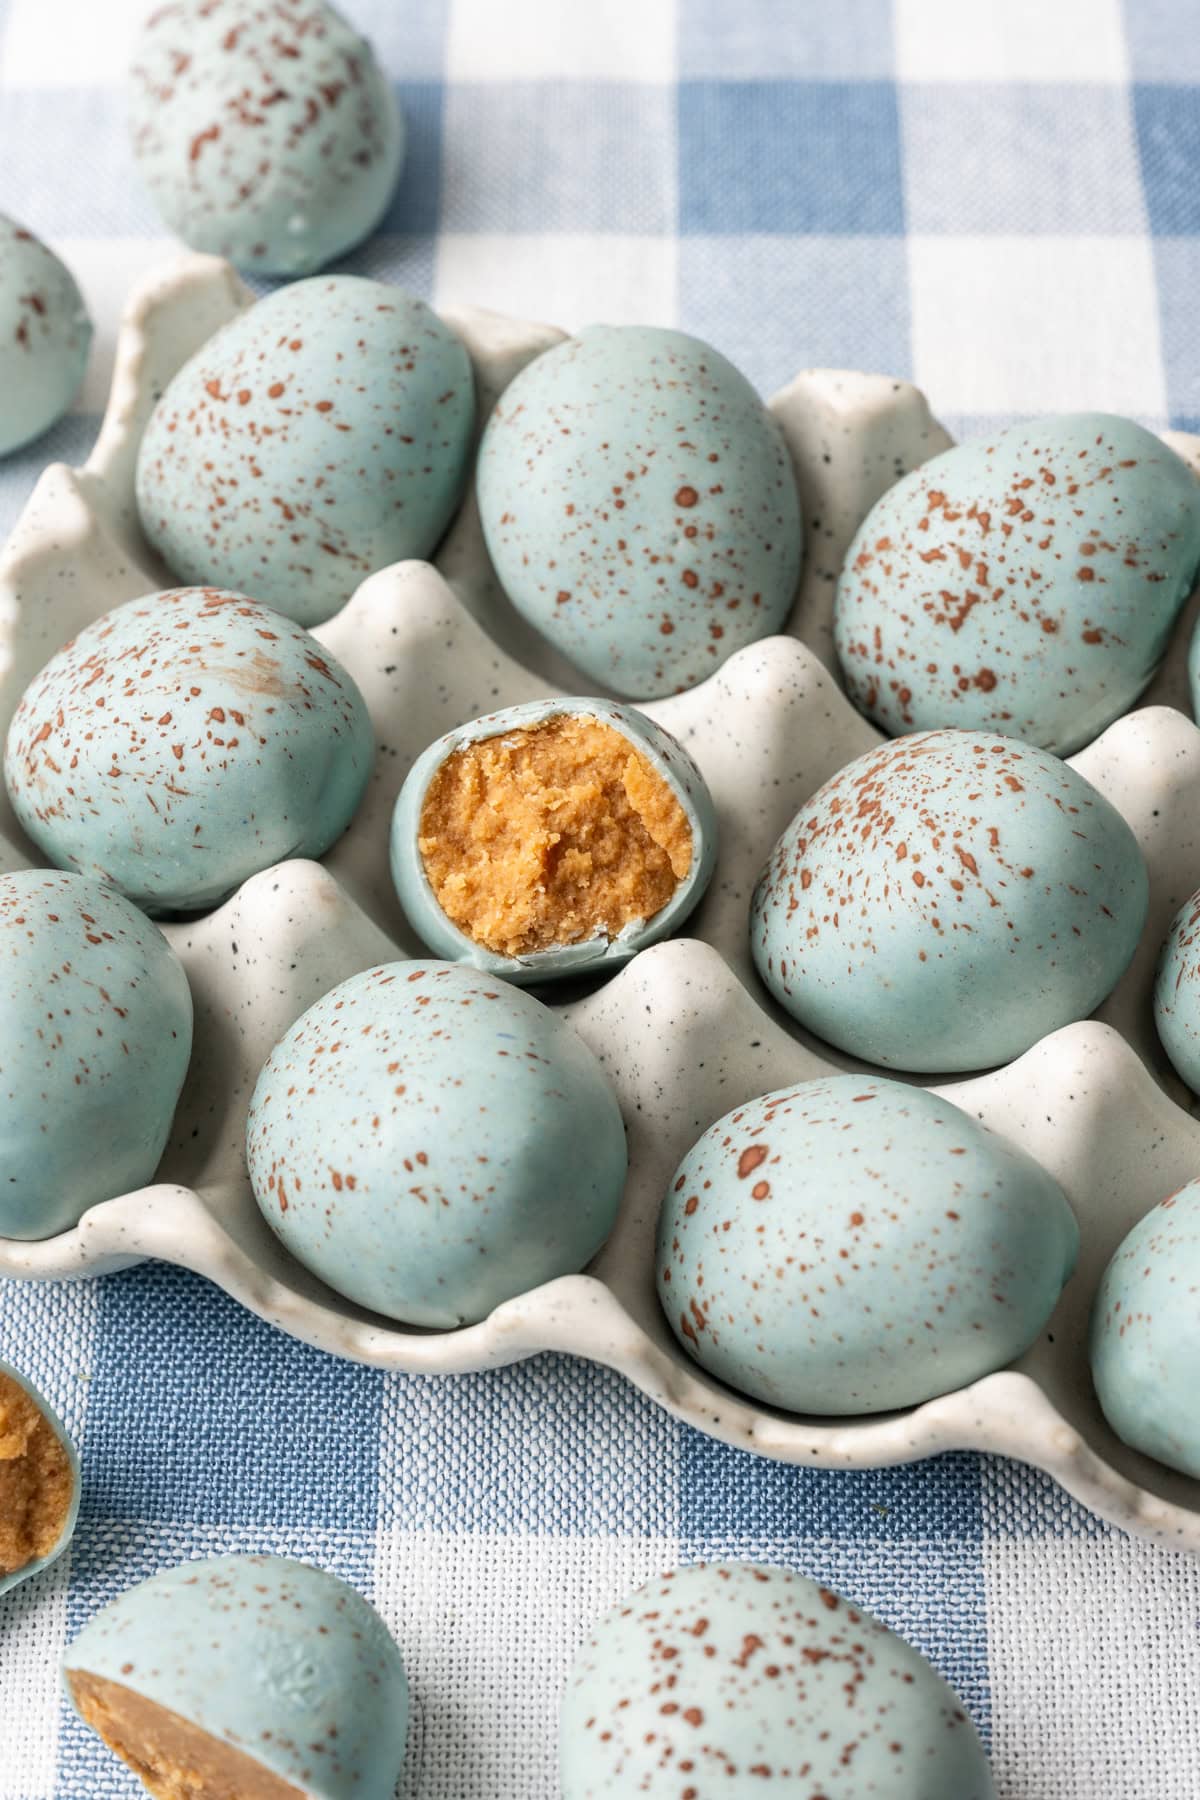
Inspired by everyone's favorite Reese's candy, these homemade White Chocolate Peanut Butter Easter Eggs look exactly like a real speckled robin's egg! They're easy to make, with just 6 ingredients in the filling, and we use all natural ingredients to dye the white chocolate.
With the price (and scarcity) of real eggs this year, we're going to skip the Easter egg dying and save them for something that we'll actually eat (like this Sheet Pan Frittata!). We love that these look like an actual dyed Easter egg, and you can make them any color you'd like. This recipe is part of our Better Than Store-Bought Series, where we recreate popular store-bought snacks from scratch.
We love to create a good copycat recipe. Last year for Easter we made homemade Peeps, but this year, we knew we had to make a Reese's peanut butter egg copycat recipe! They're the best Easter candy (IMO) and they're actually very easy to make at home.
I did my best to keep the sugar level a bit lower than most peanut butter egg recipes. This one uses a mixture of maple syrup and a little bit of powdered sugar for consistency. You could use just maple syrup if you'd like, but they won't be quite as creamy and soft inside.
Almond flour helps to bind the peanut butter mixture together. It's important to use runny, natural peanut butter (no sugar added) to get the consistency right.
White chocolate is best for coating if you want to make these look like an actual dyed egg (or a real robin's egg!). That said, you can substitute white chocolate with dark or milk chocolate for a more classic version.
Step-by-step instructions
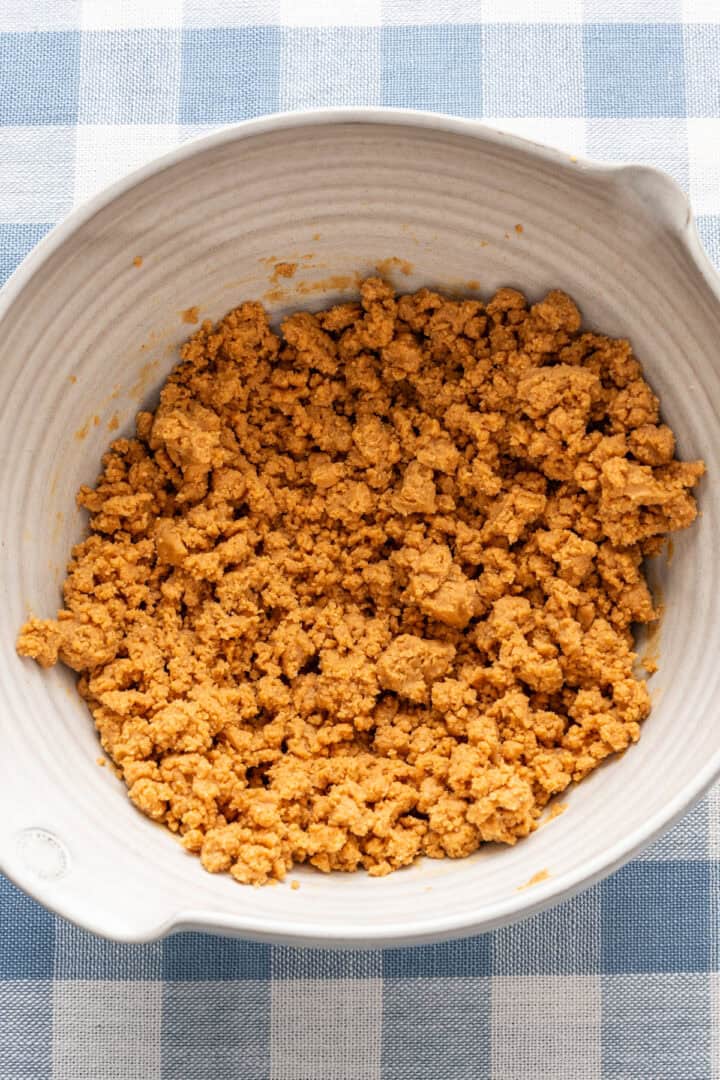
STEP 1: In a mixing bowl, beat together the peanut butter, maple syrup, powdered sugar, almond flour, vanilla extract and salt until well combined.
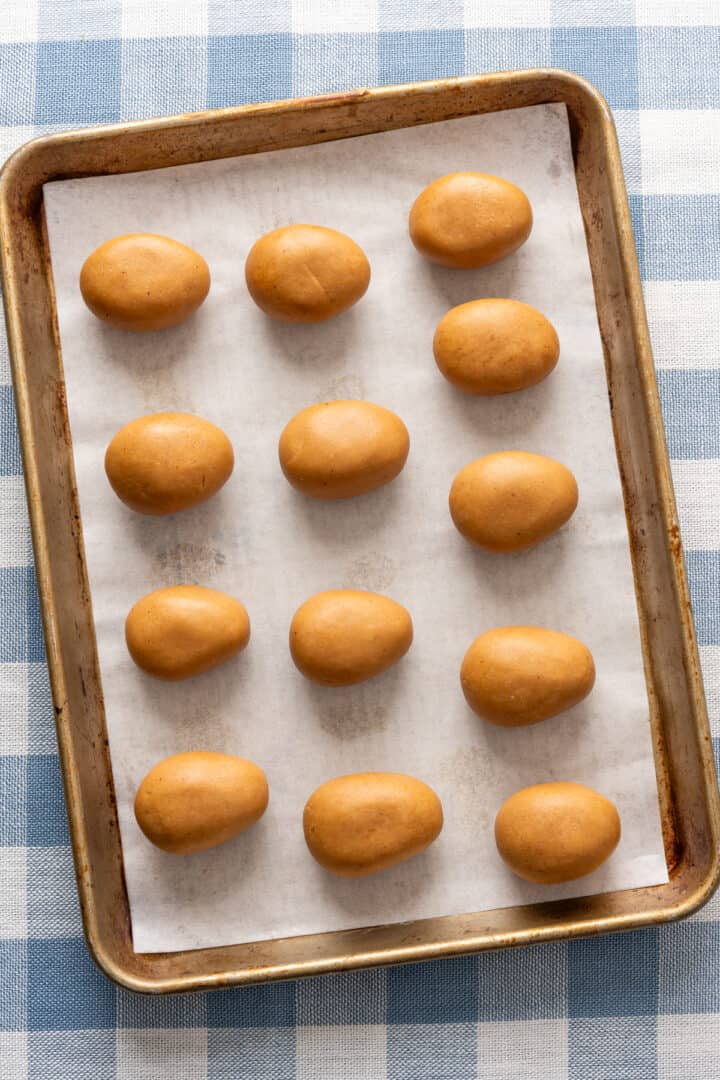
STEP 2: Portion the peanut butter filling into 2-tablespoon portions. You can make them smaller if you'd like. These eggs are on the larger side so they resemble actual eggs. Roll each one into a ball using your hands, then use your hands to shape the ball into an oval.
Place on a parchment paper-lined baking sheet and freeze while you prepare the coating.
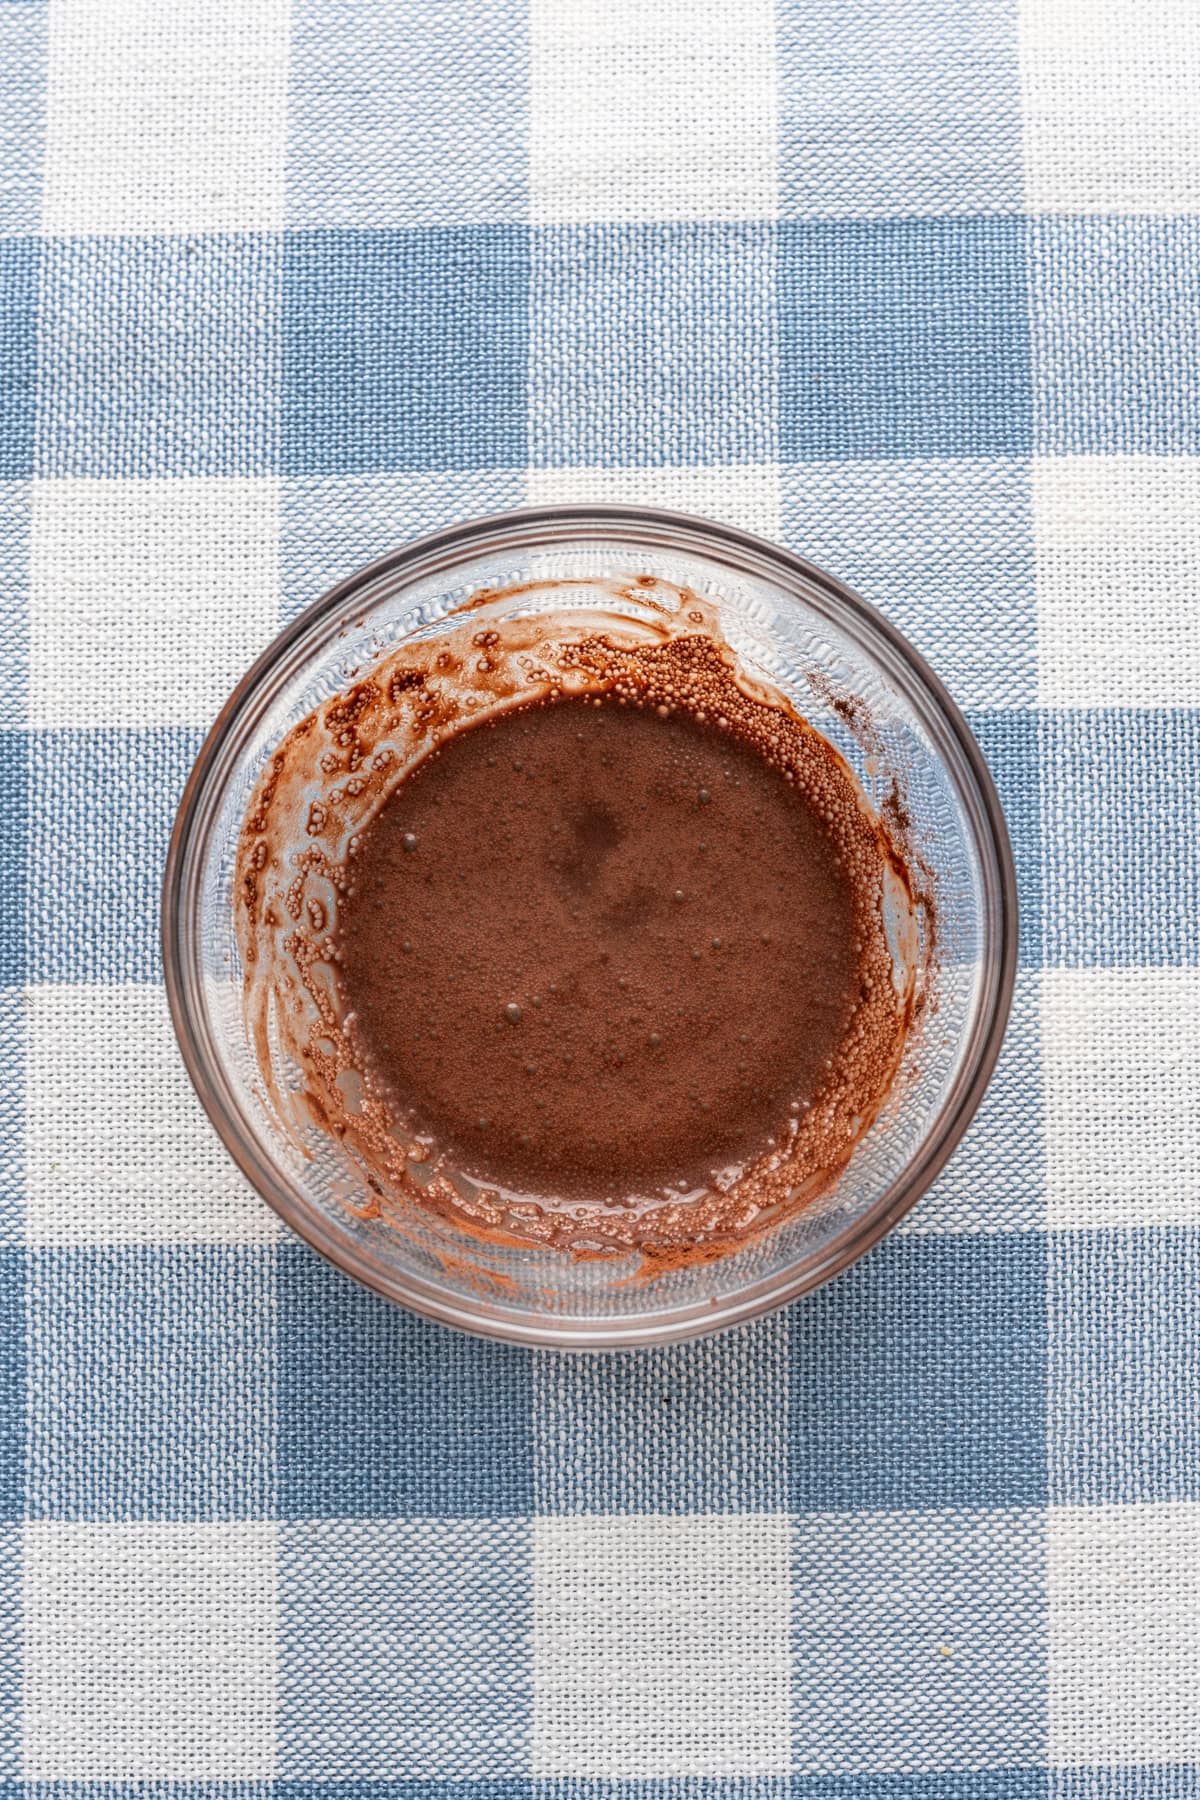
STEP 3: In a small bowl, whisk together the cocoa powder and water and set aside.
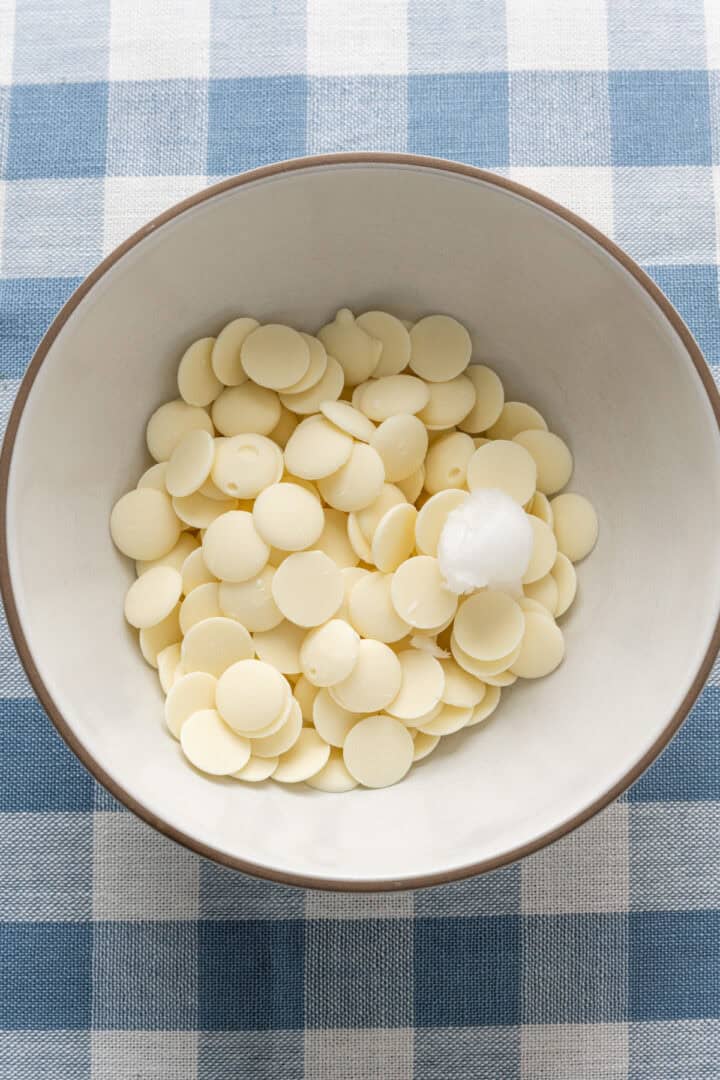
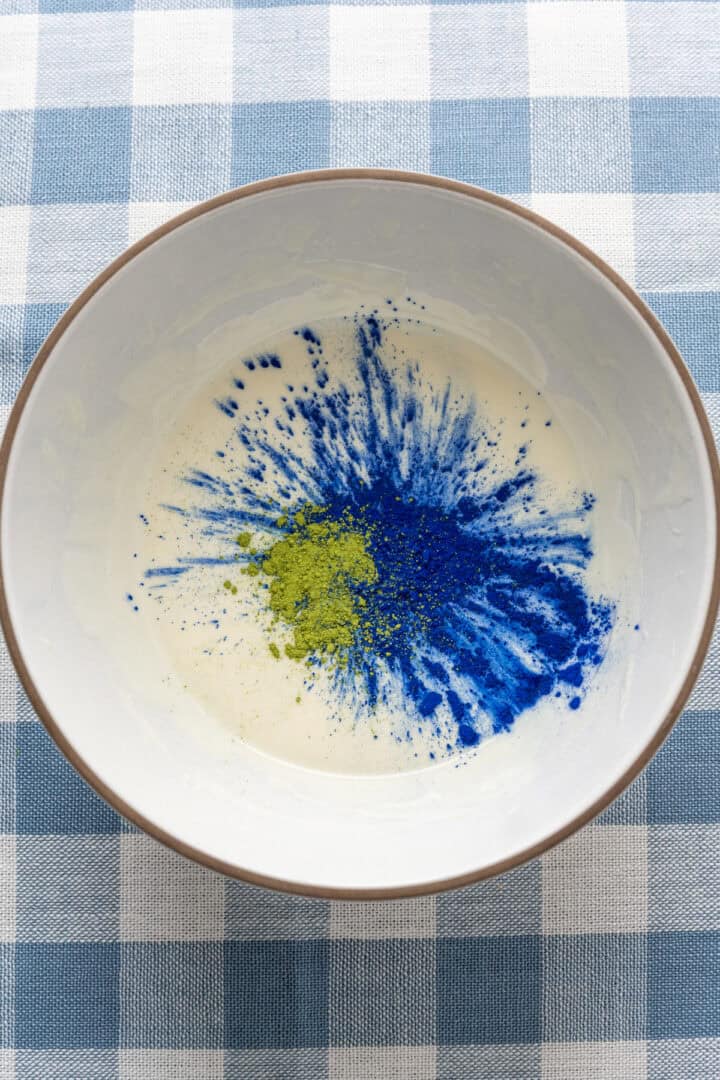
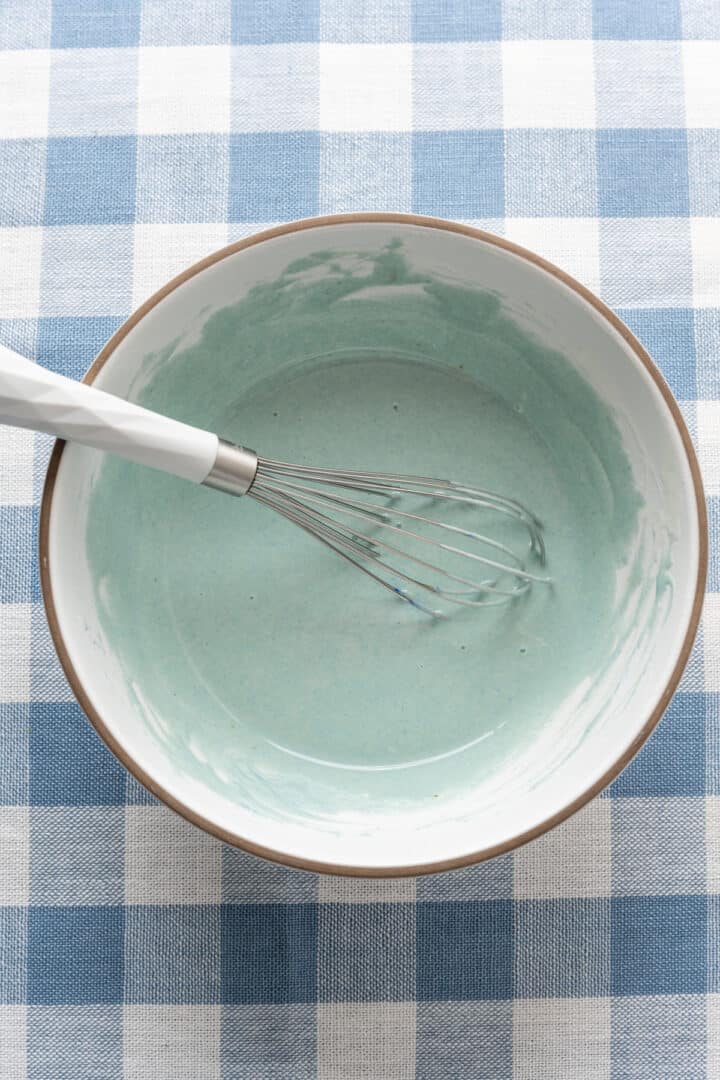
STEP 4: Add the white chocolate and coconut oil to a microwave-safe bowl. Microwave in 15-20 second intervals, stirring well between each interval, until fully melted. Whisk in the spirulina and matcha (or food coloring) and adjust colors as desired. Pour into a short drinking glass or a similar vessel.
Quick tip: If you don't have blue spirulina and/or matcha, you can use any food coloring (regular gel or natural) to dye the white chocolate. Try mixing together blue and green for the perfect robin's egg blue.
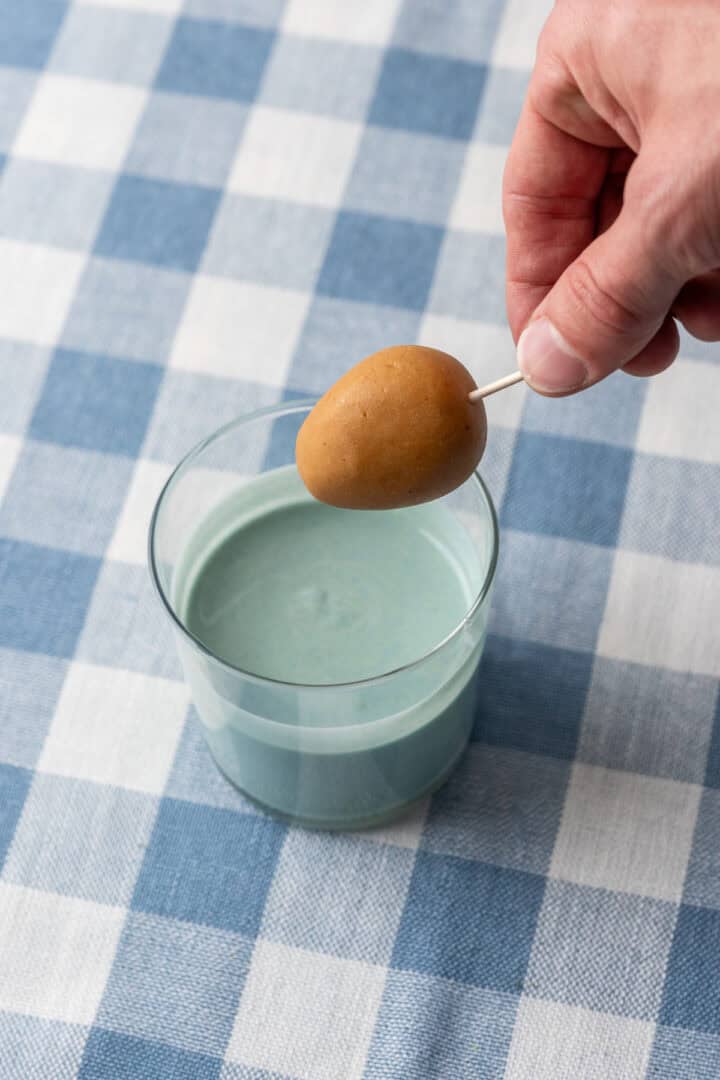
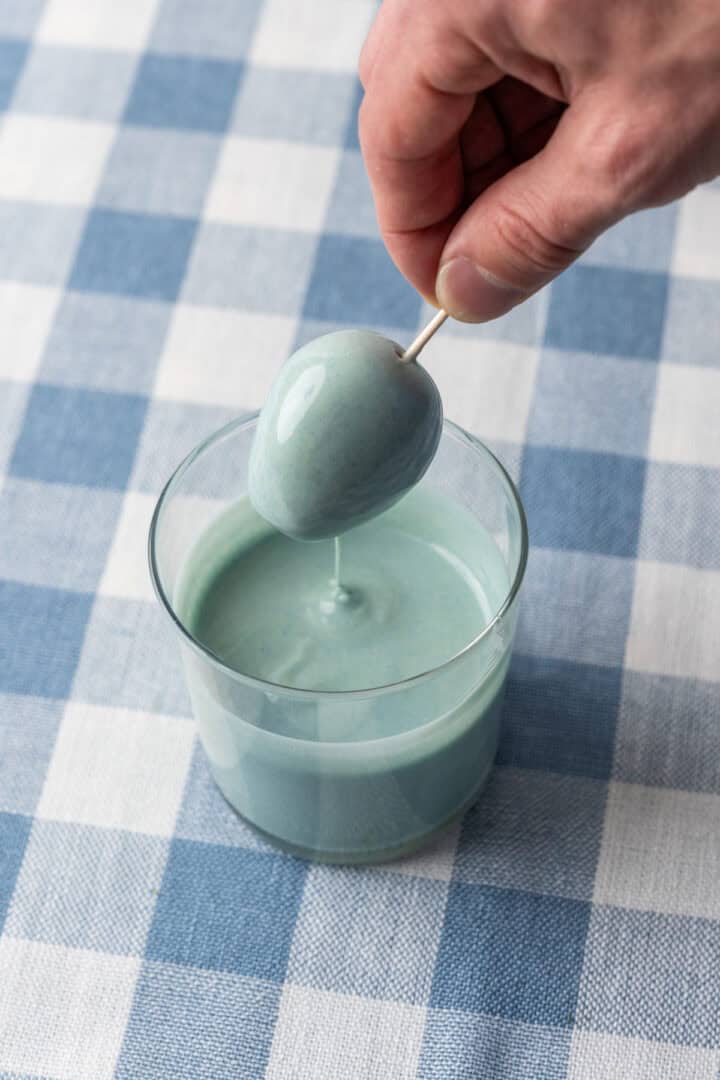
STEP 5: Coating the eggs works best when they are semi-frozen. This helps the white chocolate coating firm up quickly so it doesn't pool when you set it down on the baking sheet. Stick a toothpick in the bottom of an egg, then dip in the white chocolate. Let the excess chocolate drip off. Wait until the white chocolate is mostly hardened, then return to the parchment paper and immediately remove the toothpick. If you wait too long to remove the toothpick, the chocolate coating may crack.
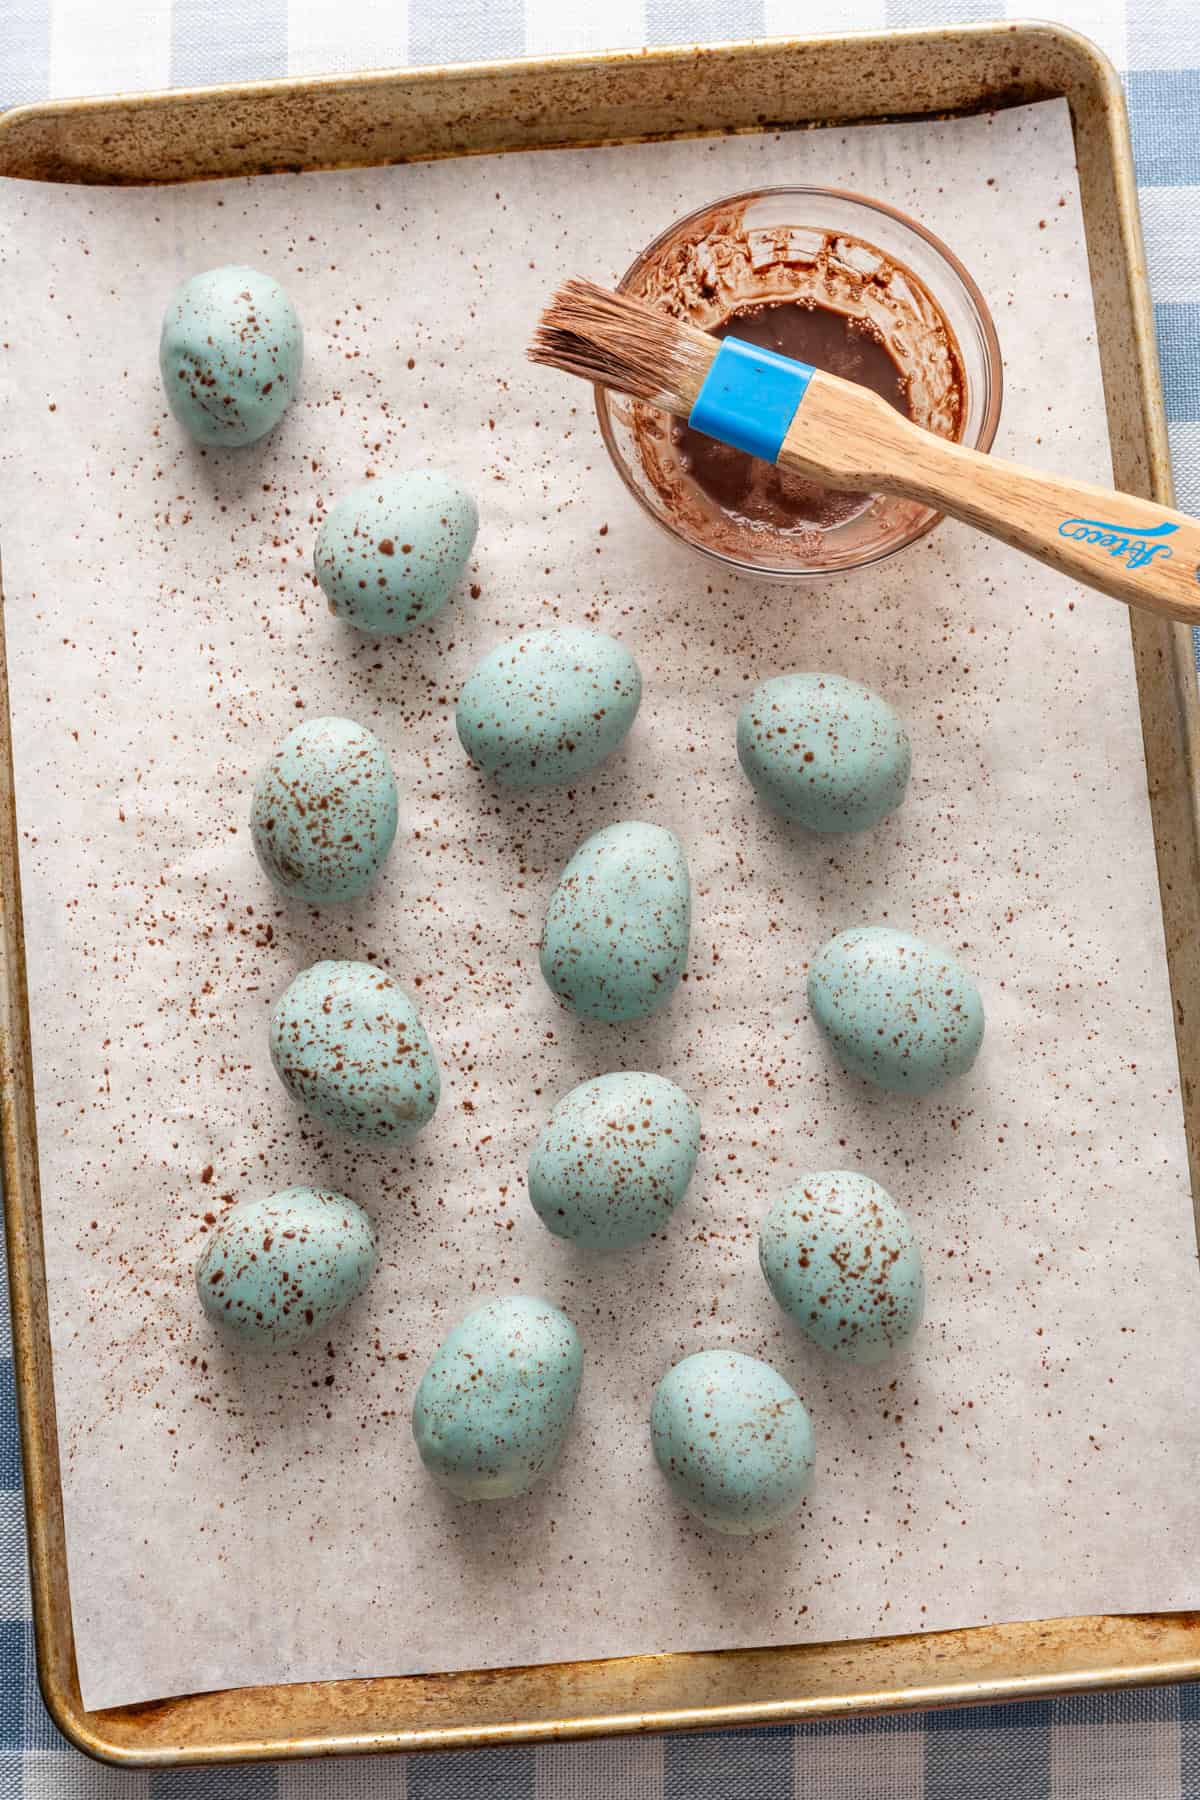
STEP 6: To make the speckles, dip a pastry brush in the cocoa powder/water mixture. Holding it about 8 inches above the baking sheet, flick the tip of the pastry brush over the eggs to create speckles. Note: this can get messy, so wear an apron!) Refrigerate until the chocolate dries out (~10 minutes).
Storage Tips
You can keep these stored at room temperature, but I prefer to keep them stored in an airtight container in the refrigerator. If your house runs on the warmer side, the coating and filling might get a bit too soft at room temp.
For longer storage, keep them in an airtight container in the freezer. Just make sure to let them defrost at room temperature for at least 15 minutes so you don't break a tooth!
📖 Recipe
Peanut Butter Easter Eggs
- Total Time: 35 minutes
- Yield: 14 eggs 1x
- Diet: Vegetarian
Description
Inspired by everyone's favorite Reese's candy, these homemade White Chocolate Peanut Butter Easter Eggs look exactly like a real speckled robin's egg! They're easy to make, with just 6 ingredients in the filling, and we use all natural ingredients to dye the white chocolate.
Ingredients
Peanut Butter Egg Filling:
- 1 ¼ cup natural, runny peanut butter (no sugar added)
- ¼ cup maple syrup
- ¼ cup powdered sugar
- ⅓ cup almond flour
- ½ teaspoon vanilla extract
- Pinch of salt
White Chocolate Coating:
- 8 ounces white chocolate melting wafers (we use Ghirardelli brand)
- 2 teaspoons coconut oil
- ½ teaspoon blue spirulina + ¼ teaspoon matcha powder (or use a 2:1 ratio of any blue and green food dye)
- For the speckles: 1 teaspoon cocoa powder + 1 tablespoon water
Instructions
- In a mixing bowl, beat together the peanut butter, maple syrup, powdered sugar, almond flour, vanilla extract and salt until well combined.
- Portion the peanut butter filling into 2-tablespoon portions. Roll each one into a ball using your hands, then use your hands to shape the ball into an oval (egg-shaped).
- Place on a parchment paper-lined baking sheet and freeze while you prepare the coating.
- In a small bowl, whisk together the cocoa powder and water and set aside.
- Add the white chocolate and coconut oil to a microwave-safe bowl. Microwave in 15-20 second intervals, stirring well between each interval, until fully melted. Whisk in the spirulina and matcha (or food coloring) and adjust colors as desired. Pour into a short drinking glass or a similar vessel.
- Coating the eggs works best when they are semi-frozen. This helps the white chocolate coating firm up quickly so it doesn't pool when you set it down on the baking sheet. Stick a toothpick in the bottom of an egg, then dip in the white chocolate. Let the excess chocolate drip off. Wait until the white chocolate is mostly hardened, then return to the parchment paper and immediately remove the toothpick. If you wait too long to remove the toothpick, the chocolate coating may crack.
- To make the speckles, dip a pastry brush in the cocoa powder/water mixture. Holding it about 8 inches above the baking sheet, flick the tip of the pastry brush over the eggs to create speckles. Note: this can get messy, so wear an apron!) Refrigerate until the chocolate dries out (~10 minutes).
Notes
Food dye: If you don't have blue spirulina and/or matcha, you can use any food coloring (regular gel or natural) to dye the white chocolate. Try mixing together blue and green for the perfect robin's egg blue.
Storage: These are best stored in an airtight container in the refrigerator. You can also store them in the freezer for up to 4 months (but let them defrost slightly before eating!).
- Prep Time: 30 minutes
- Cook Time: 5 minutes
- Category: Dessert
- Method: No bake
- Cuisine: America
Nutrition
- Serving Size: 1 egg
- Calories: 248
- Sugar: 15.2 g
- Sodium: 130.6 mg
- Fat: 16.8 g
- Carbohydrates: 18.7 g
- Fiber: 1.3 g
- Protein: 6.2 g


Carolyn Radakovich says
Make these today and they are absolutely beautiful! Two questions, however. First, my eggs started weeping out the toothpick hole. Is there a brand of PB you recommended? I'm thinking mine was too oily. Second, do you speckle one side, let dry completely, then speckle the other side? Need a bit of guidance on those two things. Thanks!
Lexi says
Hello! I like the Smucker's organic brand for a natural PB that's not too runny. You can also dab a little bit of melted chocolate over the toothpick hole to prevent weeping! I actually usually just speckle one side, but if you want to do both, you just have to let it dry before flipping it over and doing the other side. So glad you enjoyed!
Wolff says
What flour do I use if I'm allergic to tree nuts?
Decich says
Do you have to use alm8nd flour?
Monica says
Would like to make these for Easter. Is there a substitute for Almond Flour? My daughter is allergic to nuts.
Natalie says
Could I use regular flour instead of almond flour?
Grey says
These are DANGEROUSLY GOOD. I made these a couple days ago and I still have some in the fridge and I’m having trouble not eating them all. That said—how long do they keep in the fridge before I should freeze them?
Also, a note on the delicate nature of white chocolate—when I microwaved mine at 15 second intervals and stirred as directed, my chips started hardening into a clump. I did some research and found that because of the high cocoa butter content, white chocolate has a low melting point and should only be microwaved at very low power so I conditioned the clump with a little more coconut oil and carefully continued microwaving at power 2 until reaching the desired slightly-thick-but-runny consistency for dipping. Just wanted to put this here in case anyone else is running into the same problem!
Also, next time I’ll probably up the amount of almond flour as the filling felt a little too soft and didn’t have the slight toothsomeness of a Reese’s cup. This is so close to perfect though! Thanks for the great recipe. 🙂
Kim says
I've found that white chocolate *chips* seize in the microwave. White baker's chocolate or the wafers she suggests in the recipe shouldn't seize up.
This recipe is fantastic by the way! We couldn't stop eating them lol. We used Jif Natural peanut butter so it wasn't as runny and regular food coloring. Dipping them in the white chocolate can be a challenge without them falling off the toothpick.