
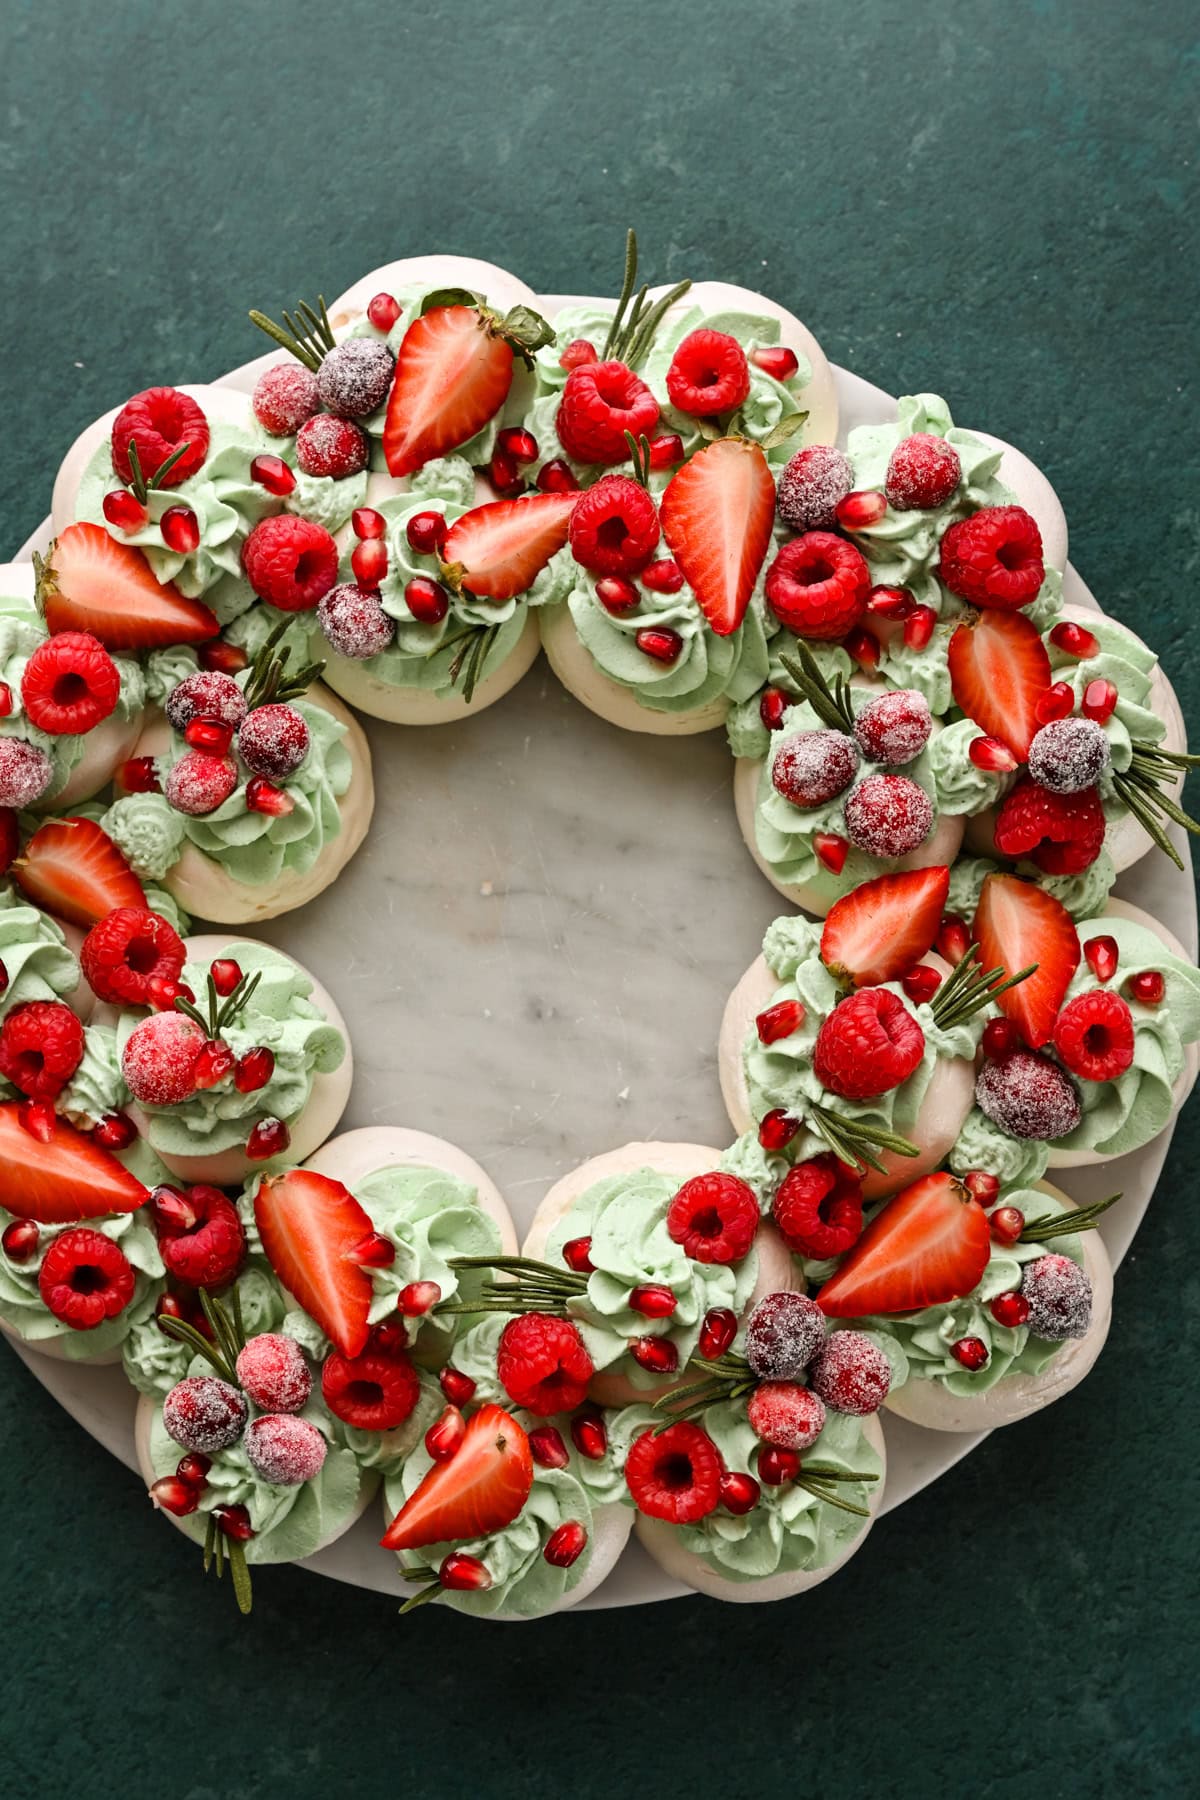
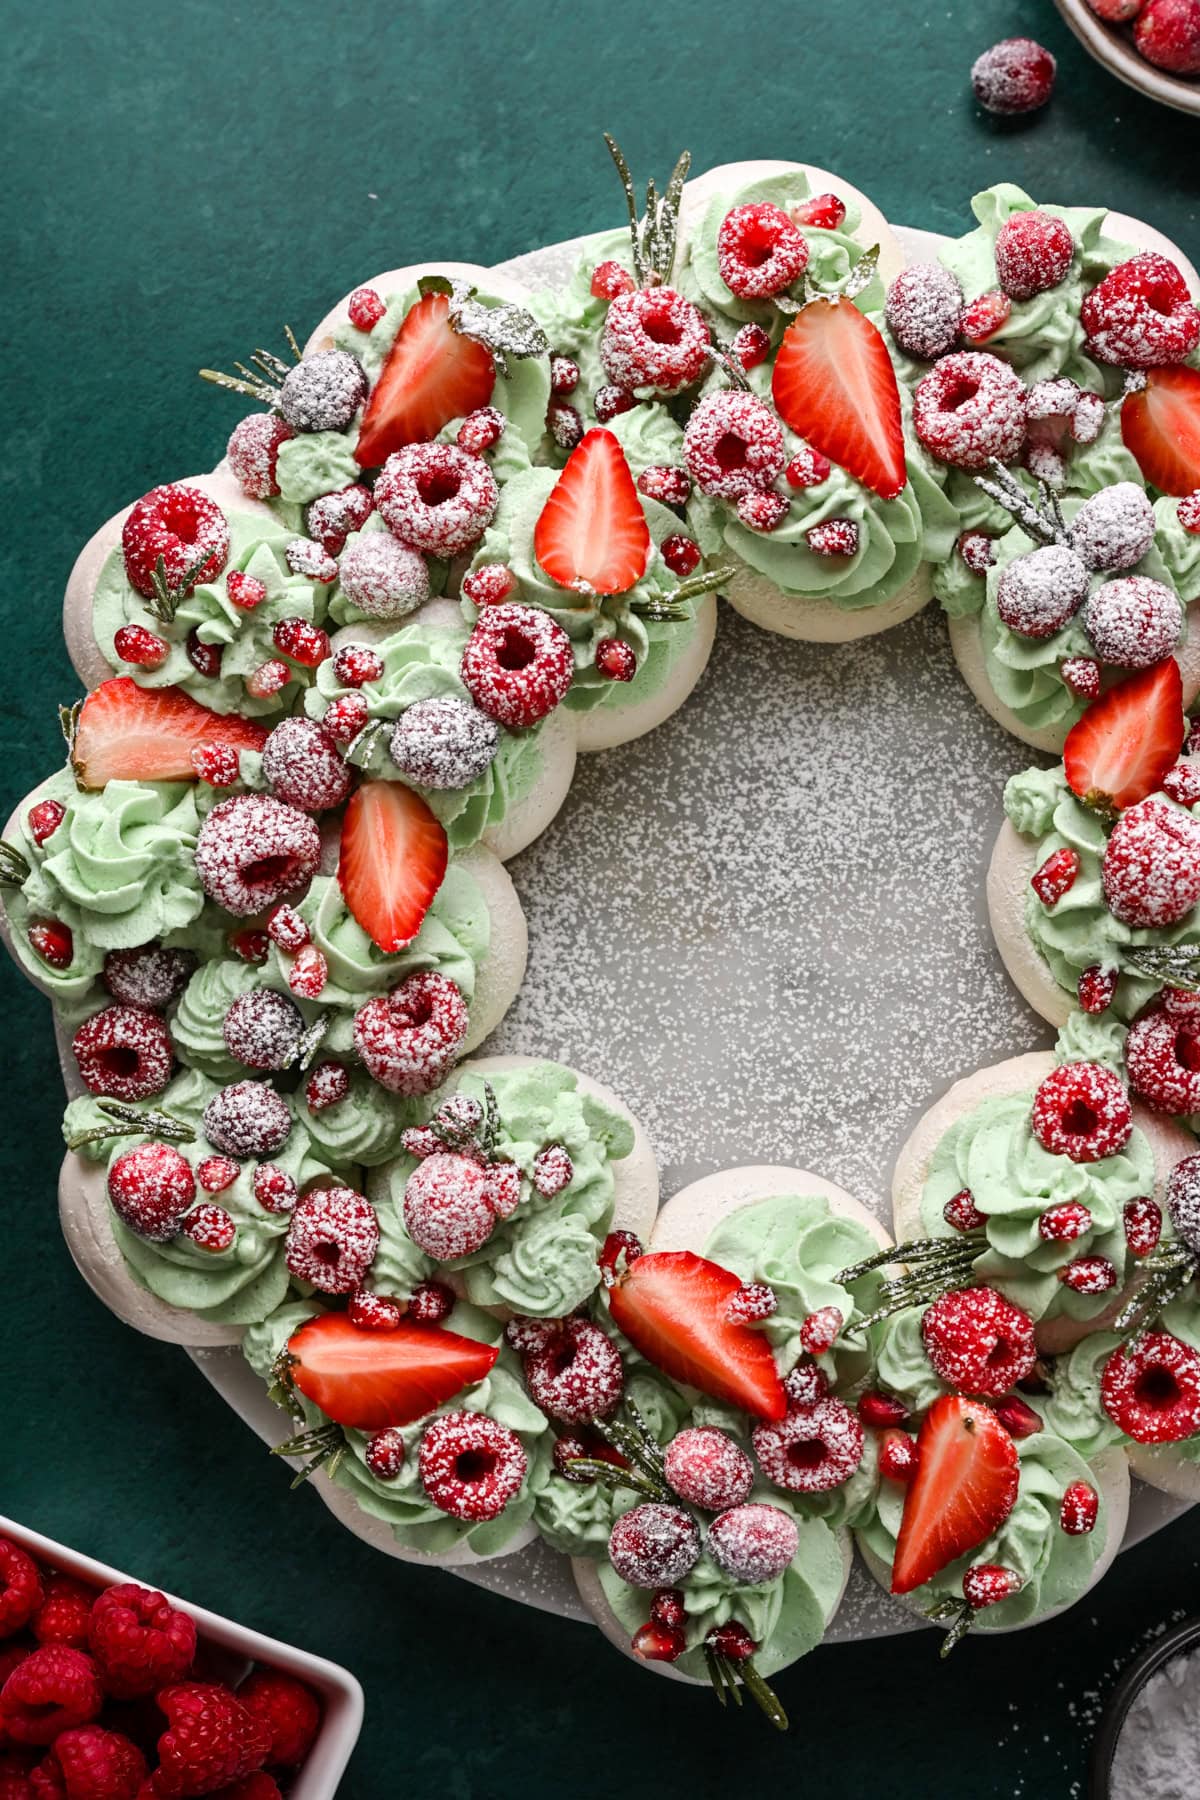
This show-stopping edible Christmas wreath is made by arranging homemade mini meringues topped with green mascarpone whipped cream, lots of fresh berries and powdered sugar "snow". It's easy to pull apart and it's absolutely delicious!
This post is sponsored by Shamrock Farms. All opinions are our own. This post also includes affiliate links. Read our affiliate disclosure here.

This meringue Christmas wreath is an absolutely stunning (and festive!) holiday dessert. And no fear – it looks much more complicated than it actually is!
The meringues can be made up to two weeks ahead of time, and the whipped cream up to 48 hours in advance, so all you have to do is assemble before serving.
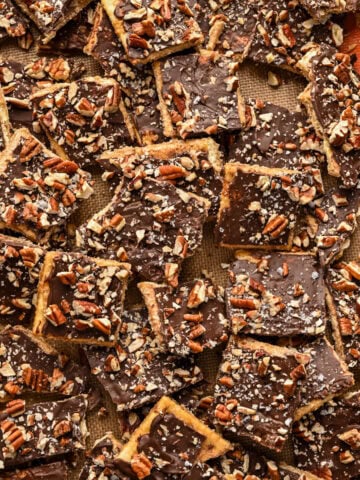
This recipe is part of our 2024 Recipe Advent Calendar, a series where we're sharing a brand new, festive recipe every day from December 1-25! If you've missed the first few, check out our Bourbon Pecan Christmas Crack, Sugar Plum Fairy Cocktail, or Edible Coal Candy.
Jump to:
Meringue Christmas Wreath Ingredients
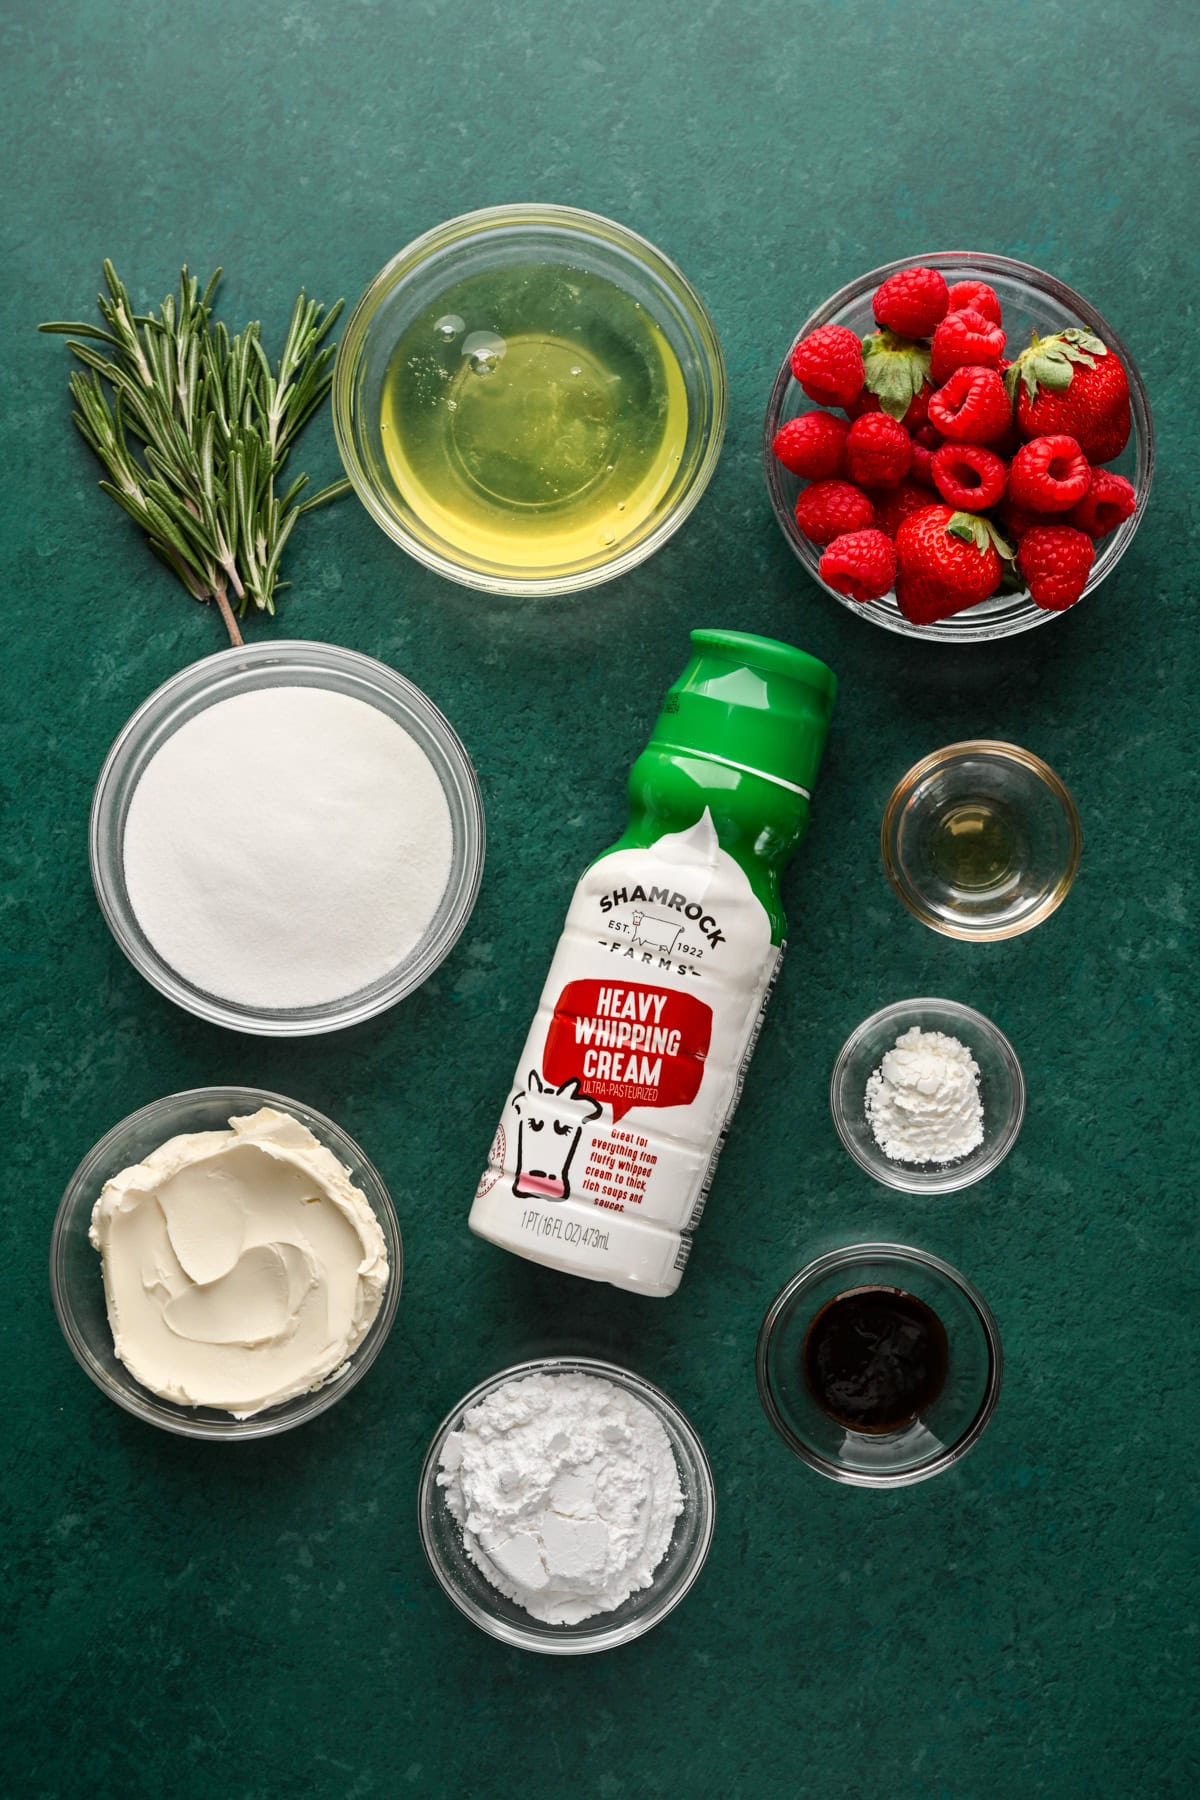
For the meringues
- Egg whites: Make sure to use egg whites from an actual egg, not from a carton. Be careful not to get any yolk into the egg whites, as this can affect your meringue. Egg whites whip up best at room temperature, so let them sit out for a little while before mixing.
- Caster sugar: Superfine sugar (caster sugar) is best for meringue, as the small grains dissolve readily in the egg white mixture. You can find it at most grocery stores or online.
- Cornstarch and white vinegar: Both help stabilize the meringue. They're technically optional, so don't stress if you don't have them.
- Vanilla: Also optional, but adds flavor to the meringue. Vanilla bean paste is also great.
For the whipped cream and toppings
- Heavy whipping cream: We use Shamrock Farms heavy whipping cream in this recipe. Make sure it's very cold before whipping!
- Mascarpone: A small amount of mascarpone keeps the whipped cream super stable, so it holds up well to the fruit. Plus, it tastes great!
- Powdered sugar: Always the best option for whipped cream. Feel free to add more or less depending on your preference for sweetness.
- Vanilla adds flavor to the whipped cream.
- Green food coloring: Makes this meringue Christmas wreath extra festive! You can also experiment with other natural green add-ins like matcha powder or pistachio paste.
- Fruit: We use all red fruits, but you can technically use any fruit you'd like. Strawberries, raspberries, sugared cranberries and pomegranate arils look super festive!
How to Make this Meringue Christmas Wreath Recipe
PREP: Preheat your oven to 225˚F/110˚C and line a large baking sheet with parchment paper.
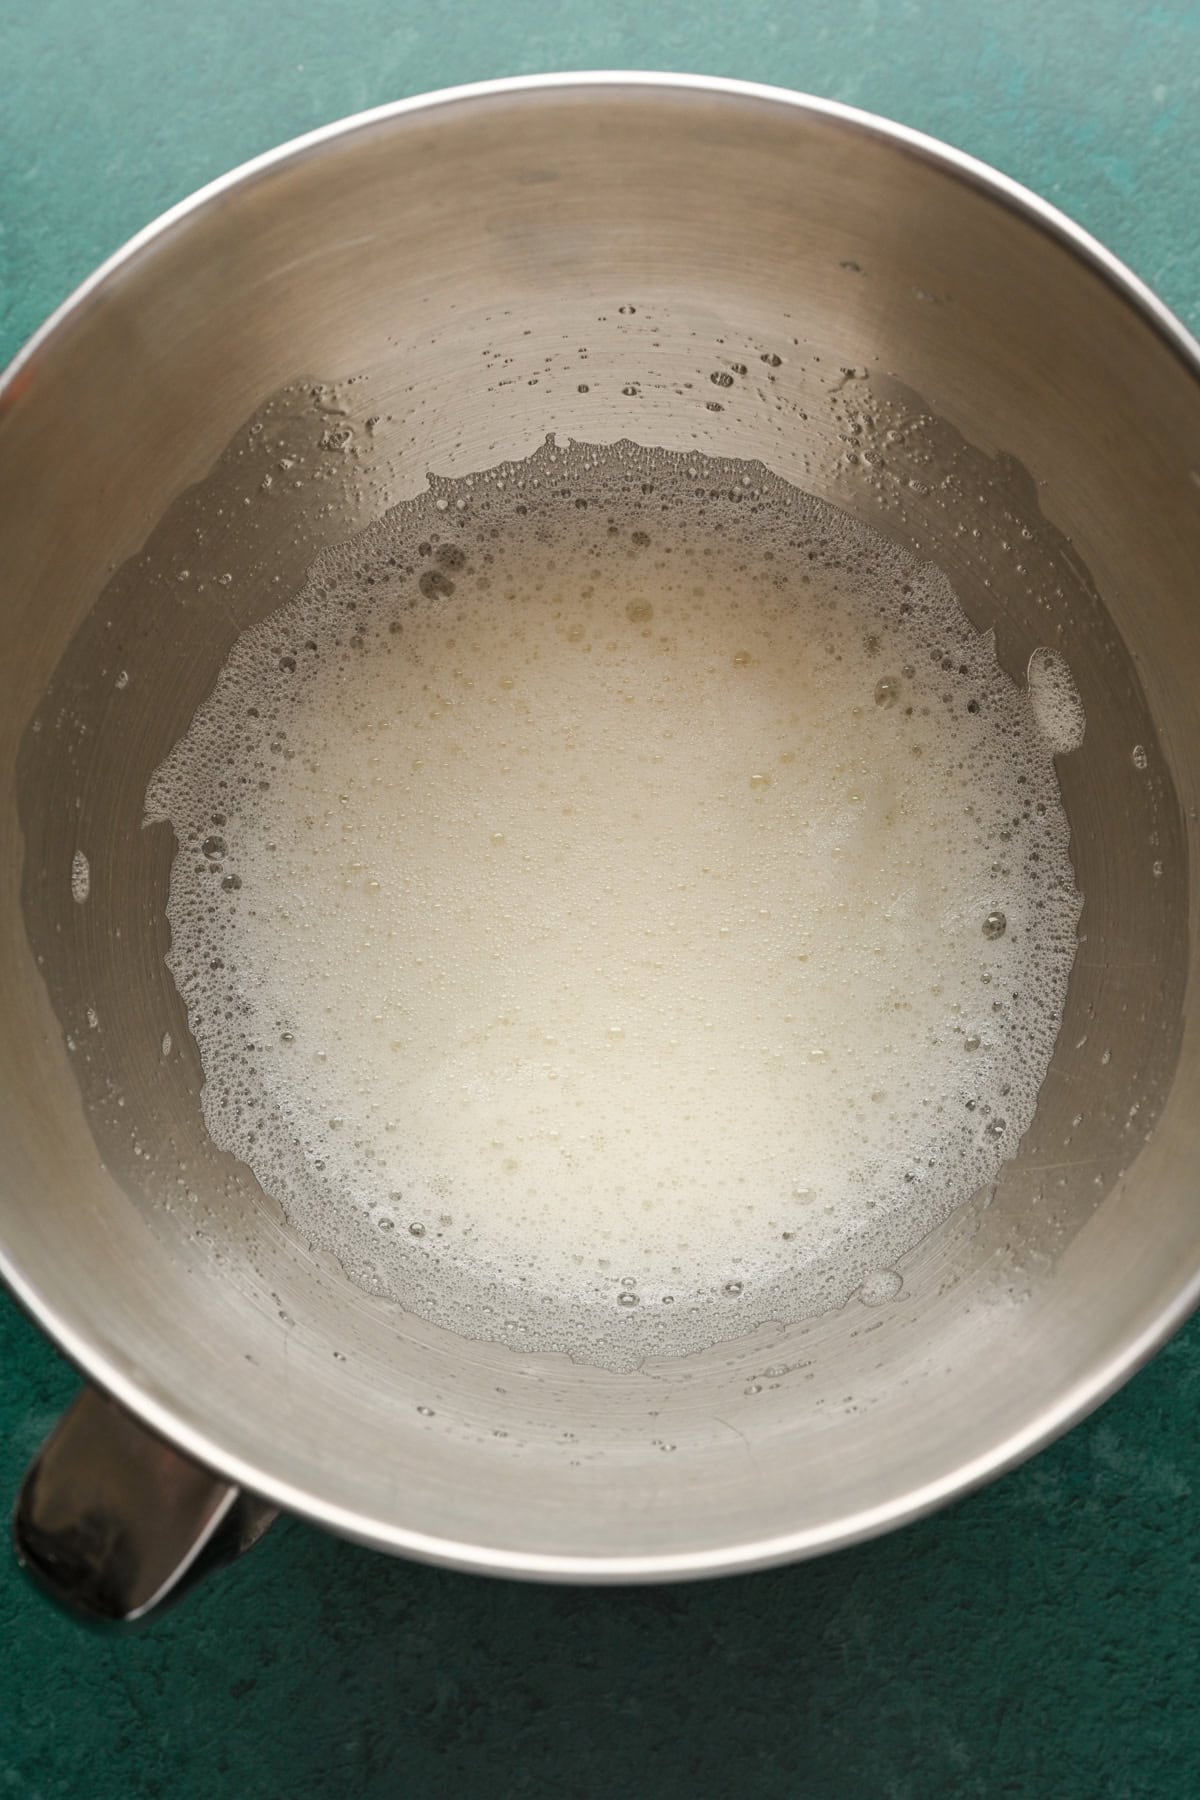
STEP 1: Add the egg whites to the bowl of a stand mixer and beat on medium speed for 1 minute, until foamy.
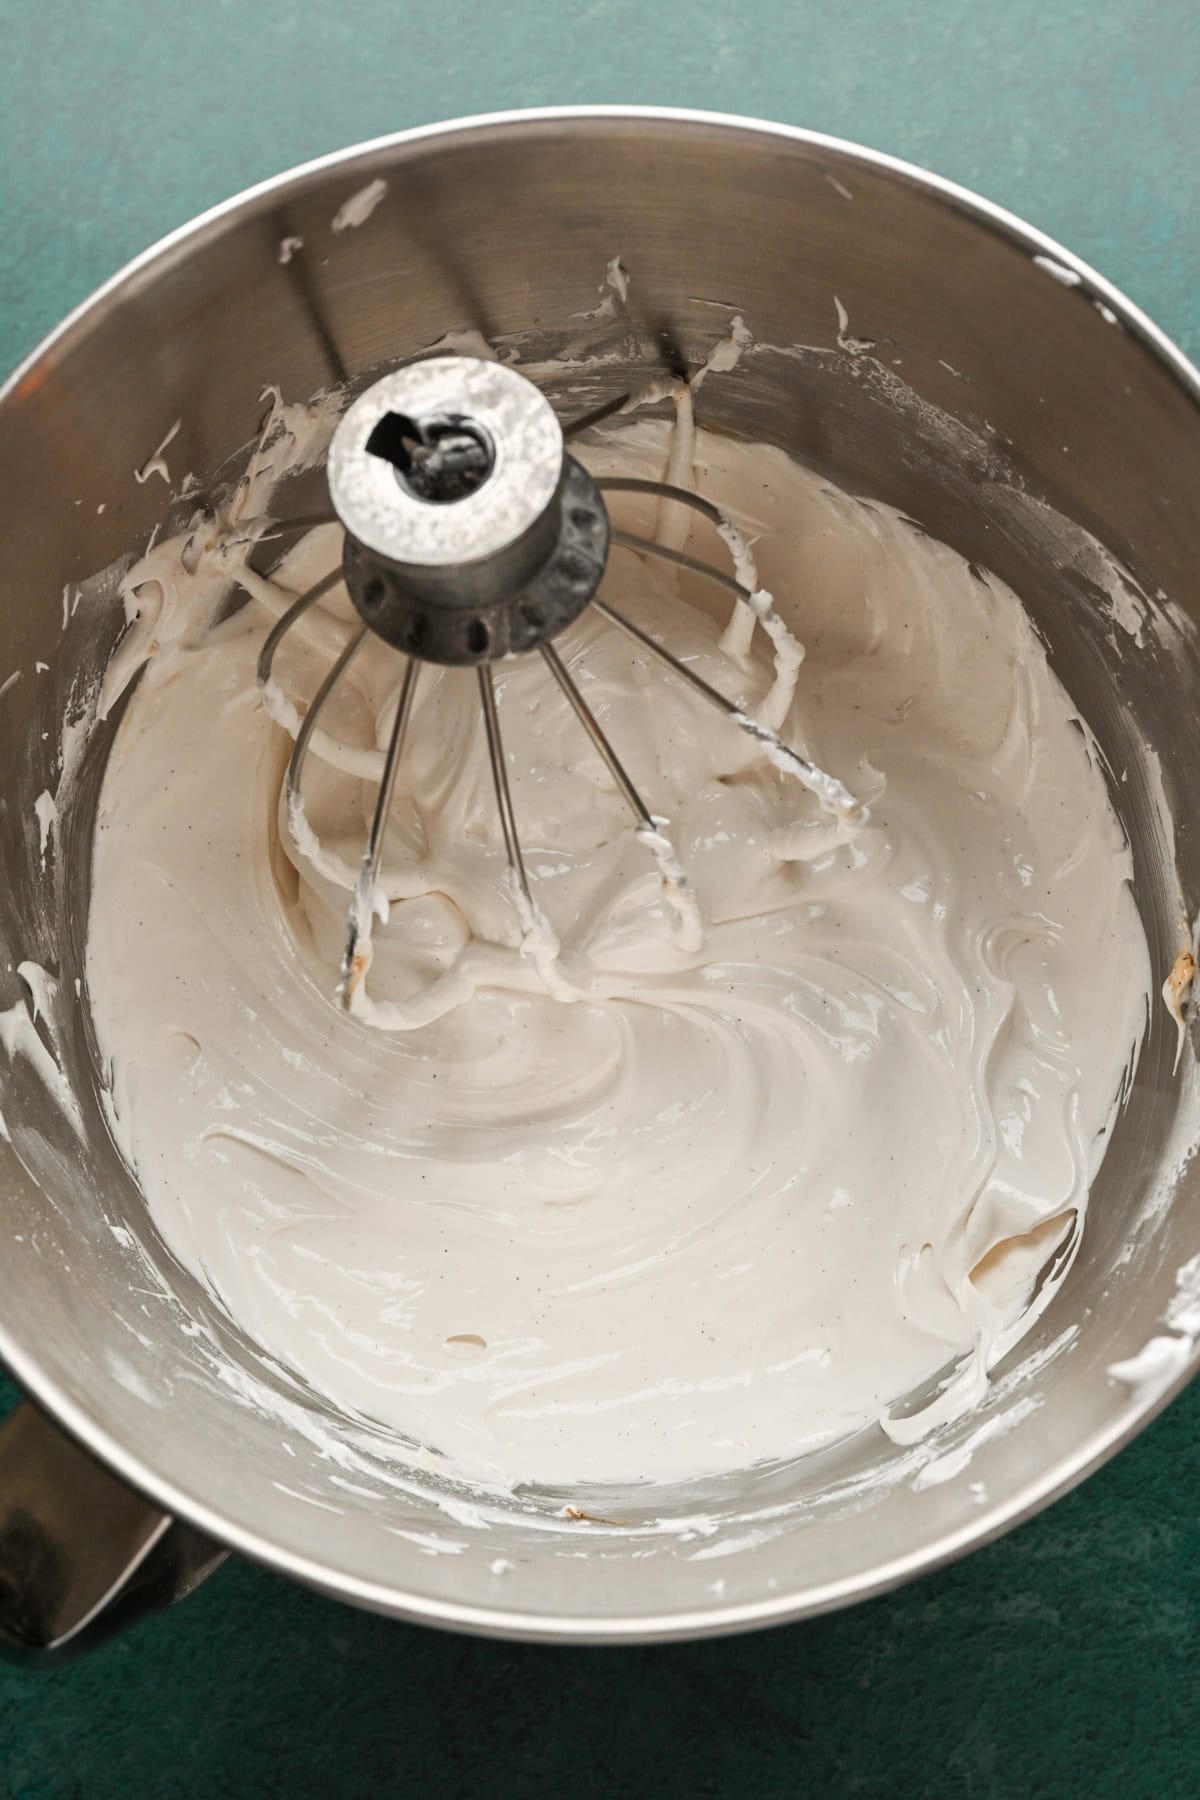
STEP 2: While mixing on high speed, add the sugar one spoonful at a time, waiting a few seconds before adding the next spoonful, and beat for about 8 minutes total, until the meringue is glossy and forms stiff peaks. Add in the cornstarch & vinegar (these help stabilize the meringue) and vanilla and continue mixing for 30 seconds, just until combined.
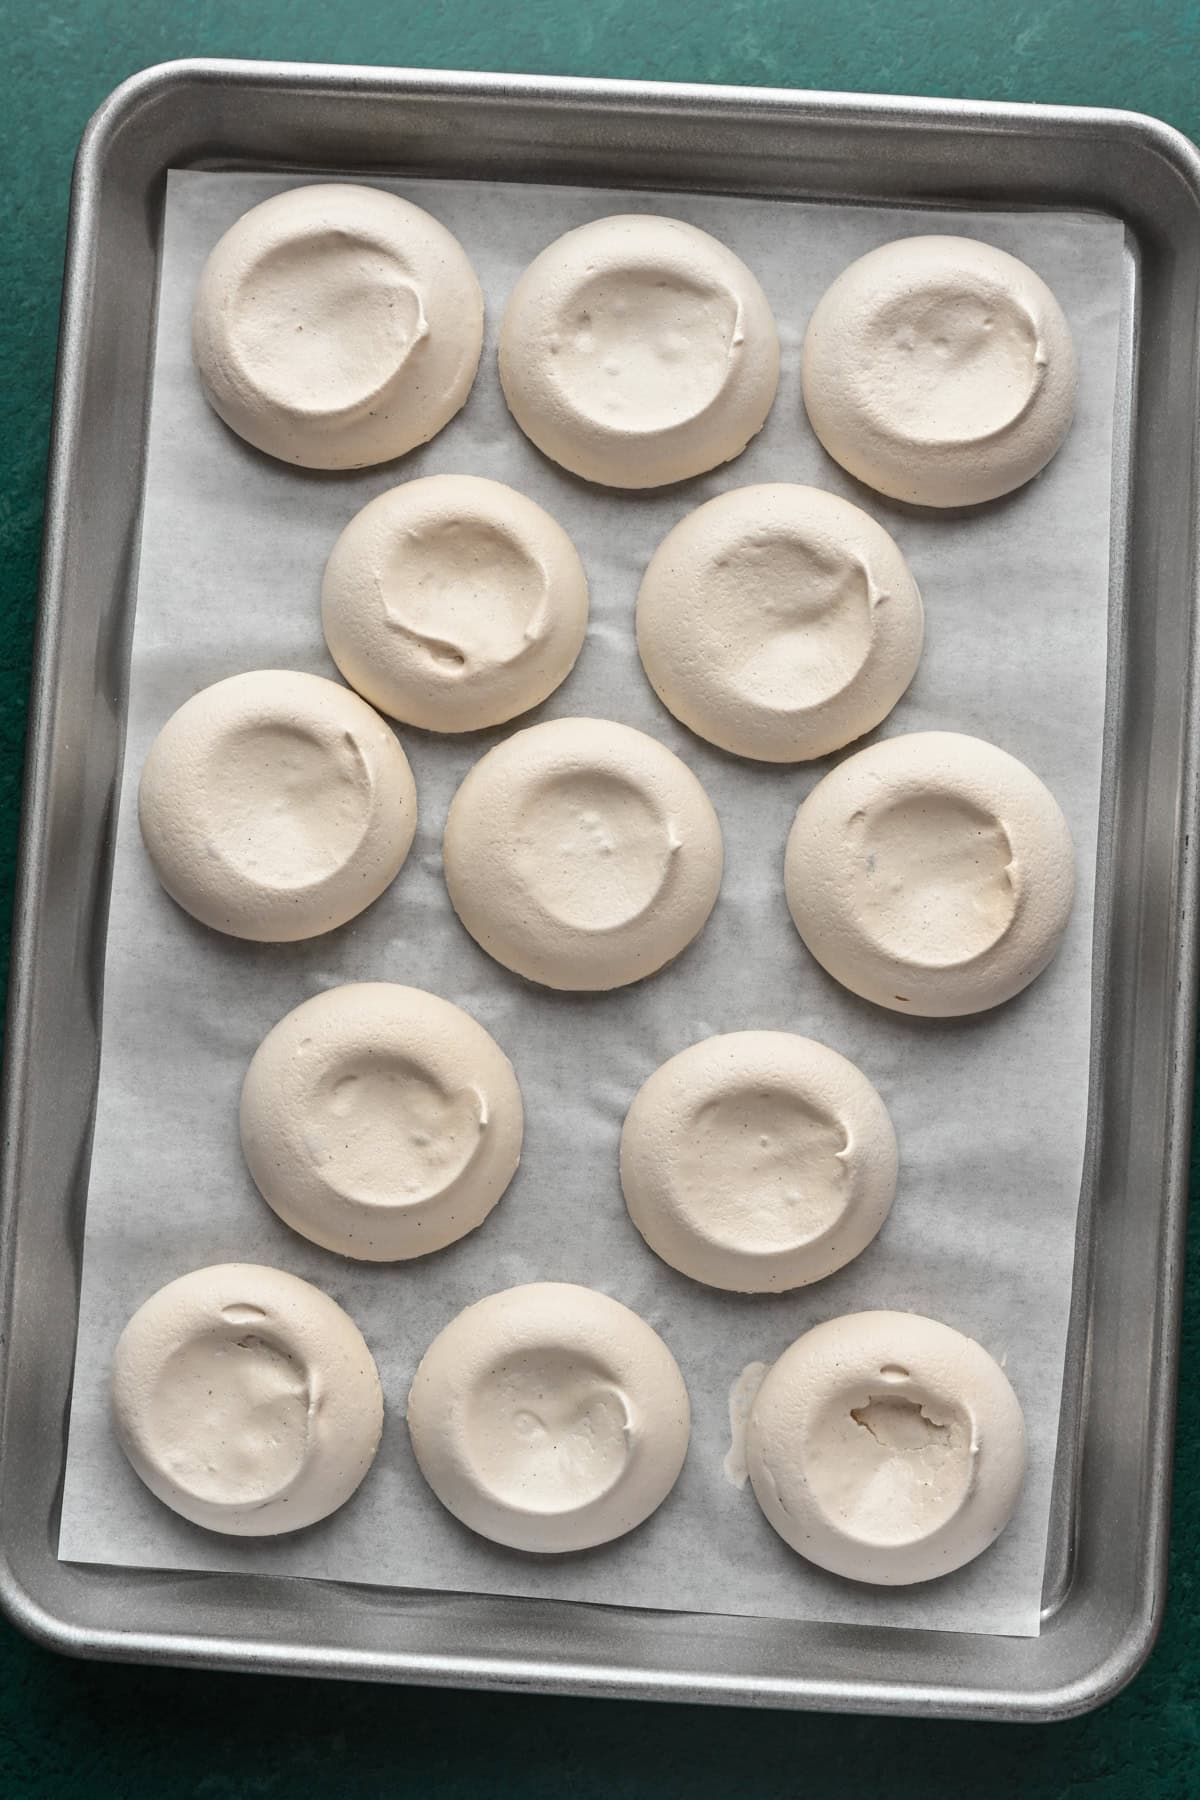
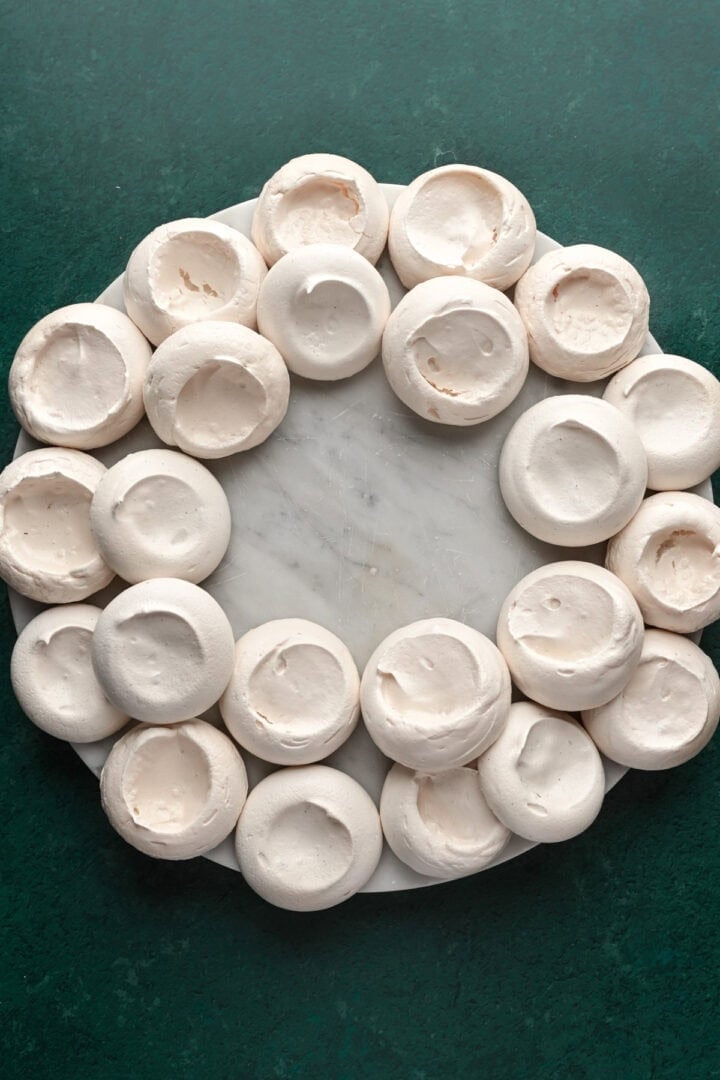
STEP 3: Use a little bit of meringue to secure the parchment paper to the baking sheet in all four corners. Using a round piping tip, pipe the meringues into 2-inch circles on parchment paper, about 1 inch apart.
STEP 4: Use a small spoon to create an indentation on top of each meringue (this is so the whipped cream can sit on top of each meringue). Bake for 60-75 minutes, until the outside of the meringue is dry to the touch, then turn off the oven and let the meringues cool in the oven for 2 hours.
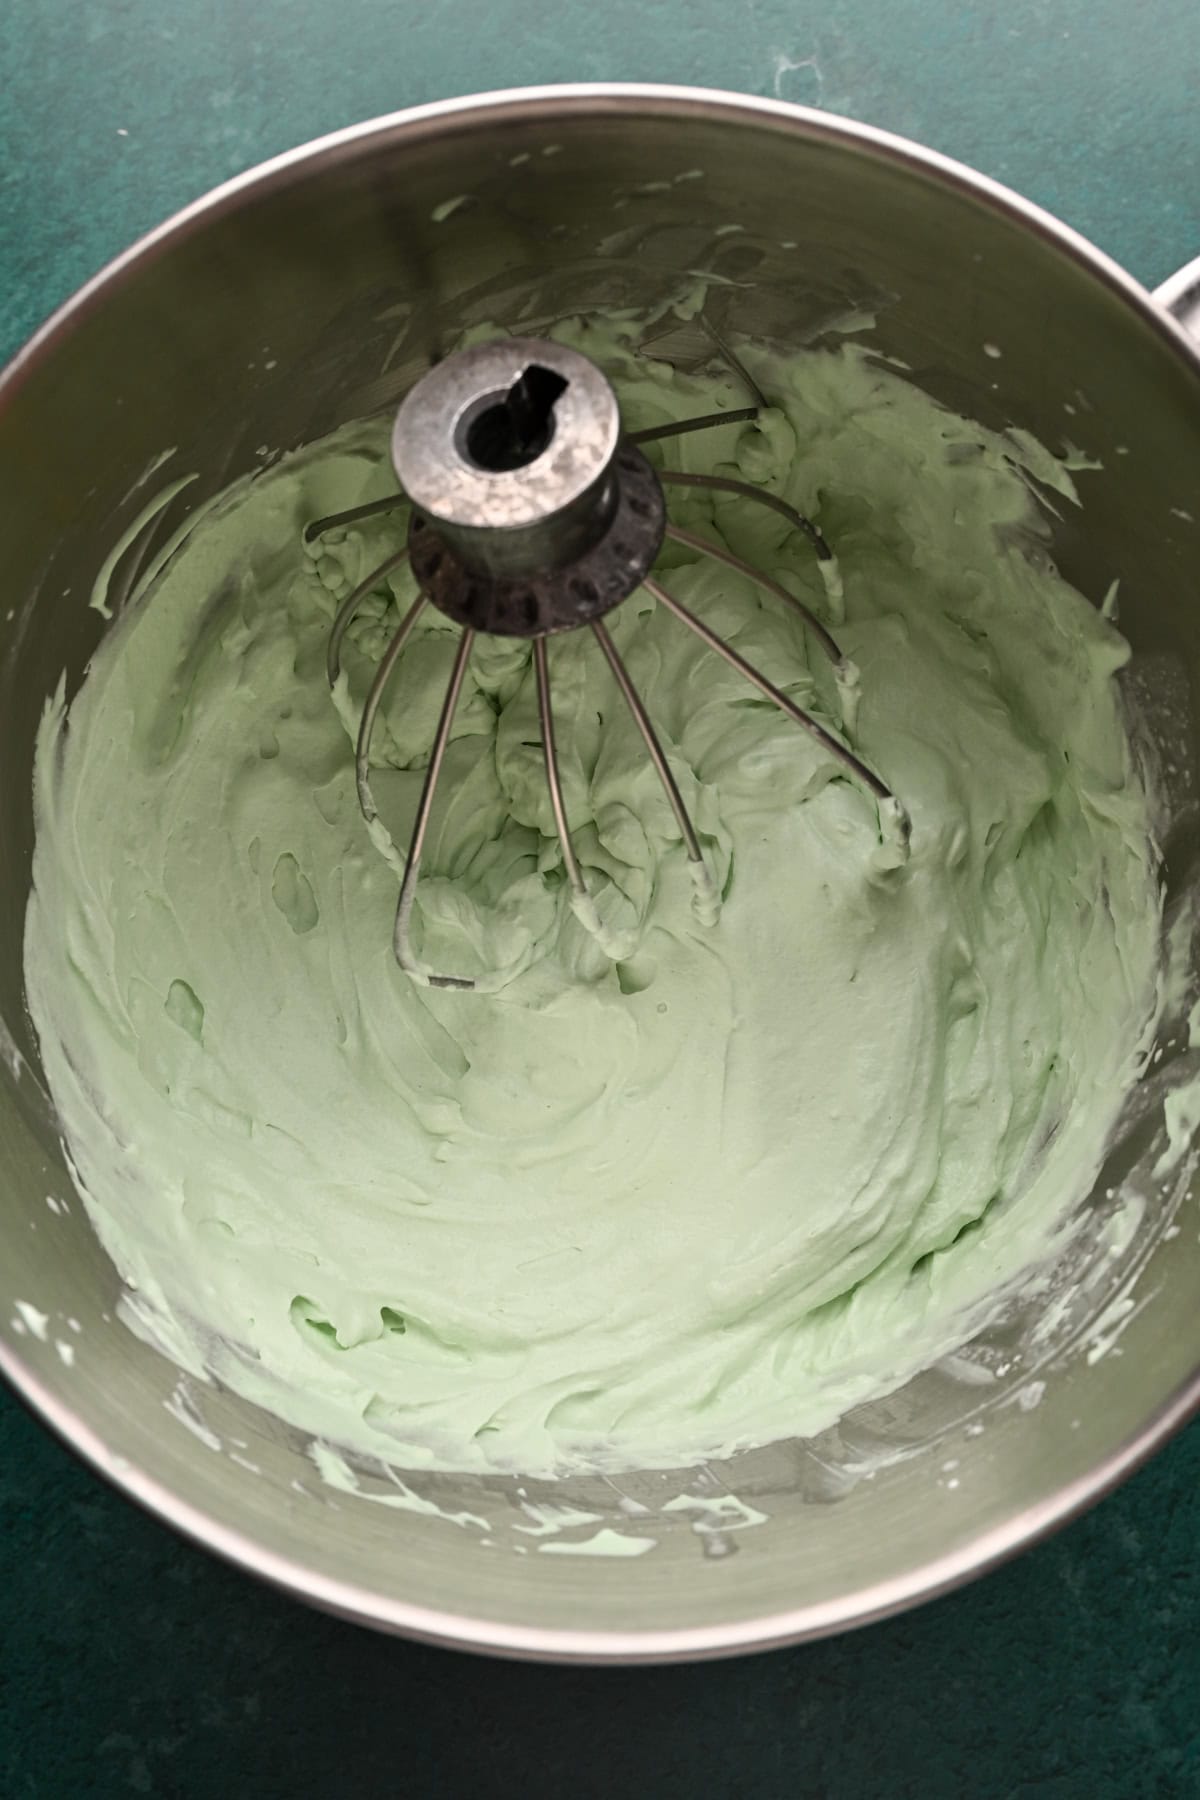
STEP 5: To make the whipped cream, beat together heavy cream, mascarpone, powdered sugar, vanilla & food coloring at medium speed for 1-2 mins, until soft peaks form.
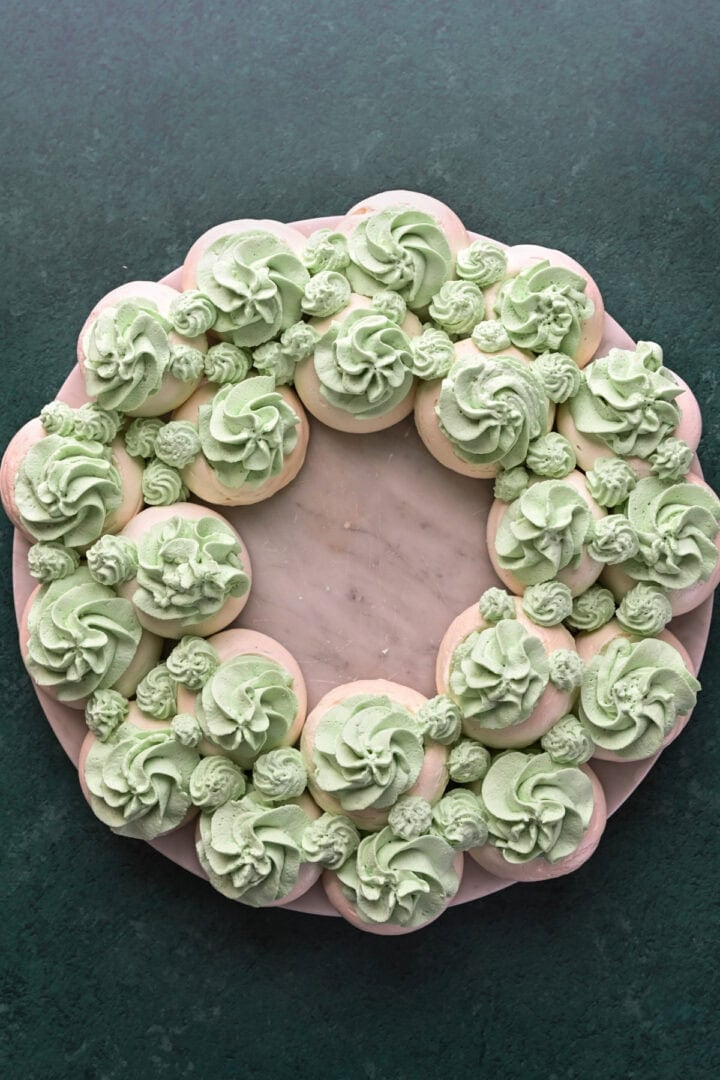
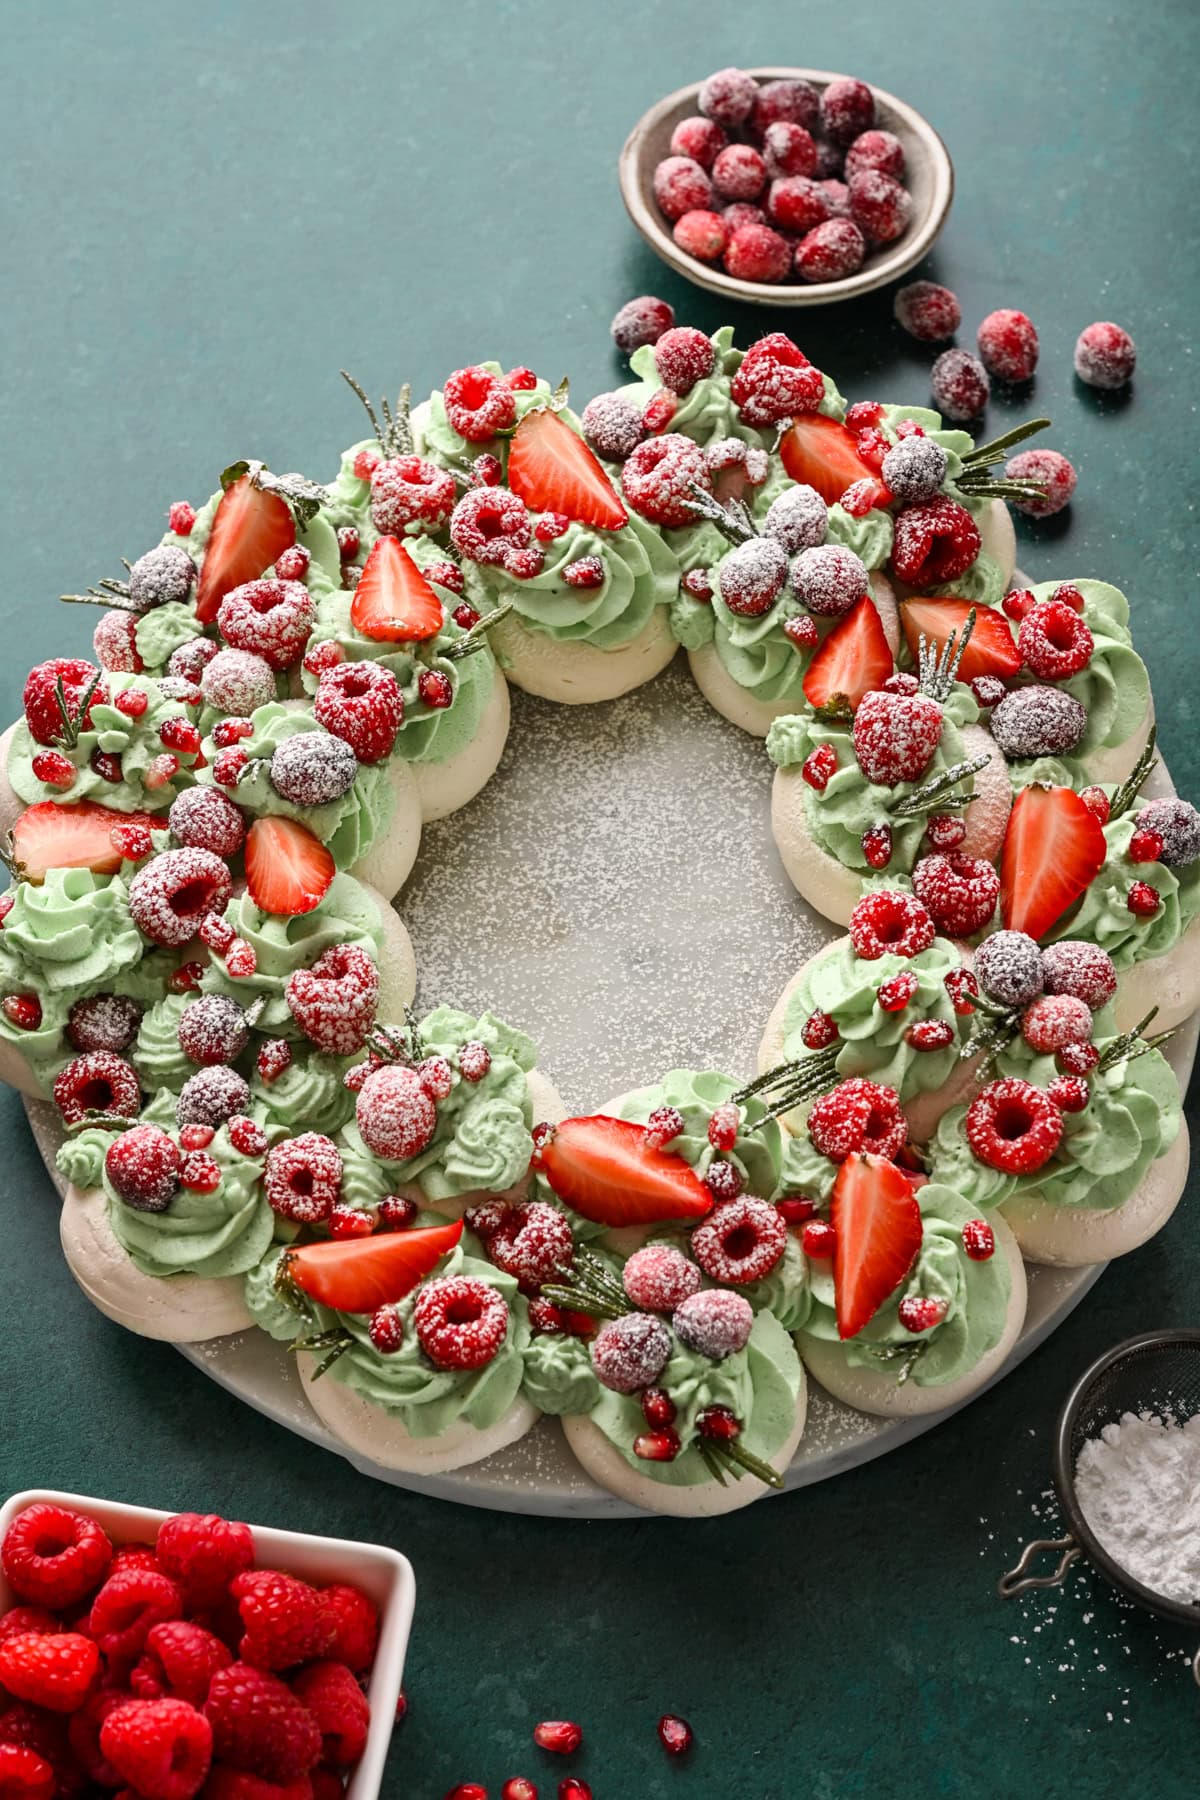
STEP 6: Arrange the meringues in a wreath shape on a platter or serving dish, then pipe the whipped cream on top. We use two piping tips – one larger for filling in the meringues, and another smaller one for filling in any gaps and making it look extra nice.
STEP 7: Arrange the fresh fruit and rosemary sprigs on top. Just before serving, dust with powdered sugar "snow".
Equipment
- Mixer: You can use either a stand mixer with a whisk attachment, or an electric hand mixer (we love this cordless one!).
- Piping bag and tips: We use a round piping tip for the meringues, and a star tip for the whipped cream.
- Green food coloring: Any gel food coloring will do, or you can use a natural food coloring like this.
Storage
You can make the meringues up to two weeks ahead of time. Keep them stored in an airtight container at room temperature. Alternatively, you can store the meringues in an airtight container in the freezer for up to a month.
You can make the whipped cream up to 48 hours in advance, stored in a piping bag or sealed container.
Once the meringue wreath is assembled, you will want to consume it within a few hours, as the whipped cream will start to soften the meringues and they will lose their crispness.
Tips and FAQ
Top tip
Let the meringues cool fully in the oven. They need the extra time to fully dry out and become super crisp all the way through. It also prevents the meringues from cracking, which can happen when they cool too rapidly.
More tips
- Sugared Cranberries: We like to make a batch of sugared cranberries for garnishing the wreath – the sparkly finish makes it extra festive.
- Make it dairy free: If you have any dairy free guests, set aside some of the meringues and make whipped cream with a nondairy heavy cream alternative. The meringues are naturally dairy free.
- Gluten free: This meringue Christmas wreath is naturally gluten free, so you won't need to make any substitutes!
There are several ways to tell. The meringues should lift easily from the parchment paper and should be just lightly browned on the bottom. They should feel very light and should sound hollow when tapped. A meringue should be crisp all the way through.
Meringue is crisp and dry all the way through, whereas pavlova has a chewy, marshmallow-like interior. If you prefer the texture of pavlova, you can slightly underbake these meringues.
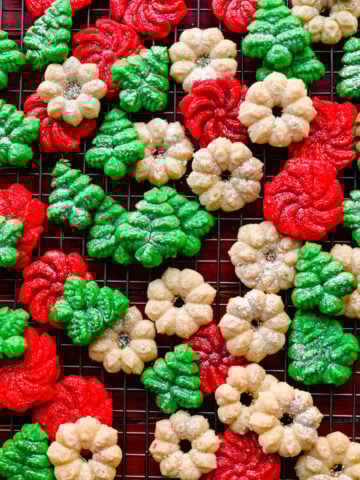
More Christmas Dessert recipes
Looking for other recipes like this? Try these:


Tried this recipe?
Please leave a star ⭐️⭐️⭐️⭐️⭐️ rating below and/or a review in the comments section further down the page. You can also stay in touch with us through social media by following us on Instagram, Pinterest, TikTok, Facebook or by subscribing to our newsletter.
📖 Recipe

Meringue Christmas Wreath
- Total Time: 4 hours
- Yield: 10-12 servings 1x
- Diet: Vegetarian
Description
This show-stopping edible Christmas wreath is made by arranging homemade mini meringues topped with green mascarpone whipped cream, lots of fresh berries and powdered sugar "snow". It's easy to pull apart and it's absolutely delicious!
Ingredients
Meringues:
- 3 large egg whites (room temperature)
- ¾ cup caster sugar (superfine sugar)
- 1 teaspoon cornstarch
- ½ teaspoon white vinegar
- 1 teaspoon vanilla extract
Whipped Cream:
- 1 ½ cups Shamrock Farms Heavy Whipping Cream, very cold
- ½ cup mascarpone cheese, room temperature
- ⅓ cup powdered sugar
- ½ tsp vanilla extract
- 2-3 drops natural green food coloring
- For topping: strawberries, raspberries, sugared cranberries, pomegranate, rosemary sprigs, powdered sugar
Instructions
- Preheat your oven to 225˚F/110˚C and line a large baking sheet with parchment paper.
- Add the egg whites to the bowl of a stand mixer and beat on medium speed for 1 minute, until foamy.
- While mixing on high speed, add the sugar one spoonful at a time, waiting a few seconds before adding the next spoonful, and beat for about 8 minutes total, until the meringue is glossy and forms stiff peaks. Add in the cornstarch & vinegar (these help stabilize the meringue) and vanilla and continue mixing for 30 seconds, just until combined.
- Use a little bit of meringue to secure the parchment paper to the baking sheet in all four corners. Using a round piping tip, pipe the meringues into 2-inch circles on parchment paper, about 1 inch apart.
- Use a small spoon to create an indentation on top of each meringue (this is so the whipped cream can sit on top of each meringue). Bake for 60-75 minutes, until the outside of the meringue is dry to the touch, then turn off the oven and let the meringues cool in the oven for 2 hours.
- To make the whipped cream, beat together heavy cream, mascarpone, powdered sugar, vanilla & food coloring at medium speed for 1-2 mins, until soft peaks form.
- Arrange the meringues in a wreath shape on a platter or serving dish, then pipe the whipped cream on top. We use two piping tips – one larger for filling in the meringues, and another smaller one for filling in any gaps and making it look extra nice.
- Arrange the fresh fruit and rosemary sprigs on top. Just before serving, dust with powdered sugar "snow".
Notes
You can make the meringues up to two weeks ahead of time. Keep them stored in an airtight container at room temperature. Alternatively, you can store the meringues in an airtight container in the freezer for up to a month.
You can make the whipped cream up to 48 hours in advance, stored in a piping bag or sealed container.
Once the meringue wreath is assembled, you will want to consume it within a few hours, as the whipped cream will start to soften the meringues and they will lose their crispness.
Let the meringues cool fully in the oven. They need the extra time to fully dry out and become super crisp all the way through. It also prevents the meringues from cracking, which can happen when they cool too rapidly.
- Prep Time: 1 hour
- Cook Time: 3 hours
- Category: Desserts
- Method: Oven
- Cuisine: American
Nutrition
- Serving Size: ~2 meringues with toppings
- Calories: 177
- Sugar: 14.5 g
- Sodium: 28.3 mg
- Fat: 11.8 g
- Carbohydrates: 15.8 g
- Fiber: 0.5 g
- Protein: 2.5 g
Sarah Catherine Latini says
How long before serving will this stay at its best? TIA!
Linda Ploof says
Oh my goodness! These were delicious! Such a pretty presentation as well. I lived in Australia for two years and we had Pavlova for a quick dessert many times, which is exactly what this is. Thanks so much for sharing this recipe. It brought back lots of great memories.
Lexi says
Thank you so much, Linda! I'm so glad you enjoyed 🙂