
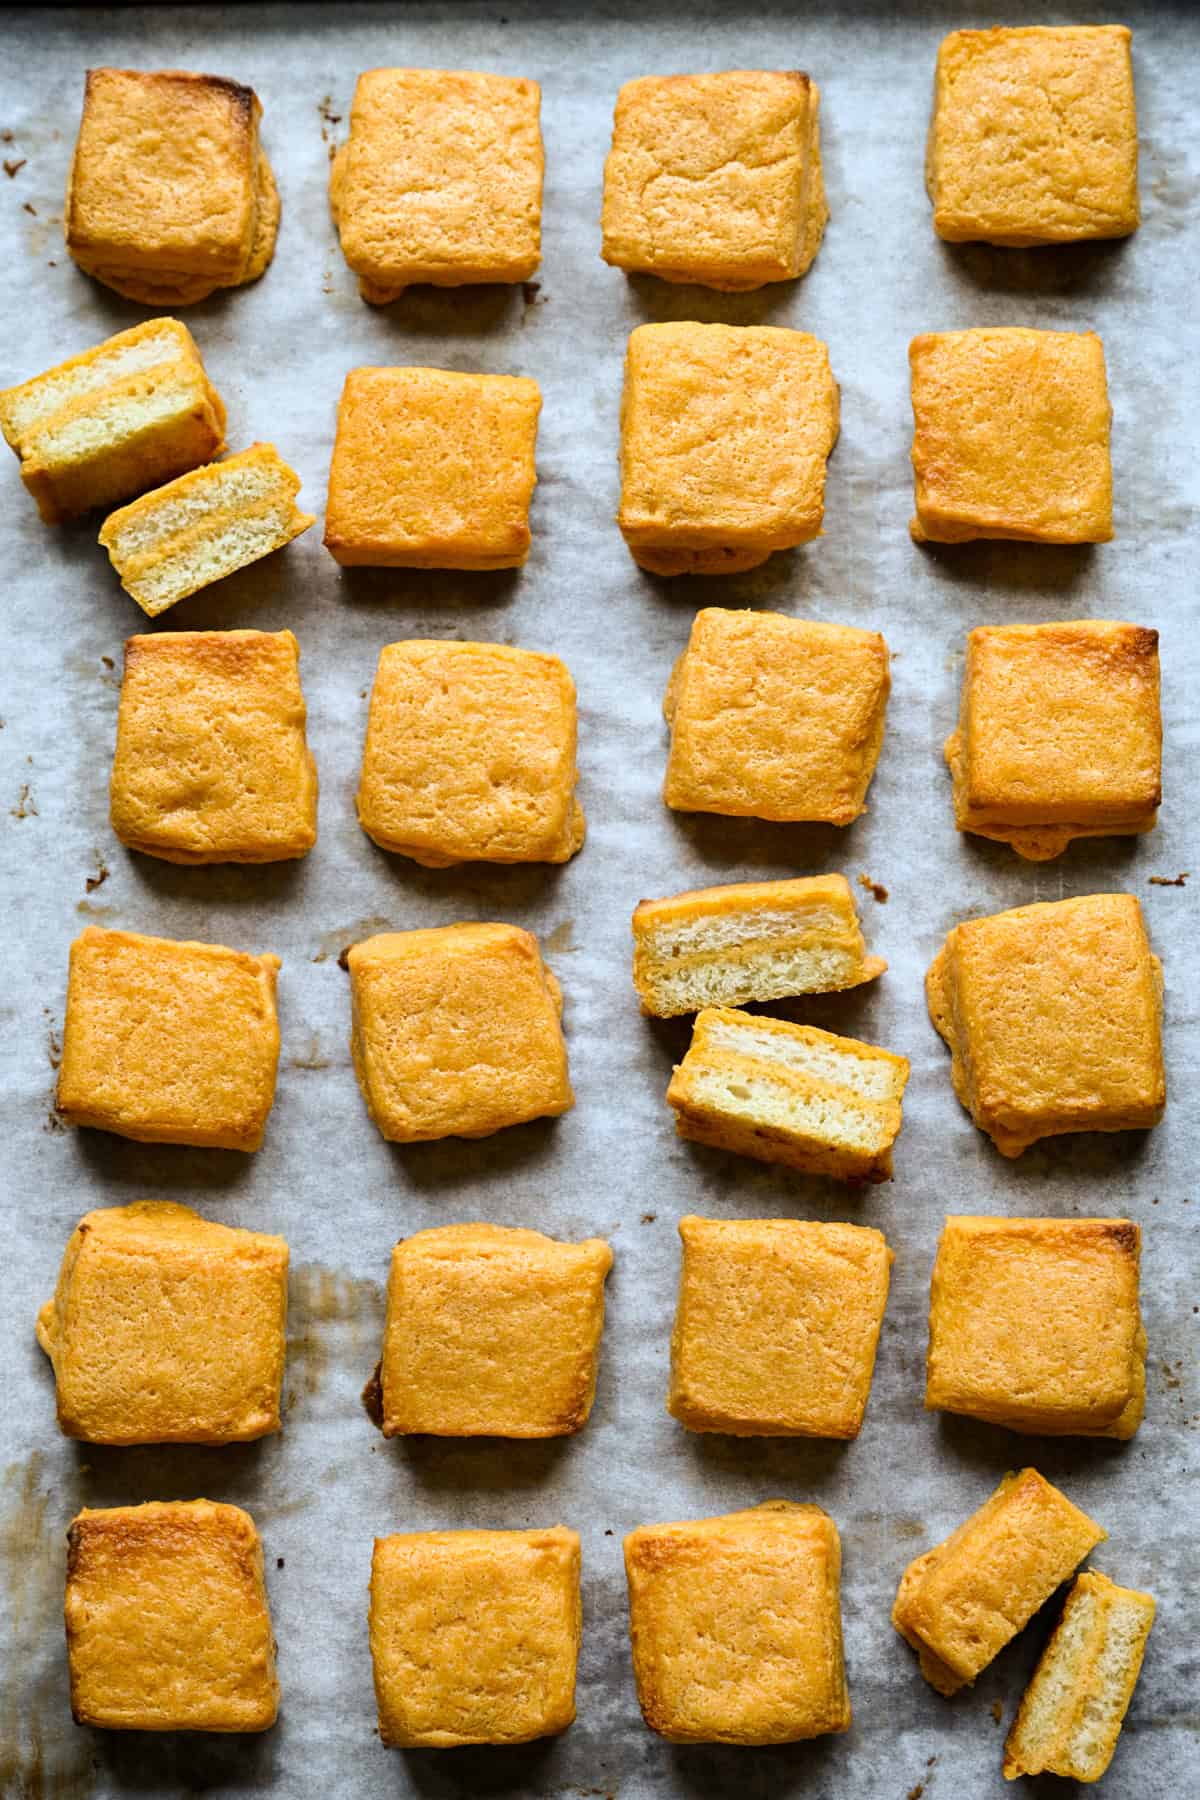
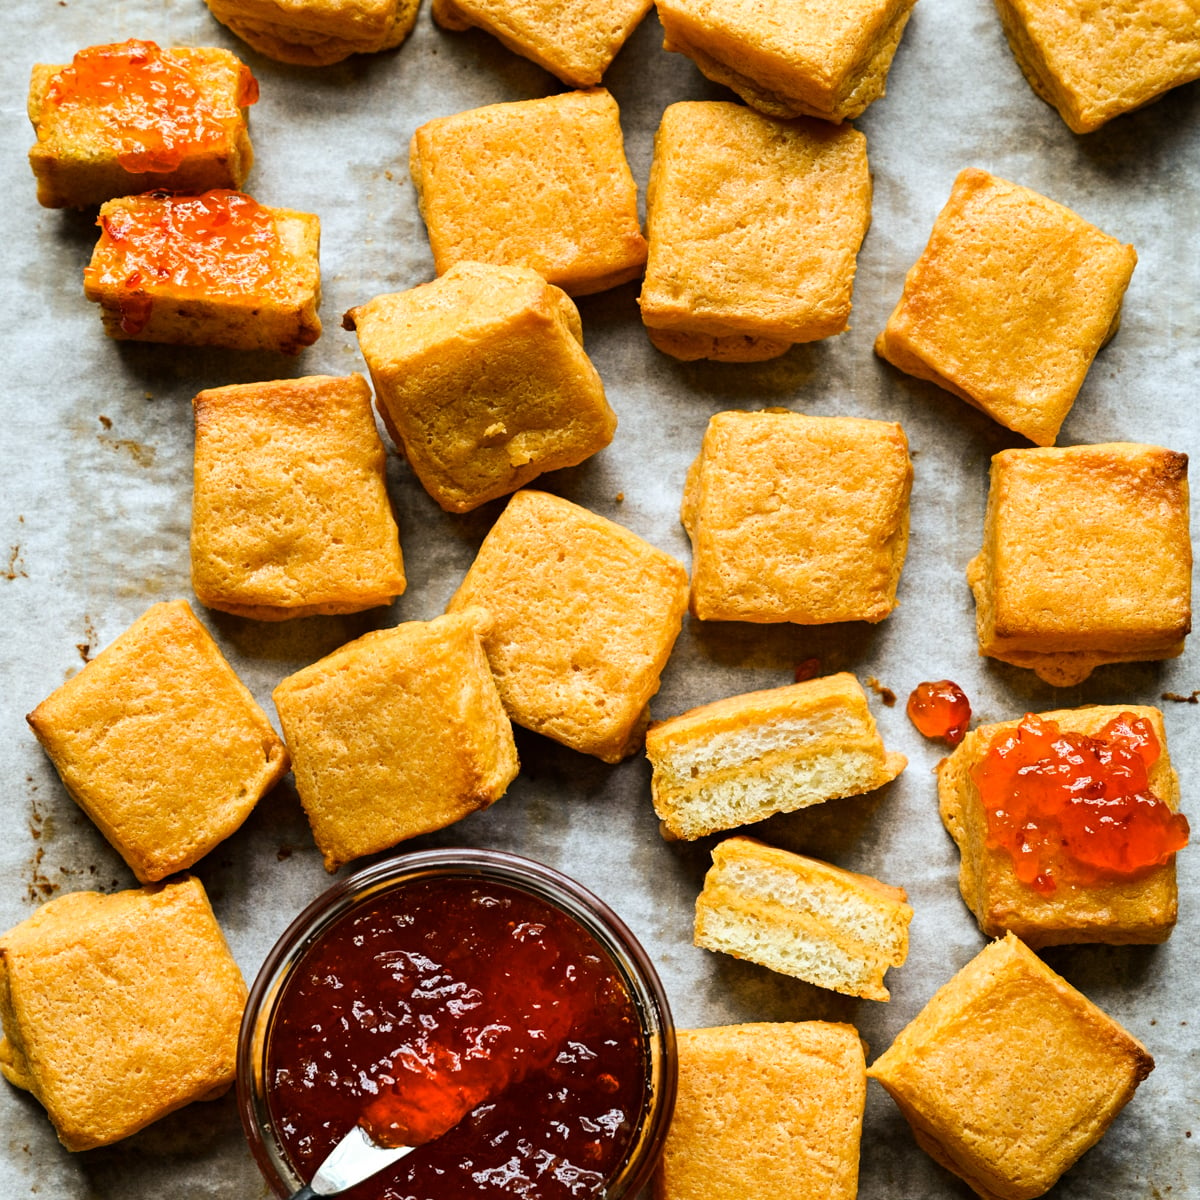
Cheese dreams are one of our new favorite easy appetizers for any occasion, but especially the holidays! They're like tiny, snackable grilled cheese bites with a crispy, cheesy, slightly spicy exterior and fluffy interior, and they're delicious plain, with a smear of pepper jelly, or dunked in tomato soup. We can guarantee that these will be a crowd-favorite!
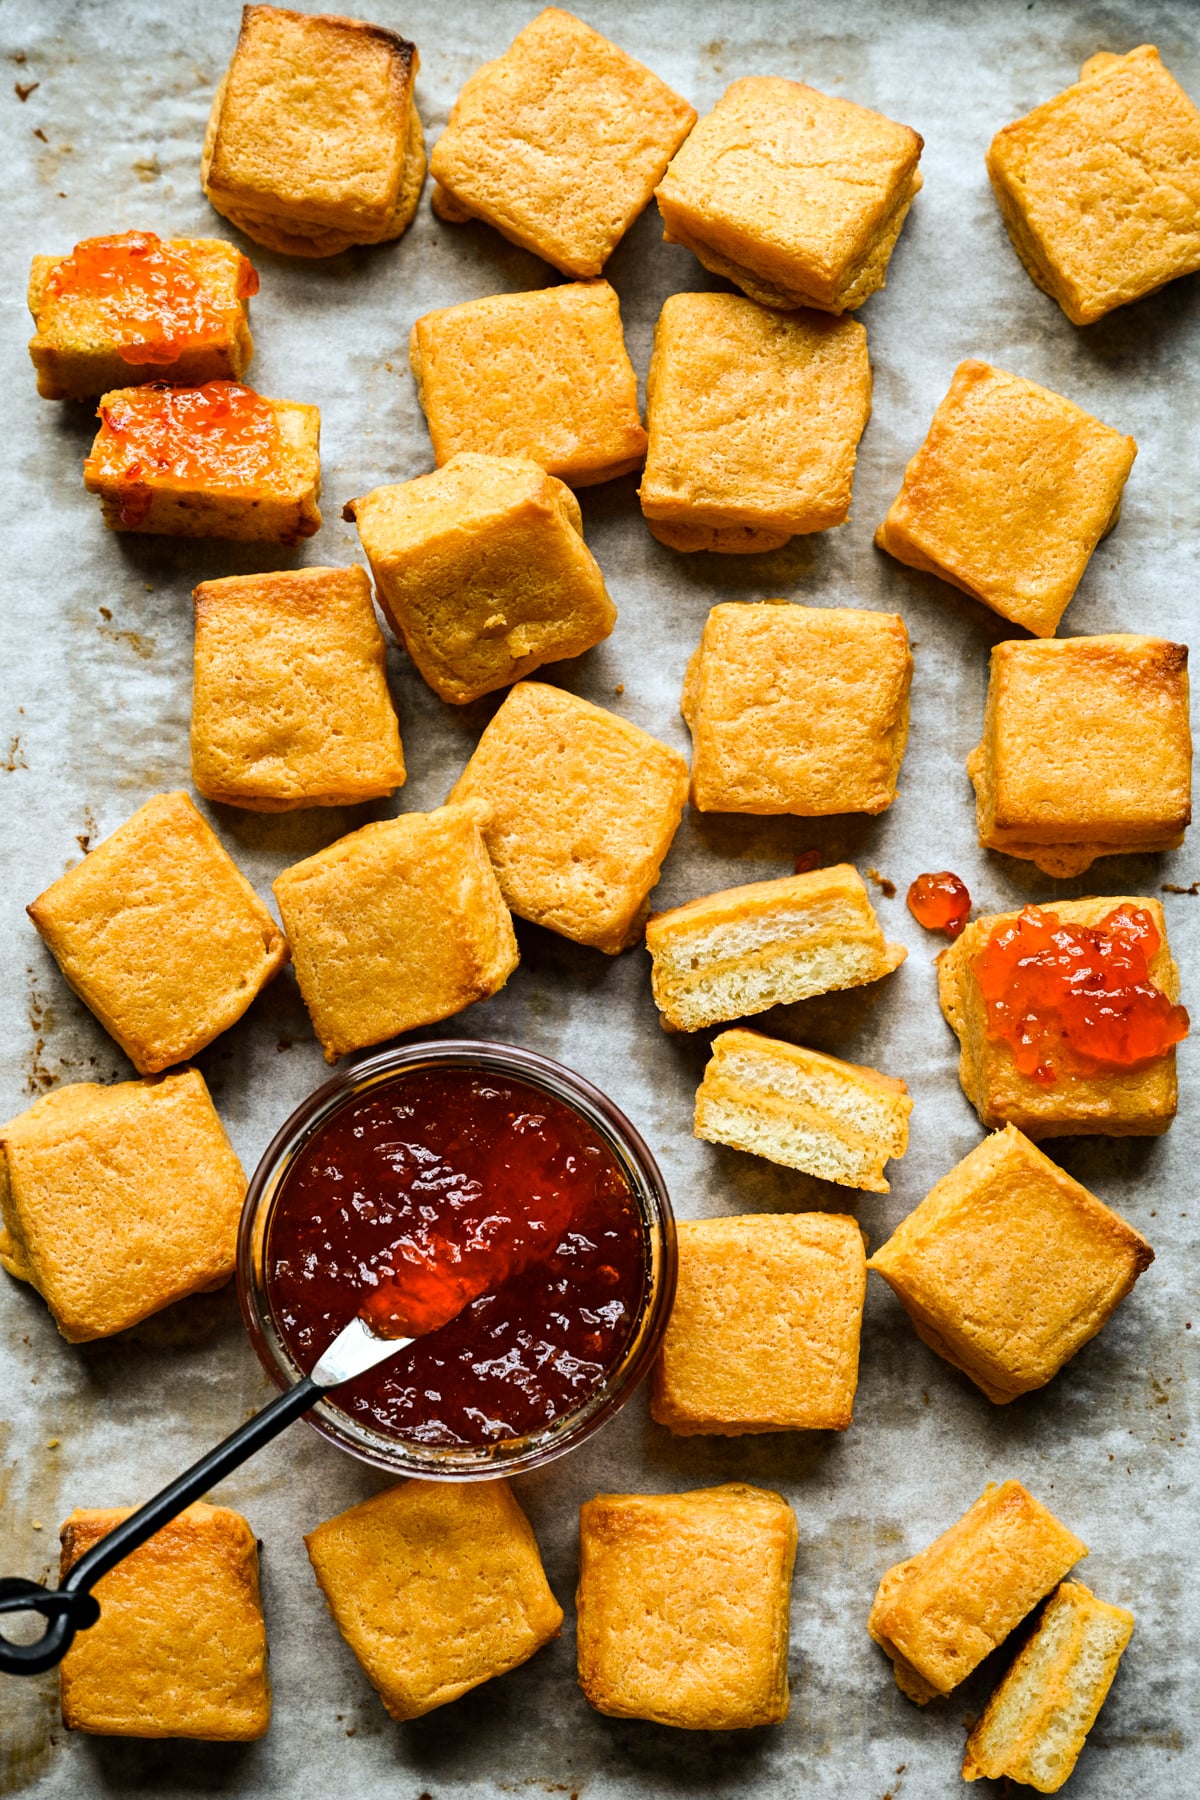
What's a Cheese Dream?

These have been showing up at Southern parties since the early 1900s, but being a Midwestern gal myself, I had never heard of these until recently. When I saw them, I knew right away we had to try them for the name alone.
We adapted the recipe from some popular versions you'll find elsewhere online to make the process less fussy.
First off, we replaced a lot of butter with cream cheese, and tossed our cheddar with some cornstarch. Both of these steps help to cut down on excess fat coming out while baking.
Our cheese mixture comes together in a food processor so it's super smooth and spreadable. We learned that freezing the bread beforehand makes it way easier to spread, especially along the edges which can tear and become a crumb factory really quickly. We also found that baking these with an extra sheet pan underneath helps to prevent the bottoms from burning.
The process is easy, but requires a little bit of patience. We promise, it's soooo worth it.
xoxo, Lexi & Beth
Key Ingredients Needed for Cheese Dreams
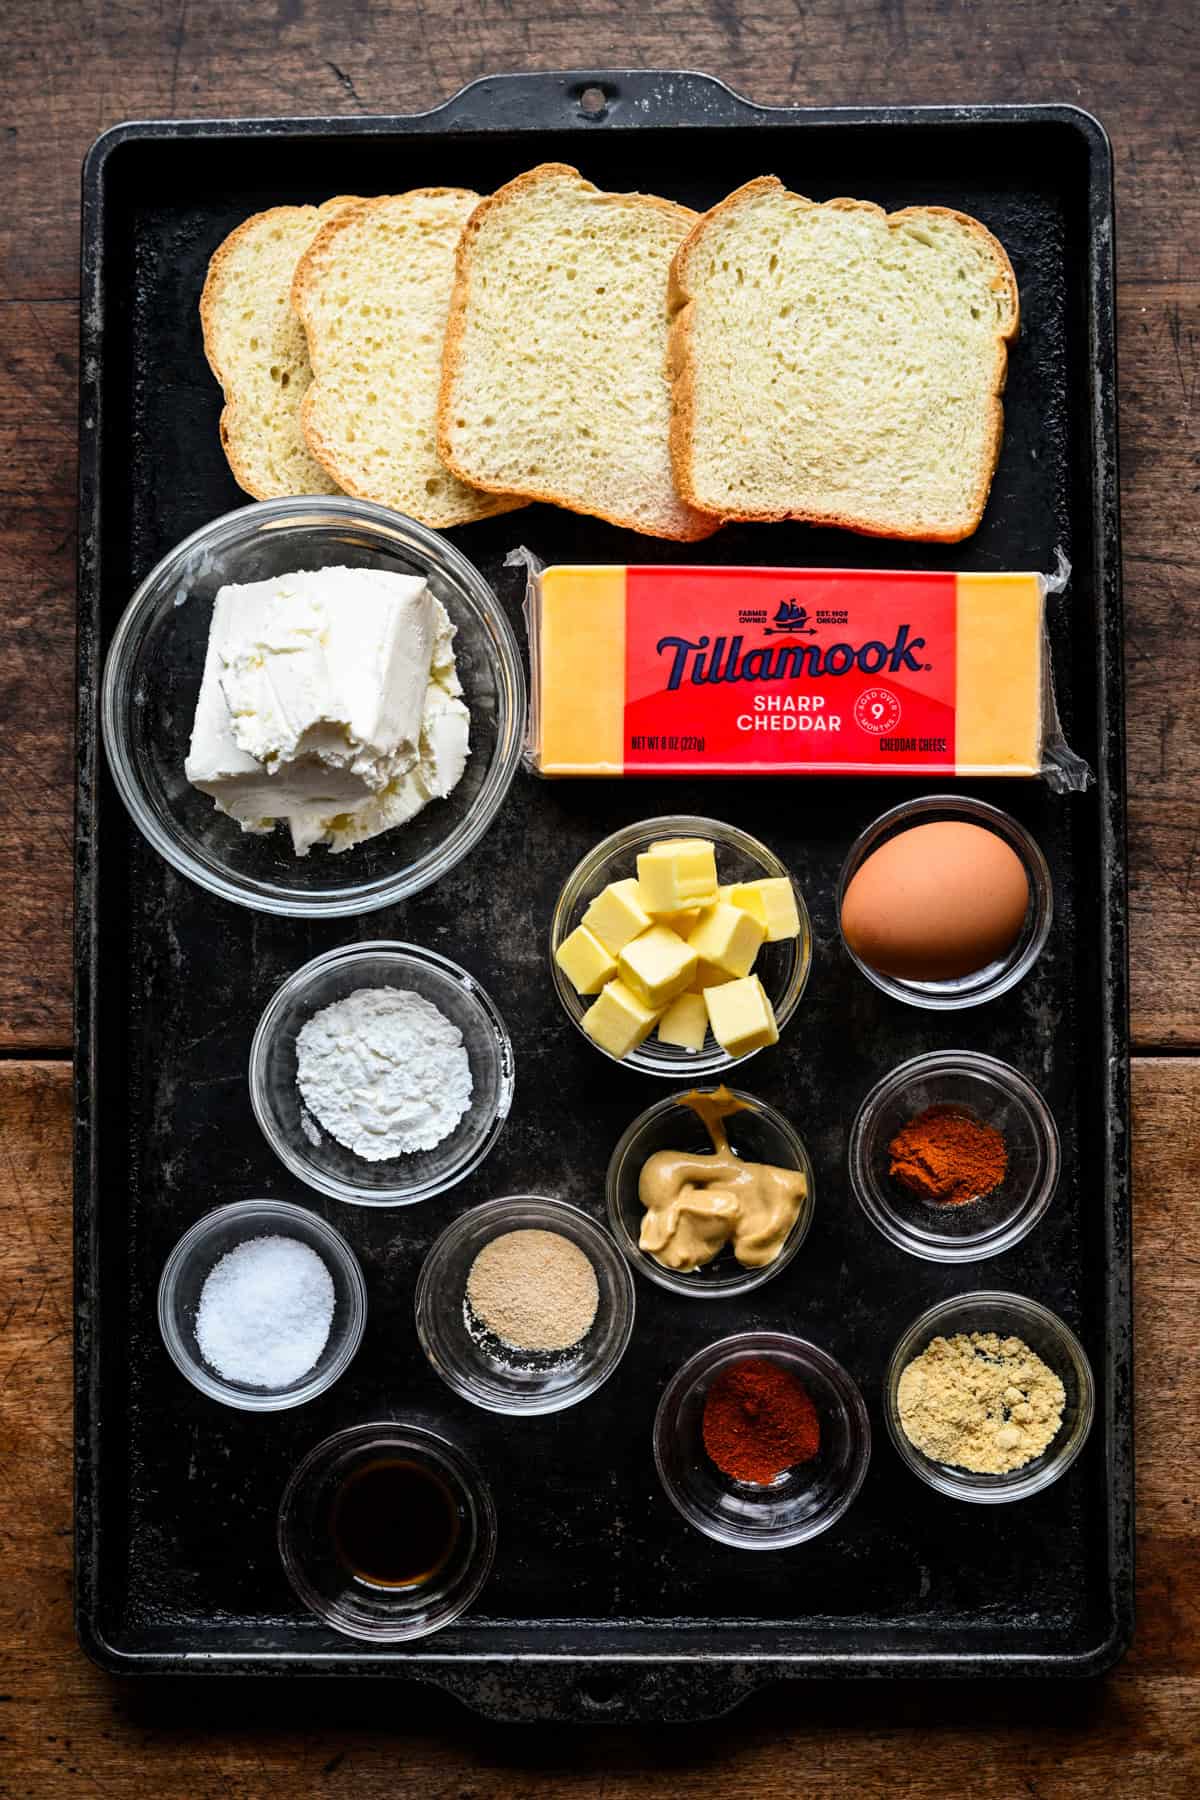
- Thin-sliced bread: A basic, soft white sandwich bread is the best choice here. It should be sliced a bit thinner than standard. It the bread is sliced too thick, the cheese-to-bread ratio will be off. We used Pepperidge Farm Thinly Sliced Farmhouse Butter Bread and it worked perfectly every time.
- You could use sourdough, but they may end up a little more dry in the middle.
- Cayenne: I wouldn't necessarily call these spicy, but they do definitely have a little kick from the cayenne. So if you're suuuuuper sensitive to spice, maybe leave it out.
- Cheese: Shred your own cheese from a block. It's always worth it in a recipe like this where the cheese really needs to be incorporated, just like in our Cheddar Coins. Pre-shredded cheese contains anti-caking agents so it doesn't incorporate as evenly.
- Dijon: A 100% essential ingredient for me (I LOVE the flavor boost) but you can definitely taste it in the final dish, so if you really don't like mustard, you can cut the amount in half or leave it out completely.
How to Make these Cheese Dreams
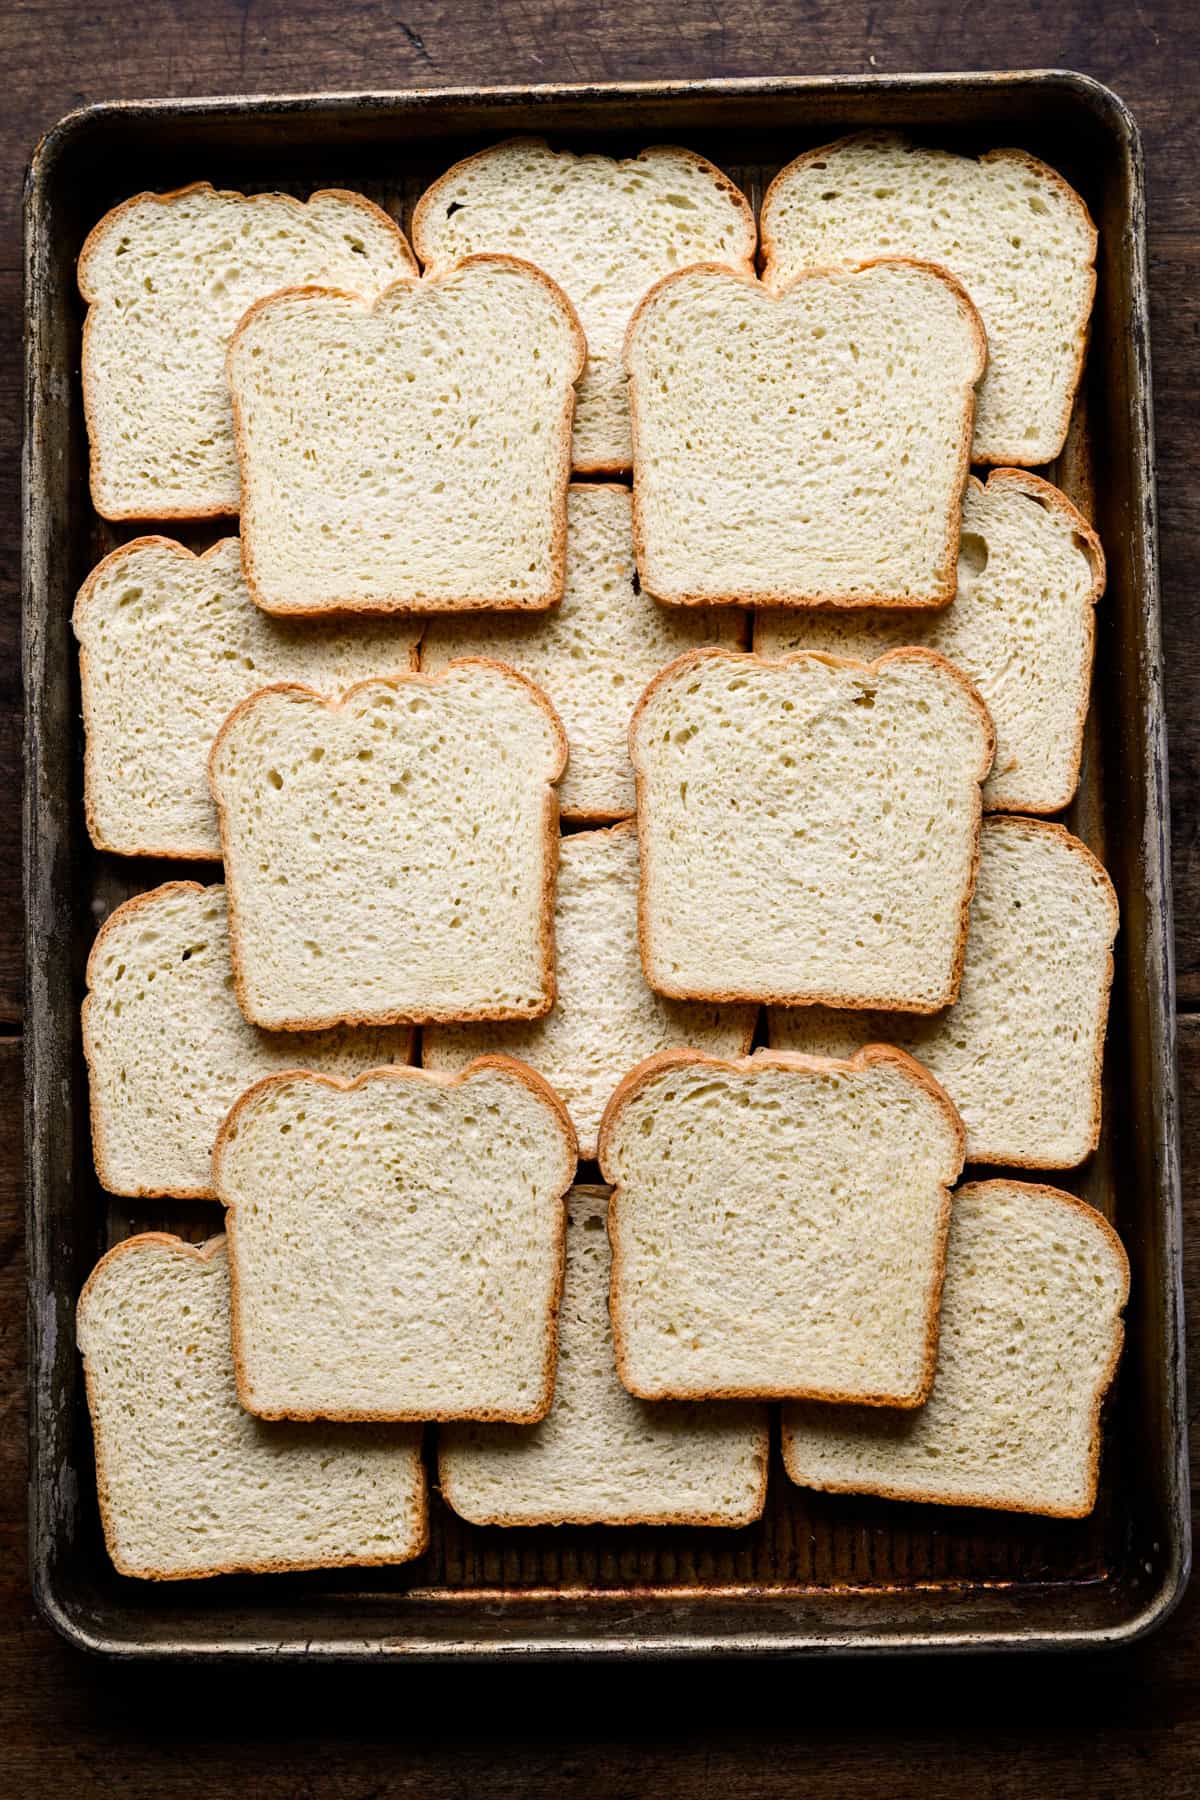
- Freeze the bread. Lay the slices on a sheet pan and freeze for about 1 hour so they spread cleanly without tearing.
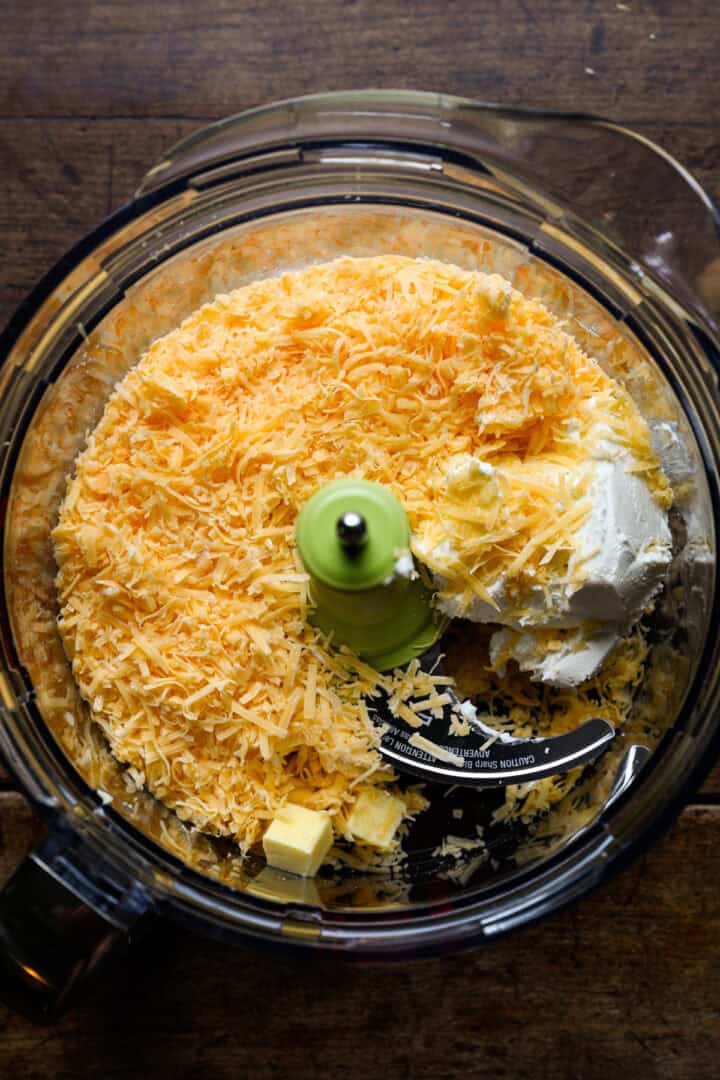
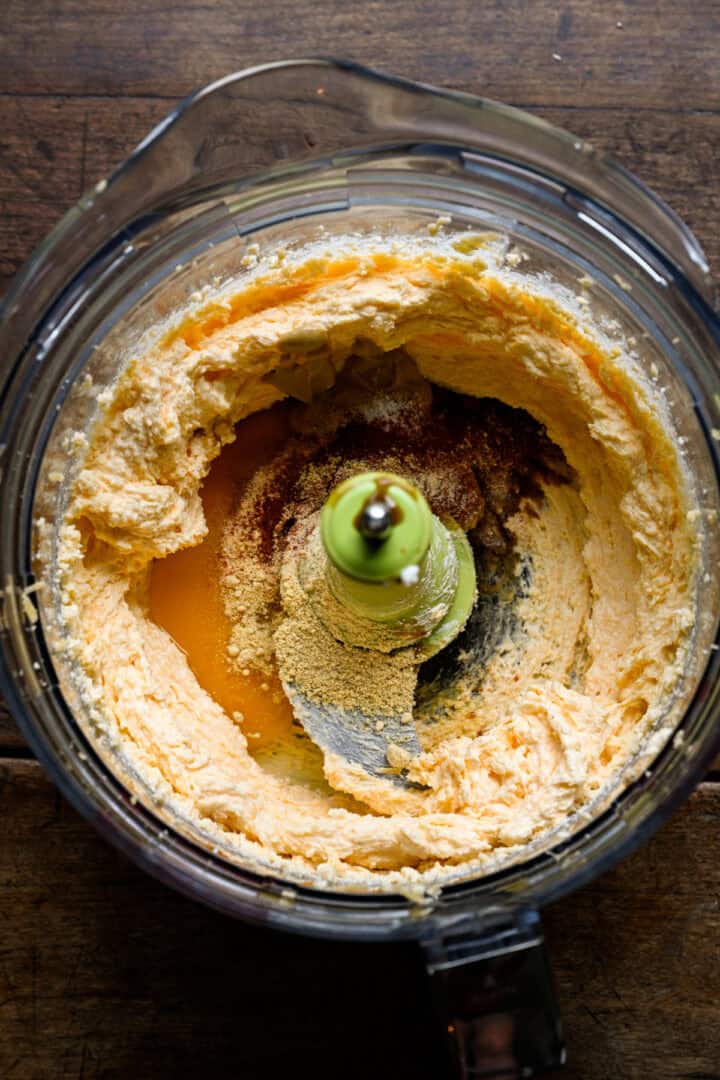
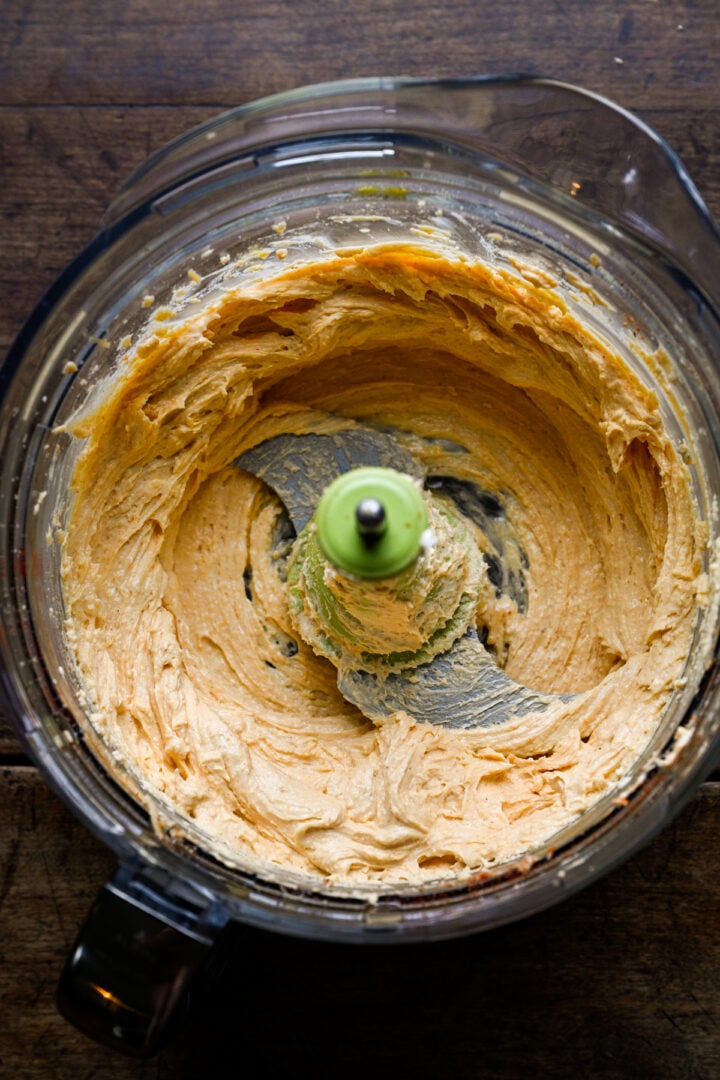
- Make the cheese spread. To a food processor, add the cream cheese, butter, and cornstarch-tossed cheddar, and blend until smooth. Add the egg, mustards, Worcestershire, and seasonings, and process until creamy.
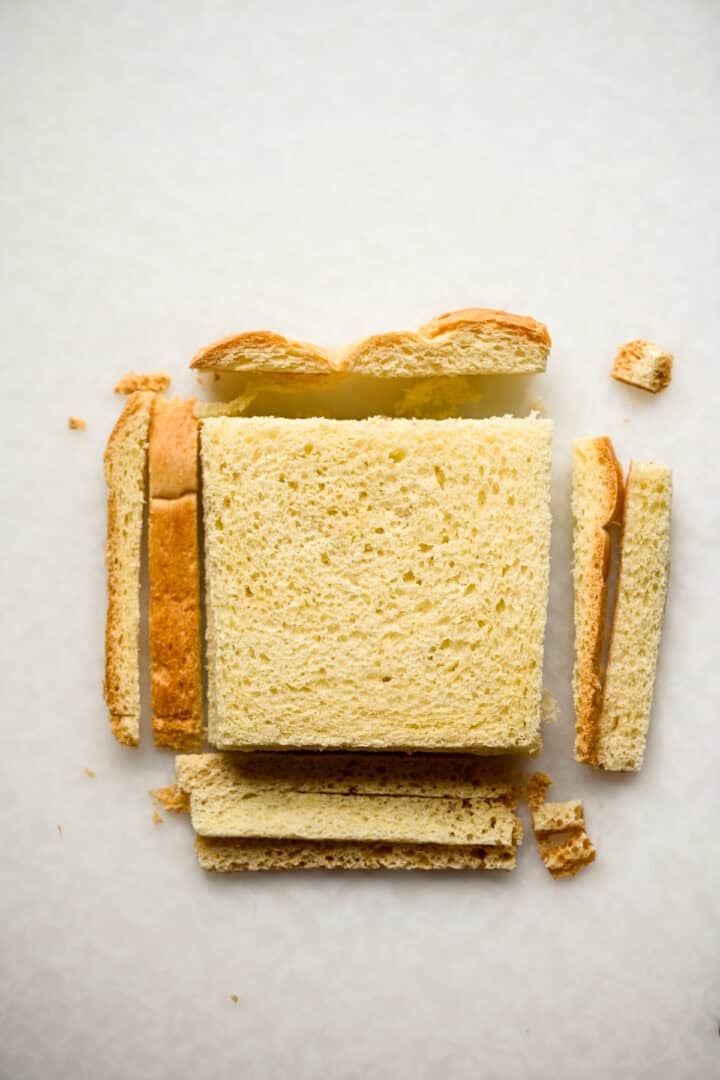
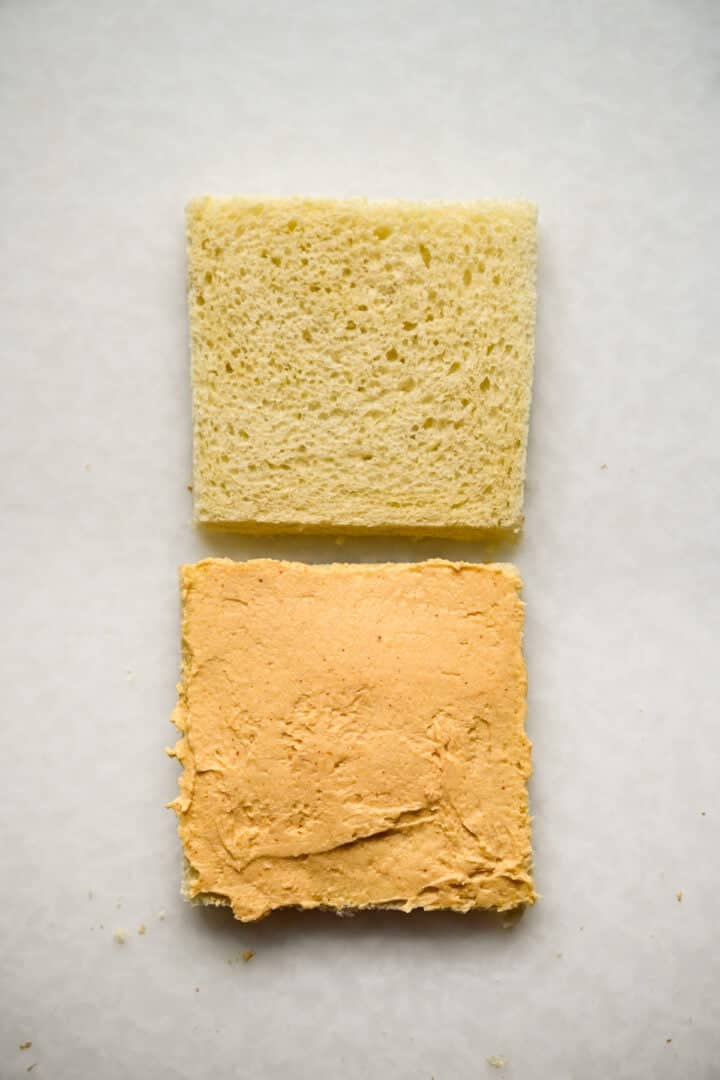
- Assemble. Trim the crusts, spread the filling between two slices, then coat the outer sides. Cut each sandwich into 4 squares and coat the cut sides, leaving the bottoms bare. Go light; a thin coat is the whole trick to keeping these crispy instead of greasy.
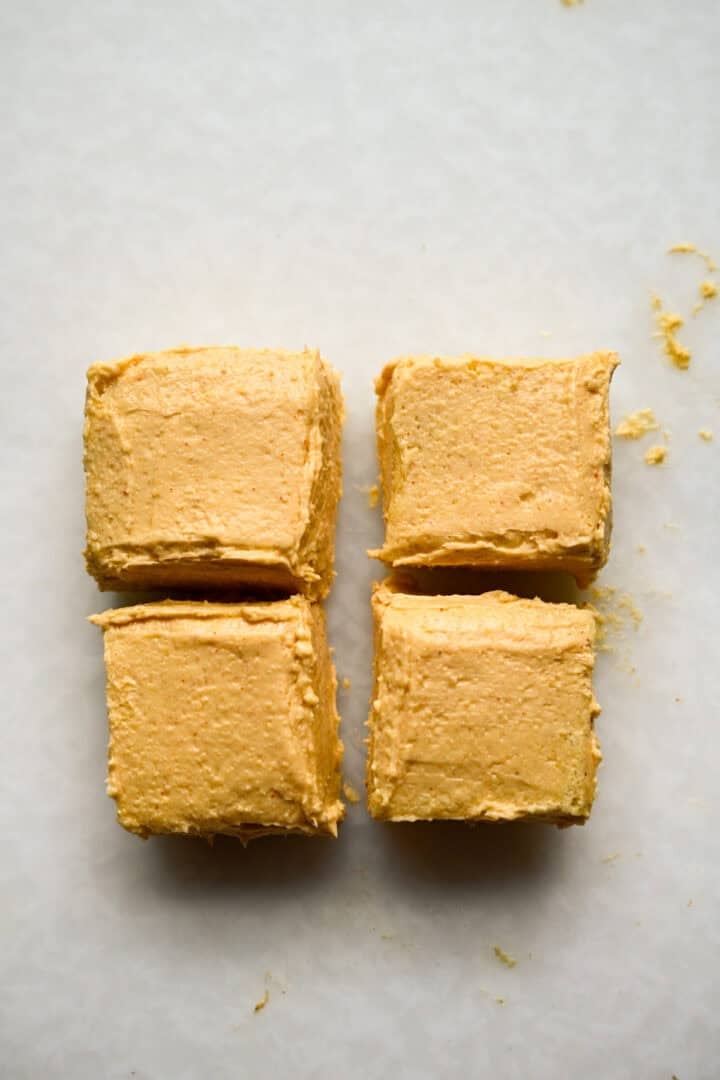
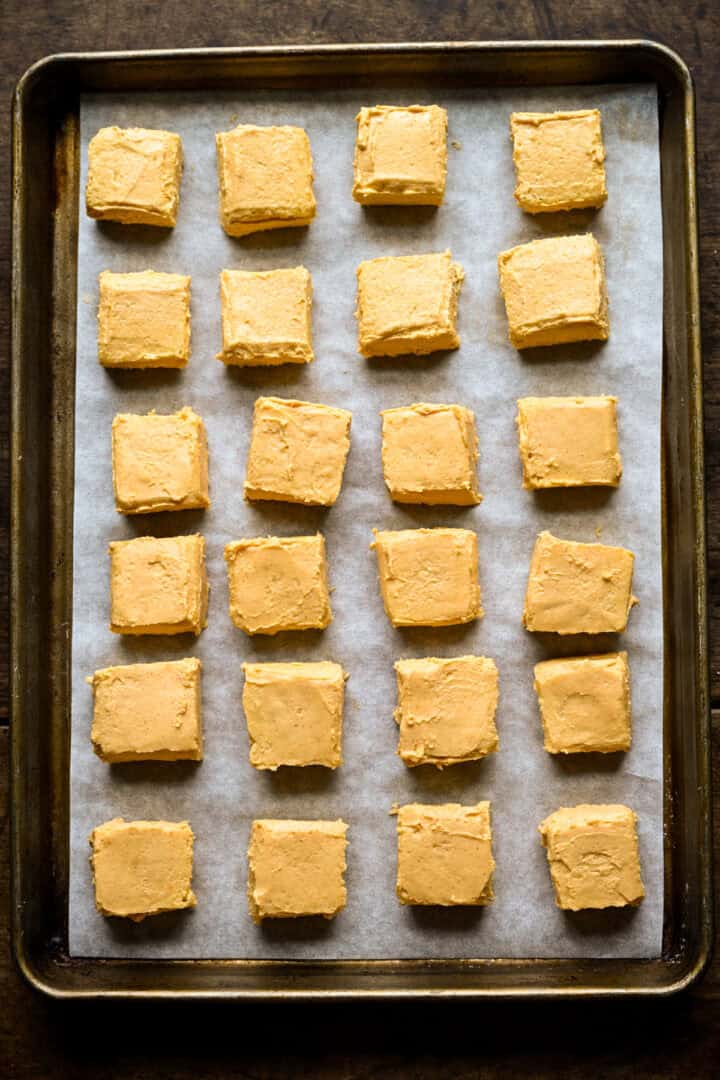
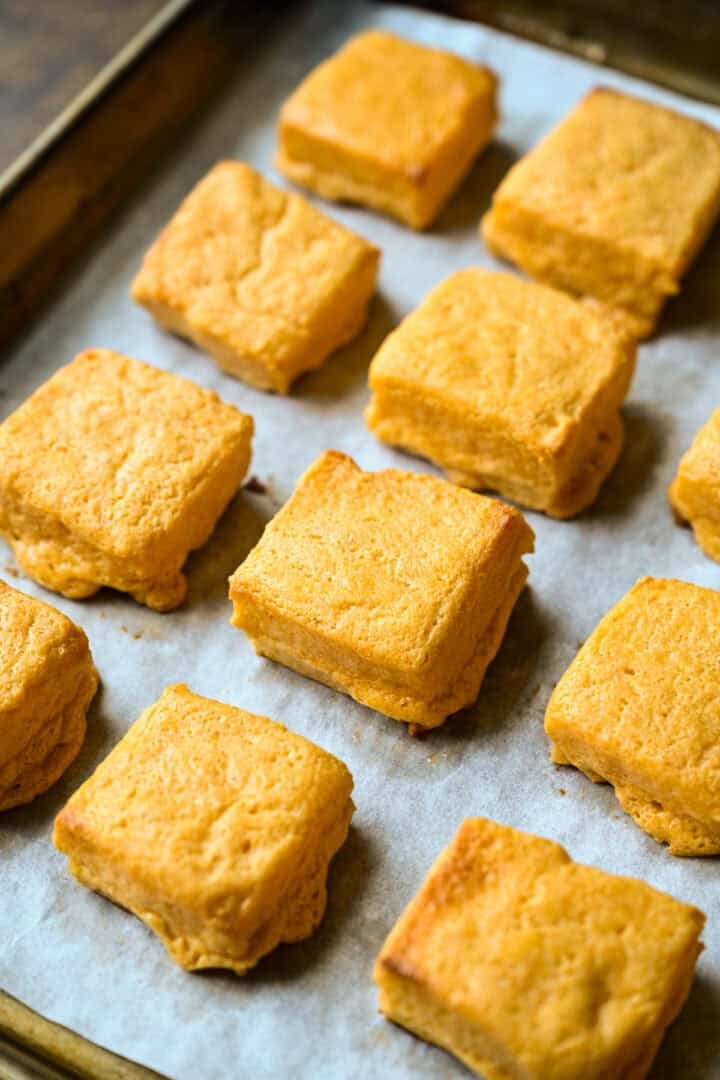
- Chill and bake. Refrigerate the cubes on a parchment-lined doubled sheet pan for 30 minutes, then bake at 375°F (190°C) for 15 to 18 minutes, until golden. Serve warm with hot pepper jelly.
Top Tips from the CK Test Kitchen!
- Freeze the bread first. Room-temp sandwich bread tears and rolls up the second you try to spread anything on it. (Believe us, we know this from experience.)
- Use a food processor. This helps to really break down the cheese into a paste, which makes it so much easier to spread than if you use a hand mixer. If a hand mixer is all you have, chop up the grated cheddar with a knife into super fine pieces.
- Don't coat it too heavily. A heavy layer of spread slides off and pools around the bottom of the dreams. While some pooling is inevitable, it can be mostly avoided. Spread the cheese mixture relatively thinly on the sides, using just enough to fill up the holes in the bread, leaving a smooth surface behind.
- Leave the bottoms bare and double the pan. Any filling spread on the bottom would just melt away and pool during cooking, so leave the bottoms bare. A second sheet pan underneath keeps them from burning before the tops are done. (This is a trick we use for cookies like shortbread that we don't want to brown too much!)
- Chill before baking. Cold cheese cubes will hold their shape better and have a more even surface after they're done baking.
- Serve them with: red pepper jelly, or for an even spicier option, our peach cowboy candy (candied jalapeños). I'm honestly salivating just thinking about it. Or dip them in our creamy roasted red pepper sheet pan soup. SO good. But of course, they're also wonderful 100% plain!
- Storage: Keep them in an airtight container in the fridge for about 3 days. To reheat, we suggest a 300˚F oven for a few minutes until they're warmed through. You can also freeze these for up to 3 months. Defrost overnight in the fridge before reheating the same way.
- Make ahead: You can assemble these, cover with plastic wrap and refrigerate overnight. The next day, just bake them straight from the fridge.
More Appetizers You'll Love




Tried this recipe? Leave a comment with a star rating ⭐⭐⭐⭐⭐ below. You can also snap a photo and tag @crowded_kitchen on Instagram. We can't wait to see what you're cooking!
Cook with us often? Tell Google you want Crowded Kitchen recipes near the top of your results.
📖 Recipe
Cheese Dreams
Ingredients
Method
- Freeze the bread for 1 hour before you start.
- In a bowl, toss together the shredded cheese and cornstarch using your hands.
- In a food processor, blend the cream cheese, butter, and cheddar until smooth. Add the egg, dijon, Worcestershire, dry mustard, garlic powder, paprika, salt, and cayenne, and process until fully combined and spreadable.
- Trim the crusts off the bread. Spread about 4 teaspoon of filling on one slice of bread, then top with a second slice of bread and press them together gently. Repeat for 9 total sandwiches.
- Spread more filling on the top and all four outer sides of each sandwich with a thin layer of filling (just enough to fully cover the bread). We find that a small offset spatula is the easiest way to spread.
- Cut each sandwich into quarters. Coat the remaining cut faces, then use the filling to round off the edges and corners. Leave the bottoms bare.
- Transfer to a parchment paper-lined baking sheet, spreading them out slightly. Chill in the refrigerator for 30 minutes.
- Once you place them in the fridge, preheat the oven to 375˚F.
- Place a second sheet pan under your sheet pan (to keep the bottoms from burning too quickly) and bake for 15-18 minutes, until the corners just start to go golden brown.




Comments
No Comments