
Remember those slice and bake cookies from your childhood that came in a tube? These homemade slice and bake heart cookies are surprisingly easy to make, taste better than the original, and are free from preservatives and artificial coloring.
Disclosure: Some of the links below are affiliate links. This means that, at zero cost to you, I may earn an affiliate commission if you click through the link and finalize a purchase. Read our full affiliate disclosure here.

To make these cookies, we whipped up a batch of homemade sugar cookie dough, colored part of it with natural food coloring, created a "log of hearts" and placed uncolored dough around it. From there, it's slice, bake, and enjoy.
Why We Love This Recipe
- Nostalgic: When I was a kid, I used to love those cookies in a tube that had holiday designs on them. These cookies bring back those memories, and taste even better!
- Fun process: These cookies take a bit of time (mostly just chilling), but it's so much fun to see your cookies come together, especially when you begin slicing them before baking. It's a super fun activity to do with your friends, family, or children.
- Taste great: These cookies taste as good as they look. They're soft and chewy, with just a little bit of crunch on the bottom. You won't be able to eat just one, trust me!
Ingredients
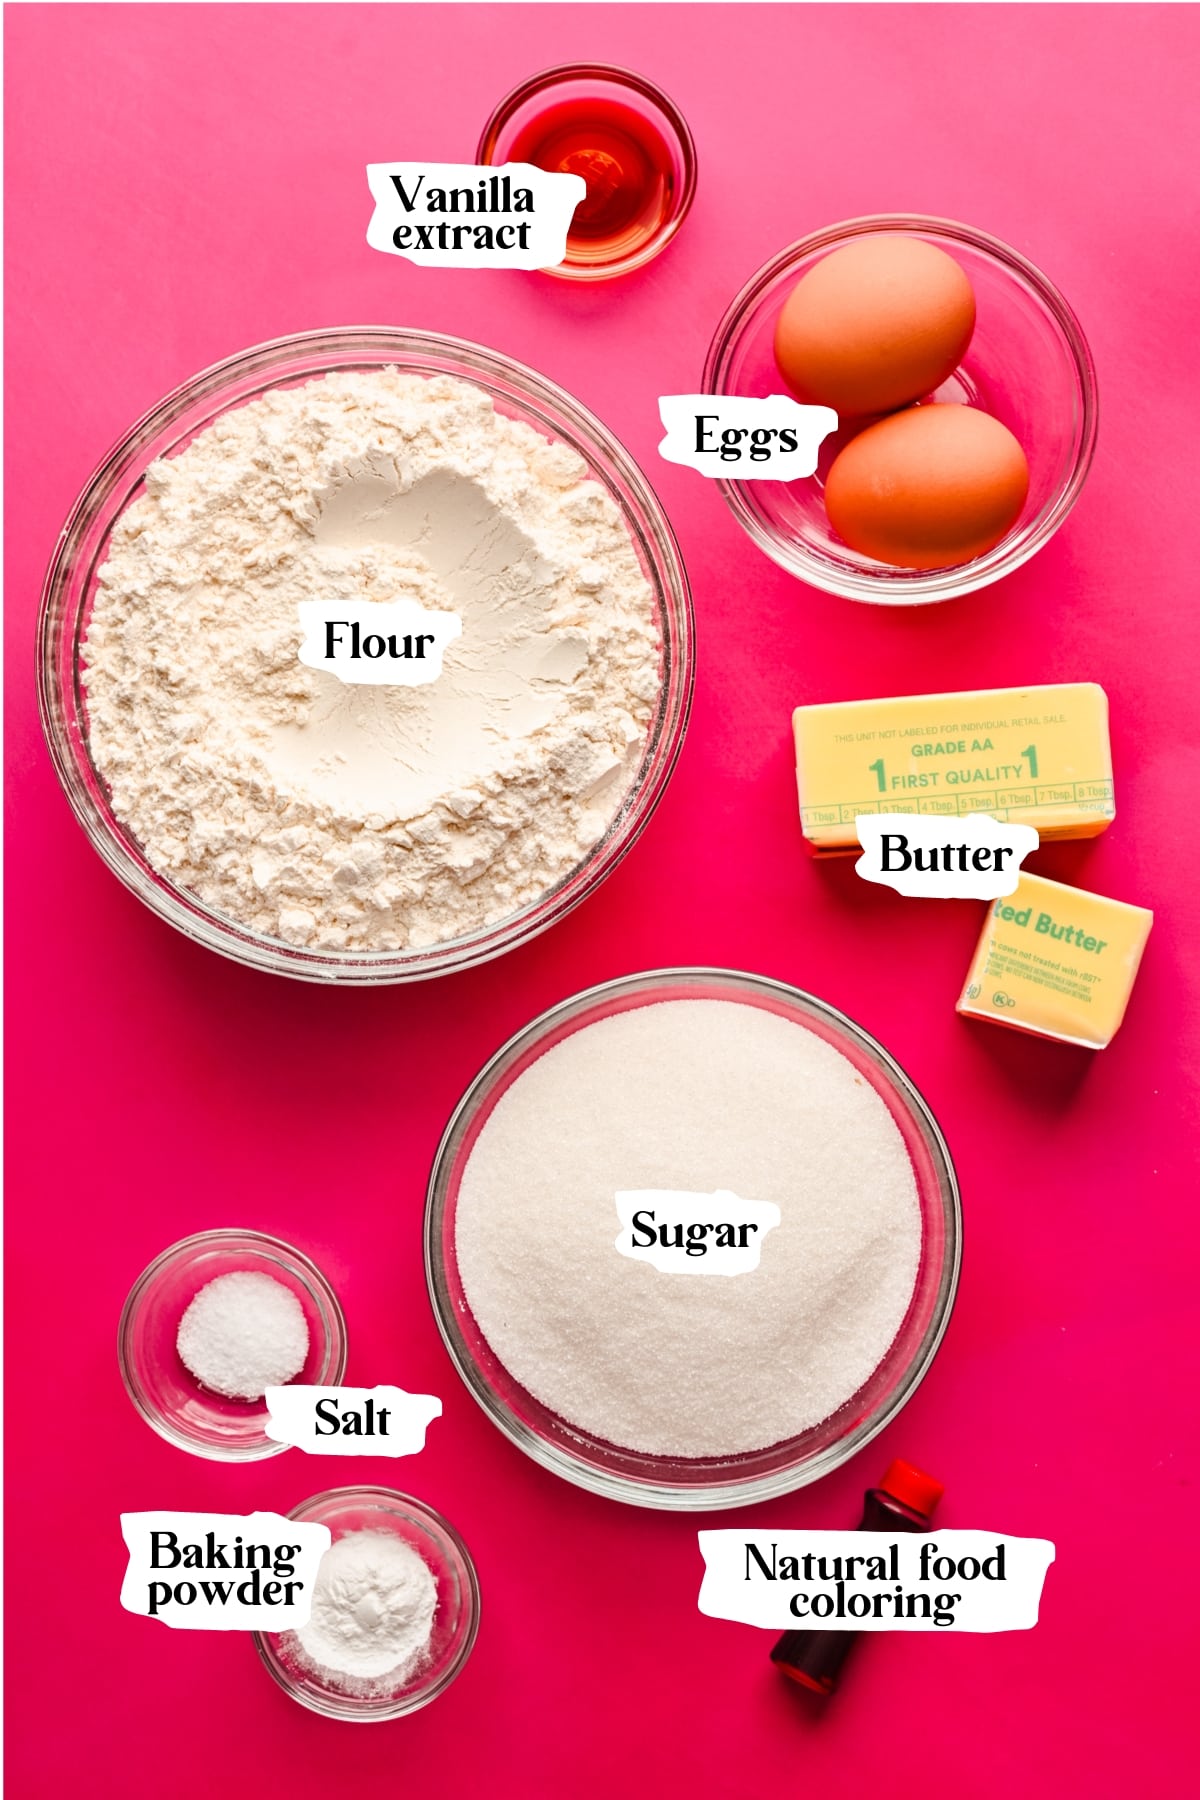
Here's what you'll need to make these heart cookies:
Ingredient Notes
- Natural food coloring: You'll need this to make the heart part of this cookie. We used this natural food coloring that's made from vegetable juices. You won't get a vibrant red color, but you can achieve a nice pink/purple hue.
- Butter: Make sure your butter is softened to room temperature before making these cookies. We used unsalted butter, so be sure to use less salt than the recipe calls for if you use salted butter.
- Flour: We used regular all-purpose flour in this recipe. Be sure to add flour to your measuring cup with a spoon and level it out. This is the correct way to measure, and if you skimp on the process, your cookies might be too dry.
- Heart cookie cutter: Our cookie cutter is about 1.5 inches across. This is the set we have – we used one of the smallest sizes. We use the larger sizes for regular cookies.
Step-by-step Instructions
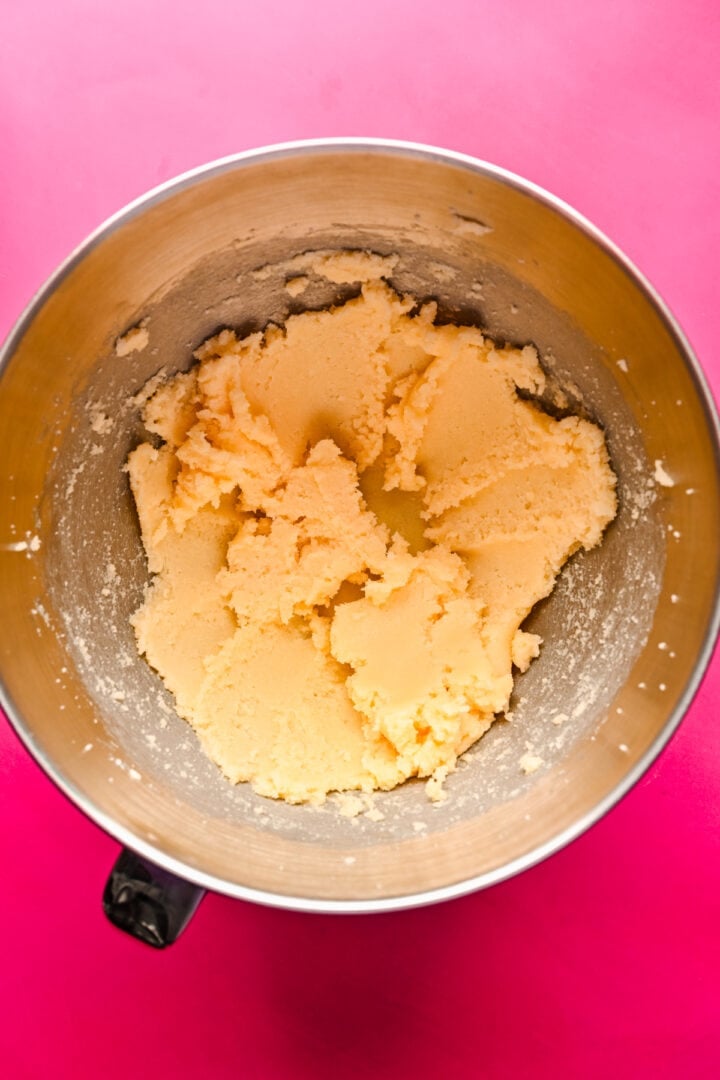
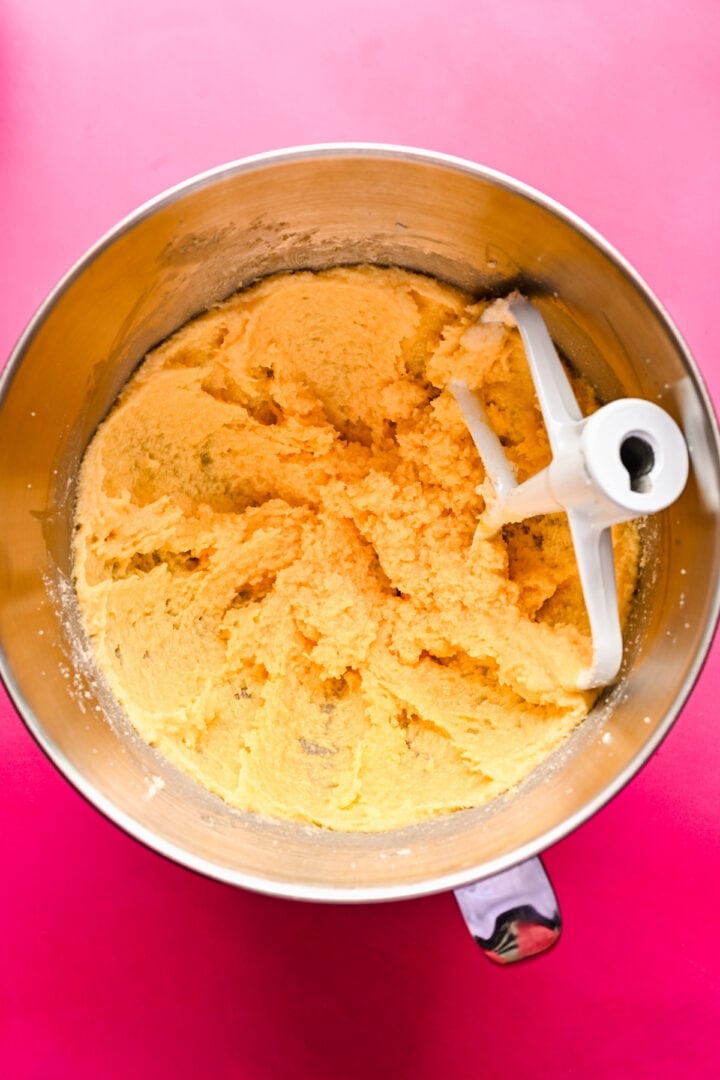
STEP 1: Add butter, sugar and vanilla extract to a large mixing bowl (or stand mixer). Beat at medium speed until light and fluffy, about 3 minutes.
STEP 2: Add in eggs one at a time, mixing just until combined.
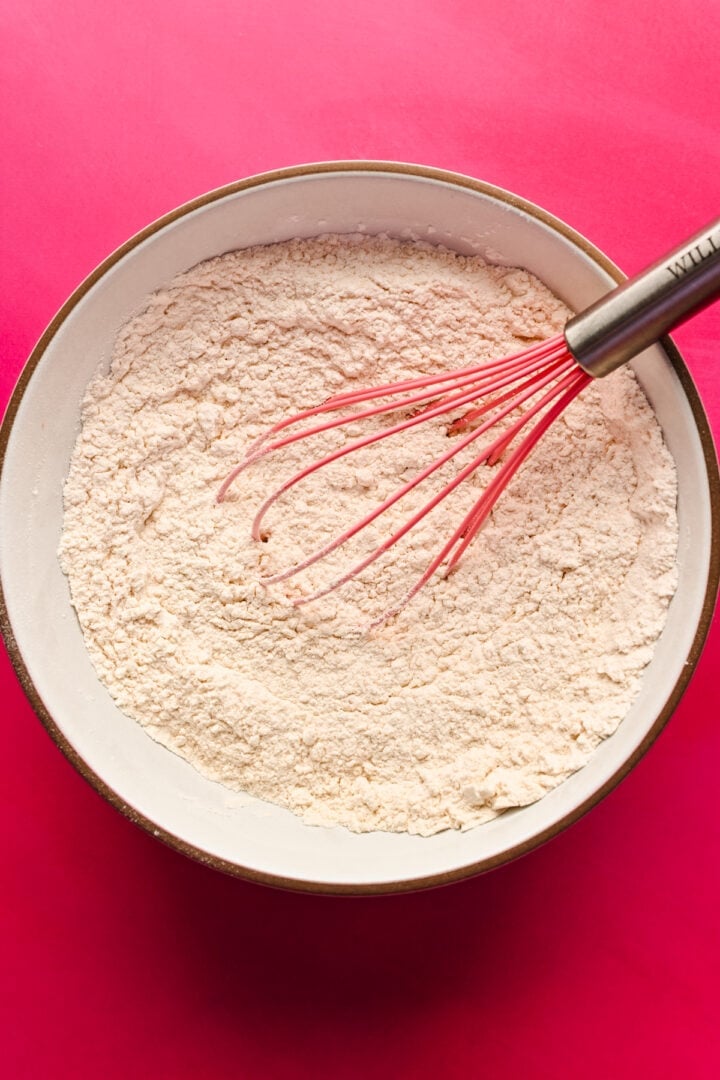
STEP 3:In a separate bowl, whisk together the flour, baking powder and salt.
STEP 4: Add the dry ingredients to the wet ingredients in 3-4 batches, until the dough comes together. Add 1-2 tablespoon more flour if needed if the dough is too wet.
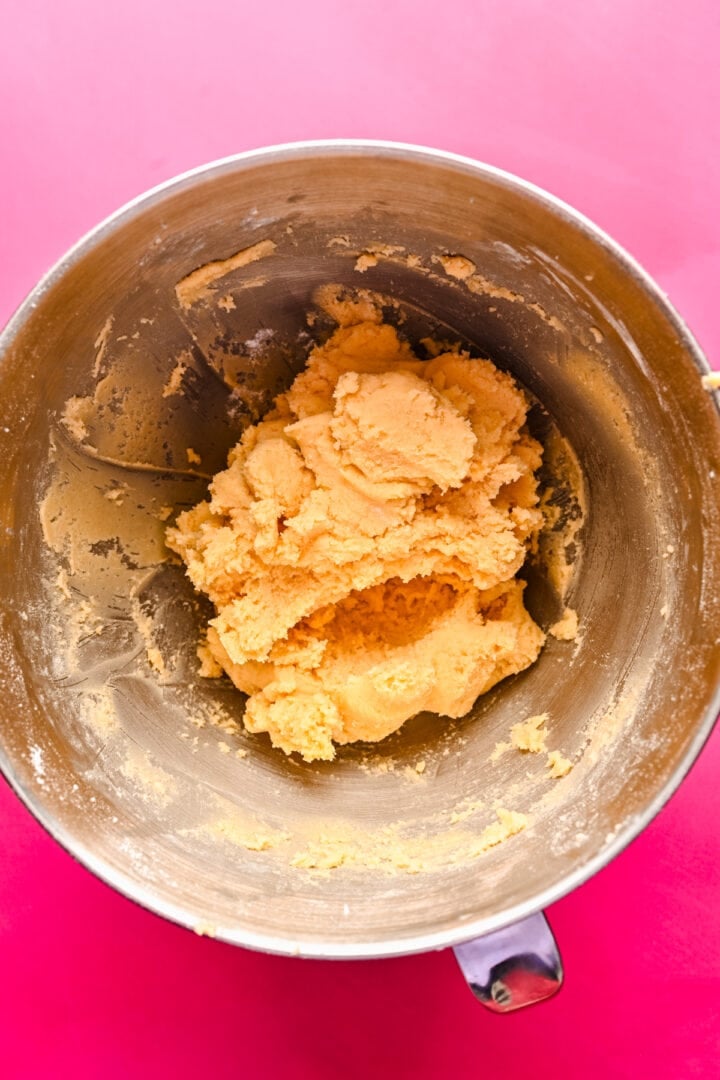
STEP 5: Remove about ½-2/3 of the dough and set aside. Add several drops of food coloring to the remaining dough and mix until combined. Add more food coloring to reach desired hue.
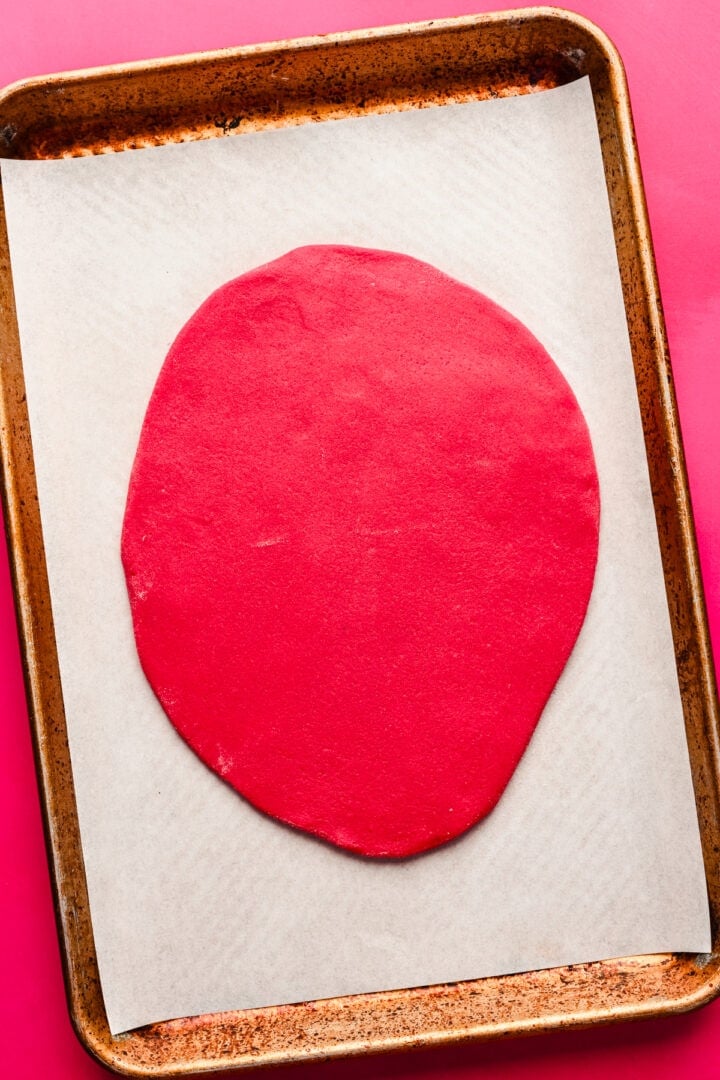
STEP 6: Place the pink dough in the freezer for 5 minutes, then roll out into a rectangle about ½-inch thick on a lightly floured surface. Return to the freezer for 15-20 minutes. This will make it much easier to cut out the hearts without ruining their shape.
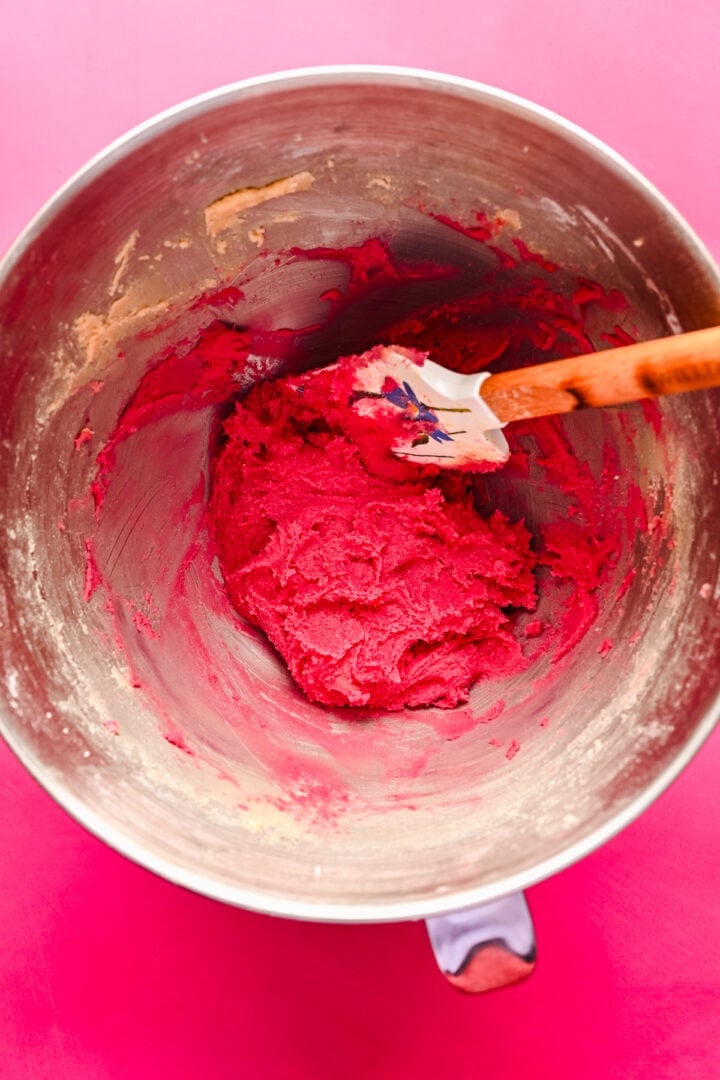
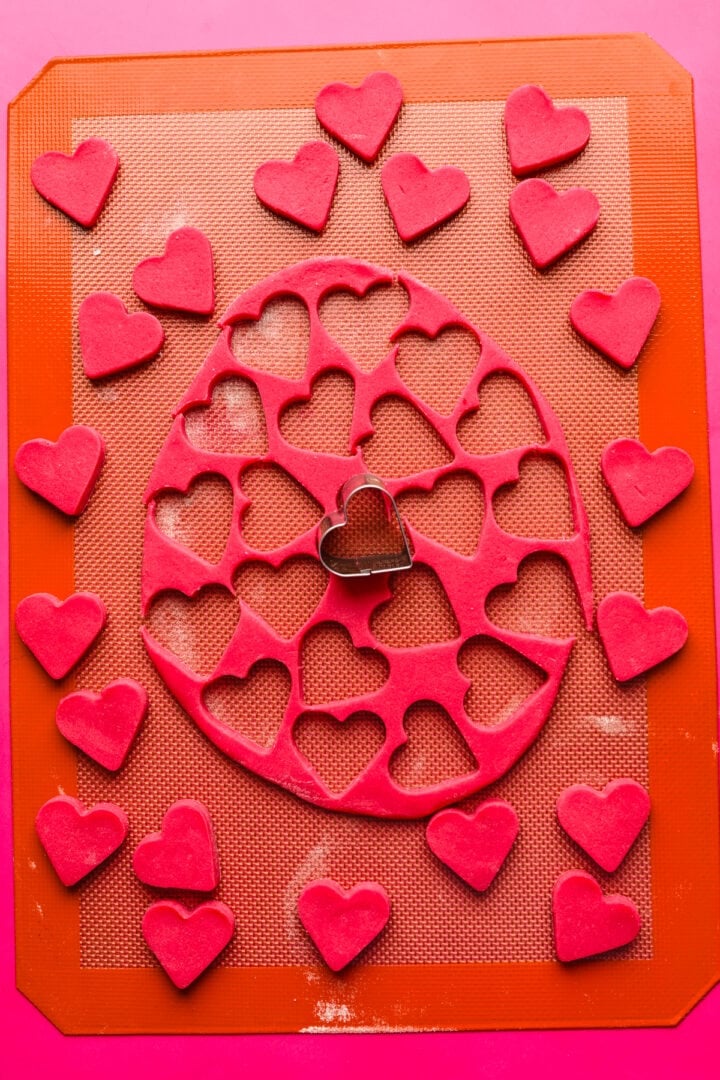
STEP 7: Use a small heart cookie cutter (roughly 1.5" across) to cut out hearts. Dip a finger in a little bit of water and lightly rub on the floured side of the cookie before adhering another heart.
This helps them stick together, but don’t overdo the water, you only need a tiny amount. Repeat with all hearts until you have a log about 10 inches long.
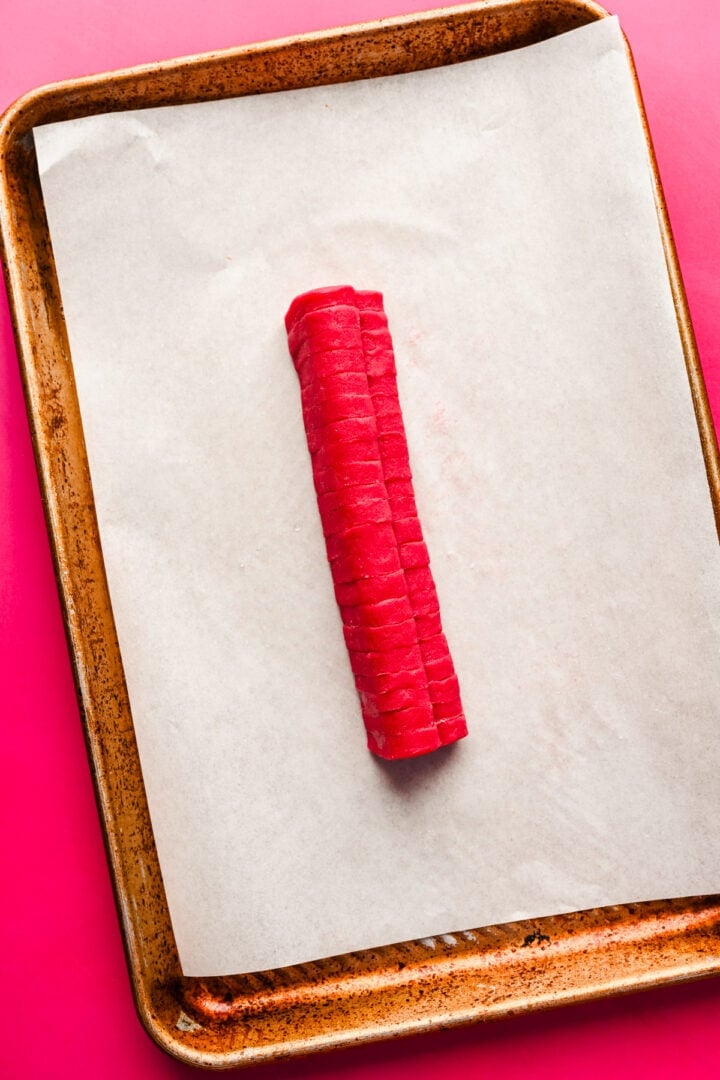
STEP 8: Return the log to the freezer for about 30 minutes, or until frozen solid. Remove from freezer and press the plain cookie dough directly onto and around the hearts. Make sure to really press it in so you don’t end up with any gaps. Roll into a smooth log.
STEP 9: Wrap in plastic wrap and chill for at least 30 minutes.
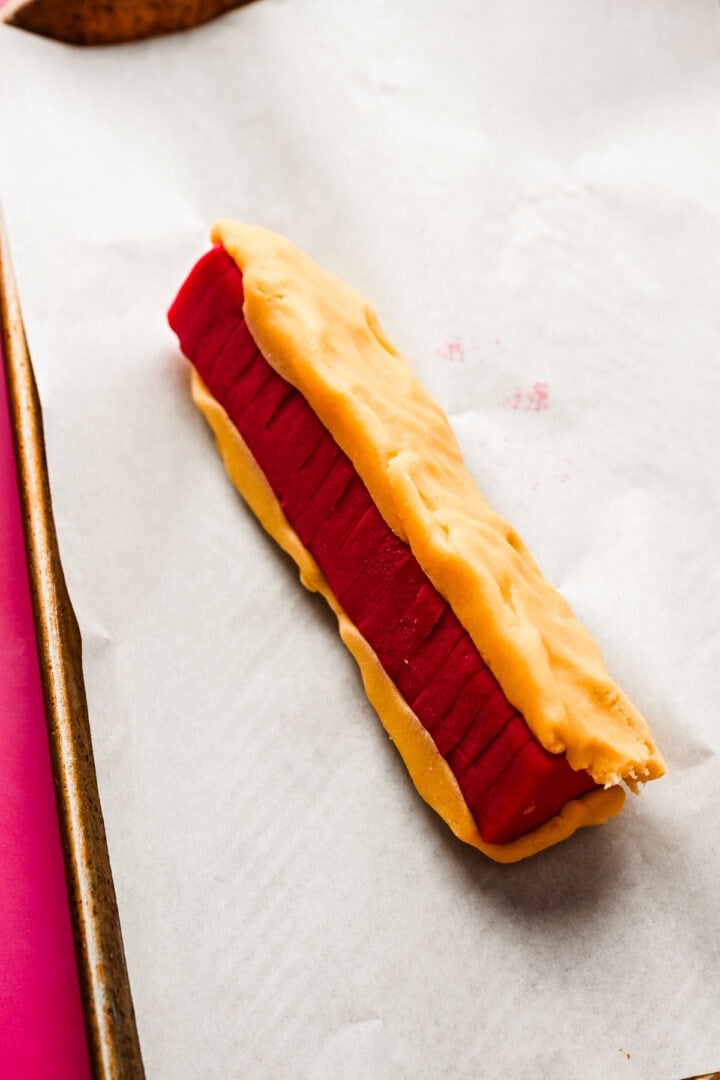

STEP 10: Preheat oven to 350˚F and line 2 baking sheets with parchment paper.
STEP 11: When you’re ready to bake, slice the dough into ¼” rounds, then space 2 inches apart on the baking sheets. Bake for ~12 minutes, or until the bottoms are light golden brown. Remove from the oven and let cool.


Expert Tips and FAQs
- Chill your colored dough. If you want your hearts to be well-defined, you'll need to chill the pink dough in the freezer for about 15 minutes. If the dough is too soft, it will be nearly impossible to get the hearts out of the cookie cutter without destroying their shape. You'll also need to freeze your "log" of hearts after sticking them together to make sure the shape stays in tact when you add the uncolored dough to the sides. Don't skip the chilling process - it's essential to make sure these turn out perfectly!
- Don't refrigerate the plain dough. You want it to be super soft so and pliable so it's easy to adhere to the hearts.
- Want to make this recipe vegan? Try our vegan sugar cookie dough, but use this process for shaping and baking.
- You can make these cookies for any holiday by applying the same process to other shapes: ghosts for halloween, Christmas trees for Christmas, etc. Just make sure you use a cookie cutter that's big enough where you'll be able to see the design clearly!
- If you want to eat the raw dough relatively safely, you'll need to bake the flour to pasteurize it, and also use pasteurized eggs. You can also make these cookie dough bites.
- Measuring your flour: Be sure your spoon your flour into a measuring cup and level it off. This will prevent you from using too much flour, which will dry out your cookie dough and make it difficult to shape.
- You can keep the dough in the freezer for up to a few months (as long as it's tightly wrapped) so you can enjoy slice and bake cookies at any time! Let the dough thaw at room temperature for about 15 minutes before slicing and baking.

Related Recipes



Tried this recipe? Leave a comment with a star rating ⭐⭐⭐⭐⭐ below. You can also snap a photo and tag @crowded_kitchen on Instagram. We can't wait to see what you're cooking!
Cook with us often? Tell Google you want Crowded Kitchen recipes near the top of your results.

Slice and Bake Valentine's Day Cookies
- Total Time: 1 hour 42 minutes
- Yield: 2 dozen 1x
- Diet: Vegetarian
Description
Remember those slice and bake cookies from your childhood that came in a tube? These homemade slice and bake heart cookies are surprisingly easy to make, taste better than the original, and are free from preservatives and artificial coloring.
Ingredients
- ¾ cup unsalted butter, softened to room temperature
- 1 cup granulated sugar
- 1 teaspoon vanilla extract
- 2 large eggs
- 2 ½ cups all purpose flour
- 1 teaspoon baking powder
- ½ teaspoon salt
- Red or pink food coloring (we used this natural food coloring)
Instructions
- Add butter, sugar and vanilla extract to a large mixing bowl (or stand mixer). Beat at medium speed until light and fluffy, about 3 minutes.
- Add in eggs one at a time, mixing just until combined.
- In a separate bowl, whisk together the flour, baking powder and salt.
- Add the dry ingredients to the wet ingredients in 3-4 batches, until the dough comes together. If the dough is too wet, add in an additional 1-2 tablespoon of flour as needed. (This can depend on the size of your eggs, etc.)
- Remove about ½-2/3 of the dough and set aside. Add several drops of food coloring to the remaining dough and mix until combined. Add more food coloring to reach desired hue.
- Place the pink dough in the freezer for 5 minutes, then roll out into a rectangle about ½-inch thick on a lightly floured surface. Return to the freezer for 20 minutes. This will make it much easier to cut out the hearts without ruining their shape.
- Use a small heart cookie cutter (roughly 1.5" across) to cut out hearts. Dip a finger in a little bit of water and lightly rub on the floured side of the cookie before adhering another heart. This helps them stick together, but don’t overdo the water, you only need a tiny amount. Repeat with all hearts until you have a log about 10-inches long.
- Return the log to the freezer for at least 30 minutes, or until frozen solid. Remove from freezer and press the plain cookie dough directly onto and around the hearts. Make sure to really press it in so you don’t end up with any gaps. Roll into a smooth log.
- Wrap in plastic wrap and chill for at least 30 minutes.
- Preheat oven to 350˚F and line 2 baking sheets with parchment paper.
- When you’re ready to bake, slice the dough into ¼” rounds, then space 2 inches apart on the baking sheets. Bake for ~12 minutes, or until the bottoms are light golden brown. Remove from the oven and let cool.
Notes
Heart cookie cutter: Our cookie cutter is about 1.5 inches across. This is the set we have – we used one of the smallest sizes. We use the larger sizes for regular cookies.
Want to make this recipe vegan? Try our vegan sugar cookie dough, but use this process for shaping and baking.
Chill your colored dough. If you want your hearts to be well-defined, you'll need to chill the pink dough in the freezer for about 15 minutes. If the dough is too soft, it will be nearly impossible to get the hearts out of the cookie cutter without destroying their shape. You'll also need to freeze your "log" of hearts after sticking them together to make sure the shape stays in tact when you add the uncolored dough to the sides. Don't skip the chilling process - it's essential to make sure these turn out perfectly!
Don't refrigerate the plain dough. You want it to be super soft so and pliable so it's easy to adhere to the hearts.
You can keep the dough in the freezer for up to a few months (as long as it's tightly wrapped) so you can enjoy slice and bake cookies at any time! Let the dough thaw at room temperature for about 15 minutes before slicing and baking.
- Prep Time: 90 minutes
- Cook Time: 12 minutes
- Category: Cookies
- Method: Oven
- Cuisine: American
Nutrition
- Serving Size: 2 cookies
- Calories: 275
- Sugar: 16.8 g
- Sodium: 111.9 mg
- Fat: 12.6 g
- Carbohydrates: 37.1 g
- Fiber: 0.7 g
- Protein: 3.9 g

Melanie says
These were for sure annoying to make, but came out cute! However they are not very sugar cookie tasting. Wish they were sweeter 🙁
ALM says
Made exactly as instructed and they turned out great !
It’s a lot of steps but they are not hard. The freezing makes a huge difference.
Please add measurements in grams for accuracy.
helen says
tasted lovely in the end but altogether took me 3 hours to do and the dough melted so i couldn’t make the heart shapes even though i froze it for longer than suggested
Charlotte Stanton says
Sorry, how many hearts are you supposed to cut out?
Emma says
Amazing! I actually just decided to color the whole dough and make heart cookies but they are so good and hold their shape well!
Lexi says
So glad you enjoyed!
Christy Jacobsen says
Hey ladies, if you are like me and don’t want to take forever making these cookies. Chill your colored dough, then roll into a log shape, then shape the hearts with the table and fingers. Re-chill, then add the extra dough around, roll to smooth. Chill again, slice and bake. You can even dip them in sugar either granulated or powdered before baking for a crunchy top.
Maryann McBrinn says
Such a fun recipe and the taste is delicious! Had so much fun making these with my daughters
Brent Harrison says
Great!
Jo says
Had to add a lot of extra flour to make anywhere close to a dough. used the cup measurements so don't know why my mixture was just wet & sticky. Froze for lot longer & rolled using flour but still very sticky. My eggs were medium size. Daughters only 4 & lost interest had to go to bed I'm now having to finish it all off.
I'm really glad it worked for others but sadly too many times having to freeze etc for us. It was too long a recipe to do with even a very patient kid. Hope they taste good when I get to the baking stage!
Girl says
I had to add extra flour than it suggests as the dough was too wet but turned out great after that 🙂
Brent Harrison says
Glad you were able to adjust, it seems like everyone's dough kind of turns out differently depending on the flour they use, humidity, etc. Thanks for the review!
Kenzi Staley says