
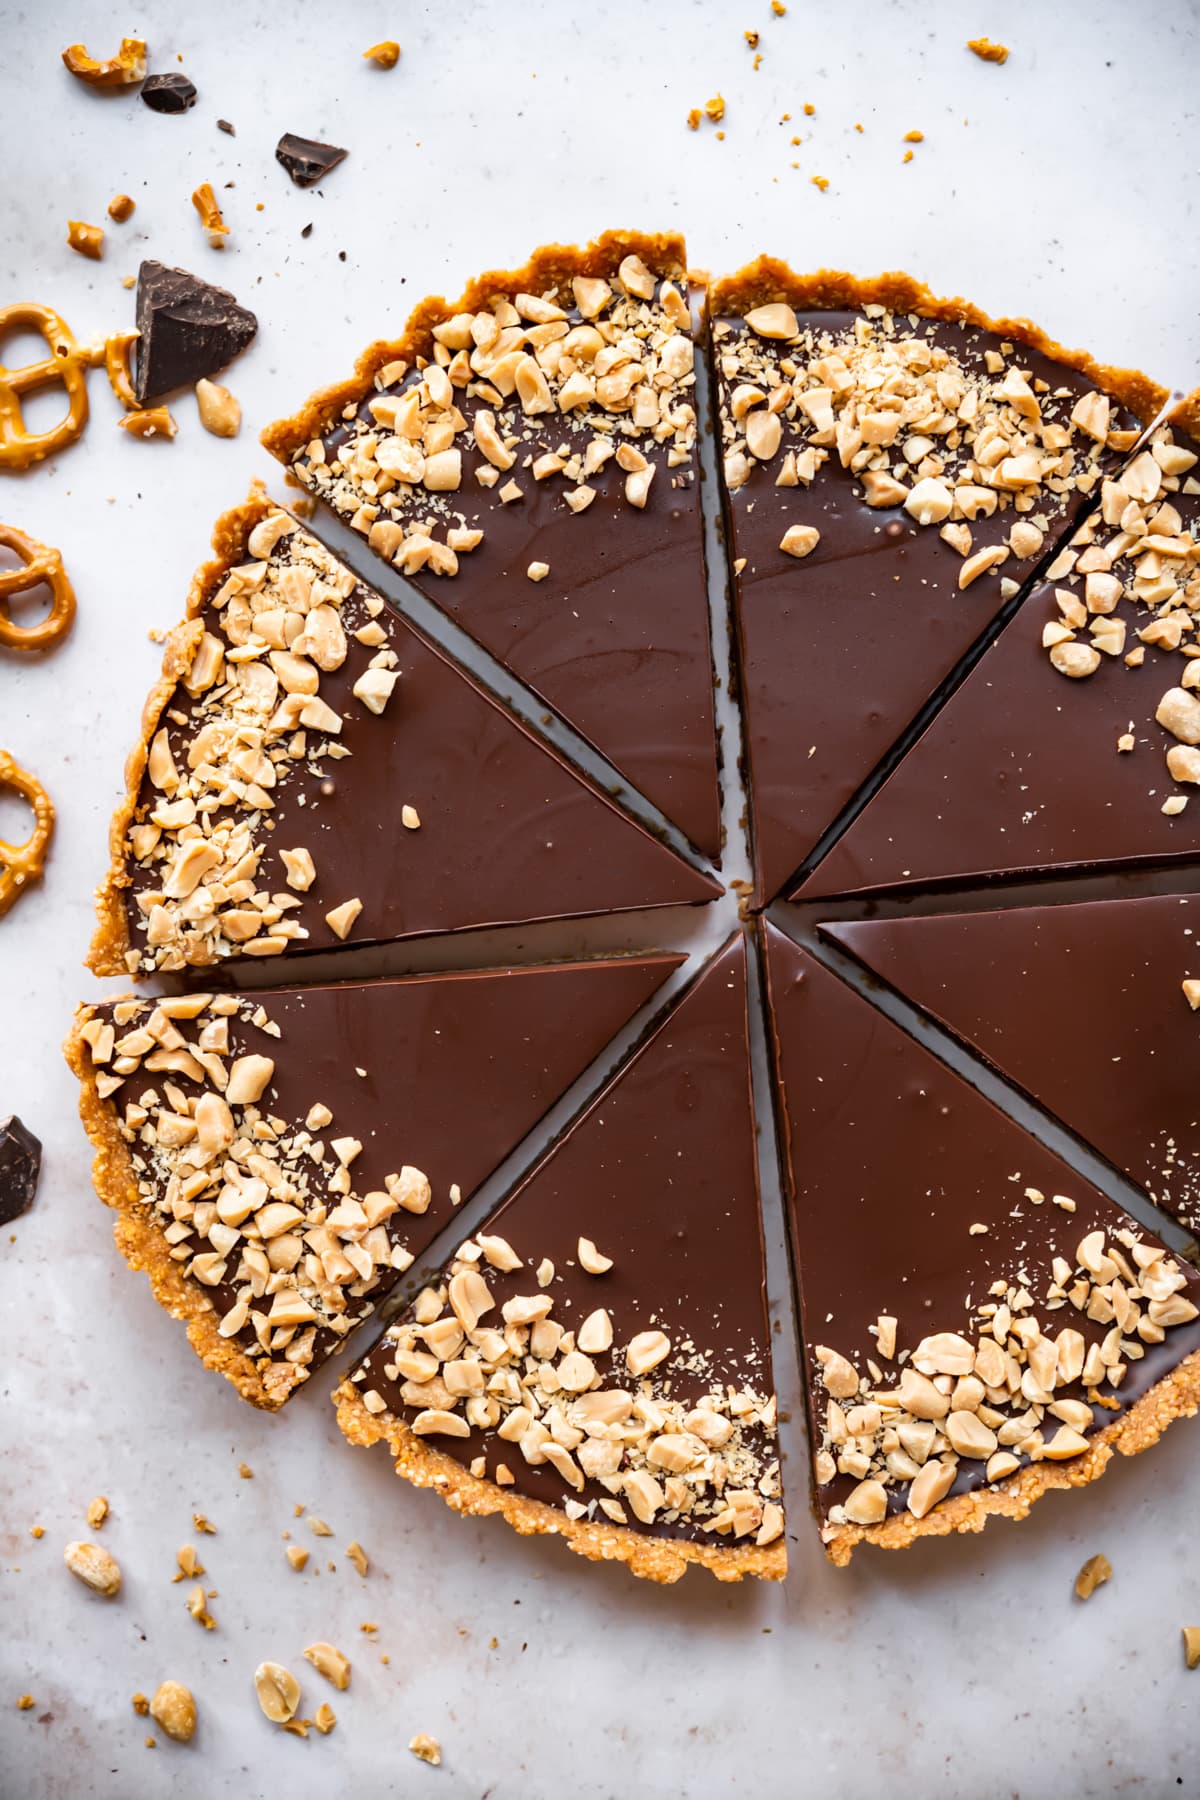
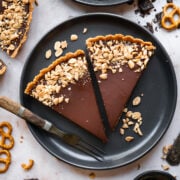
Peanut butter, chocolate, and pretzels. What's not to love? This vegan chocolate peanut butter tart is made with just 6 ingredients, takes 20 minutes to bring together, and is NO BAKE! All you need to do is form the crust, make the filling, then pop it in the fridge and wait.
Jump to:
Why We Love This Recipe
- Ridiculously easy: There's no baking necessary, no technical skills required, and there are only 6 ingredients.
- No complicated or weird ingredients: You usually find things like xanthan gum, tofu or cashews in vegan desserts to create a rich texture, but we don't use any here. The filling is made with dark chocolate and coconut milk. That's it.
- Chocolate, peanut butter, and pretzels: The saltiness and crunch of the pretzels is the perfect foil to the rich chocolatey filling. It's the perfect marriage of salty and sweet.
- Gluten free and vegan (but nobody will know!): This chocolate peanut butter pretzel tart is the perfect dessert to serve at family gatherings and holidays. Non-vegan/GF family members will have absolutely no idea (unless you tell them). It's just that good!
Ingredients
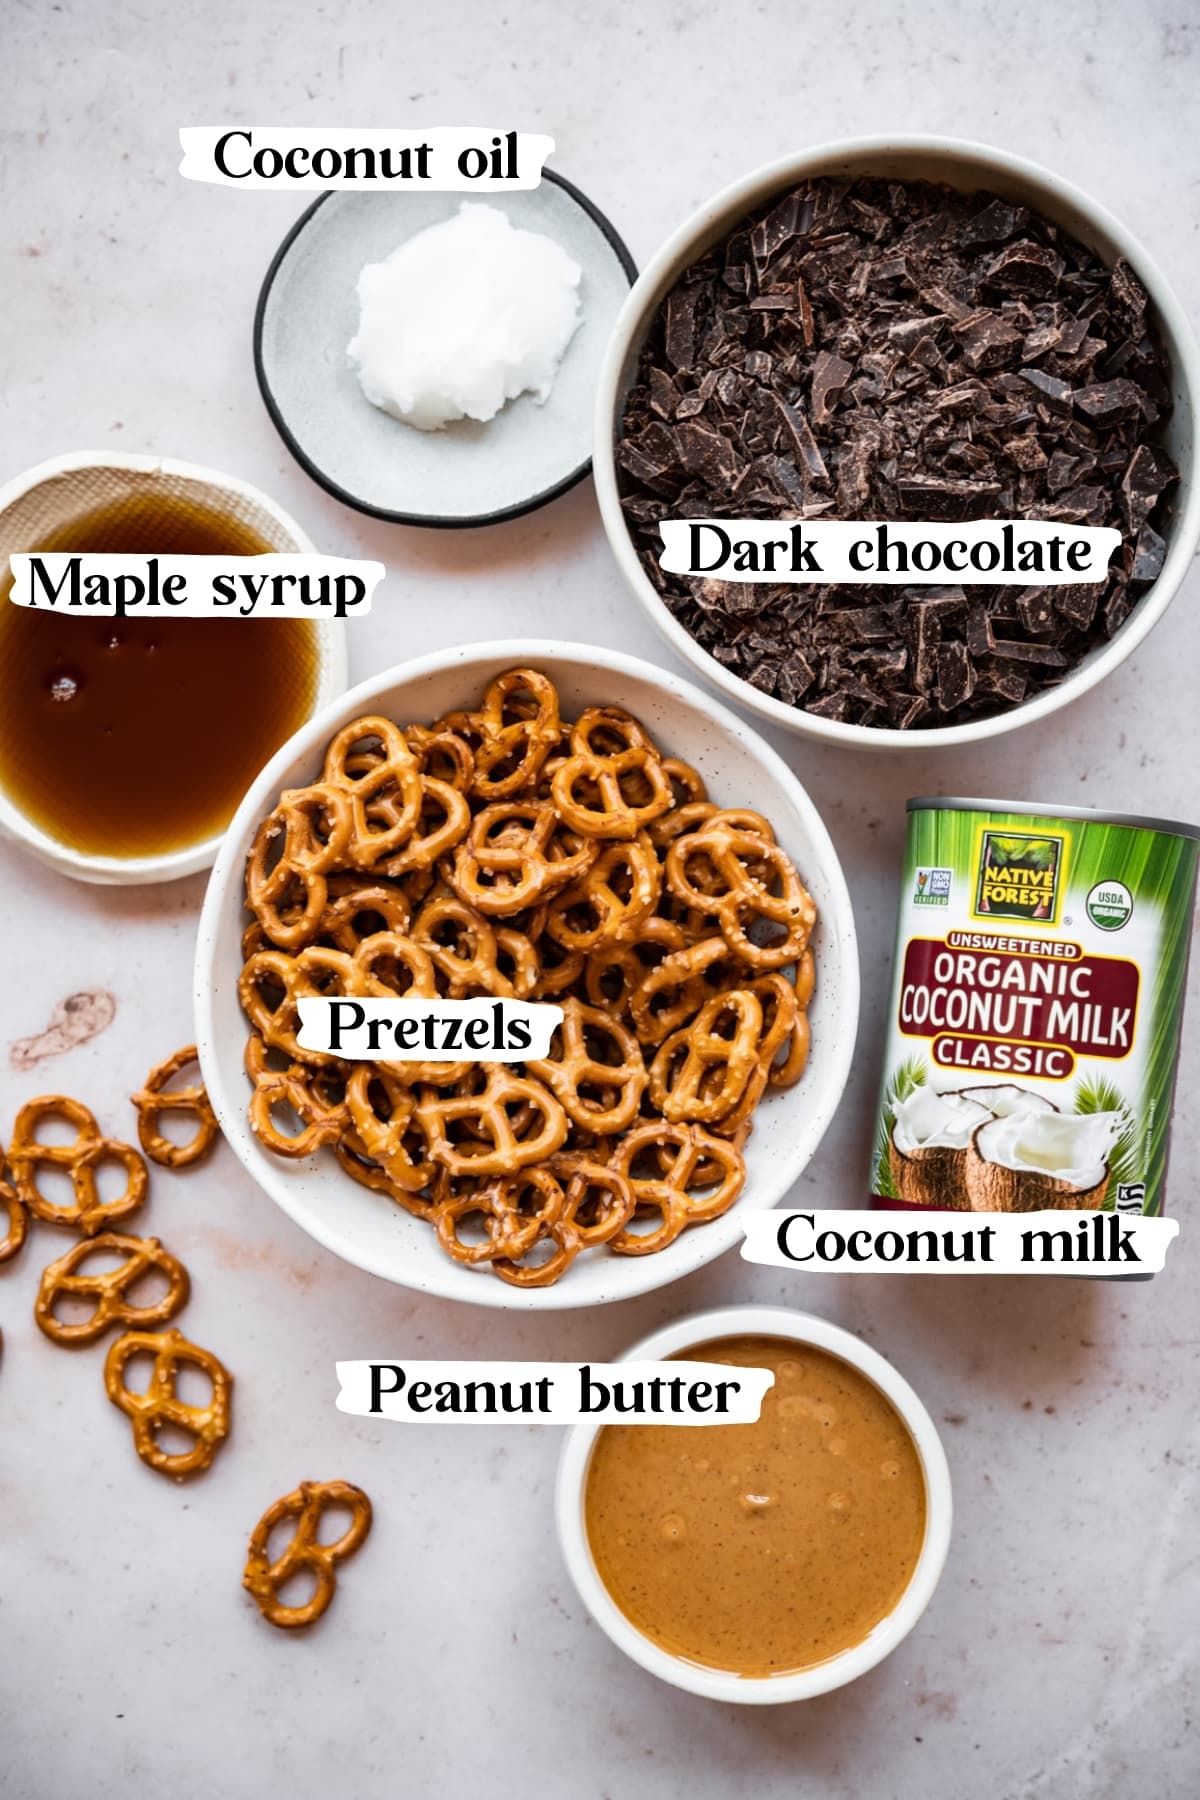
Here are the key ingredients you'll need to make this vegan peanut butter chocolate tart:
Ingredient Notes
- Pretzels: we used gluten free pretzels. Glutino, Quinn, and Synder's all have gluten free pretzels that are up to the task. You can also sub for regular pretzels if gluten is not an issue.
- Peanut butter: Creamy is best, and we used unsweetened peanut butter in this recipe. If you're using peanut butter with added sugar, you may want to cut back on the agave/maple syrup.
- Dark Chocolate: We used about 72% dark chocolate. Feel free to use something a bit lighter or even darker if you'd prefer. The darker the chocolate, the richer this tart will be, especially since there's no added sugar in the filling. We used chocolate in bar form as opposed to chips because we find that the bar is melts more evenly, but chocolate chips will work in a pinch.
- Coconut milk: be sure to use full fat canned coconut milk in this recipe! It works perfectly as a vegan substitute for heavy cream to make a rich, creamy ganache filling. You can typically find full fat canned coconut milk in the international aisle of the grocery store (near soy sauce).
Step-by-step Instructions
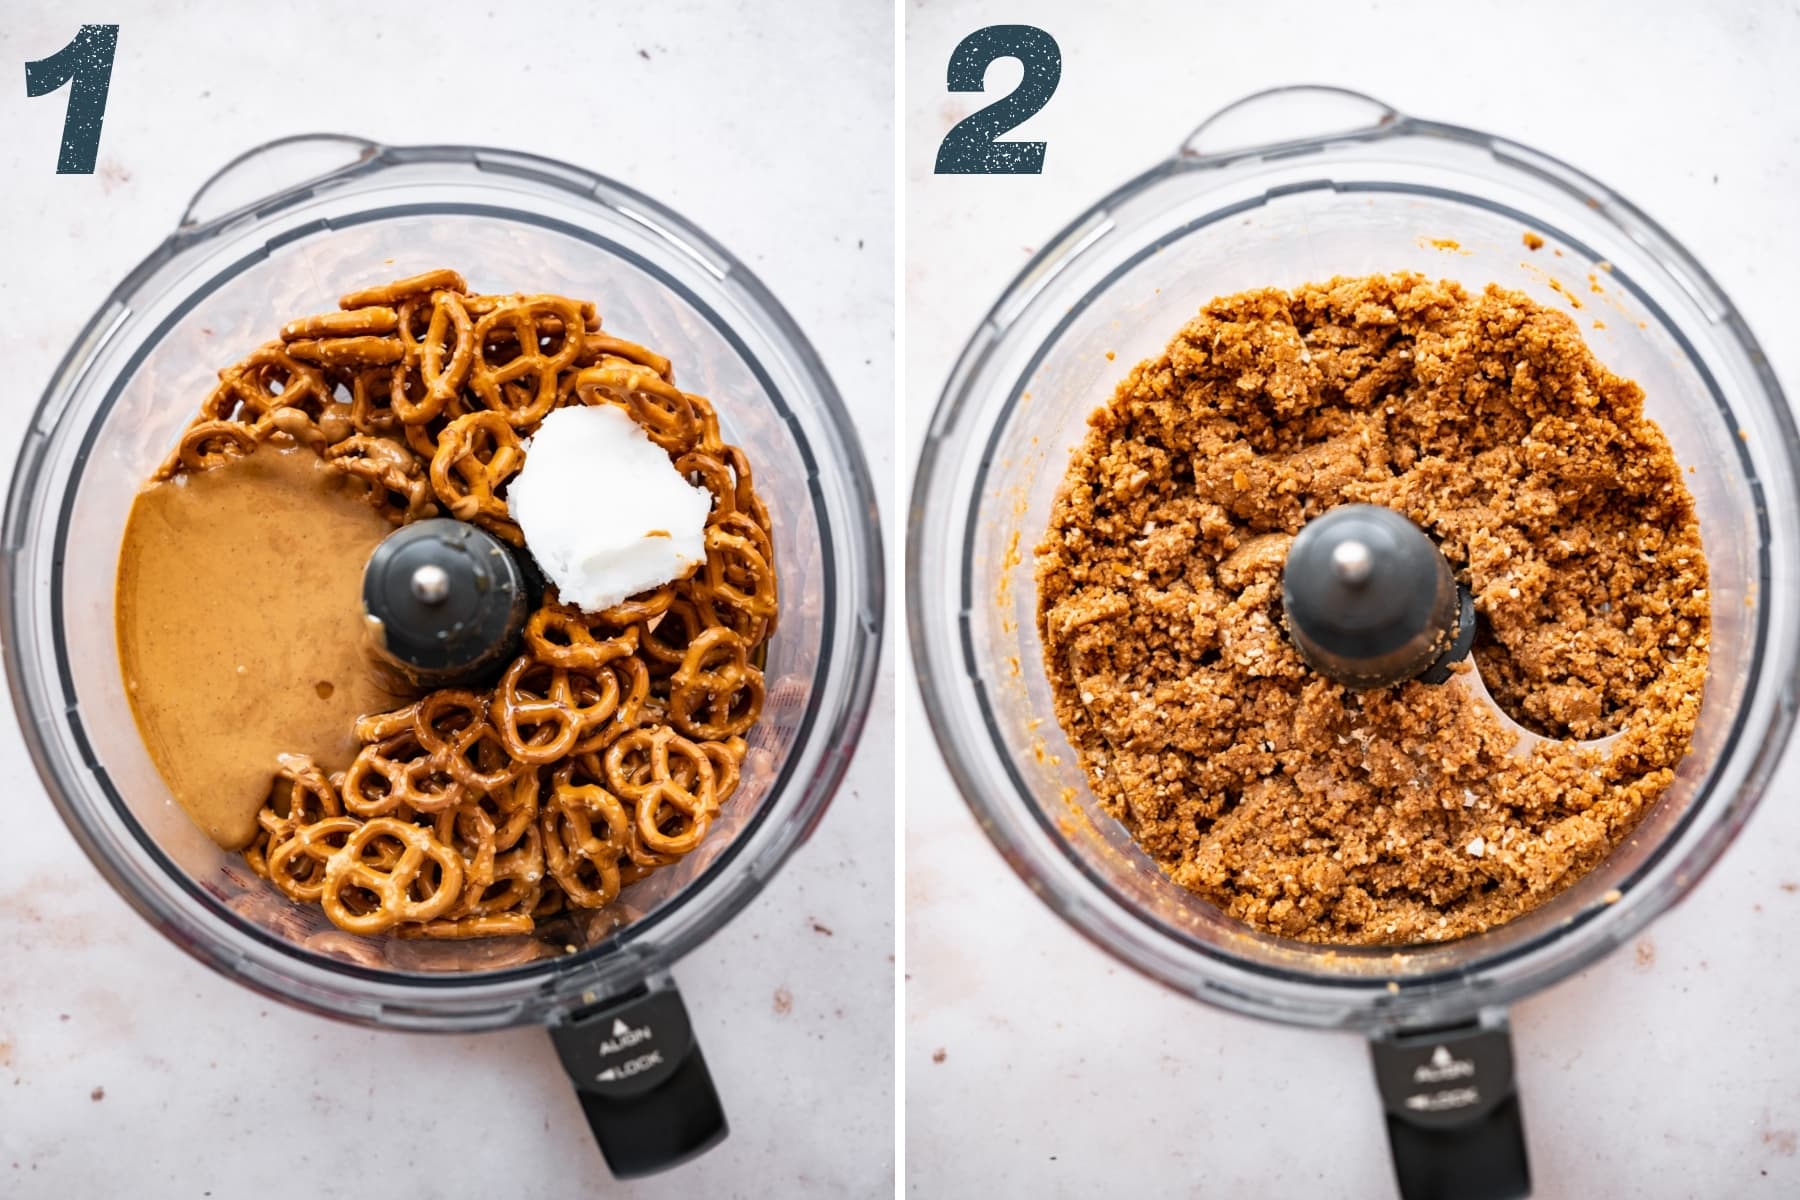
(1) Add all of the crust ingredients to a food processor: 4 cups gluten free pretzels (regular will work just fine too!), ⅔ cup smooth, unsweetened peanut butter, ¼ cup agave or maple syrup, and 2 tbsp melted coconut oil.
(2) Pulse until the mixture forms a fine crumb mixture.
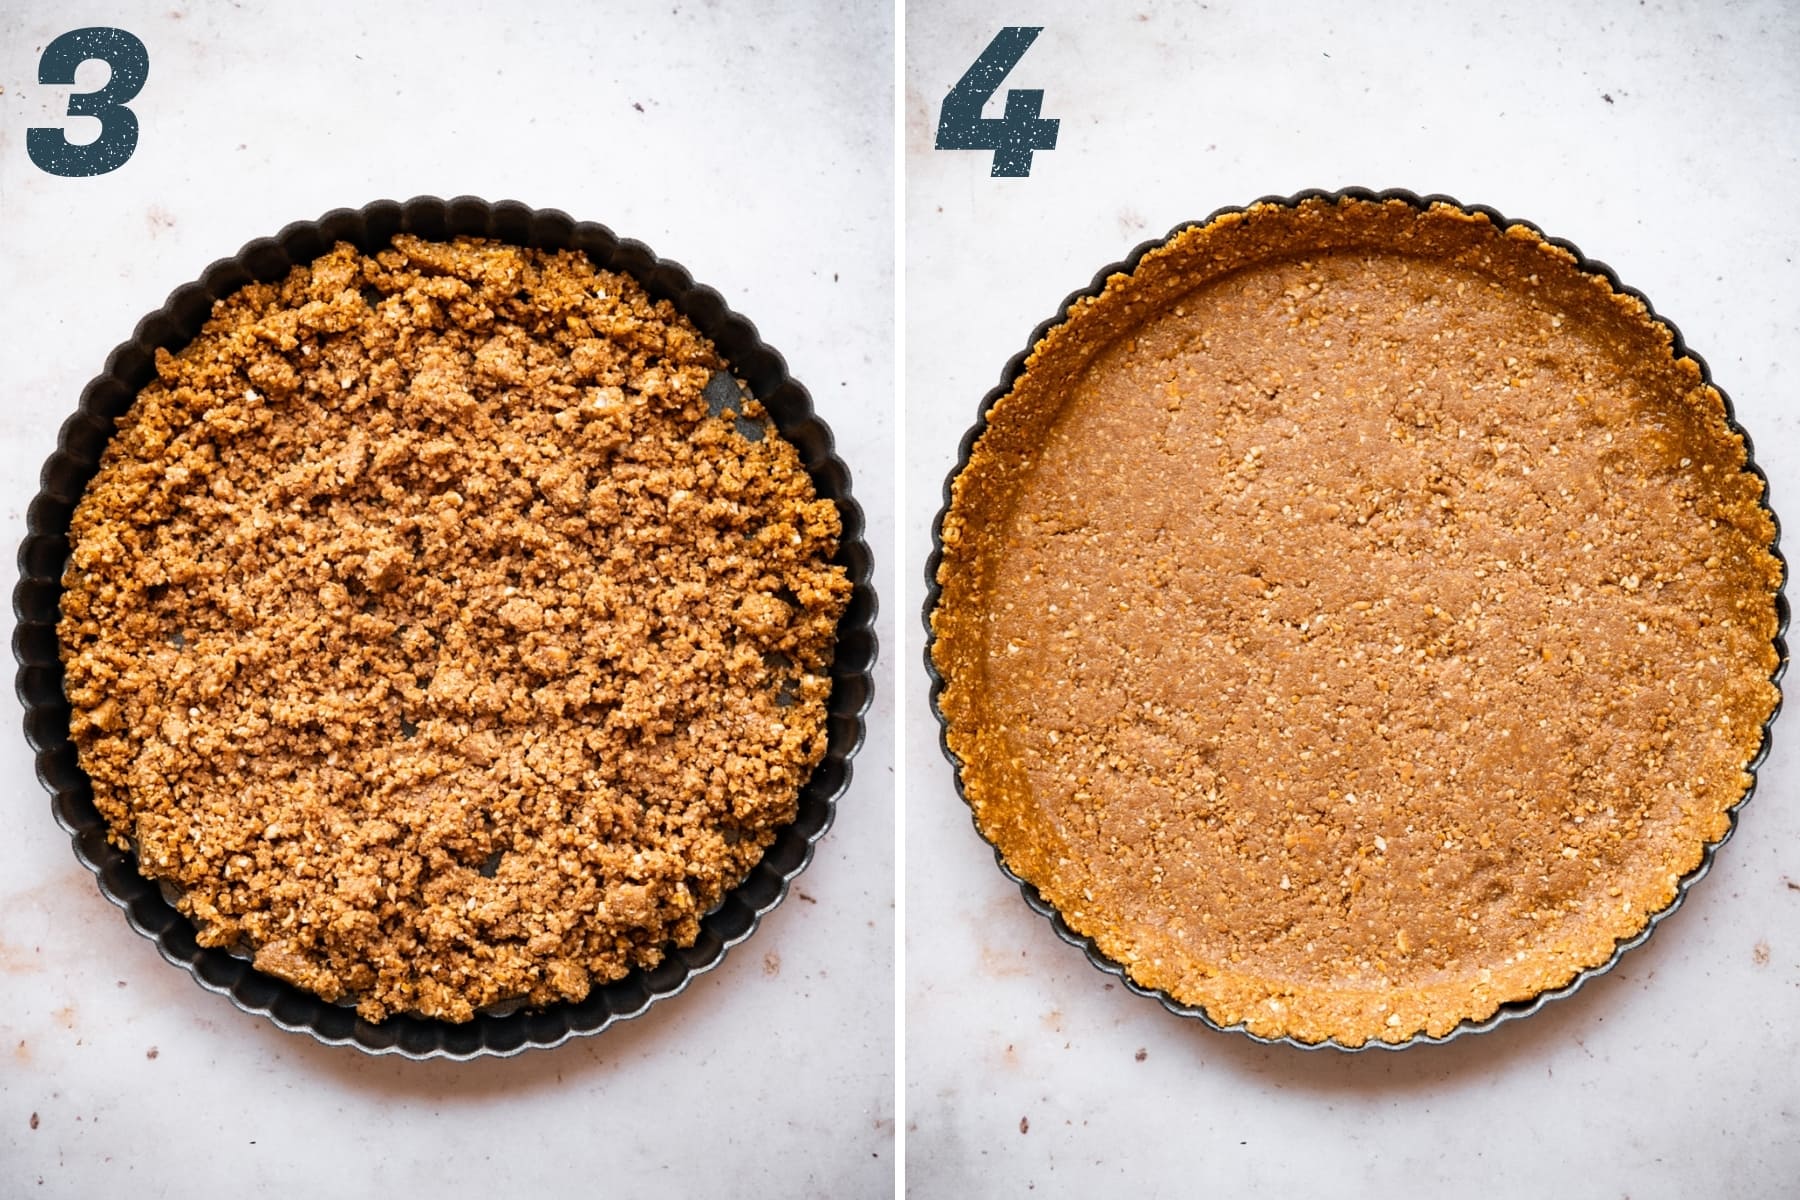
(3) Pour the mixture into a 9" tart pan with a removable bottom.
(4) Use your fingers to firmly press the filling into the pan and up the sides. You can also use the bottom of a round measuring cup to firmly press in the filling. Transfer the crust to the freezer to firm up while you make the chocolate filling.
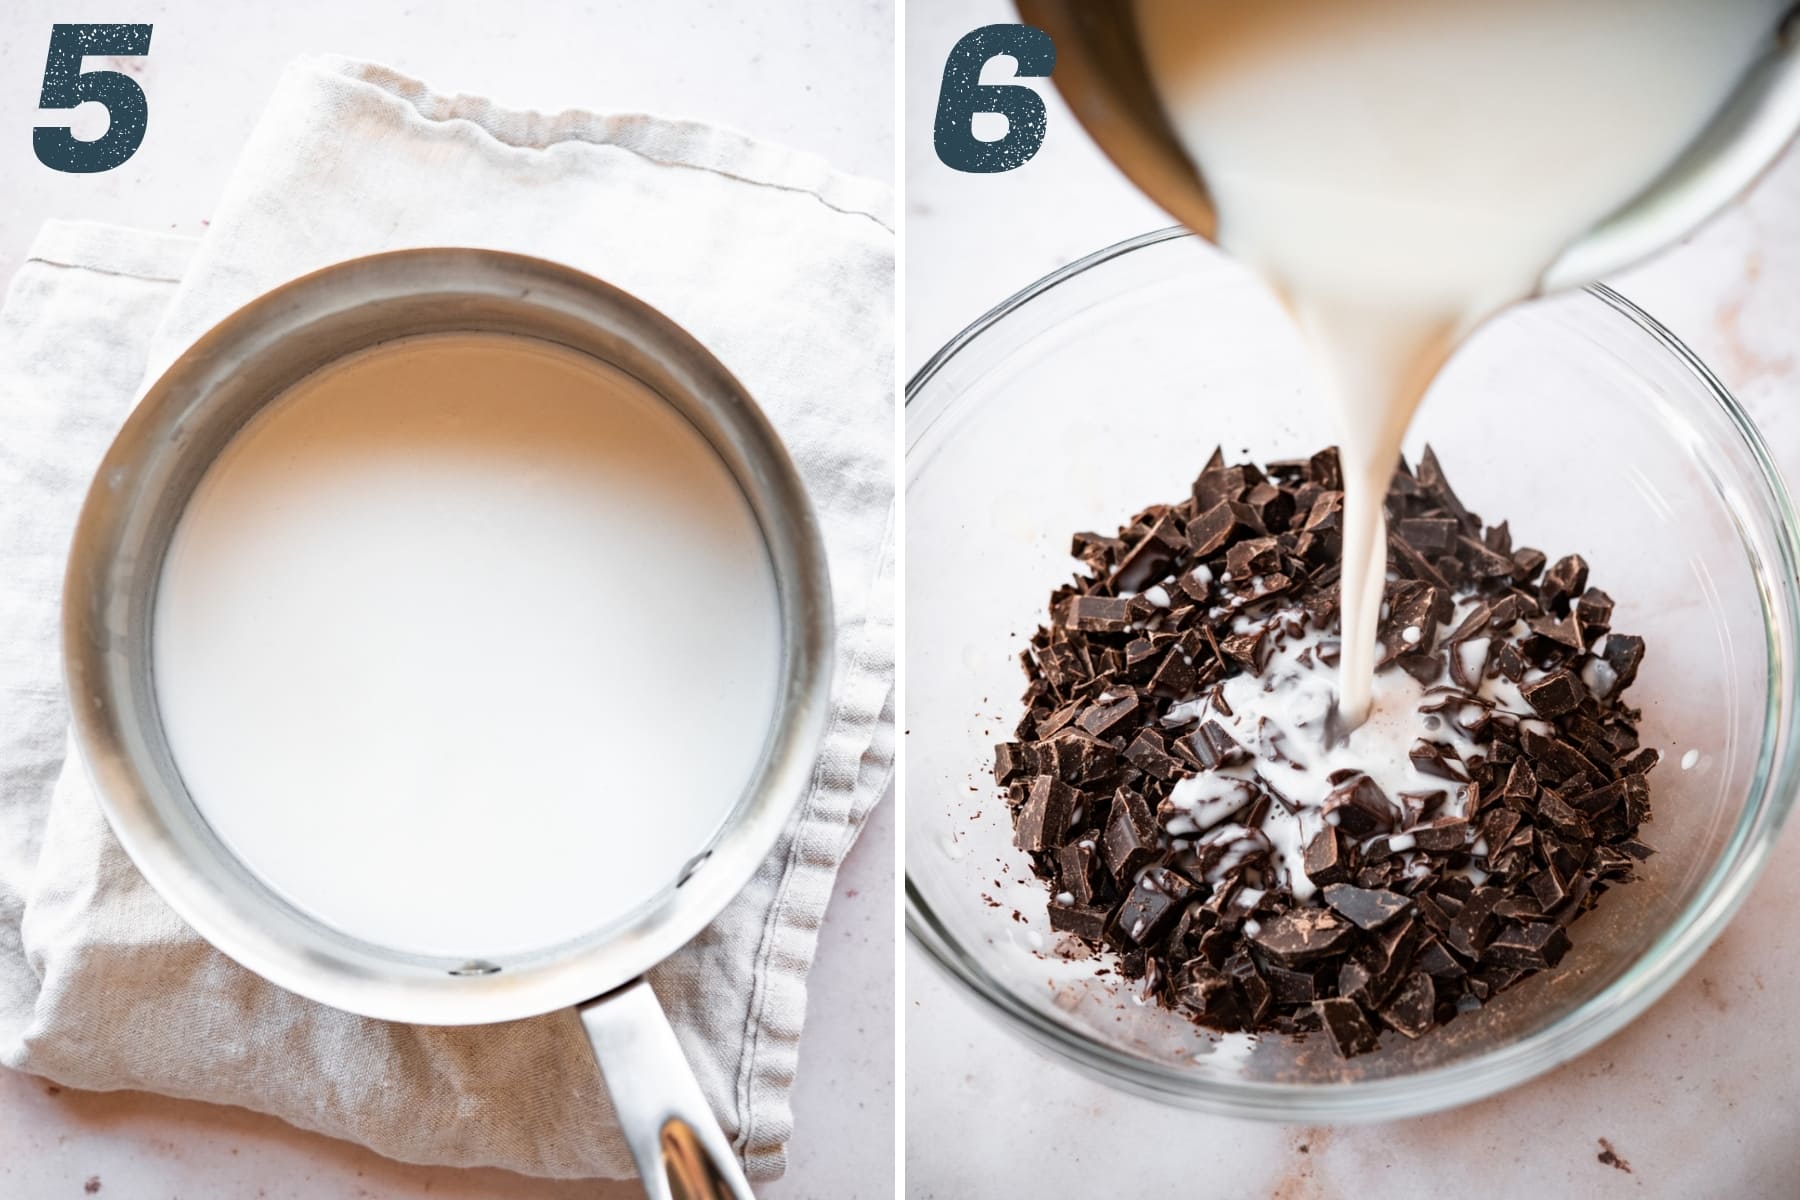
(5) Add an entire can of full fat coconut milk to a small saucepan and heat over medium-low. Don't bring it to a boil – it just needs to be hot enough to melt the chocolate.
Meanwhile, chop your dark chocolate into shards with a sharp knife. If you're using chips, you can skip this step.
(6) Place the chocolate shards (or chips) in a heat safe bowl. Pour the hot coconut milk over the chocolate.
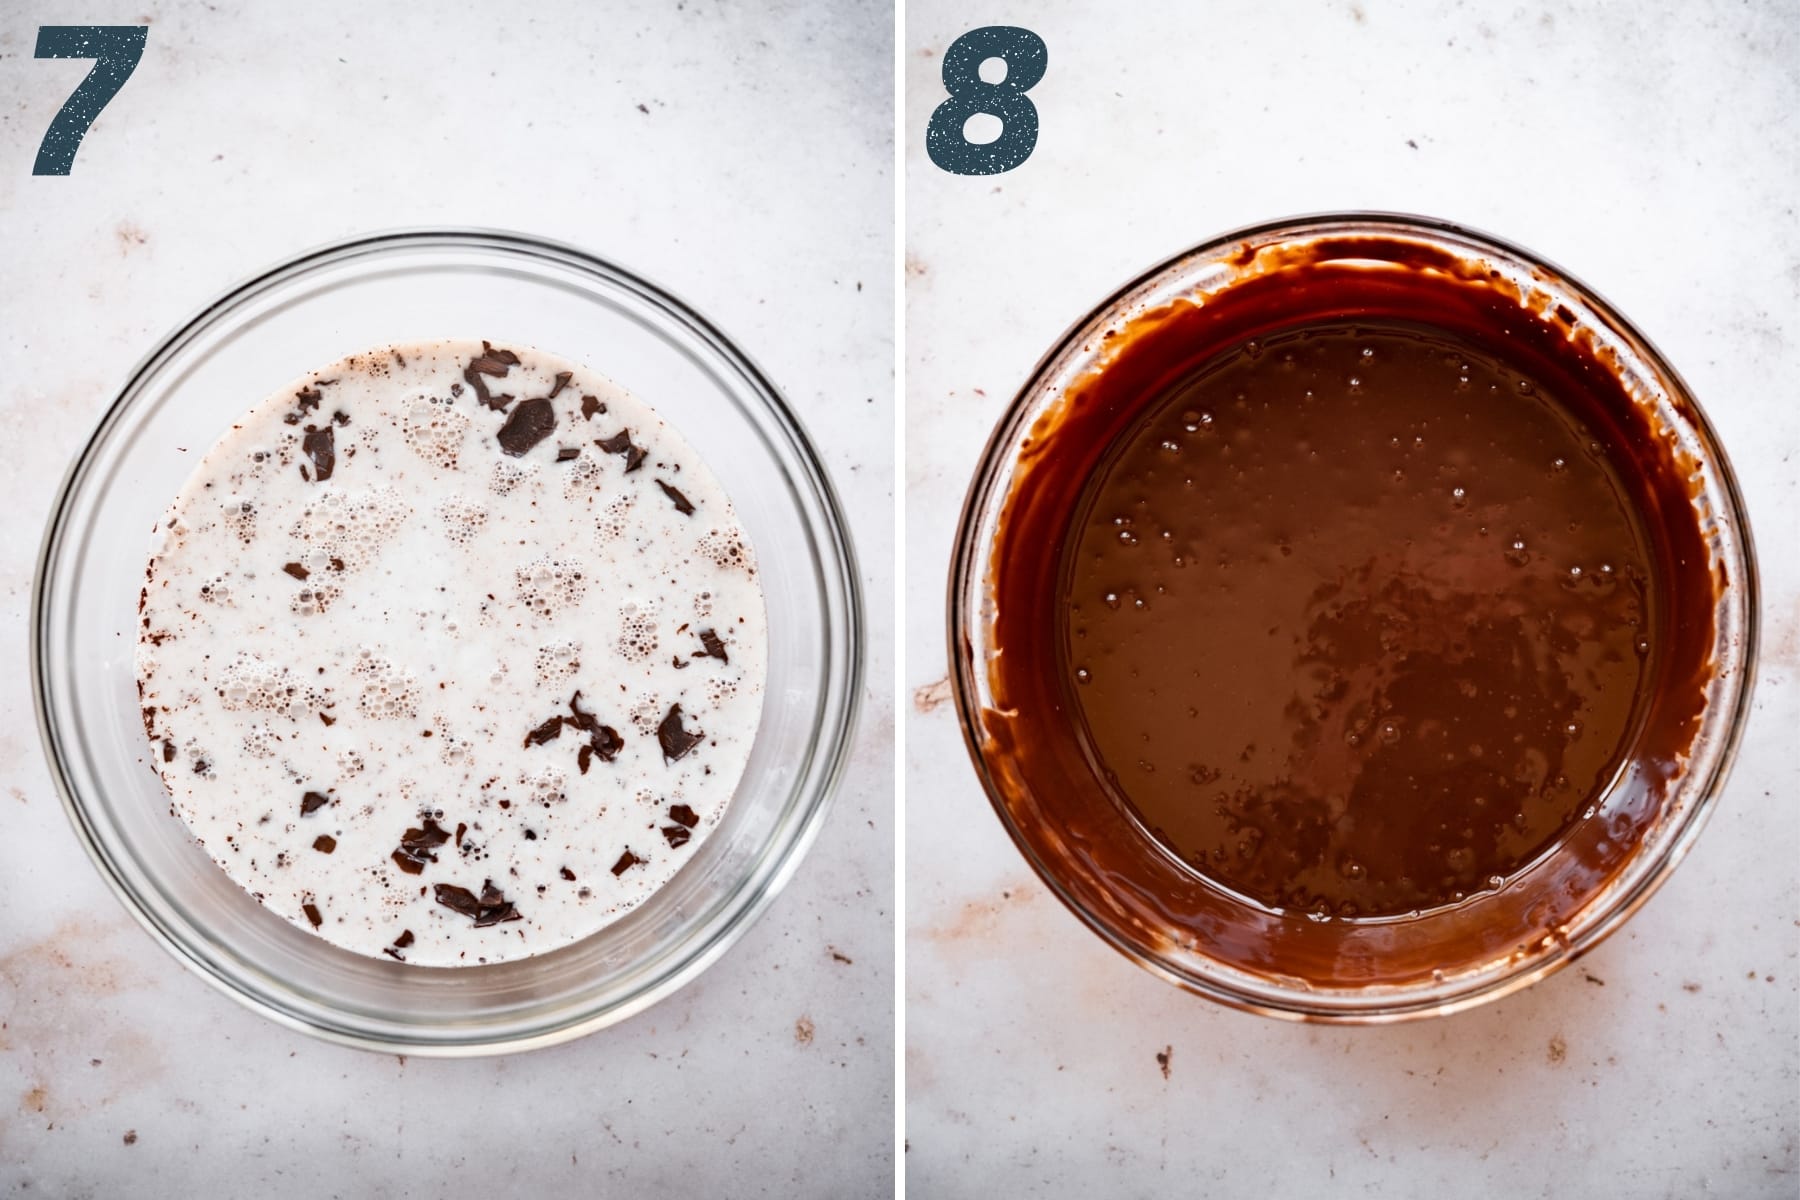
(7 & 8) Cover with a tea towel and let sit for about 2 minutes. Then, use a spatula or whisk to stir until the chocolate is fully melted and it forms a creamy ganache.
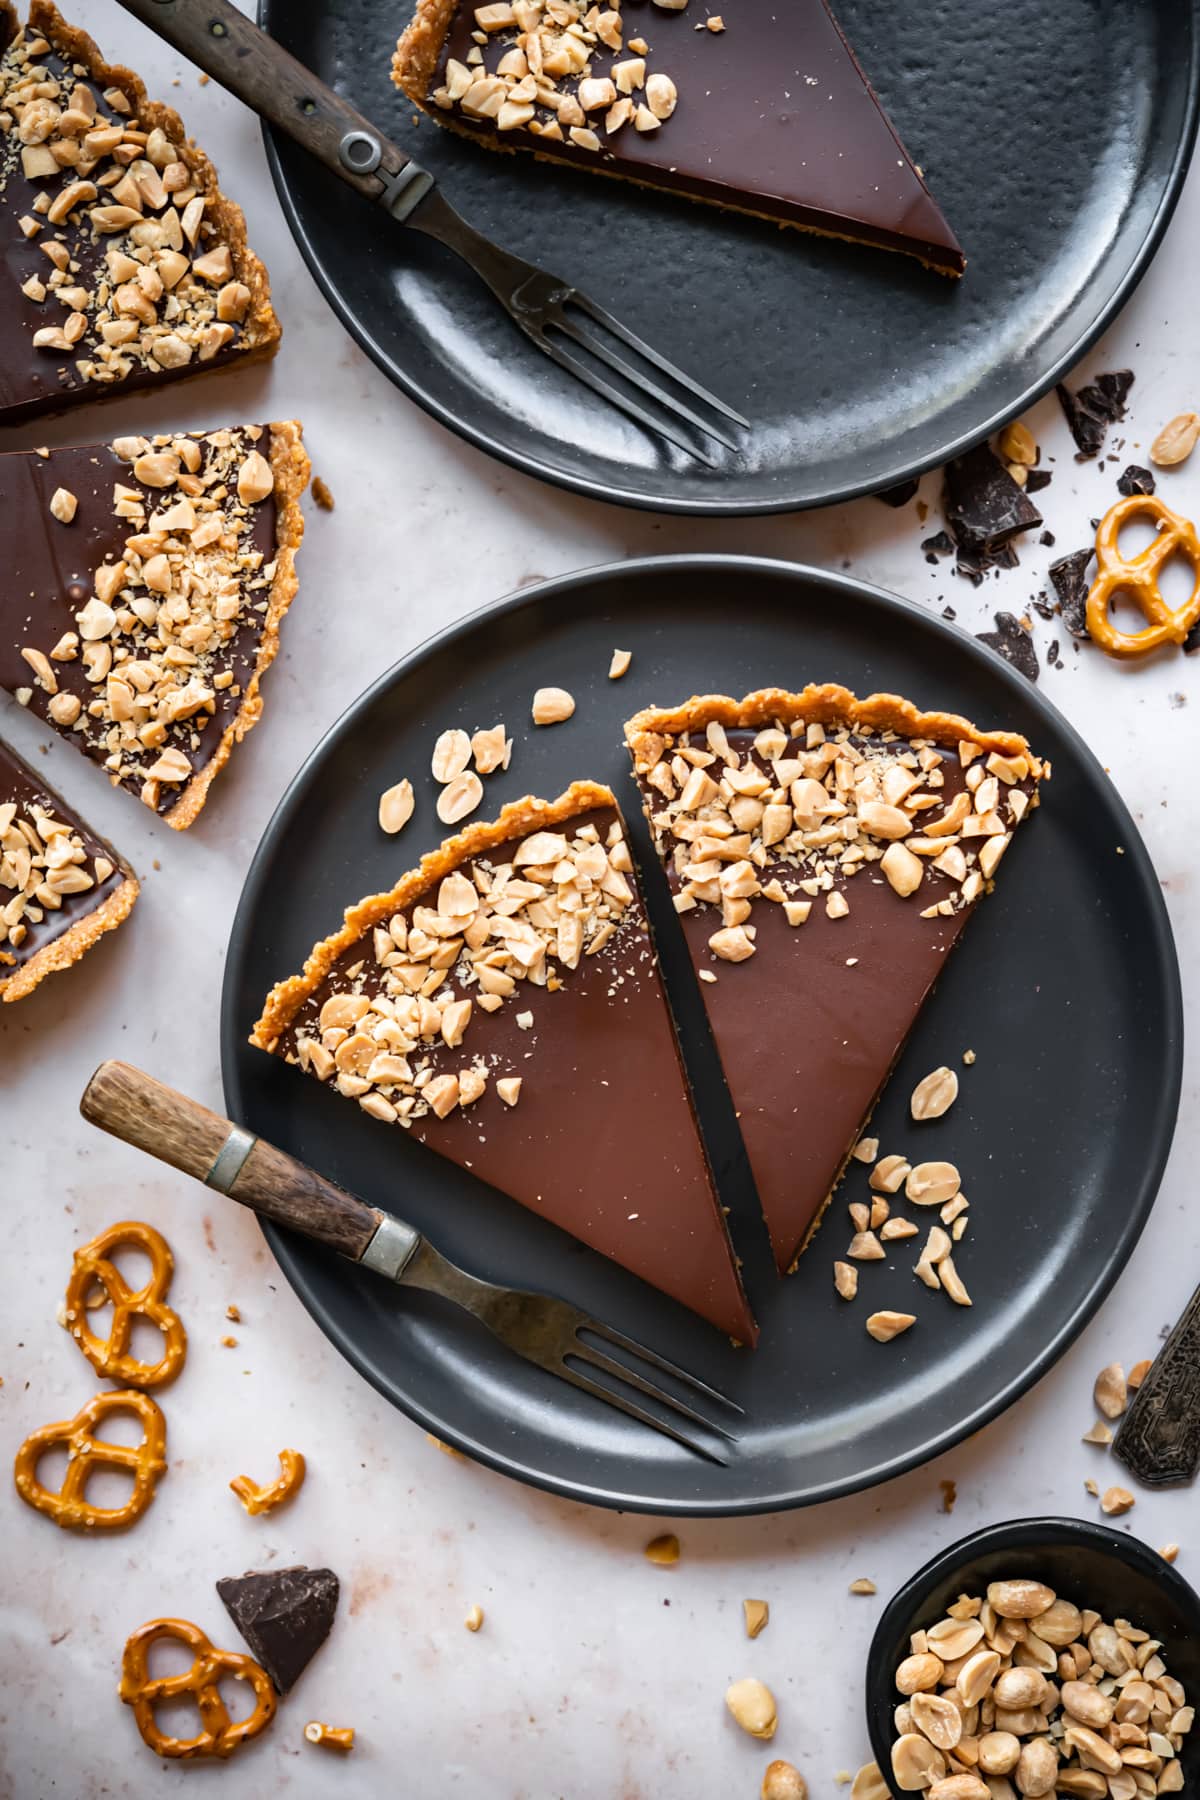
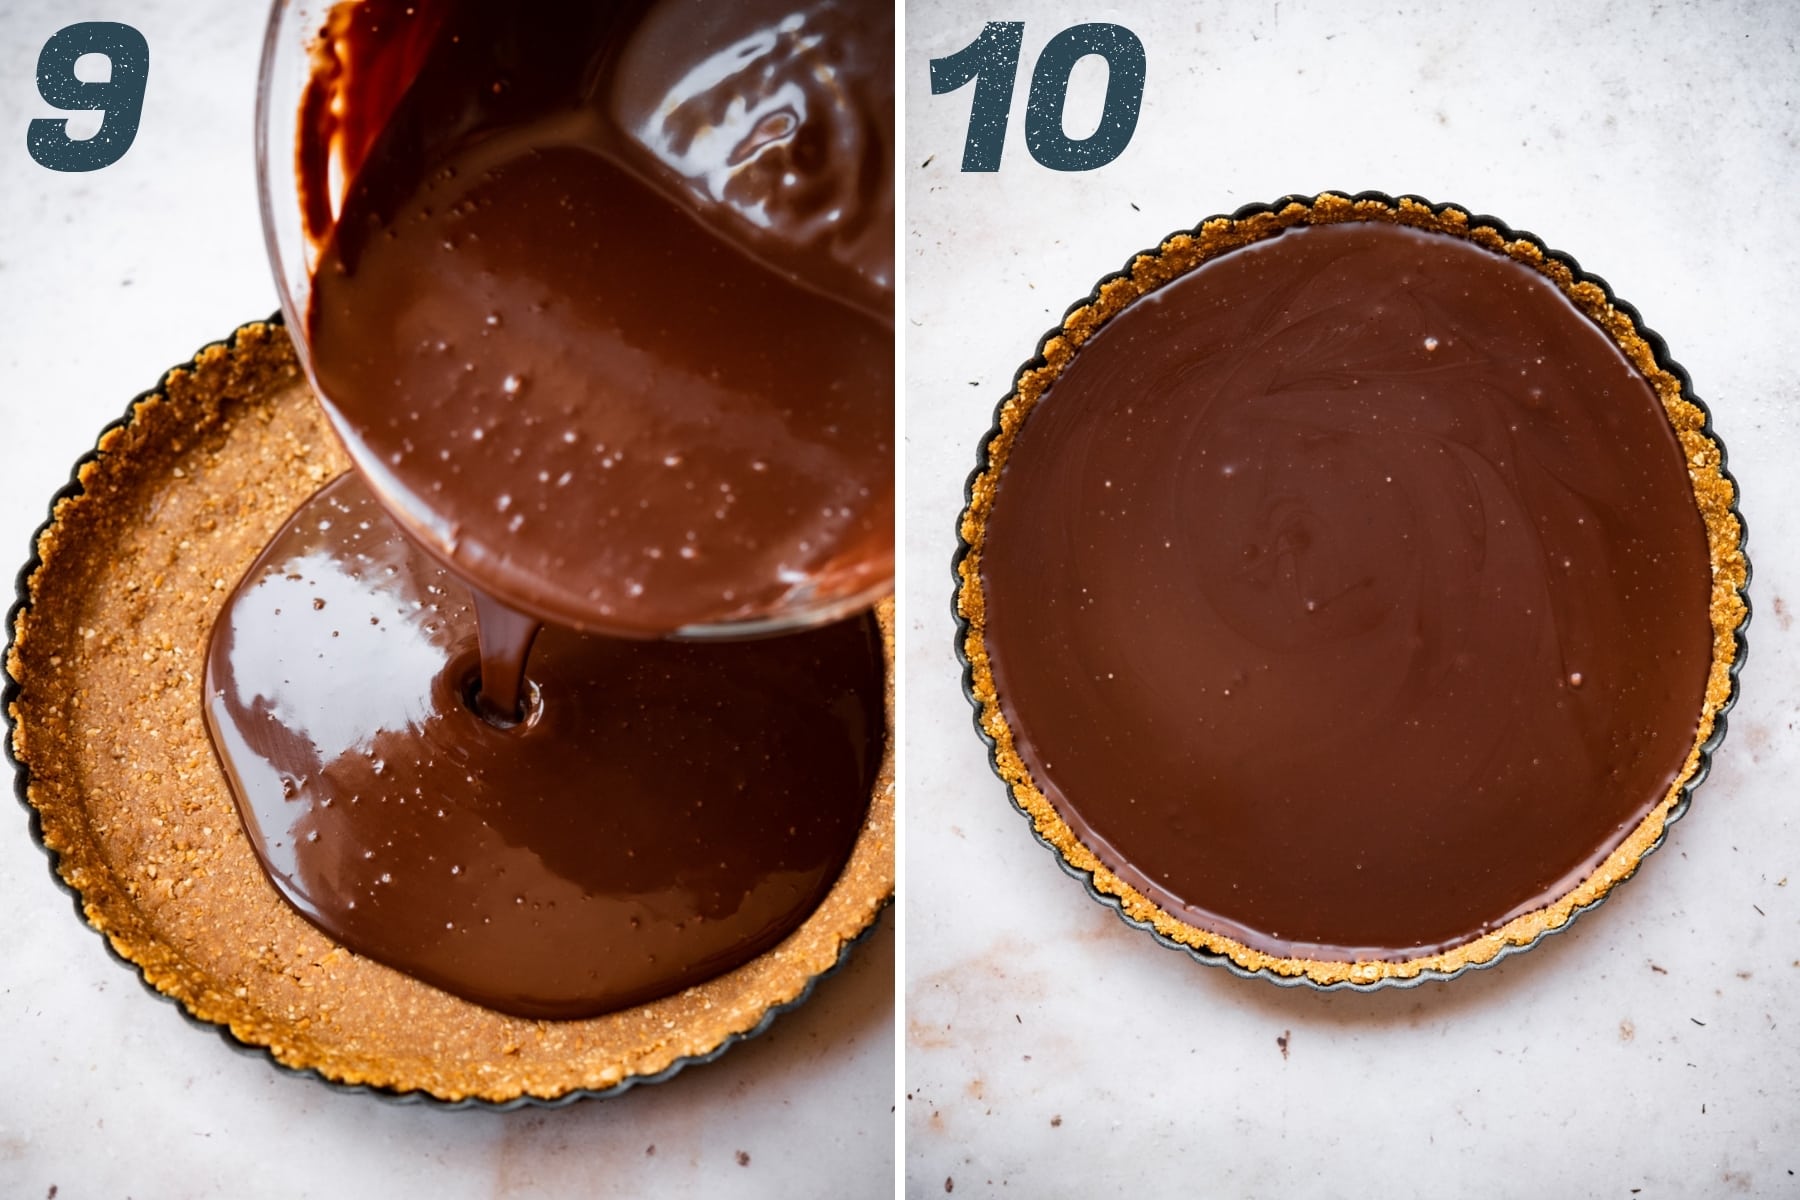
(9 & 10) Pour the chocolate filling into the crust and refrigerate for a few hours, until set. If desired, top with chopped peanuts. Slice and enjoy!
Expert Tips and FAQs
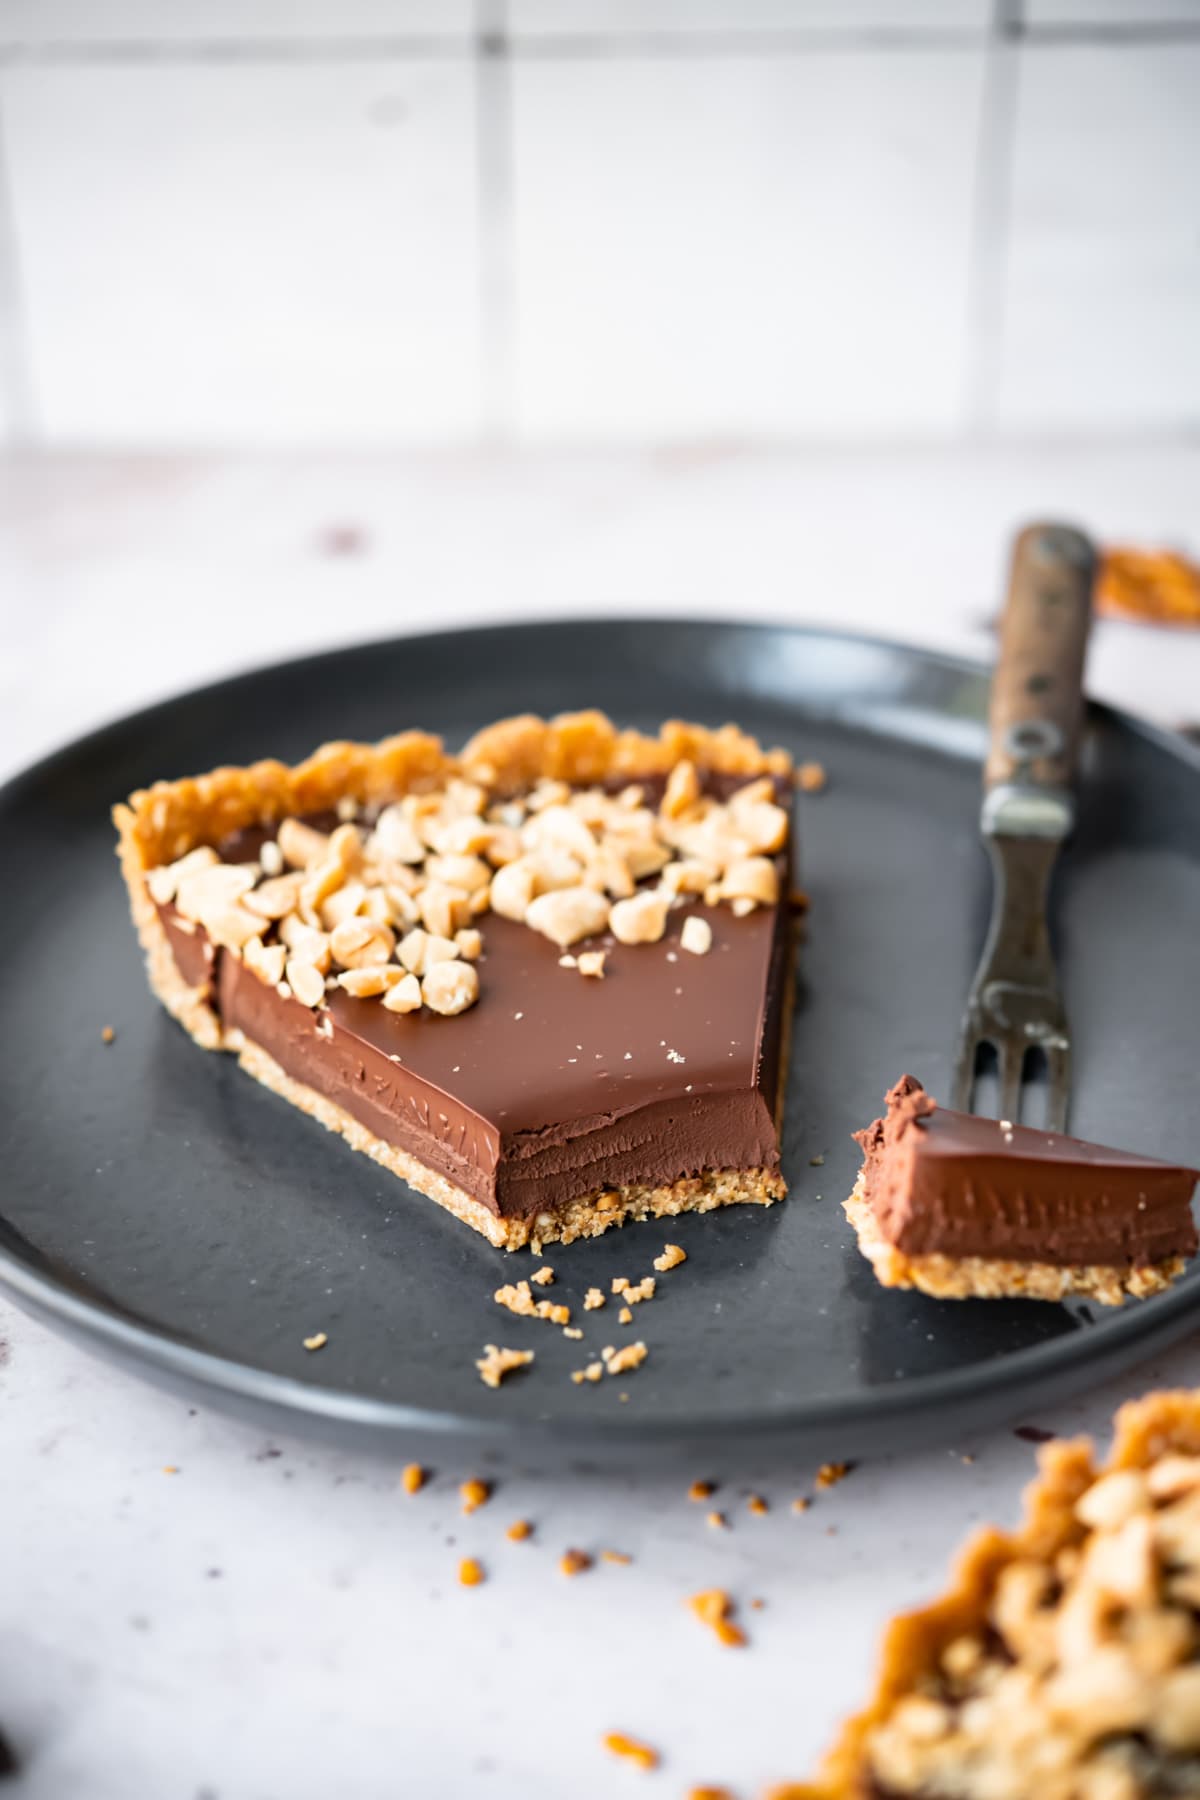
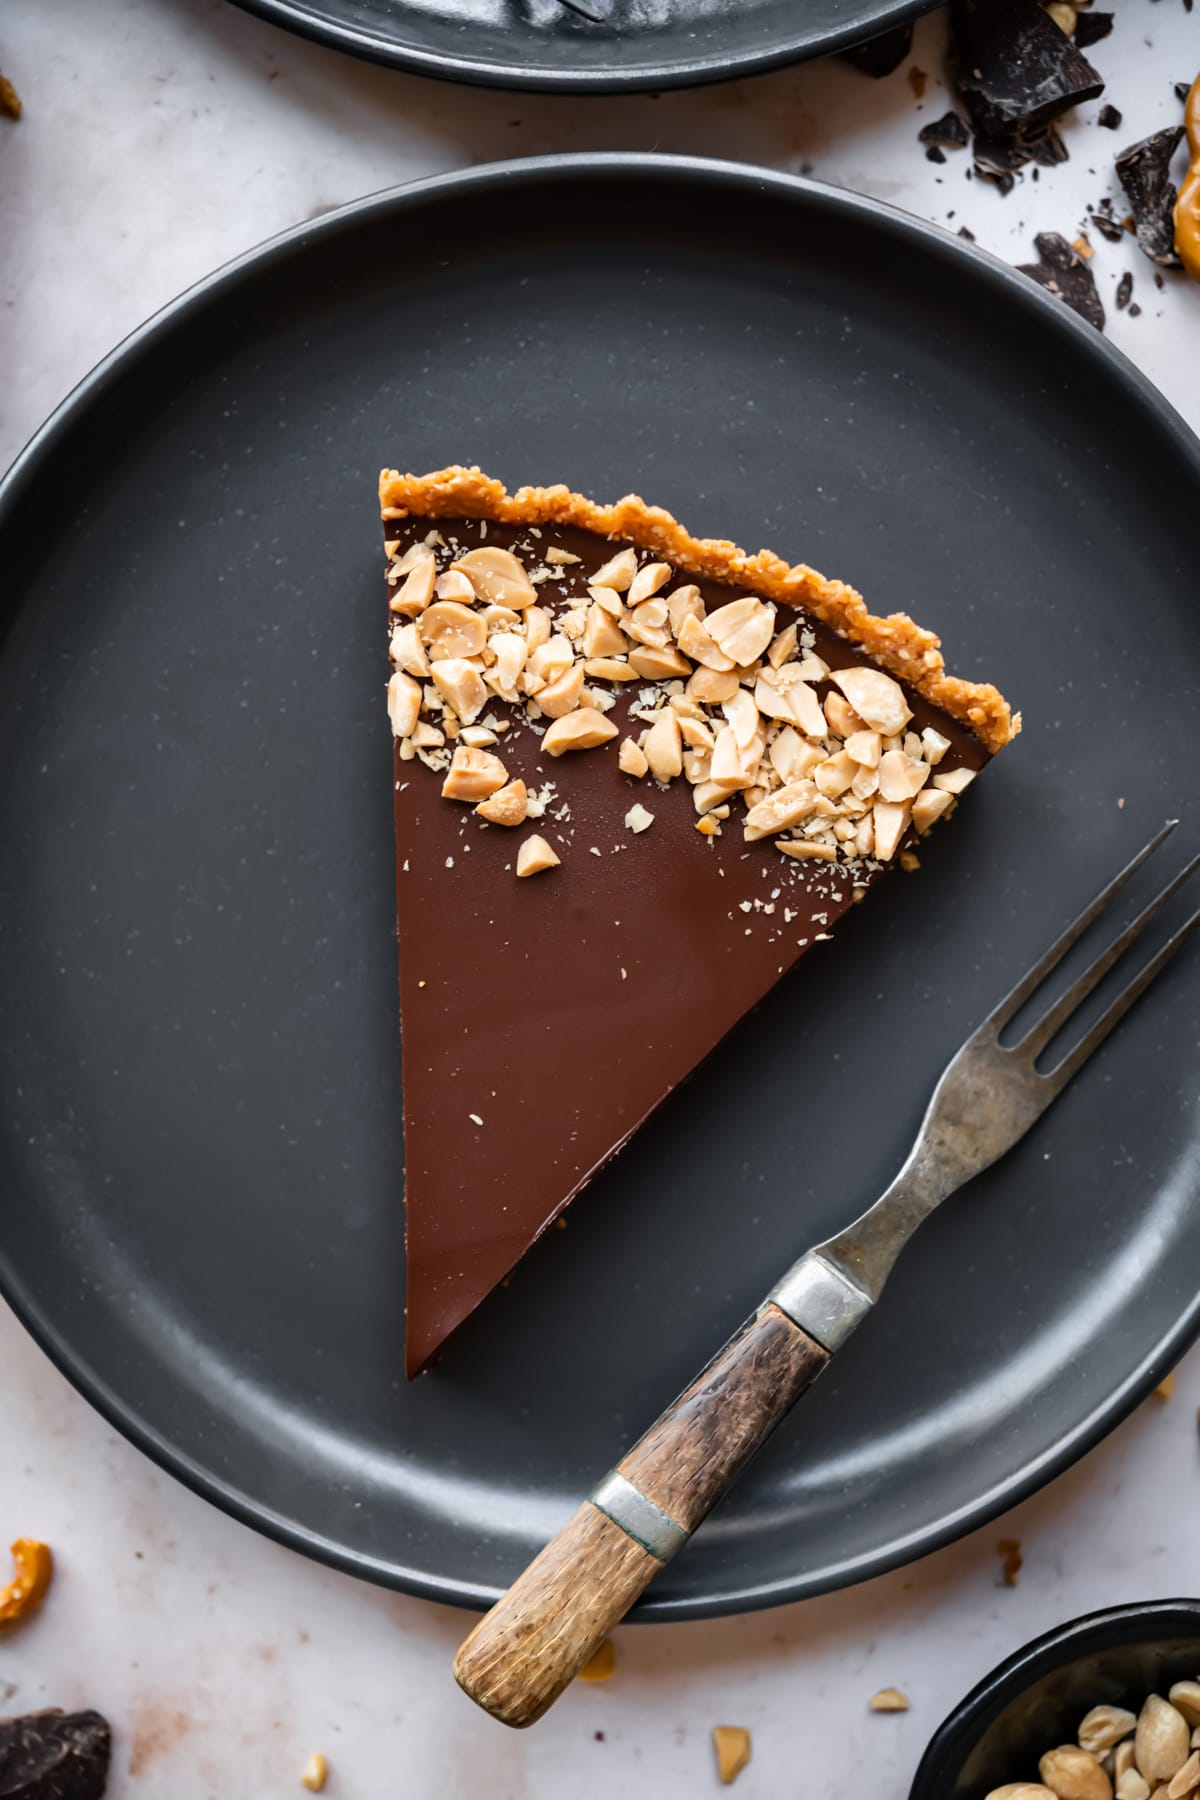
- Serving: this peanut butter chocolate tart is best served cold, and we like to top ours with crushed peanuts and flaky sea salt for extra texture.
- Storage: store any leftovers in the refrigerator in an airtight container if possible. The high fat content of the coconut milk and chocolate will absorb funky flavors in your fridge if left exposed for too long.
- Substitutions: feel free to sub peanut butter for almond or cashew butter if preferred.
Yes, this tart freezes very well, but we don't recommend keeping it frozen for longer than a month. To defrost, leave in the fridge overnight and enjoy the next day.
We've found it takes about 2 hour for the ganache filling to set, but depending on the temperature of your fridge, it could take longer. Allow for up to 4 hours if you're planning to serve this at an event.
Related Recipes
Tried this recipe? Leave a comment with a star rating ⭐⭐⭐⭐⭐ below. You can also snap a photo and tag @crowded_kitchen on Instagram. We can't wait to see what you're cooking!
Cook with us often? Tell Google you want Crowded Kitchen recipes near the top of your results.
Chocolate Peanut Butter Pretzel Tart
- Total Time: 2 hours 20 minutes
- Yield: 8-10 servings 1x
- Diet: Vegan
Description
This vegan chocolate peanut butter tart is made with just 6 ingredients, takes 20 minutes to bring together, and is NO BAKE! All you need to do is form the crust, make the filling, then pop it in the fridge and wait.
Ingredients
Crust:
- 4 cups pretzels (gluten free or regular)
- ⅔ cup smooth, unsweetened peanut butter
- ¼ cup agave or maple syrup
- 2 tbsp melted coconut oil
Filling:
- 12 oz dark chocolate (we used 72%)
- 1 can (13.5 fl oz) full fat coconut milk
Instructions
- Add all of the crust ingredients to a food processor: 4 cups gluten free pretzels (regular will work just fine too!), ⅔ cup smooth, unsweetened peanut butter, ¼ cup agave or maple syrup, and 2 tablespoon melted coconut oil.
- Pulse until the mixture forms a fine crumb mixture.
- Pour the mixture into a 9" tart pan with a removable bottom.
- Use your fingers to firmly press the filling into the pan and up the sides. You can also use the bottom of a round measuring cup to firmly press in the filling. Transfer the crust to the freezer to firm up while you make the chocolate filling.
- Add an entire can of full fat coconut milk to a small saucepan and heat over medium-low. Don't bring it to a boil – it just needs to be hot enough to melt the chocolate.
- Meanwhile, chop your dark chocolate into shards with a sharp knife. If you're using chips, you can skip this step.
- Place the chocolate shards (or chips) in a heat safe bowl. Pour the hot coconut milk over the chocolate.
- Cover with a tea towel and let sit for about 2 minutes. Then, use a spatula or whisk to stir until the chocolate is fully melted and it forms a creamy ganache.
- Pour the chocolate filling into the crust and refrigerate for a few hours, until set. If desired, top with chopped peanuts. Slice and enjoy!
Notes
Peanut butter: Creamy is best, and we used unsweetened peanut butter in this recipe. If you're using peanut butter with added sugar, you may want to cut back on the agave/maple syrup.
Dark Chocolate: We used about 72% dark chocolate. Feel free to use something a bit lighter or even darker if you'd prefer. The darker the chocolate, the richer this tart will be, especially since there's no added sugar in the filling. We used chocolate in bar form as opposed to chips because we find that the bar is melts more evenly, but chocolate chips will work in a pinch.
Coconut milk: be sure to use full fat canned coconut milk in this recipe! It works perfectly as a vegan substitute for heavy cream to make a rich, creamy ganache filling.
Serving: this chocolate tart is best served cold, and we like to top ours with crushed peanuts and flaky sea salt for extra texture.
Storage: store any leftovers in the refrigerator in an airtight container if possible. The high fat content of the coconut milk and chocolate will absorb funky flavors in your fridge if left exposed for too long.
- Prep Time: 20 minutes
- Cook Time: 2 hours
- Category: Dessert
- Method: No bake
- Cuisine: American
Nutrition
- Serving Size: 1 Slice
- Calories: 596
- Sugar: 24.5 g
- Sodium: 452.9 mg
- Fat: 37.6 g
- Carbohydrates: 57.4 g
- Fiber: 5.4 g
- Protein: 10.8 g
Lindsey says
This came together easily, looked beautiful, and tasted amazing. I will absolutely make this again!! My wife wants me to try this filling with some sort of oreo crust… I’ll report back if that is a winner as well. Thank you for an amazing recipe!
Lexi says
I'm so glad you enjoyed!! Excellent idea on the oreo crust...YUM. We have an oreo crust recipe for this pie (which you might be interested if you love peanut butter): https://www.crowdedkitchen.com/peanut-butter-mousse-tart/
Betsy says
I made this for my gluten free friends, they loved it! it was quick, easy and i made it the night before i served it. One question. what is the best way to measure 4 cups for pretzels, I used sticks and guessed, but i am pretty sure I guessed wrong!
I will for sure make this again!
Lexi says
So glad you enjoyed! That's a great question - We usually measure in a large liquid measuring cup. Do you think you had too many or too few pretzels?
Betsy says
Oh, knowing me I had way too many:)! Sometimes I think its easier to measure certain things by weight. I will try a liquid cup next time.
Jeanne says
So easy
Amazing flavor
Tasted like crunchy Reese’s peanut butter cup!!!
Autumn says
I’ll start by saying this was DELICIOUS!! No doubt about it! But I’m not sure if something in the recipe is off or if I did something wrong but I had way too much crust and way too much filling to fit in my 9” tart pan. I ended up making a second mini tart (which isn’t that bad I guess since I kept that one all for myself!) My crust also came out looking a little dryer than yours. I did melt my coconut oil like the recipe said even though in the photo of step #1 it looks like room temp coconut oil. Could this have been the problem with my crust being a little dryer than yours looked in the photo? Perhaps the pretzels absorbed the liquid oil.
The crust did stay together well enough to pop it out of the pan so that’s good! It was just kind of crumbly when we cut into it. But in the end tasted great, was a total hit!
Lexi says
Hi Autumn, thank you so much for your review! The coconut oil shouldn't have affected the dryness of the crust - my guess is that just has to do with the pretzels or the peanut butter used. We used a very liquidy peanut butter that probably had a higher fat content, which is why our crust was a bit wetter. I will be sure to note that in the notes section, so thank you for bringing that to my attention. As for the tart pan size, do you mind me asking how deep the pan was? Ours fit everything perfectly, so not sure what the difference was there! I'm so glad you enjoyed nonetheless, and thanks so much for your detailed comments! Always helps make for a better user experience all around 🙂 Have a great day!
Autumn says
Hi Lexi, Thanks for your response.
Yes, the type of peanut butter could have been the culprit! Looking at the photo your peanut butter is more liquid-y than mine was. I’m planning to make this tart again, what would you recommend if I find my tart crust a little too dry. I was thinking either add more oil or more peanut butter? And I used 1” deep 9” tart pan from Wilton.
Lexi says
I'm thinking a little more oil will do the trick! It should be wet enough that you can easily pinch between two fingers without crumbling. As for the tart pan, I believe that's the same one we have! So interesting that it ended up being too much crust & filling - I will test again and get back to you! Have a great weekend. 🙂
Andrea Siegel says
Delicious!!!