
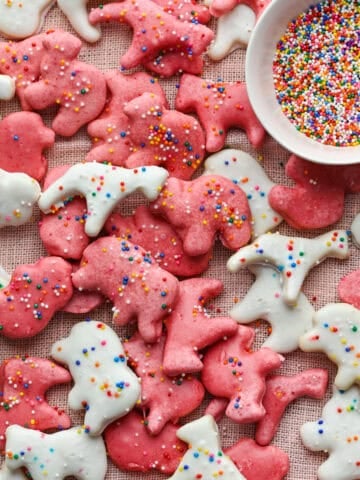
With fresh fruit and just 3 other ingredients, you can make homemade fruit snacks that are chewy, delicious, and packed with real fruit flavor. This recipe also works for homemade gummy worms, gummy hearts or gummy bears!
Fruit snacks were (and still are!) a lunch box staple, so why not make them at home with fresh fruit instead of buying store bought gummies that are full of artificial flavors, sweeteners, and corn syrup?
Disclosure: Some of the links below are affiliate links. This means that, at zero cost to you, I may earn an affiliate commission if you click through the link and finalize a purchase. Read our full affiliate disclosure here.
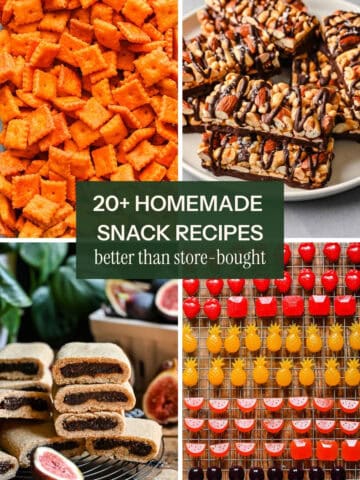
This recipe is part of our Better Than Store-Bought series, where we cook up homemade versions of your favorite store bought snacks. These gummies look and taste amazing, and they're really not that hard to make. The end result is so rewarding, and the process is super easy, so it's a great activity to do with your kids.
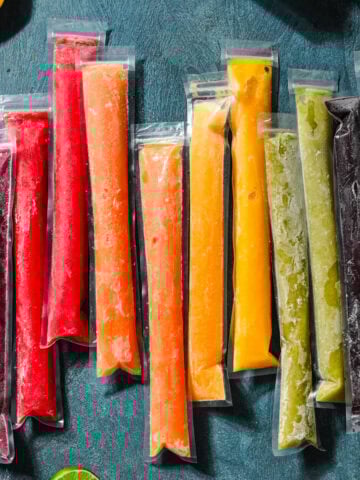
If you're looking for more delicious homemade snacks that you and your kids will love, check out our Homemade Freeze Pops or these Homemade Cheez-Its.
Jump to:
Homemade Fruit Snacks Ingredients
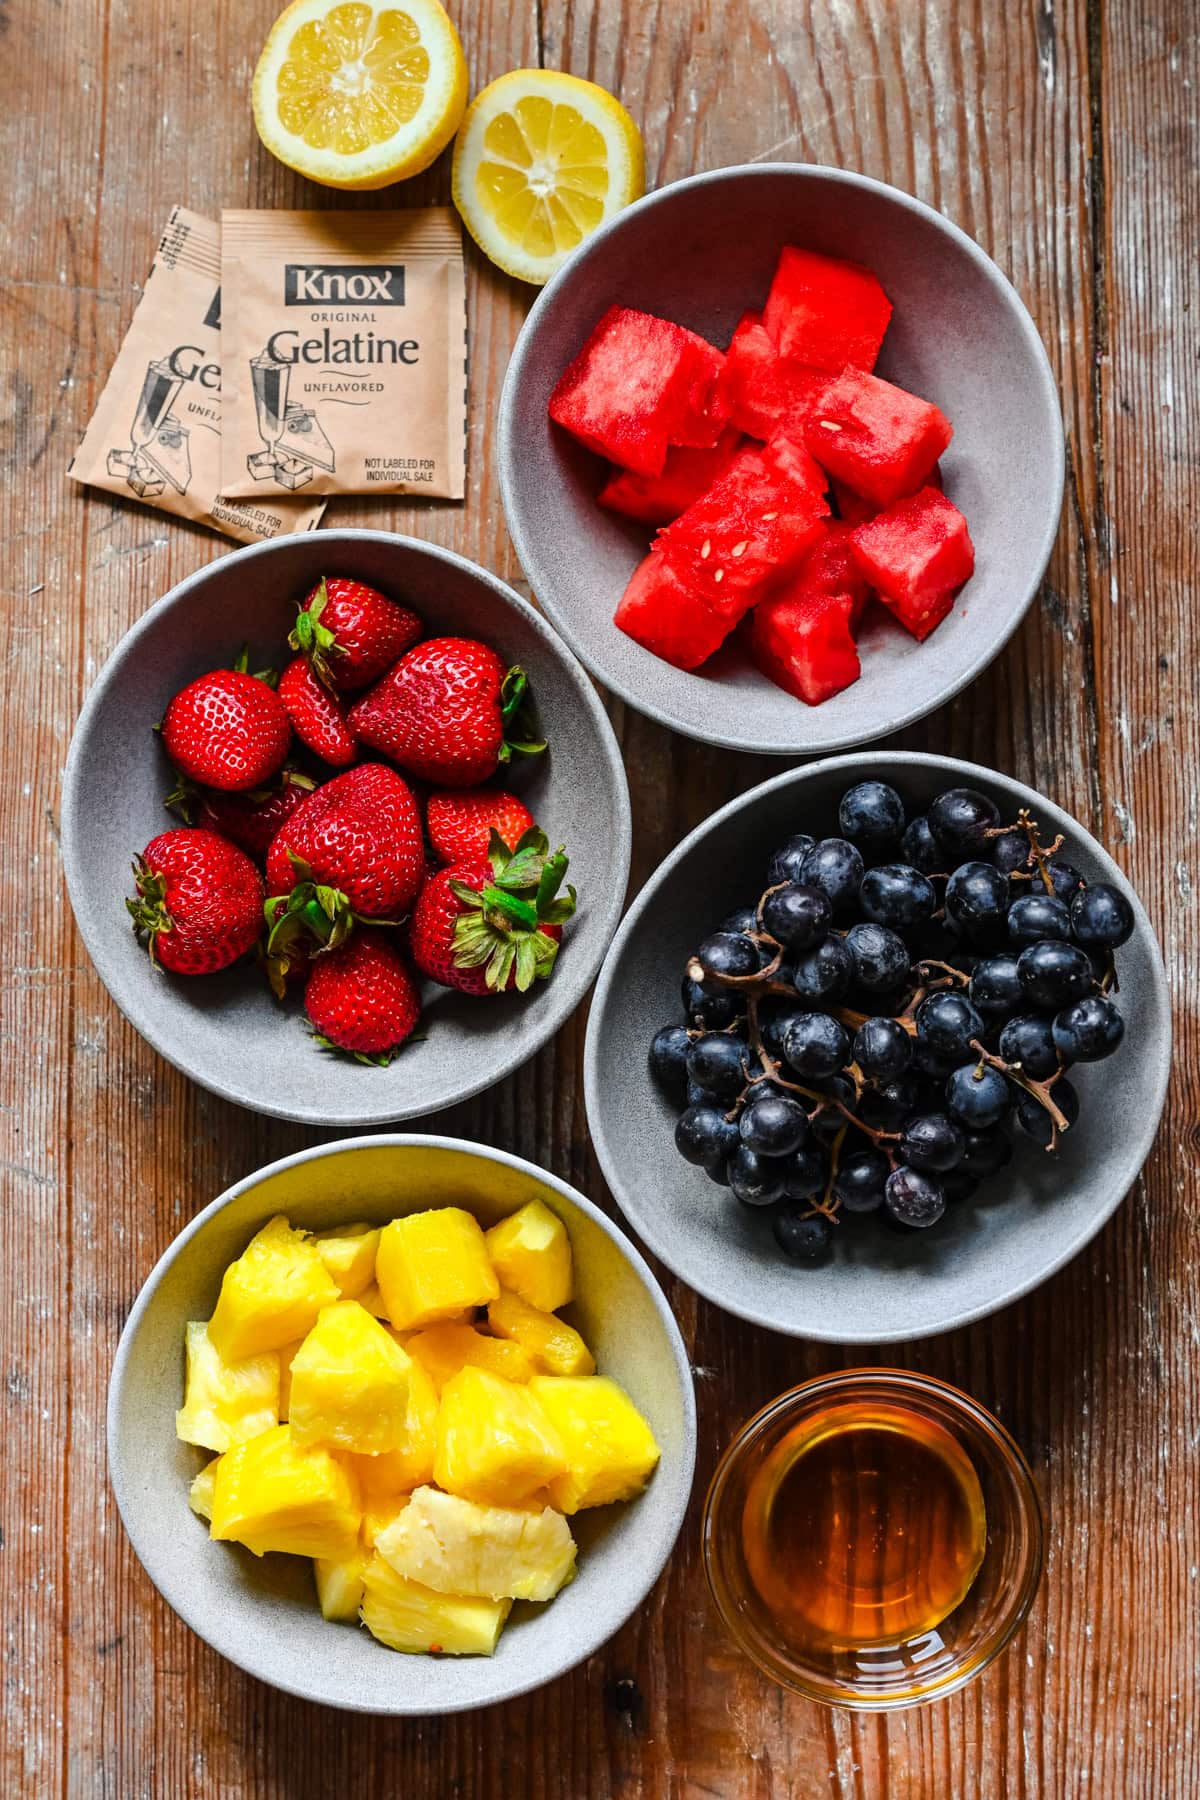
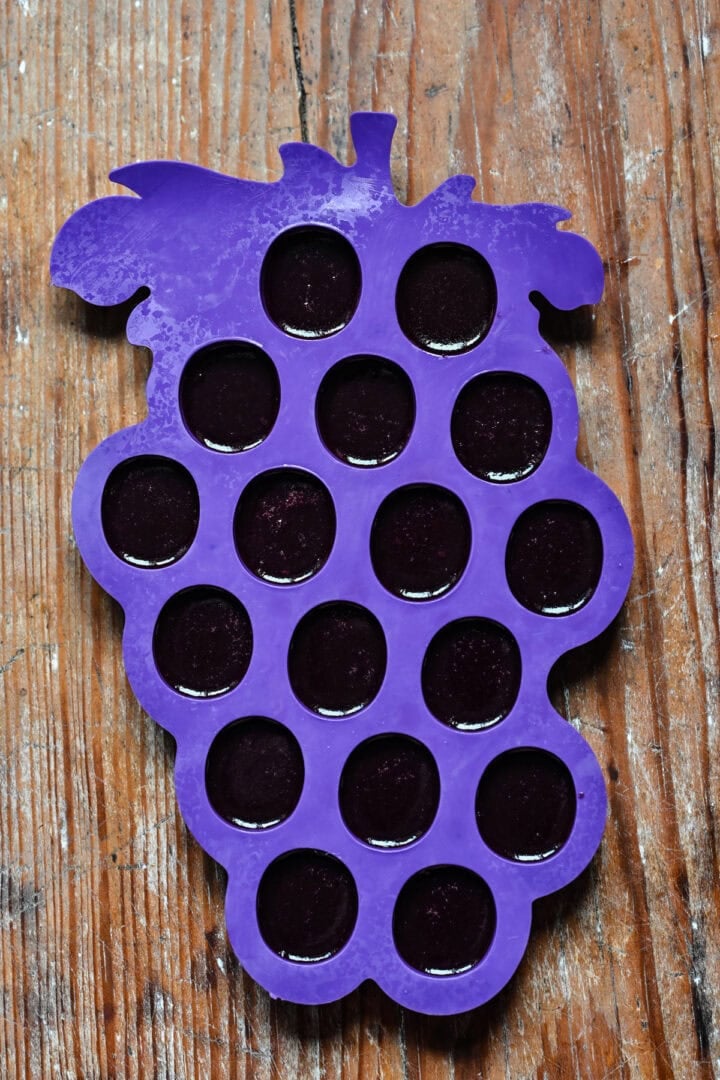
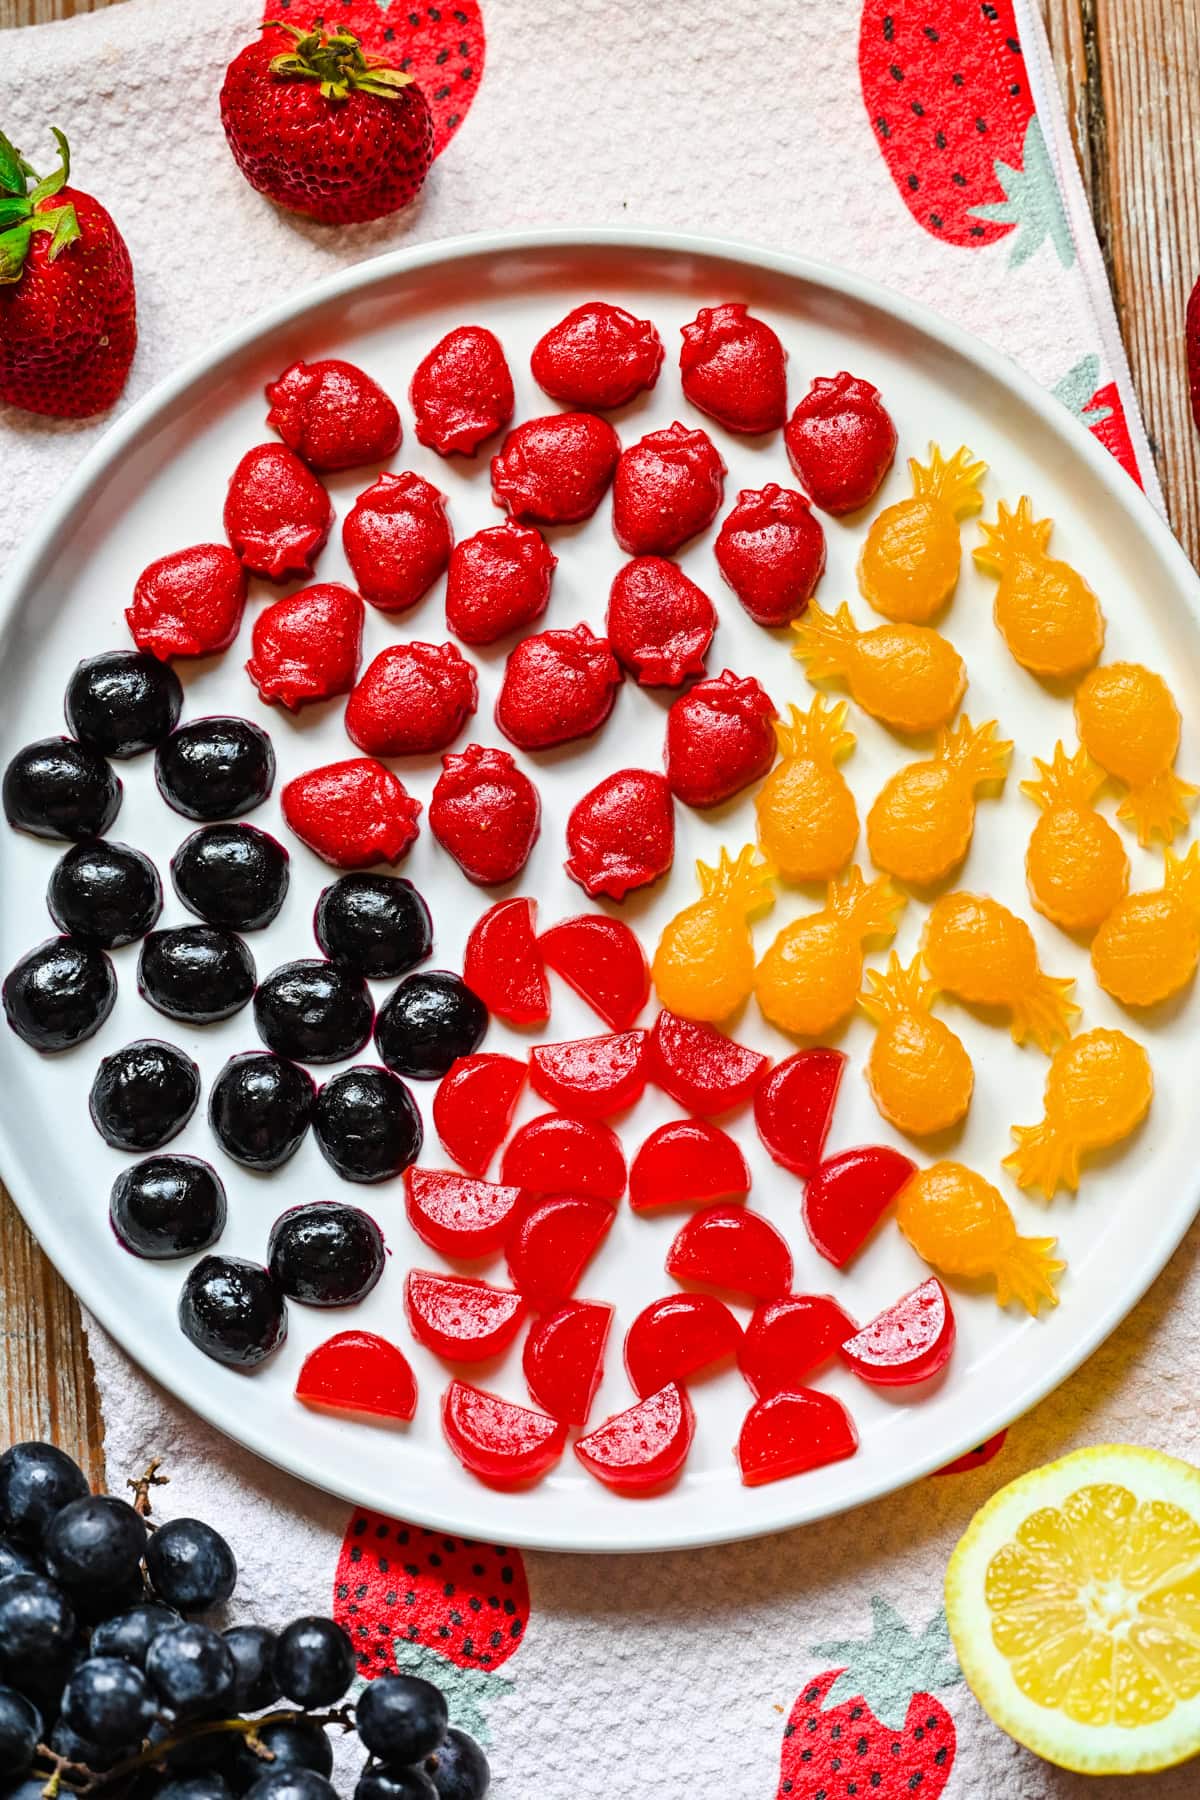
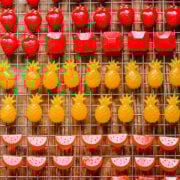
- Fresh fruit: we chose pineapple, watermelon, strawberry, and black seedless grapes for our gummies, but just about any fruit will work. Keep in mind that some fruits (like pineapple and kiwi) need to be heated to a higher temperature before adding the gelatin in order to set. You can find more details in the recipe below!
- Lemon juice: freshly squeezed lemon juice really helps to bring out each fruit's flavor, and it also helps to prevent oxidation and discoloration. We choose to bloom our gelatin in lemon juice instead of water to prevent diluting the flavor and color of our gummies.
- Honey or agave: we prefer the flavor of honey, but it is harder to work with, and more expensive than agave.
- Gelatin: After making these several times, we have realized that the better quality the gelatin, the better they will taste! This beef gelatin is the best tasting one we've found so far. You can also use less expensive gelatin (like the Knox brand in the photos above), but keep in mind that it has a stronger flavor and smell. If you're a vegan or vegetarian, you can substitute gelatin for agar agar, which uses a different process entirely.
Ingredient Spotlight
Pineapple: A lot of online resources will caution against using pineapple in gummies, because it contains bromelain. You may have heard of tenderizing meat with pineapple, and it works because bromelain breaks down proteins. Since gelatin is a protein, we need to deactivate this enzyme if we want our pineapple gummies to set.
Luckily, all we have to do is cook the blended pineapple for 8 minutes at 176˚F.
Some other fruits, like mango and kiwi, also contain enzymes that make it difficult for gelatin to set, so if you choose to use them, you'll need to follow the same process.
How to Make this Homemade Fruit Snacks Recipe
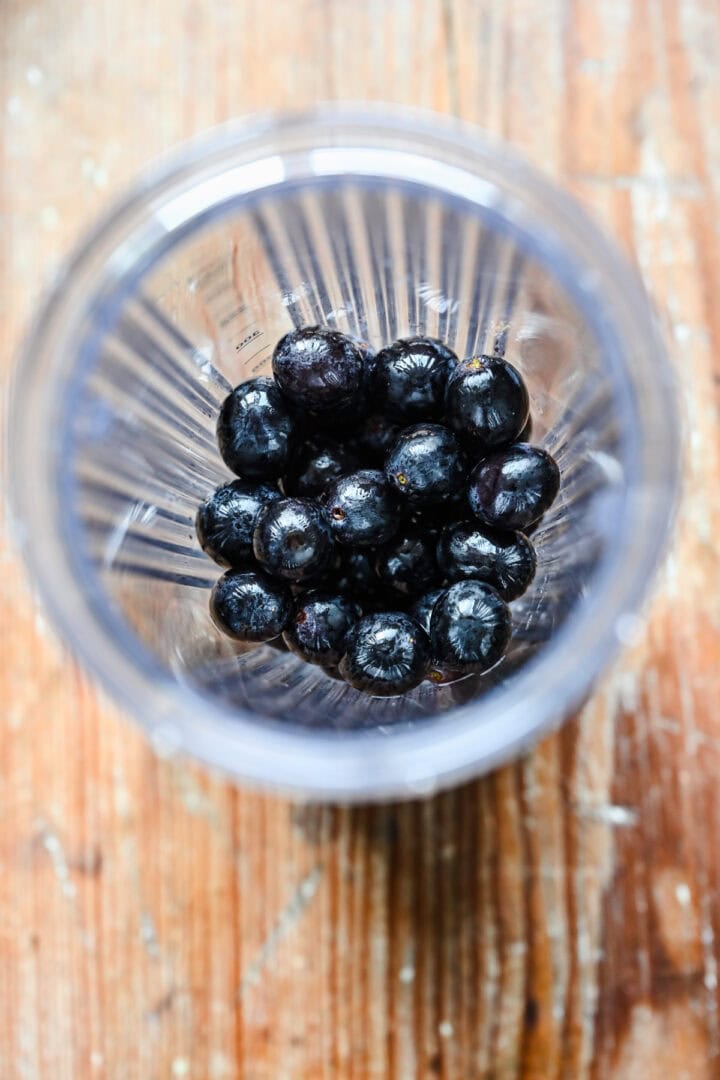
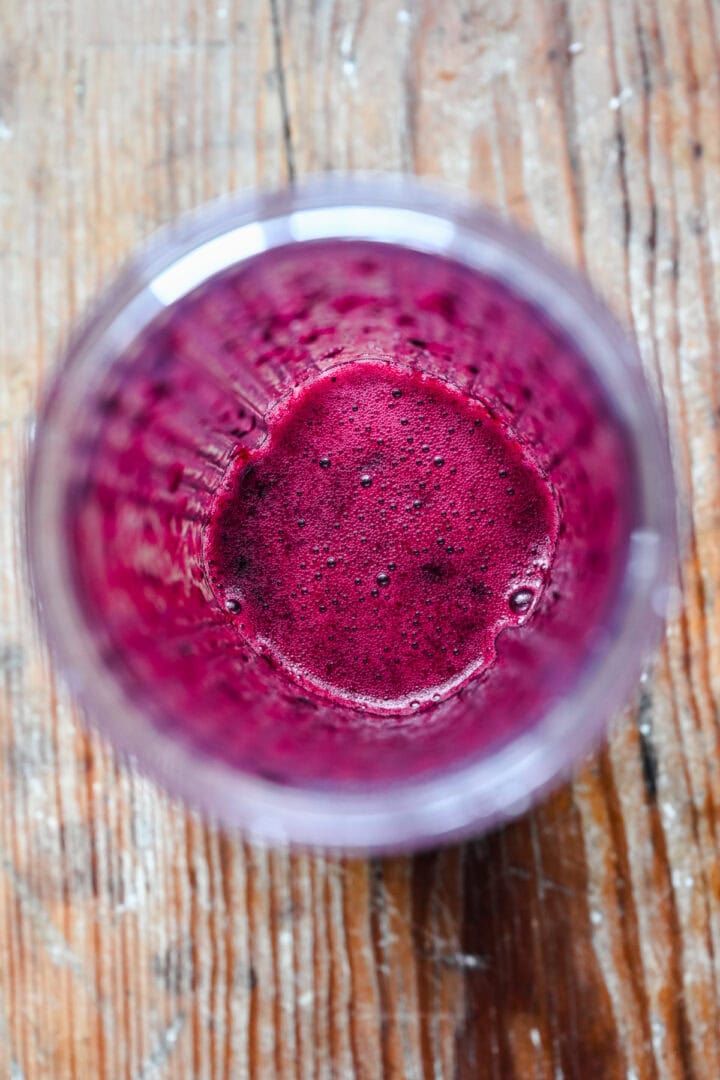
STEP 1: Blend the fruit. Add fruit to a blender and blend until completely smooth.
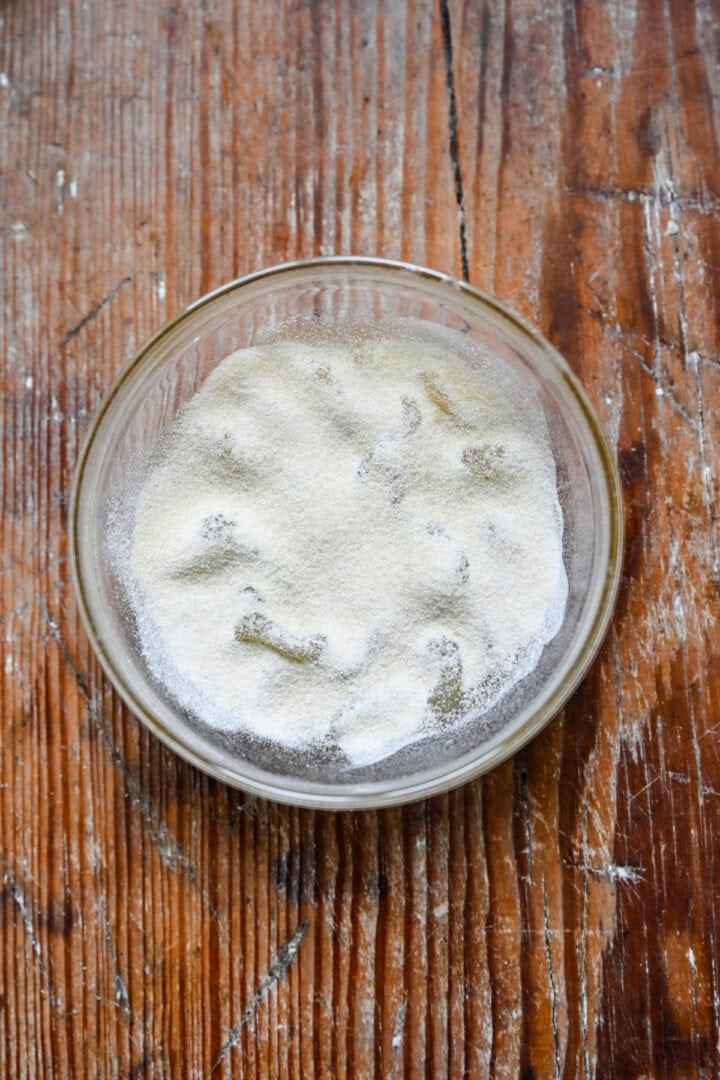
STEP 2: Bloom the gelatin. In a small container, sprinkle gelatin evenly over lemon juice, then stir thoroughly until there are no dry grains visible. Let sit for 5 minutes.
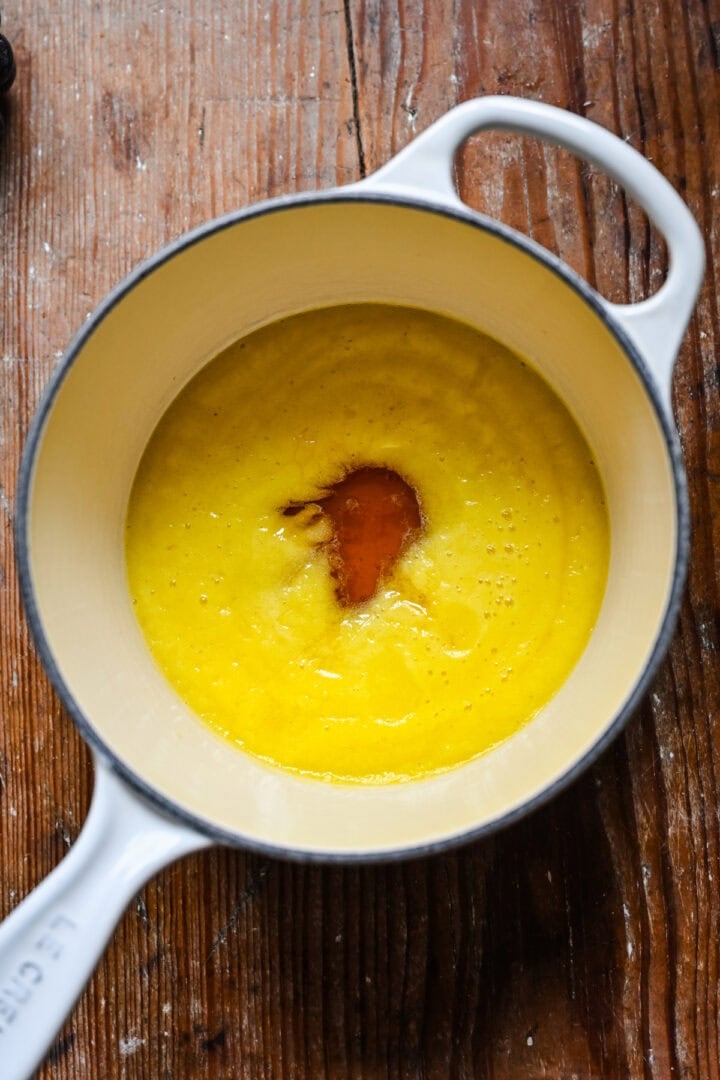
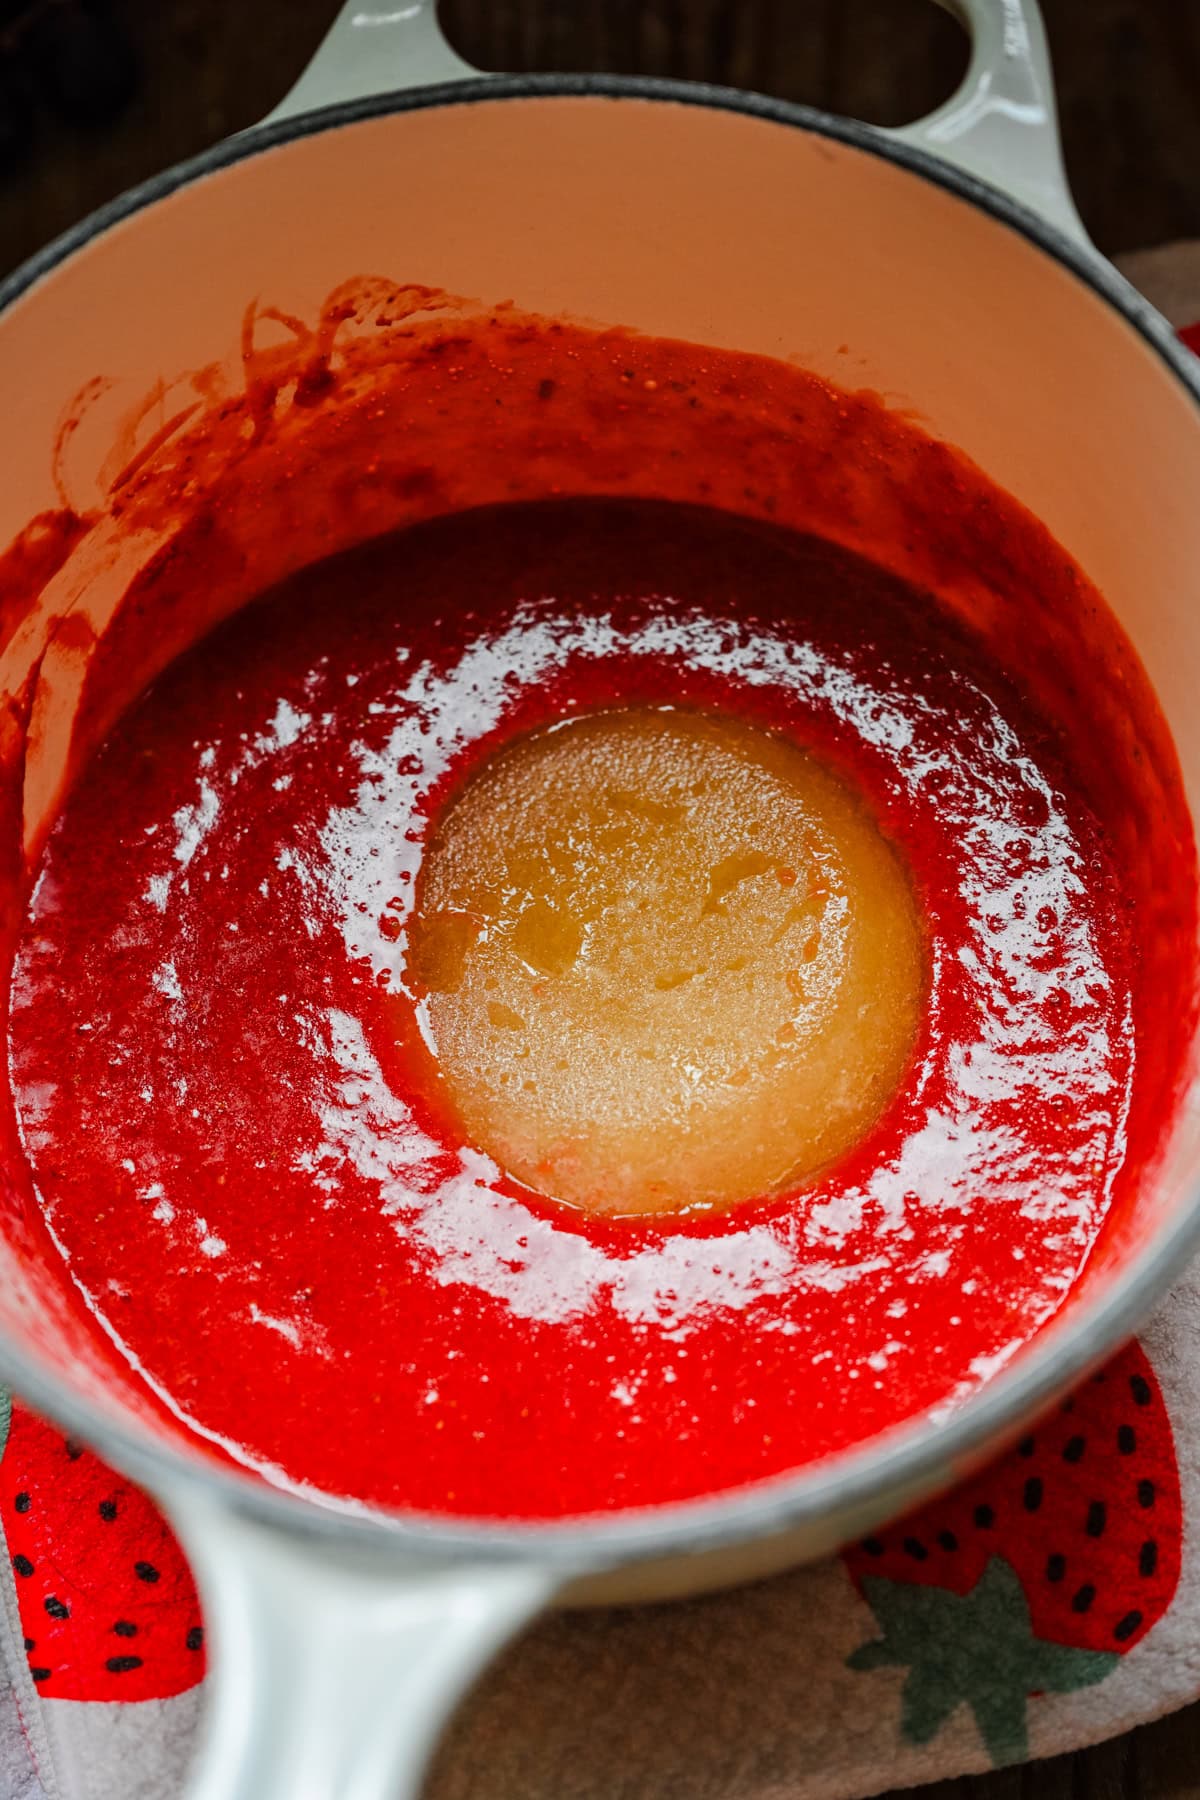
STEP 3: Heat up the fruit purée. While the gelatin blooms, combine fruit purée with honey or agave in a small saucepan over low heat, and stir until combined. You want to heat the purée enough to melt the gelatin (>~120˚F), but you don't want to bring it to a boil, which will denature the gelatin.
NOTE: There's one major exception here. Pineapple (and some other fruits, including mango and kiwi) contains enzymes, including bromelain, that will essentially "eat" the gelatin and prevent the gummies from setting. To deactivate the enzyme, you must heat the pineapple purée to at least 176˚F for about 8 minutes.
STEP 4: Combine fruit purée with gelatin. Add gelatin and lemon juice mixture to the fruit puree, and stir until it's completely dissolved. Remove pan from heat and let cool for about 5 minutes.
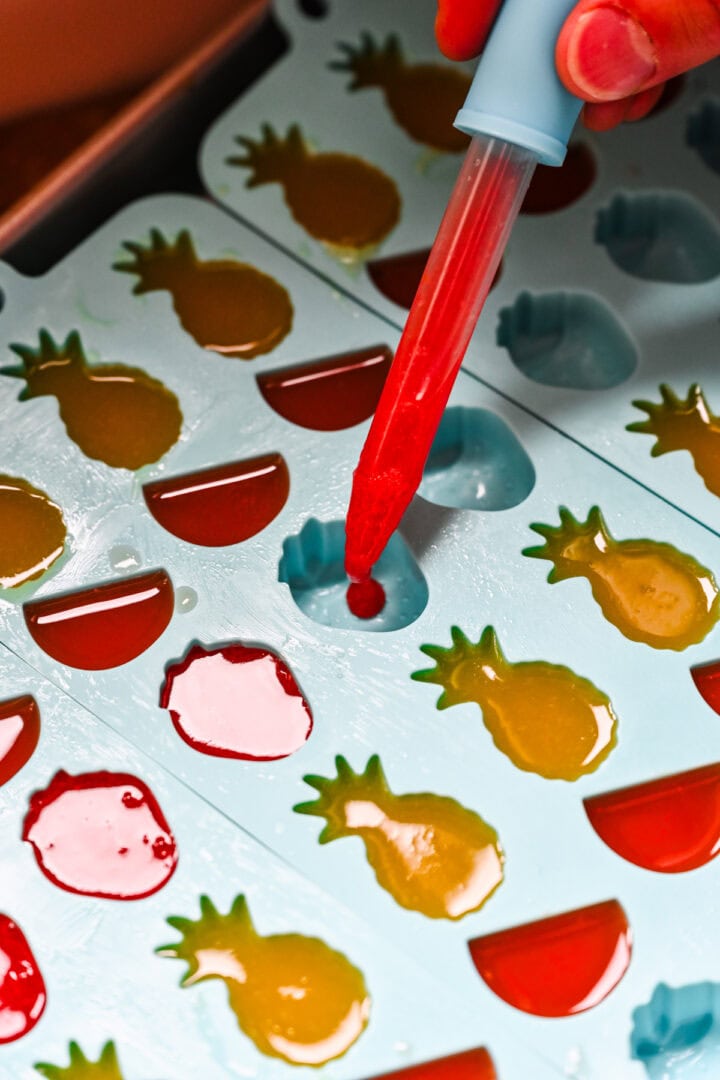
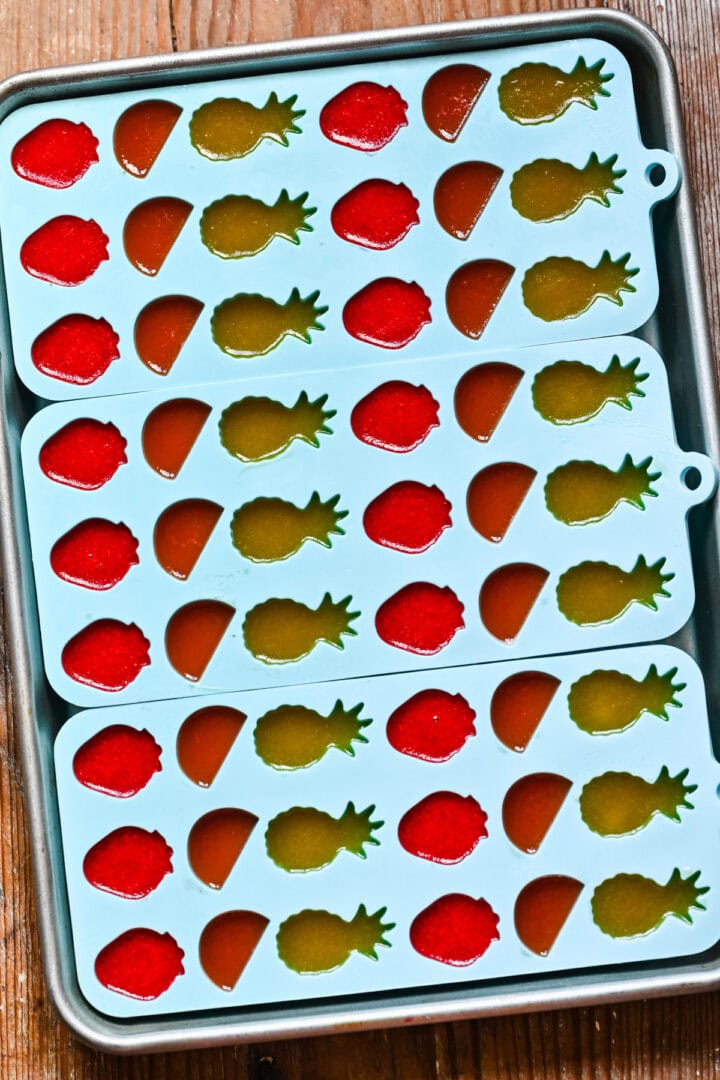
STEP 5: Fill up your molds. Give your silicone molds a light spray with avocado oil or cooking spray. Use a spoon or a dropper to fill up the fruit molds, then move to your refrigerator. Refrigerate for an hour and a half to let them set up.
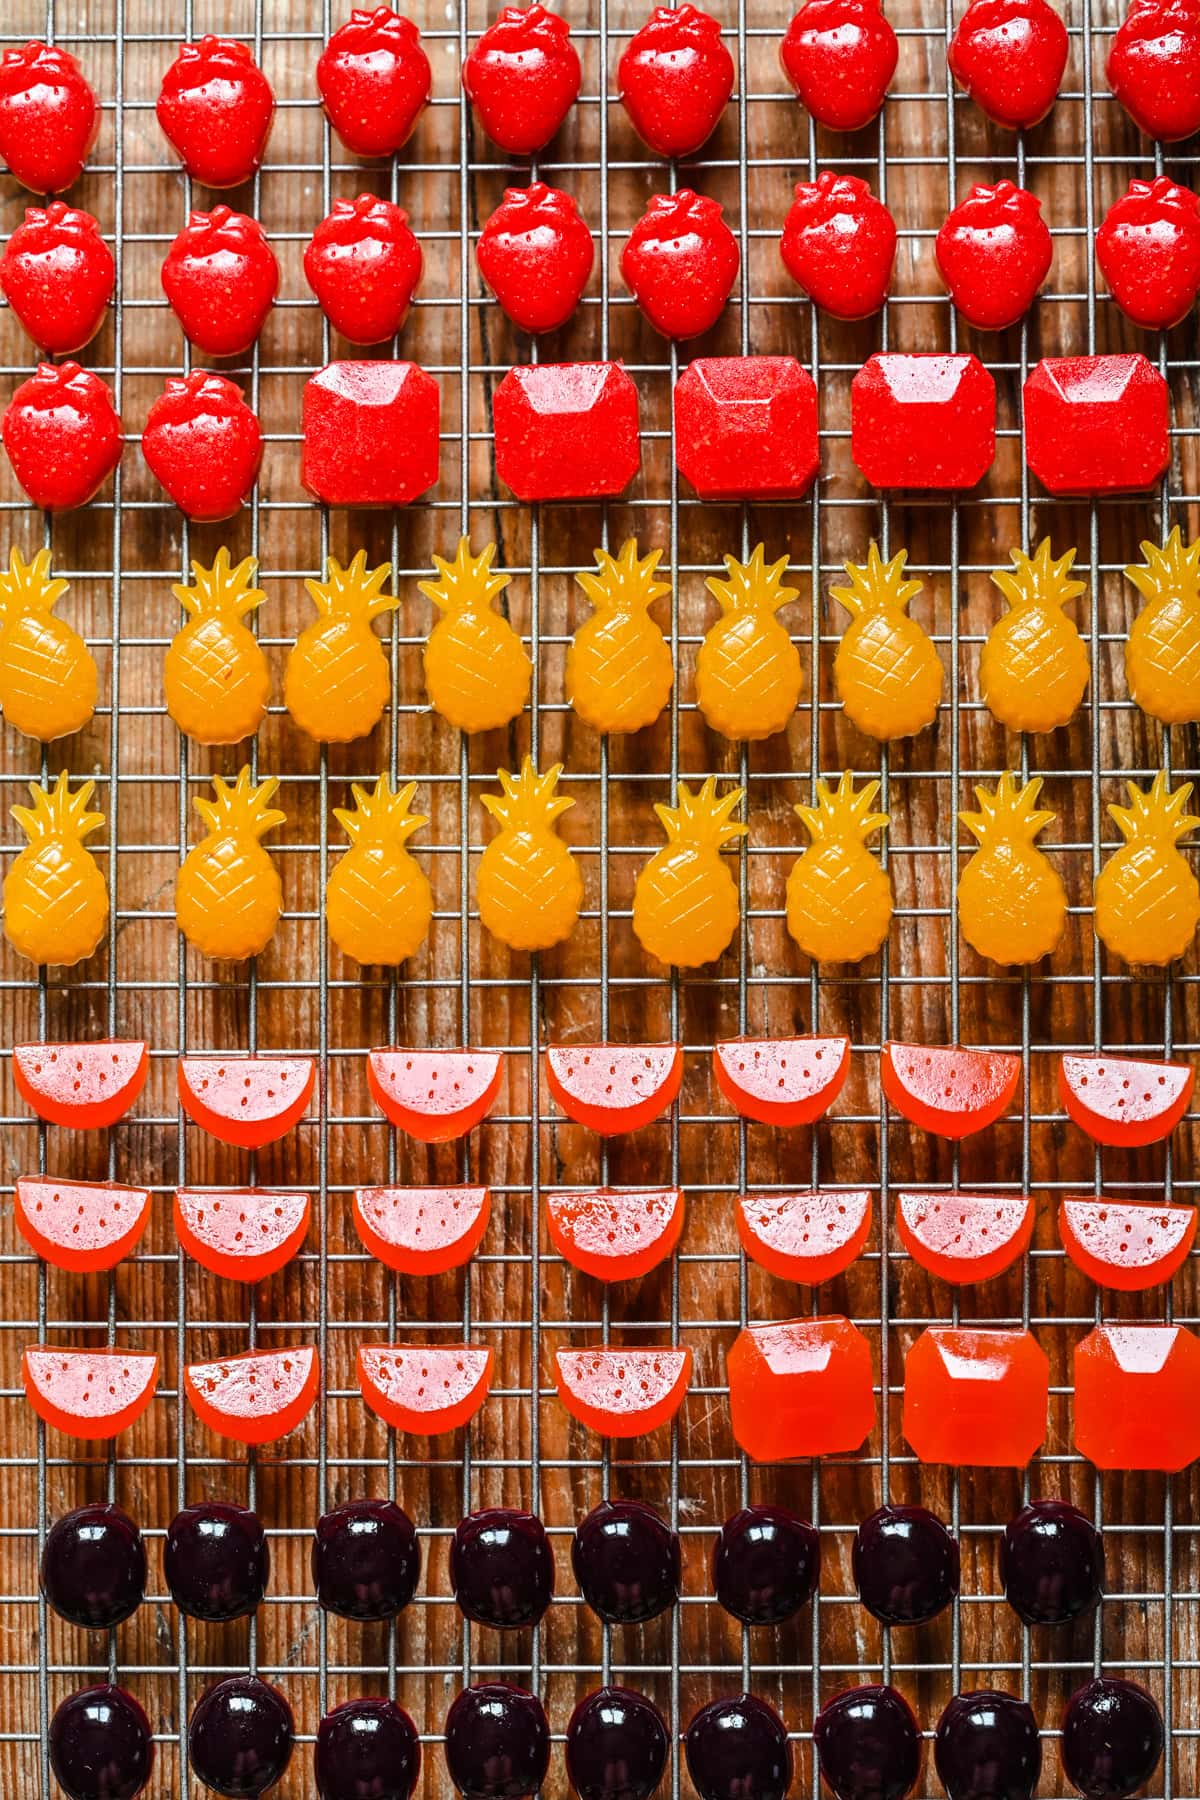
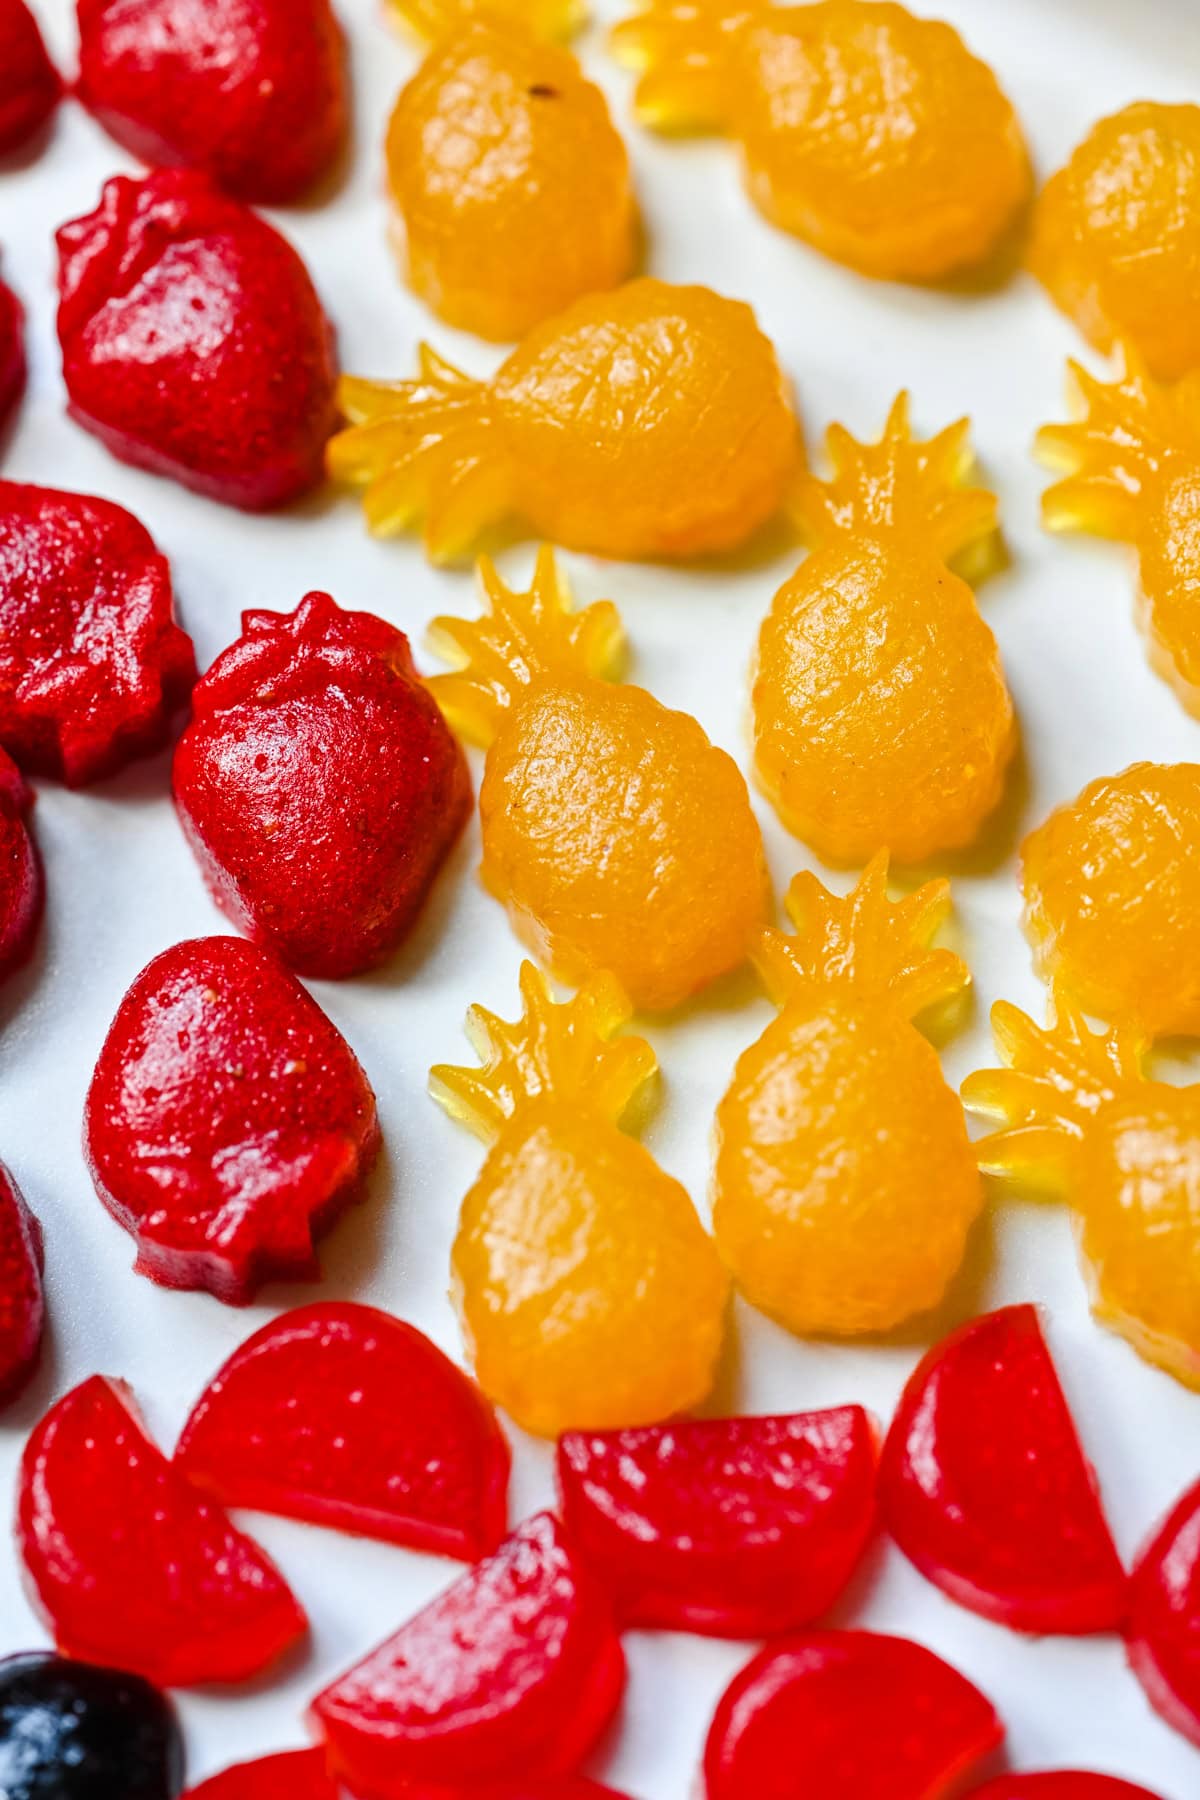
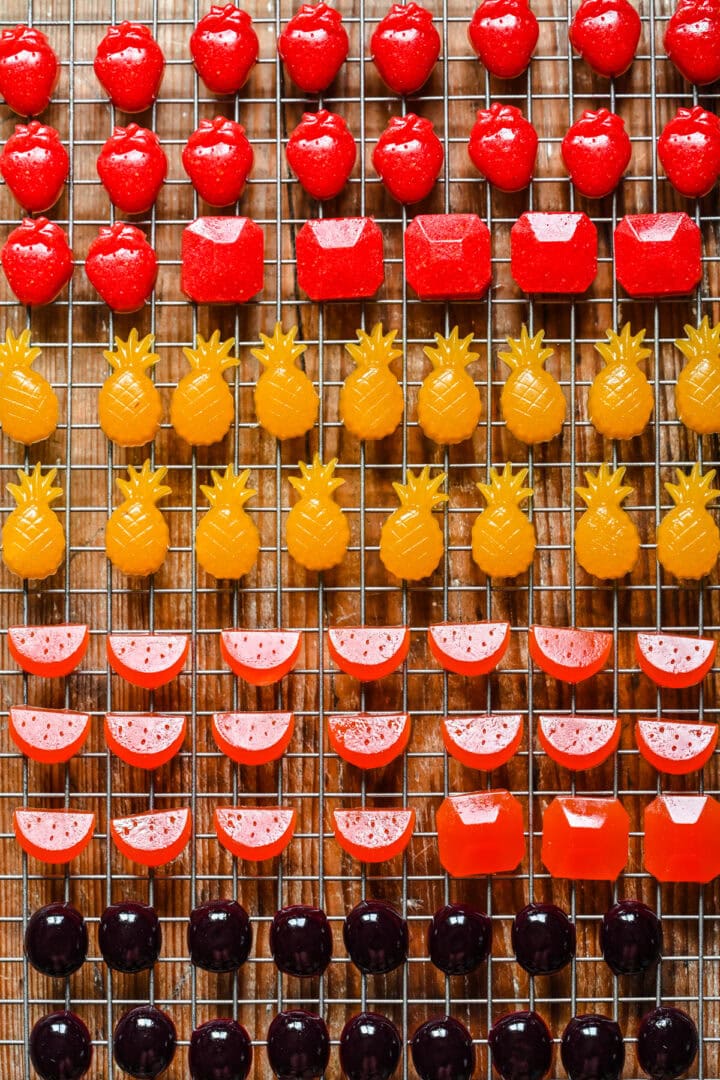
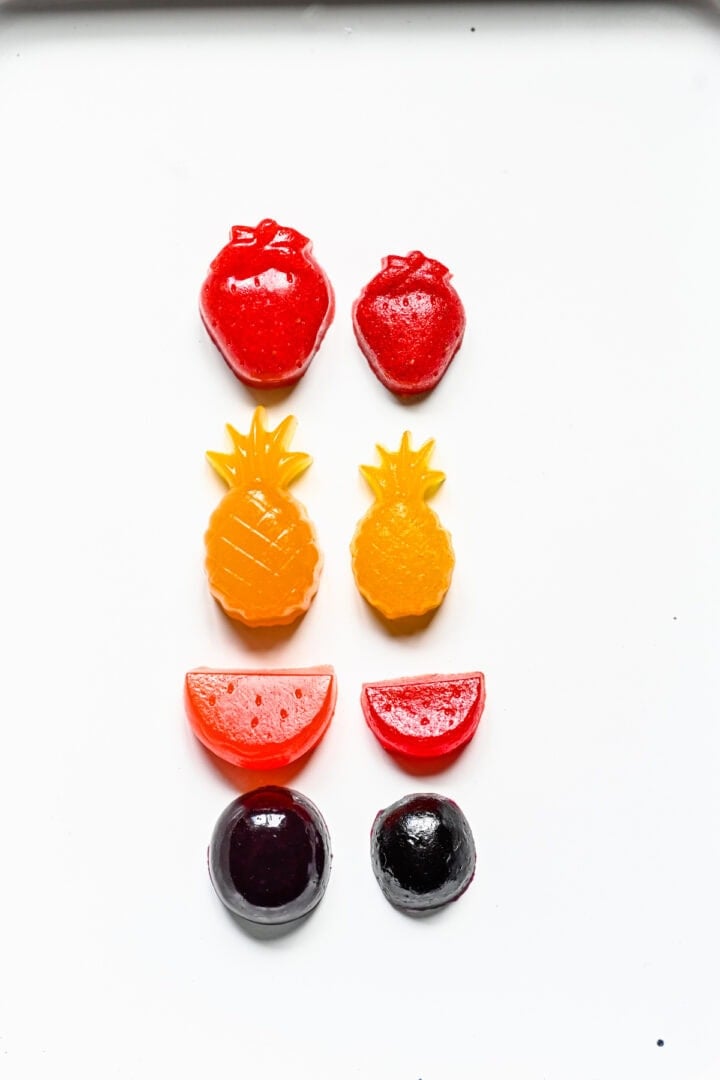
STEP 6: Air dry your gummies. Remove from the molds and place on a wire rack, and let sit for 8 hours or overnight. The gummies will shrink significantly and achieve a more intense flavor and a chewy, gummy texture.
Substitutions and Variations
- Use any fruit - You can use any fruit you want in these gummies, like apple, cherry, mango, kiwi, or even pear or pomegranate. Just be sure to check if your fruit contains enzymes that make it harder for gelatin to set, which will necessitate a slightly longer cooking process.
- Agar agar instead of gelatin - If you're vegan or vegetarian, you can use agar agar or a combination of agar agar and sea moss. There are lots of resources online about using agar agar instead of gelatin.
- Make these into gummy worms or gummy bears! It's the exact same process, you'll just need to use different molds for the shape.
- Make them sour: Once you dry out your gummies, you can toss them in a 4:1 mixture of sugar to citric acid. It's essential that the gummies are dried out before doing this.
Equipment
You will need silicone molds to make these gummies. There are some popular molds on amazon, and we would recommend avoiding the top-rated ones, as the molds are simply too small. Even before the fruit snacks dry out, the gummies would be tiny, even for a toddler.
We'd recommend using larger molds, like these. The specific molds in this post that we used for the pineapple, strawberry, and watermelon were purchased at Michael's.
This is the mold we use to make gummy worms.
Storage
Once the gummies have dried out overnight, move them to an airtight container and store in the refrigerator for up to 2 weeks.
We haven't tried freezing them, and probably wouldn't recommend it, but you could place them in an airtight container in the freezer for up to 2 months without any problems.
Tips and FAQ
Don't skip drying out your gummies.
Seriously, this is the most important step to make gummies that actually taste store bought. Manufactured gummies all undergo a drying process, which helps to intensify the fruit flavor, and make the gummies chewier. If you skip this step, your gummies will still be good, but they'll be halfway between gummies and jell-o. We set ours atop a wire rack and placed a fan on low behind them to ensure adequate air flow. Ours usually take about 8+ hours to fully dry out, but overnight is even better.
More tips
- We made a berry champagne heart version for Valentine's Day, using raspberries or strawberries for the fruit, and adding 1 tablespoon lemon juice + 2 tablespoon champagne for the gelatin mixture. Otherwise, the recipe is the exact same!
- Lightly spray your molds with cooking spray to ensure the gummies pop out easily.
- Make sure you cook your pineapple to 176˚F for 8 minutes to ensure it sets properly. All other fruits only have to be heated to about 120˚F. Make sure the purée isn't boiling when you add the gelatin! This will ruin your gummies.
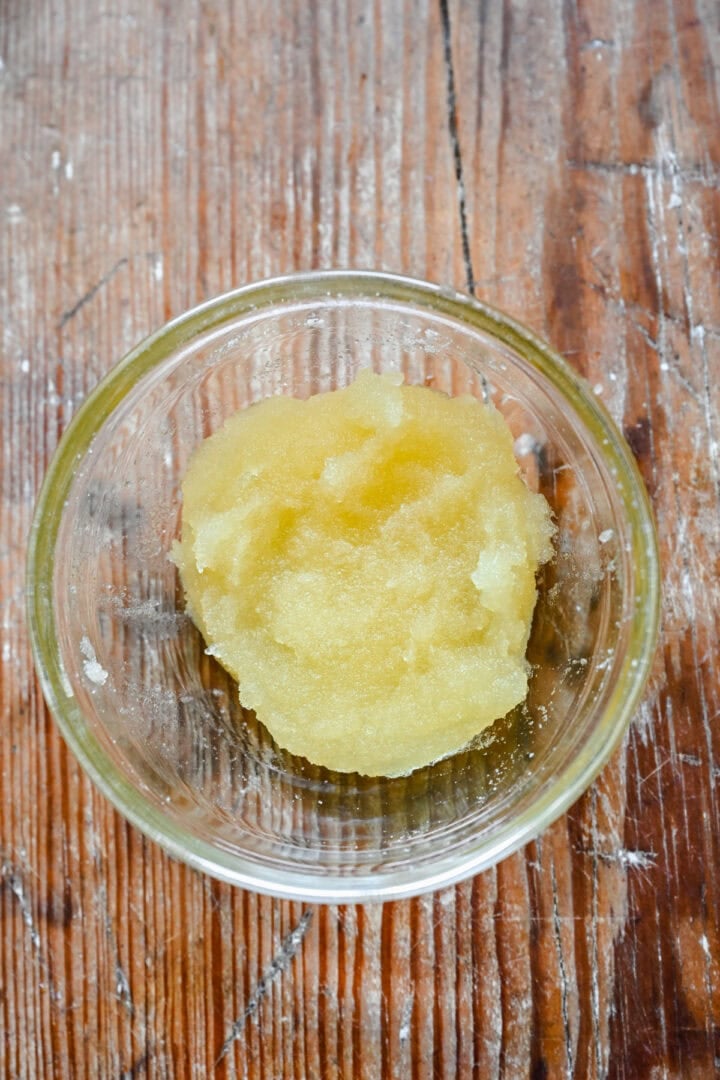
- Sprinkle the gelatin over the top of the lemon juice evenly. This will help to prevent clumping by ensuring that each grain of gelatin is saturated with water. Let the gelatin "bloom" for a few minutes before adding it to the fruit purée. It will come out of your container in one solid hockey-puck like piece.
- It may be difficult to blend your fruit in a large blender. If this is the case, you can up the quantity of the recipe, or add a tablespoon or so of water to the blender to get things going.
- Don't worry about straining your fruit purées, just blend them well and you'll have no problems.
- Let the fruit purée cool a bit before adding to the molds. This will make the mixture easier to pipe.
- To transfer the mixture into the molds, we used a dropper, but a food grade syringe, a small measuring cup with a pour spout, or even a small spoon would all work.
More homemade snack recipes
Looking for other recipes like this? Try these:

Tried this recipe?
Please leave a star ⭐️⭐️⭐️⭐️⭐️ rating below and/or a review in the comments section further down the page. You can also stay in touch with us through social media by following us on Instagram, Pinterest, TikTok, Facebook or by subscribing to our newsletter.
📖 Recipe
Homemade Fruit Snacks
- Total Time: 9 hours 50 minutes
- Yield: 18-25 gummies 1x
- Diet: Gluten Free
Description
With fresh fruit and just 3 other ingredients, you can make homemade fruit snacks that are chewy, delicious, and packed with real fruit flavor. You can also use this recipe to make gummy worms or gummy bears!
Ingredients
For any flavor:
- 170-180g fresh fruit (~1 cup blended)
- 2 envelopes (14g) gelatin
- 3 tablespoons lemon juice
- 3 tablespoons honey or agave
Strawberry:
- 170-180g strawberry (~1 cup blended)
- 2 envelopes (14g) gelatin
- 3 tablespoons lemon juice
- 3 tablespoons honey or agave
Pineapple:
- 170-180g pineapple (~1 cup blended)
- 2 envelopes (14g) gelatin
- 3 tablespoons lemon juice
- 3 tablespoons honey or agave
Watermelon:
- 170-180g watermelon (~1 cup blended)
- 2 envelopes (14g) gelatin
- 3 tablespoons lemon juice
- 3 tablespoons honey or agave
Grape:
- 170-180g black seedless grapes (~1 cup blended)
- 2 envelopes (14g) gelatin
- 3 tablespoons lemon juice
- 3 tablespoons honey or agave
Kiwi Apple:
- 90g each kiwi and granny smith apple (peeled) (~1 cup blended - you may need to add some water to thin this out for blending)
- 2 envelopes (14g) gelatin
- 3 tablespoons lemon juice
- 3 tablespoons honey or agave
Instructions
- Add fruit to blender and blend until completely smooth.
- In a small container, sprinkle gelatin evenly over lemon juice, then stir thoroughly until there are no dry grains visible. Let sit for 5 minutes.
- While the gelatin blooms, combine fruit purée with honey or agave in a small saucepan over low heat, and stir until combined. You want to heat the purée enough to melt the gelatin (>~120˚F), but you don't want to bring it to a boil, which will denature the gelatin. NOTE: There's one major exception here. Pineapple (and some other fruits, including mango and kiwi) contains enzymes, including bromelain, that will essentially "eat" the gelatin and prevent the gummies from setting. To deactivate the enzyme, you must heat the pineapple purée to at least 176˚F for about 8 minutes.
- Add gelatin and lemon juice mixture to the fruit puree, and stir until it's completely dissolved. Remove pan from heat and let cool for about 5 minutes.
- Give your silicon molds a light spray with avocado oil or cooking spray. Use a spoon or a dropper to fill up the fruit molds, then move to your refrigerator. Refrigerate for an hour and a half to let them set up.
- Remove from the molds and place on a wire rack, and let sit for 8 hours or overnight. The gummies will shrink significantly and achieve a more intense flavor and a chewy, gummy texture.
- Optional: If you are making these into sour gummy worms, toss the dried out gummies in a 4:1 mixture of sugar to citric acid before enjoying!
- Once the gummies have dried out overnight, move them to an airtight container and store in the refrigerator for up to 2 weeks.
Notes
We made a berry champagne heart version for Valentine's Day, using raspberries or strawberries for the fruit, and adding 1 tablespoon lemon juice + 2 tablespoon champagne for the gelatin mixture. Otherwise, the recipe is the exact same!
Make these into gummy worms or gummy bears: It's the exact same process, you'll just need to use different molds for the shape.
Make them sour: Once you dry out your gummies, you can toss them in a 4:1 mixture of sugar to citric acid. It's essential that the gummies are dried out before doing this.
Lightly spray your molds with cooking spray to ensure the gummies pop out easily.
Make sure you cook your pineapple to 176˚F for 8 minutes to ensure it sets properly. All other fruits only have to be heated to about 120˚F. Make sure the purée isn't boiling when you add the gelatin! This will ruin your gummies.
Sprinkle the gelatin over the top of the lemon juice evenly. This will help to prevent clumping by ensuring that each grain of gelatin is saturated with water. Let the gelatin "bloom" for a few minutes before adding it to the fruit purée.
It may be difficult to blend your fruit in a large blender. If this is the case, you can up the quantity of the recipe, or add a tablespoon or so of water to the blender to get things going.
Don't worry about straining your fruit purées, just blend them well and you'll have no problems.
Once the gummies have dried out overnight, move them to an airtight container and store in the refrigerator for up to 2 weeks.
- Prep Time: 10 minutes
- Passive Time: 9 hours 30 minutes
- Cook Time: 10 minutes
- Category: Snacks
- Method: Stovetop
- Cuisine: American
Nutrition
- Serving Size: 20 fruit snacks
- Calories: 304
- Sugar: 61.5 g
- Sodium: 32.1 mg
- Fat: 0.6 g
- Carbohydrates: 68.4 g
- Fiber: 3.7 g
- Protein: 13.5 g
taylor says
I had a lot of the gelatin/fruit pure mixture left that couldn't fit in my trays. Could I freeze that and reheat it and pipe it later? Or would that mess up the gelatin properities? Thank you- I LOVE your recipes!! They're so good and ACTUALLY easy!
Lexi says
Hm, that's a great question! To be honest, I am not totally sure and from my basic research I think freezing may damage the protein structure. But in the future, you can just pour any leftover gelatin into a parchment paper-lined loaf pan or something similar, and then cut it into squares once it's set!
Nicola Goldsby says
Can you make orange or lemon ones?
Lexi says
Those are actually two flavors I've never tried, so I'm not 100% how they would turn out. But I can't see why not! For lemon, I would bloom the gelatine in water instead of lemon juice, and then use freshly squeezed lemon juice in place of fruit puree. I would probably also add extra honey so they aren't too sour.
Danielle says
If I don’t have little molds, would this work using a cookie sheet?
I.e. Pour onto sprayed cookie sheet, let set/dry out, then cut into squares/shapes (rack and let dry out more)?
Or would they not be able to dry out effectively?
Lexi says
That should work! Once they are set, you can cut them into squares.
Anna says
if I want to use juice (like 100% tart cherry juice or organic apple juice), how many oz of the liquid should I use?
Lexi says
1 cup! (8 fl oz)
Maiken says
Question- our gummies didn't work out. I don’t know if we used a wrong kind of gelatine (we used Biljna Zelatina (vegan gelatine bought at a turkisk shop) 6 g in an envelope.
We did as the recipe said, but after 1,5 hour In the refrigerator they were still soft. We left them there overnight, but it was the same.
Lexi says
Unfortunately we have not tested this recipe with vegan gelatin and it works a little differently, so that is likely why it did not work. Let me know if you try it again with regular gelatin!
Lawana says
i have only one mold so I have to reuse/fill my molds , can I let mixture set until I can dump first filling to dry and then refill for second to go in frig?
Melissa says
I have made the strawberry ones twice and they are so good! I used liquid allulose sweetener to make them with a bit lower carbs.
Michele says
Hi Tried these they were perfect coming out of fridge but when I left them out of fridge it started to go soft. The gelatin was it 2pkts of 14g or 14g total?
Donna says
Do you think a dehydrator would work to dry them?
Lexi says
Hm, I don't think so because gelatin will melt if it's heated.
Terra says
I tried the recipe to a "T" with blended strawberries and blueberries. Let them set out overnight but they still have a jello consistency not a gummy one. They never shrank either. Any suggestions?
Lexi says
Hi there! That's odd, they definitely should shrink overnight at the very least! I'm not sure what the temperature/humidity is like in your house, but that will definitely affect how they dry out. If you have a small fan, try placing that near them to help with air flow!
Anne Marie Gregory says
Have you ever tried these without cooking for a long time? I just heat and it works fine. I've been making them regularly for 5 years. But I wonder if the texture changes if I heat for longer?
Lexi says
Hi! The only one we cook for a long time is pineapple, as it requires longer cooking and has to reach a specific temperature to deactivate the enzymes that prevent it from setting. Otherwise for the other flavors, we just heat them long enough to melt the gelatin.
Ashlea says
Was this a trust the process or did I do something wrong? I was letting them sit out but after about 4 hours they seemed to have just gotten "melty" so I panicked and put them in the fridge. Did I not trust it long enough?
Brent Harrison says
Did you sprinkle them with sugar and then leave them out? The sugar will draw the moisture out and make them look "melty", so you'll want to put the sugar on at the end and then enjoy the gummies pretty quickly afterwards. If you had problems with the texture, then it's also possible the gelatin didn't bloom and set properly - this can happen if the liquid gets too hot, which can denature the gelatin and prevent them setting into gummies.
Either way, I'm sorry you had a problem with the recipe. Hopefully they were salvageable and I would definitely encourage you to try again.
Leann says
Hey. I'm wondering how frozen fruit will work with this recipe?
Lexi says
It should work fine!
Jennifer Crain says
Would we have to thaw the fruit first or blend from frozen?
Thanks
Lexi says
Thawing would probably work best here
Christine says
i see you are using a dropper, where did you get that?
Jennifer Crain says
Any drug store or baking store like Michael's or bulk barn