
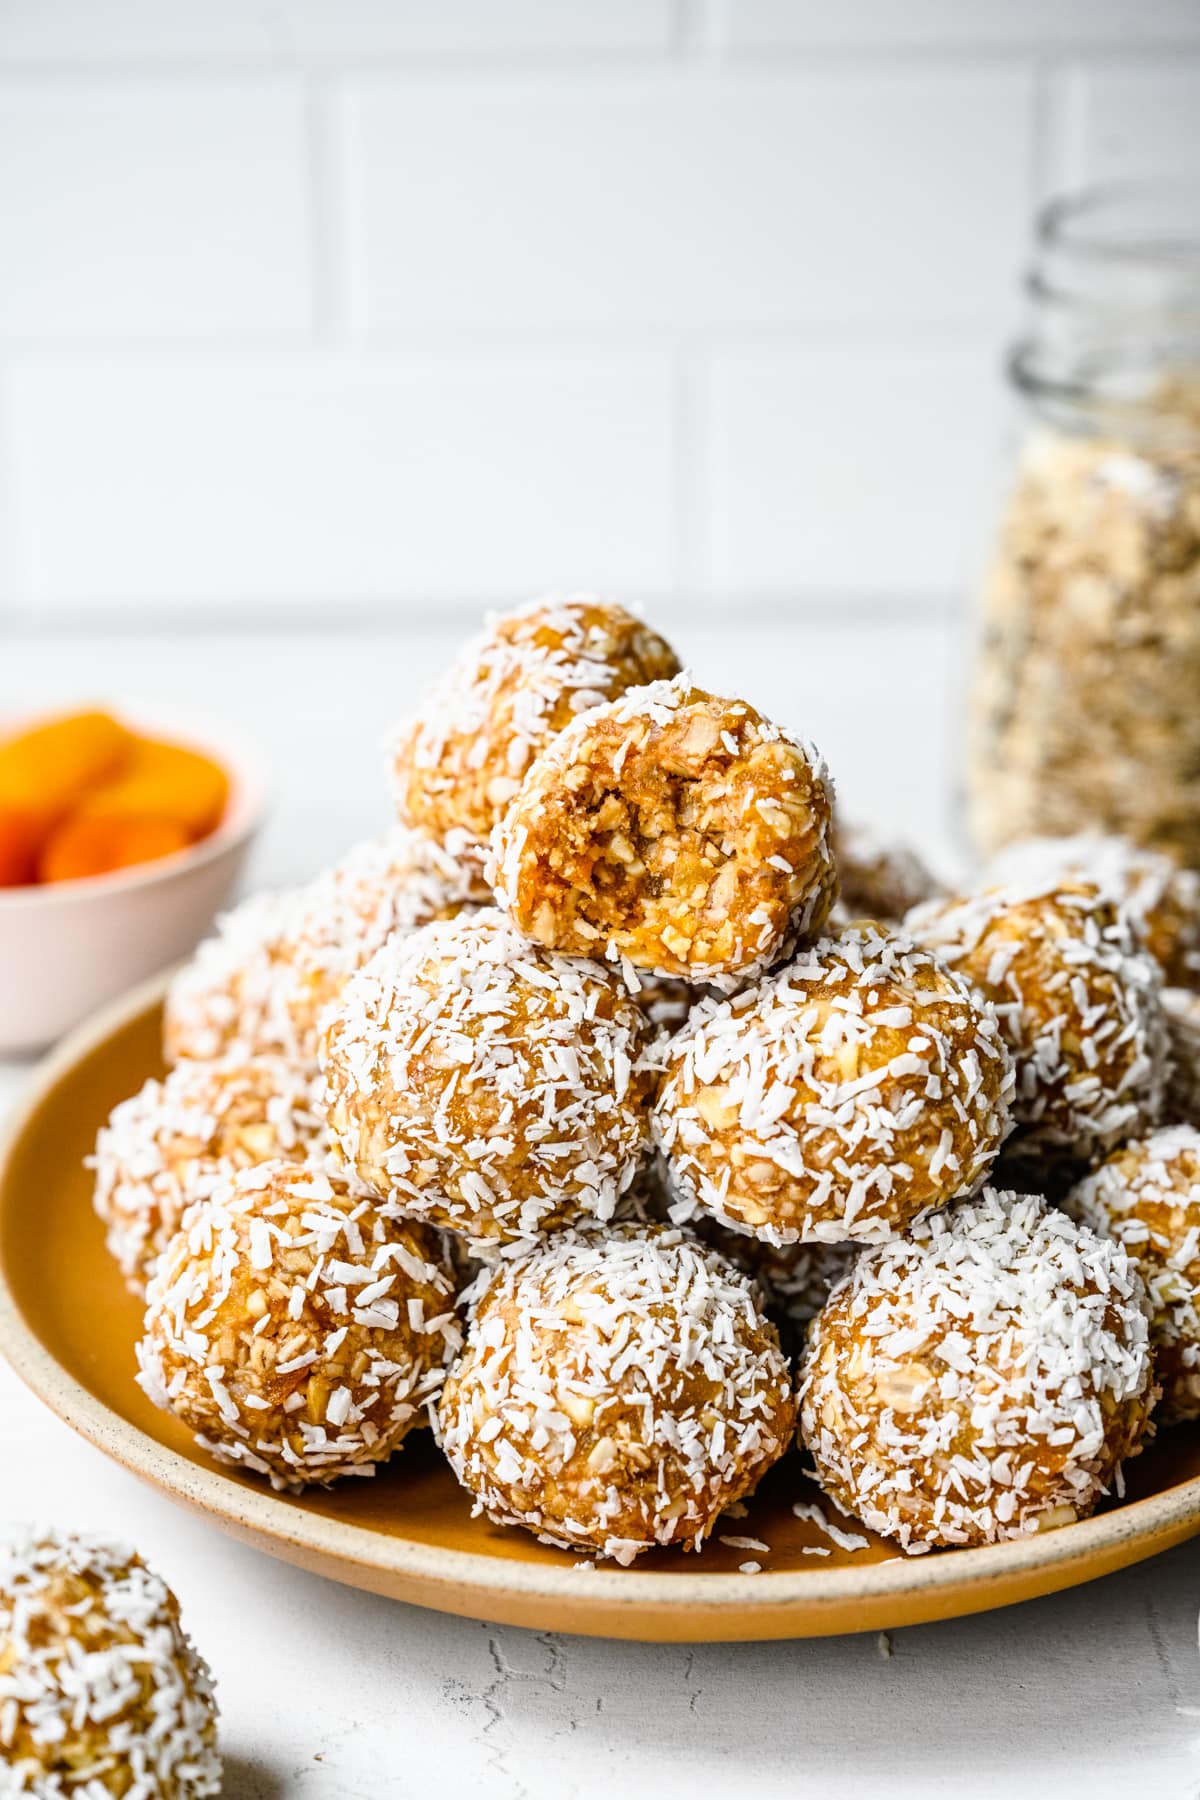
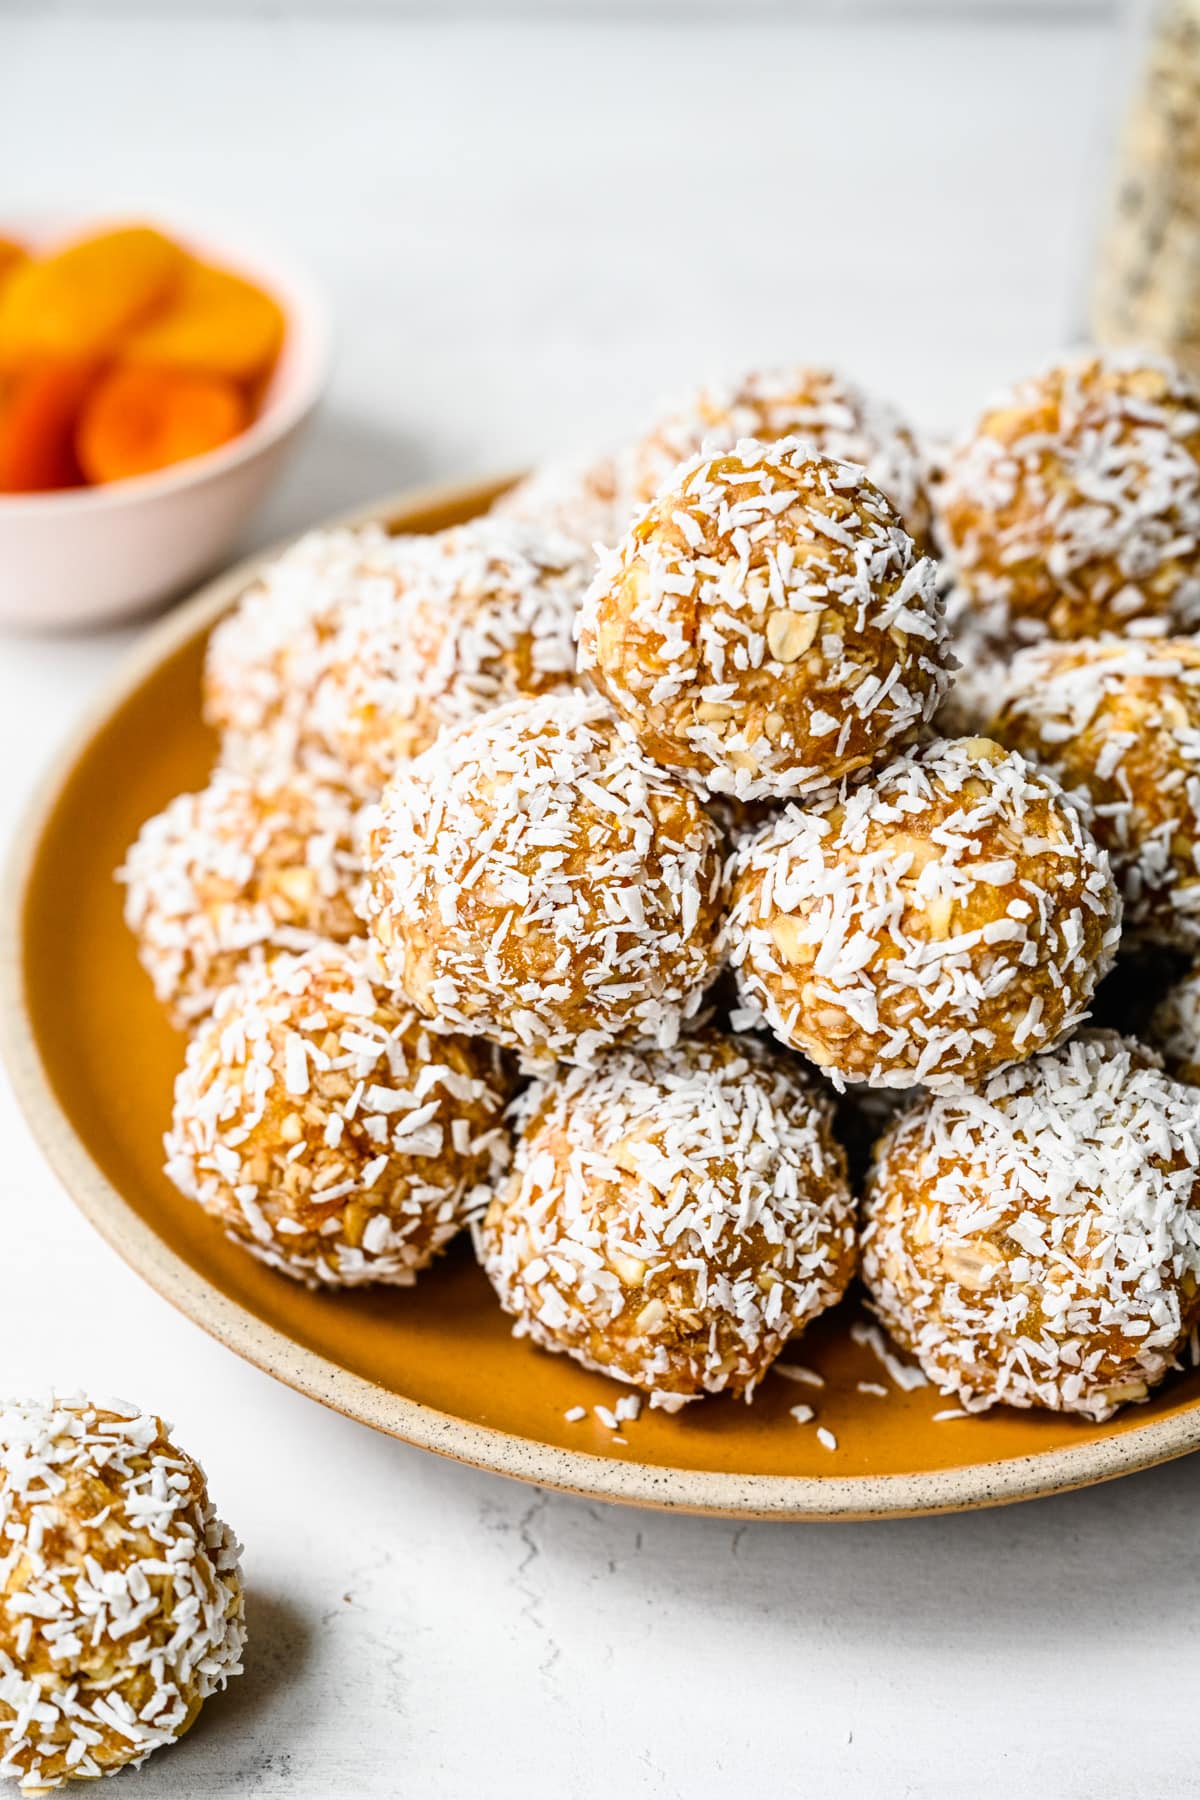
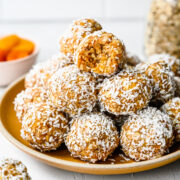
These Apricot Bliss Balls are the perfect pick-me-up snack, with a good balance of plant-based protein, carbs and healthy fats. They're easy to make and customizable based on what you have in your pantry. Perfect for meal prep!
Bliss balls are still trendy for good reason. They're easy to make, easy to customize with different ingredients, and they're just the easiest healthy snack to grab on-the-go!
We love trying all sorts of different flavor combinations, but this apricot bliss ball recipe is one of our favorites. With dried apricots, cashews and cashew butter, coconut, oats and honey, these little bites are absolutely delicious (and plenty nutritious).
The best part? You can make a big batch and keep them in the fridge for up to 2 weeks!
Jump to:
Why We Love This Recipe
- Quick and easy: These apricot bliss balls come together in about 30 minutes and are super easy to make in just a few steps. Plus, they store well in the fridge for several weeks, making them a great quick snack throughout your busy week.
- Balanced flavors: With honey, apricots, cashews and coconut, these apricot bliss balls have a perfectly balanced flavor profile. They're a little salty, a little sweet, a little nutty and super delicious.
- Customizable: You can customize this recipe with various substitutions, like different nuts/nut butters, sweeteners, etc. Simply use whatever you have in your pantry!
- Meal prep friendly: If you're big on meal prep, these are a great addition to your rotation for a healthy snack or even breakfast. Just 1 or 2 will fill you up and keep you going for hours.
Ingredients
Here's what you'll need to make these apricot bliss balls:
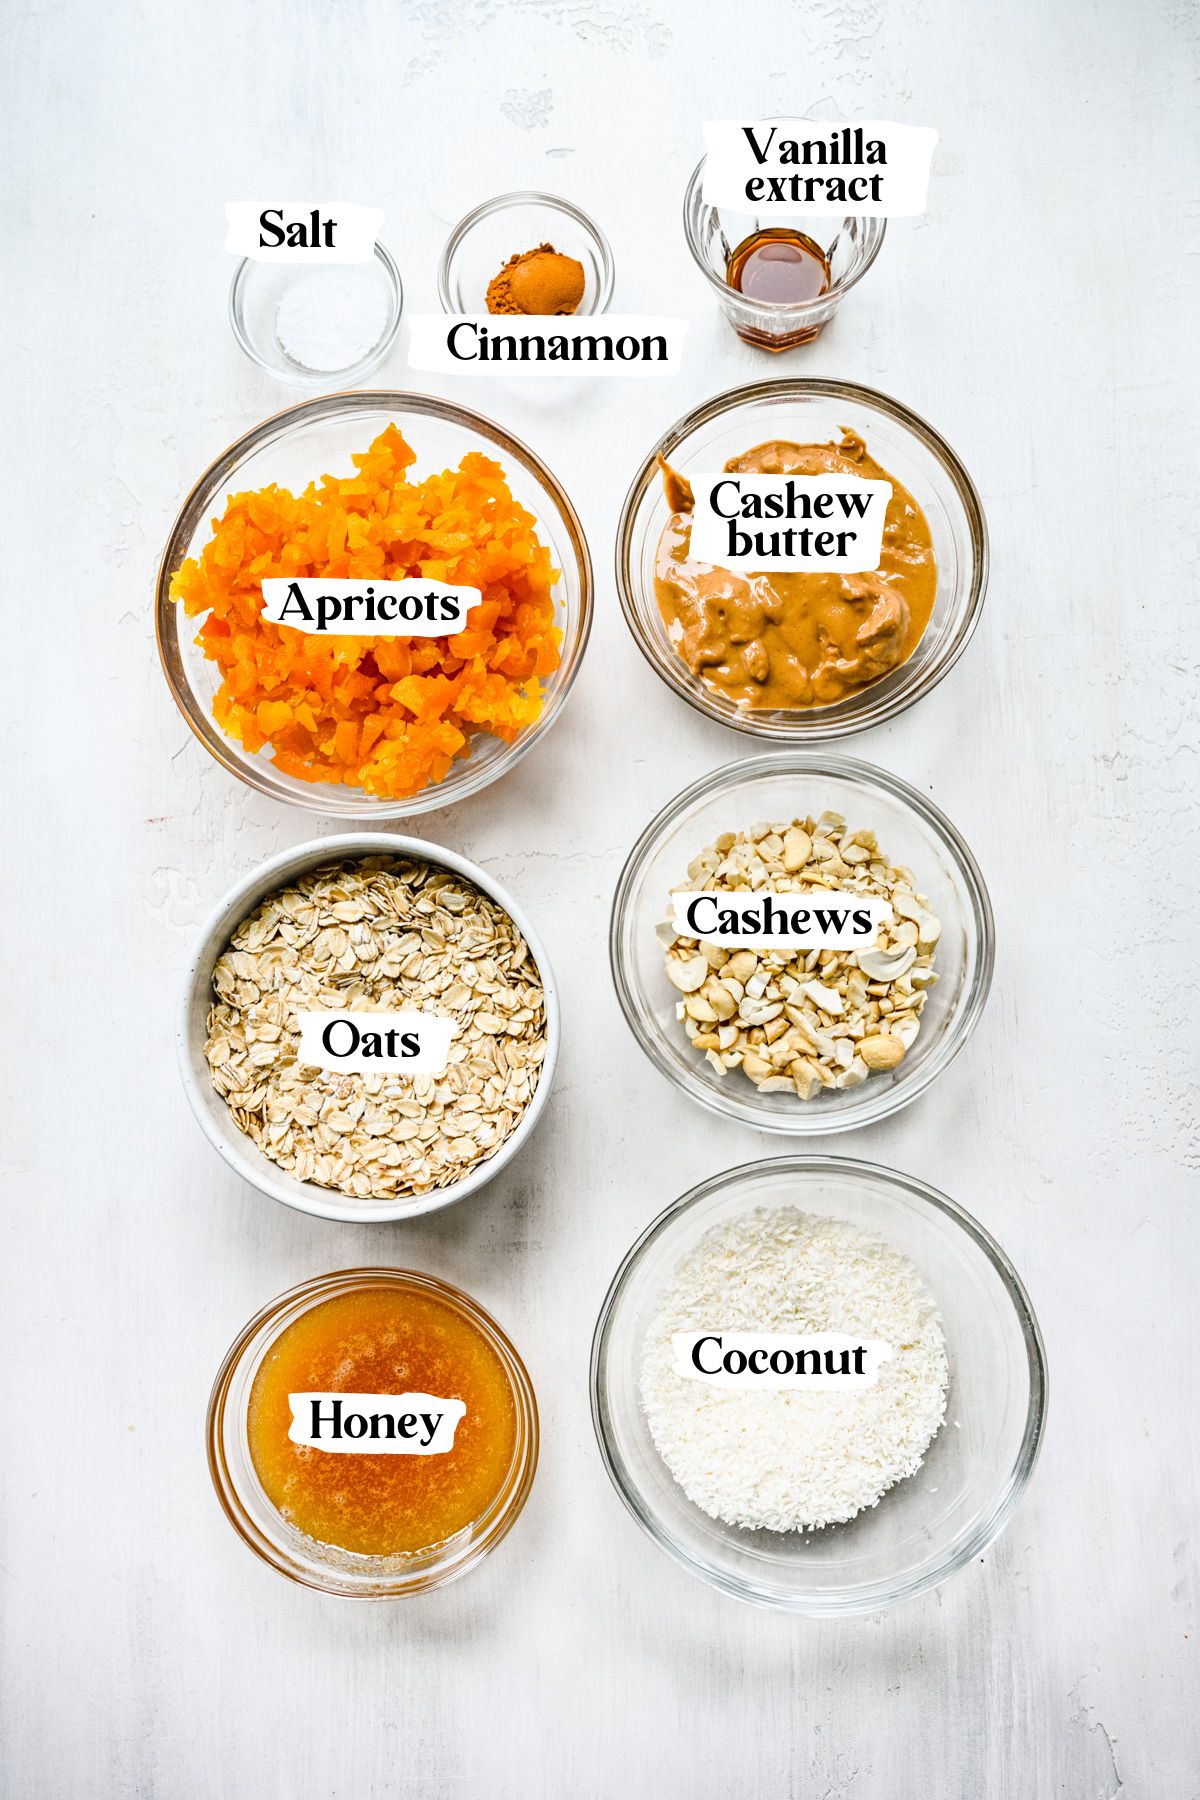
Ingredient Notes
- Honey makes these bliss balls slightly sticky and sweet. It helps bind them together too. If you find your honey is too thick to use, pop it in the microwave for 15-20 seconds and give it a stir. (Note: honey is not vegan. For a vegan substitute, try agave nectar or even maple syrup).
- Dried apricots: The star ingredient of these apricot bliss balls. We like to roughly chop them into small pieces before adding them to the food processor. This ensures that you don't get any big pieces, and it also helps the mixture stay together.
- Shredded coconut: We've made this recipe both with sweetened and unsweetened coconut and it works well both ways. Be sure to look for shredded or desiccated coconut, not coconut flakes, which are much larger and won't coat the bliss balls as well.
- Cashews: Be sure to use raw, unsalted cashews in this recipe, otherwise the bliss balls may end up on the salty side. Feel free to substitute with peanuts, almonds, pecans or another nut/seed of choice.
- Cashew butter: You can use just about any nut or seed butter you'd like if you don't have cashew butter on hand.
- Oats: We used old fashioned whole rolled oats in this recipe, not quick cooking oats.
- Cinnamon, salt and vanilla extract all boost the flavor and take these apricot bliss balls to the next level. Don't skip them!
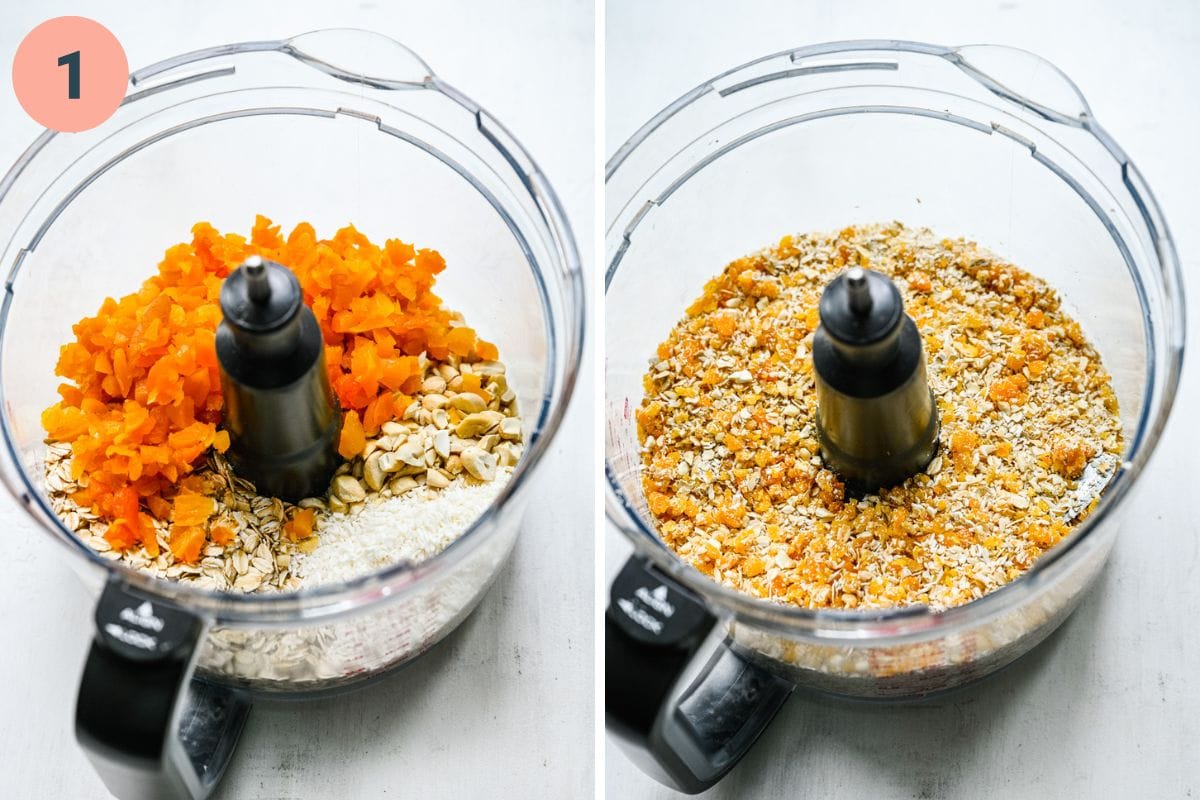
Instructions
(1) Add oats, apricots, coconut and cashews to a food processor and pulse several (~20) times until the mixture is crumbly but still has some texture. Transfer the mixture to a large bowl.
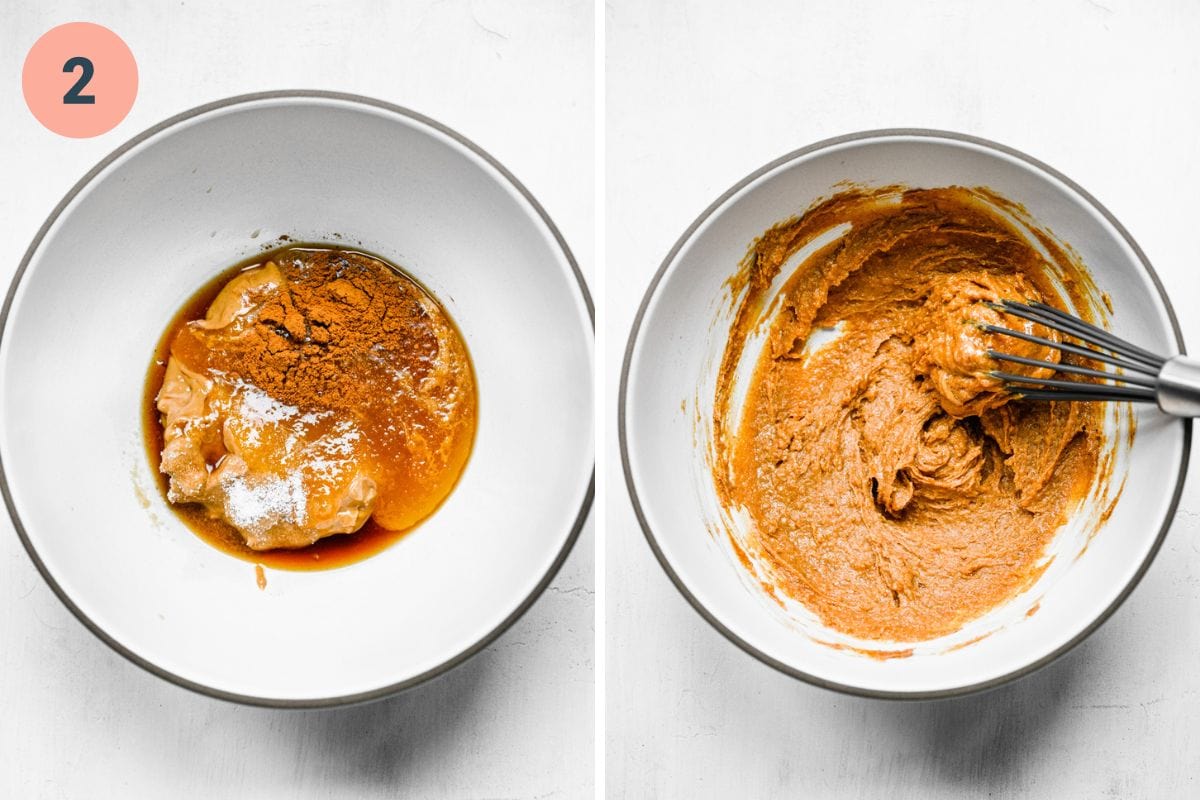
(2) Whisk together the cashew butter, honey, vanilla, cinnamon, and salt in a separate bowl.
(3) Pour the wet mixture over the dry and use a spatula (or your hands) to mix it together. Make sure that the dry mixture is completely coated. Let the mixture sit for 20-30 minutes.
(4) Mix it one more time before forming balls. We used a cookie dough scoop to form them into about 2 tablespoon sized balls. Use your hands to roll into a compact ball.

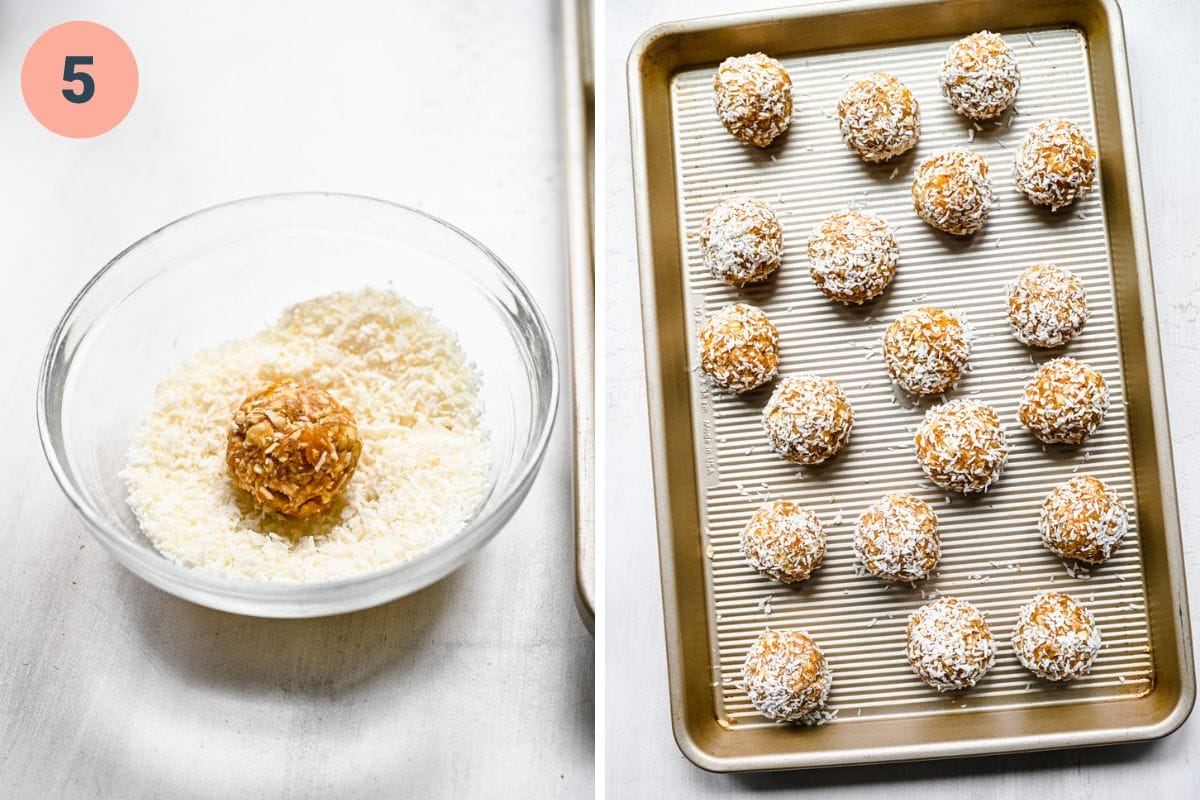
(5) Roll the balls in shredded coconut (optional). Store in an airtight container in the refrigerator.
Tips and FAQs
- Make it gluten free: These apricot bliss balls are technically naturally gluten free. However, if you have celiac disease or a severe gluten allergy, you'll need to make sure to use certified gluten free oats. (We like to use Bob's Red Mill brand.)
- Make it vegan: Honey is technically not vegan, so you may want to substitute with another sweetener, like agave or maple syrup.
- If your mixture isn't sticking together: Don't worry! Each batch may turn out a bit different depending on the type of nut butter and honey you're using. The thicker the nut butter and honey, the less sticky it will be, so you may need to add more of one or the other. The same goes for vice versa – if your honey and nut butter are very runny, you may want to add an extra handful of oats or coconut to help bind it together.
- Customize: You can really use just about anything you have in your pantry. Switch up the nuts and nut butter with your favorite option, or use seeds to make it nut free. Use a different sweetener, or even switch up the dried fruit by adding in a handful of raisins, dried cherries, dates, etc. As long as the ingredient quantities are the same, you can make these to your preferences.
- Storage: The best thing about these apricot bliss balls is that they can be stored for up to 2 weeks in an airtight container in the fridge.
- Freezer storage: They also freeze well for several months in a sealed container. Defrost for several hours (or overnight) in the refrigerator before enjoying.
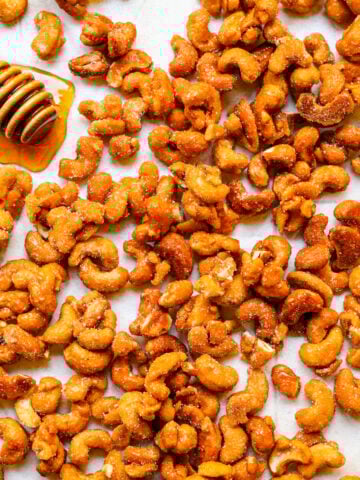
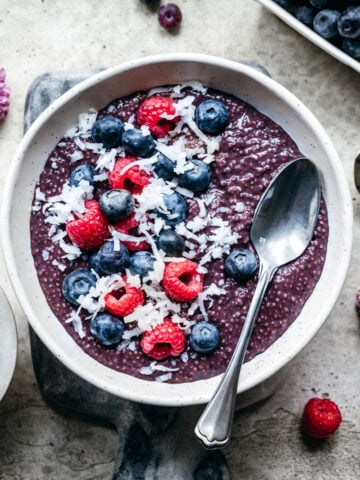
More Snack Recipes to Enjoy
Tried this recipe? Please leave a star ⭐️⭐️⭐️⭐️⭐️ rating below and/or a review in the comments section further down the page.
📖 Recipe
Apricot Bliss Balls
- Total Time: 40 minutes
- Yield: 16-18 balls 1x
- Diet: Gluten Free
Description
These Apricot Bliss Balls are the perfect pick-me-up snack, with a good balance of plant-based protein, carbs and healthy fats. They're easy to make and customizable based on what you have in your pantry. Perfect for meal prep!
Ingredients
- 1 cup old fashioned whole rolled oats
- 1 cup dried apricots, roughly chopped
- ½ cup raw, unsalted cashews, chopped
- ¾ cup shredded coconut, divided (can use sweetened or unsweetened)
- 6 tablespoons cashew butter (a little over ⅓ cup)
- ¼ cup honey, agave or maple syrup
- 1 teaspoon vanilla extract
- ½ teaspoon cinnamon
- ½ teaspoon salt
Instructions
- Add oats, apricots, ⅓ cup shredded coconut and cashews to a food processor and pulse several (~20) times until the mixture is crumbly but still has some texture. Transfer the mixture to a large bowl.
- Whisk together the cashew butter, honey, vanilla, cinnamon, and salt in a separate bowl.
- Pour the wet mixture over the dry and use a spatula (or your hands) to mix it together. Make sure that the dry mixture is completely coated. Let the mixture sit for 20-30 minutes.
- Mix it one more time before forming balls. We used a cookie dough scoop to form them into about 2 tablespoon sized balls. Use your hands to roll into a compact ball.
- Roll the balls in remaining shredded coconut (optional). Store in an airtight container in the refrigerator.
Notes
If your mixture isn't sticking together: Don't worry! Each batch may turn out a bit different depending on the type of nut butter and honey you're using. The thicker the nut butter and honey, the less sticky it will be, so you may need to add more of one or the other. The same goes for vice versa – if your honey and nut butter are very runny, you may want to add an extra handful of oats or coconut to help bind it together.
Customize: You can really use just about anything you have in your pantry. Switch up the nuts and nut butter with your favorite option, or use seeds to make it nut free. Use a different sweetener, or even switch up the dried fruit by adding in a handful of raisins, dried cherries, dates, etc. As long as the ingredient quantities are the same, you can make these to your preferences.
Storage: The best thing about these apricot bliss balls is that they can be stored for up to 2 weeks in an airtight container in the fridge.
Freezer storage: They also freeze well for several months in a sealed container. Defrost for several hours (or overnight) in the refrigerator before enjoying.
- Prep Time: 10 minutes
- Cook Time: 30 minutes
- Category: Snacks
- Method: No cook
- Cuisine: American
Nutrition
- Serving Size:
- Calories: 136
- Sugar: 9.1 g
- Sodium: 76.1 mg
- Fat: 6.7 g
- Carbohydrates: 17.2 g
- Fiber: 1.8 g
- Protein: 2.9 g
Comments
No Comments