
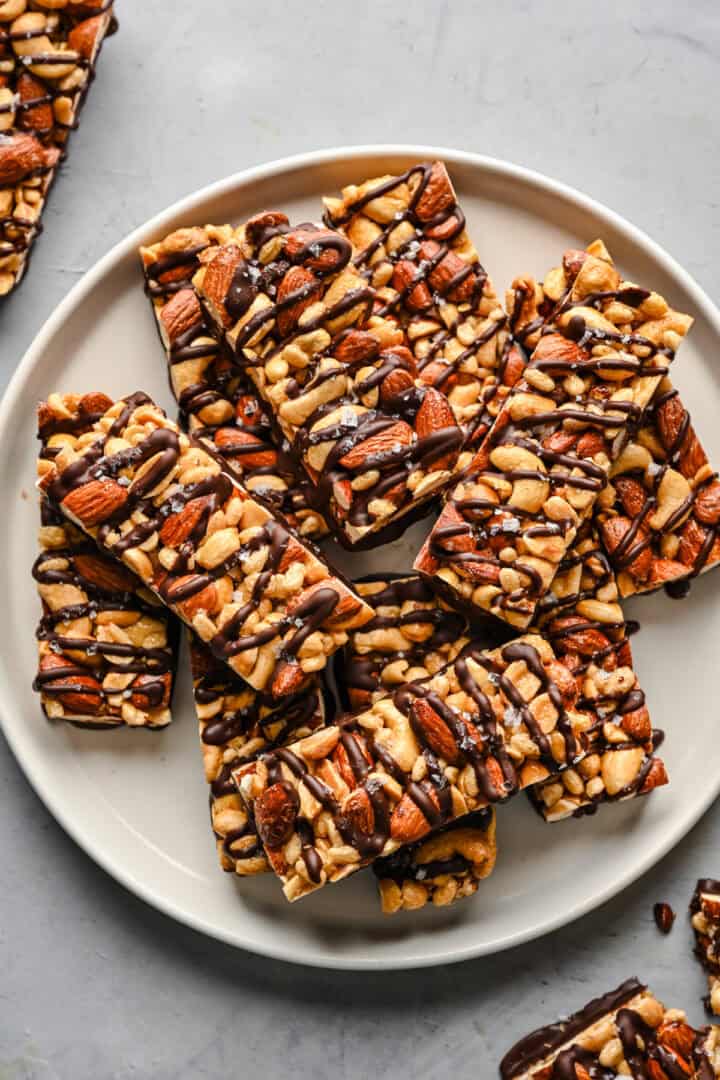
These homemade Dark Chocolate and Sea Salt Nut Bars are crunchy, the perfect combination of salty/sweet, and delicious. They have fewer than 10 ingredients, and the recipe is super simple and easy to follow. If you love KIND bars, this is the recipe for you!
Disclosure: Some of the links below are affiliate links. Read our full affiliate disclosure here.
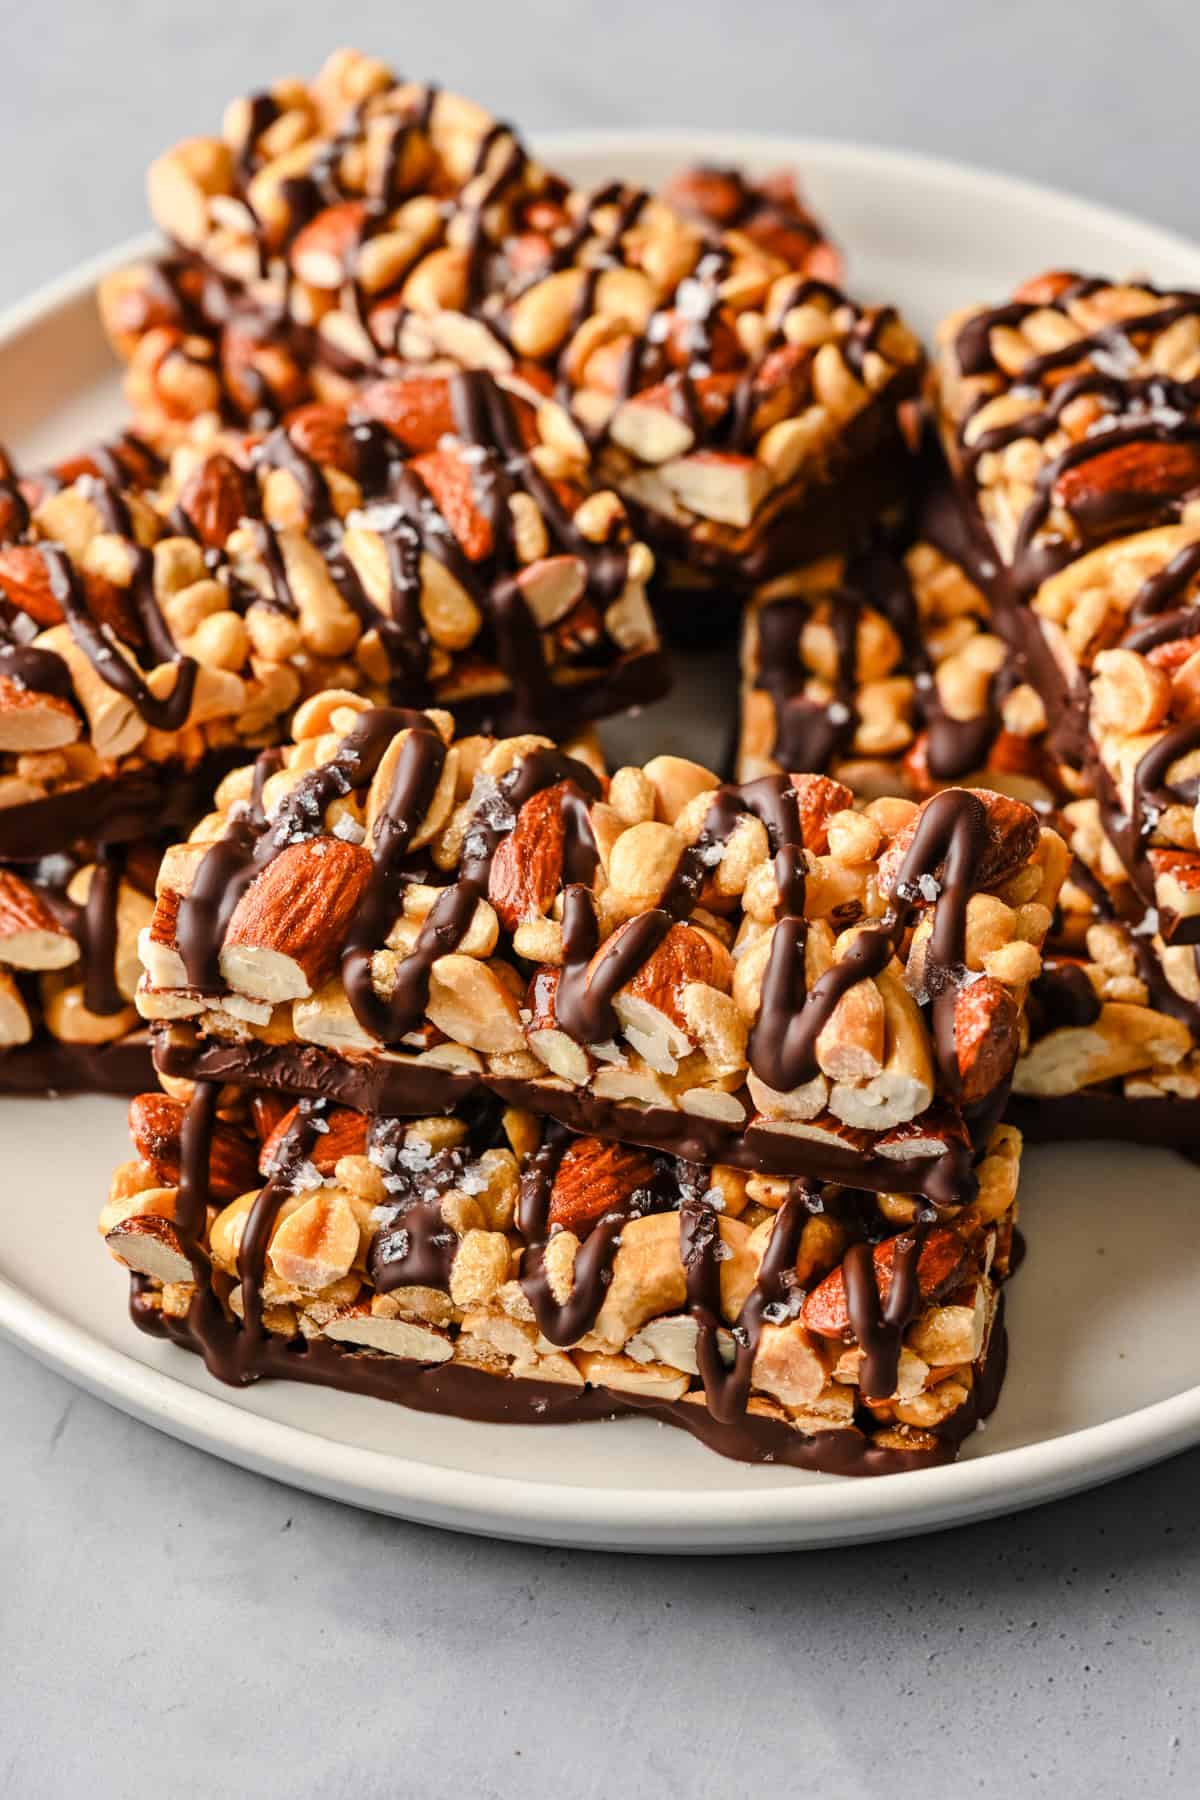
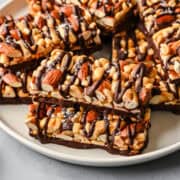
If you've ever wanted to make nut bars at home, you've come to the right place! These were inspired by KIND bars, and they're packed absolutely packed with roasted nuts and finished with a touch of salt and chocolate.
We start by roasting the nuts, then coating them in a brown rice syrup. They're then transferred to a baking dish and baked again, then sliced and coated with salt and chocolate. It's a super simple process and they should come out perfectly for you!
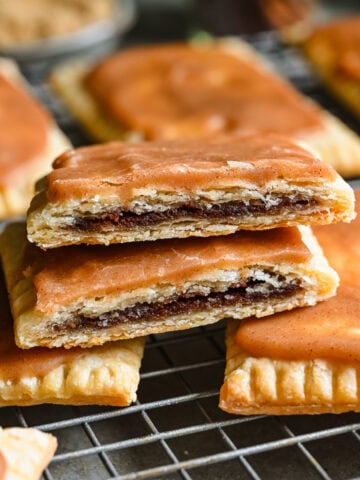
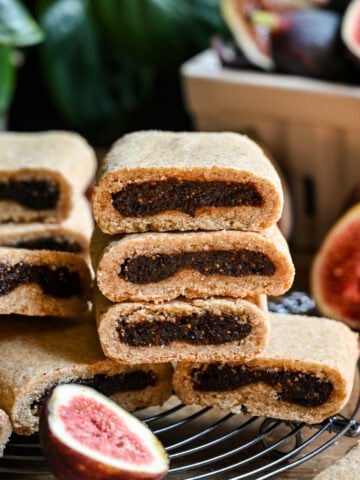
If you're looking for some more homemade bar recipes, check out our Homemade Fig Newtons or these Cranberry Bliss Bars.
Jump to:
Dark Chocolate and Sea Salt Nut Bar Ingredients
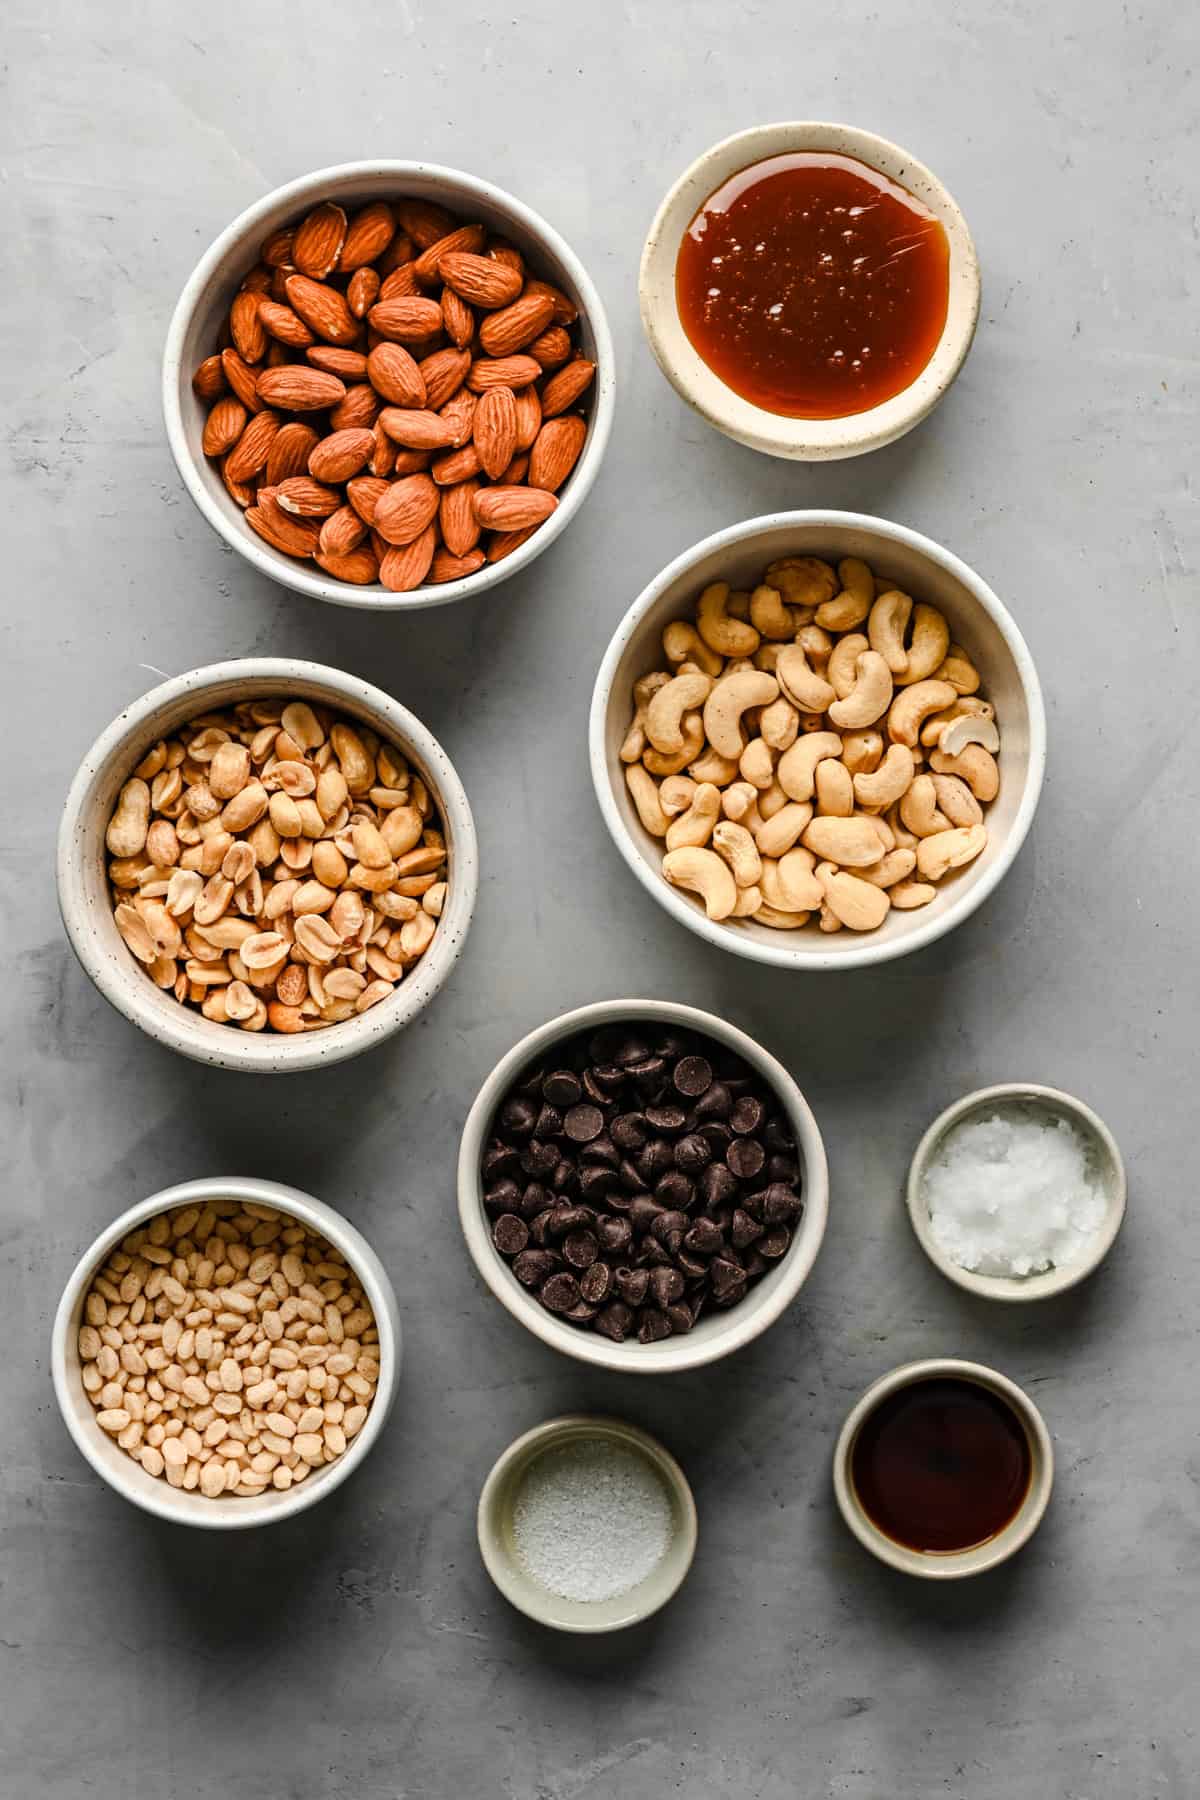
- Nuts: We used a combination of peanuts, cashews, and almonds, but you can use whatever nuts you prefer, including walnuts or pecans. You don't even have to use a combination of nuts – just one variety would be totally fine!
- Brown rice syrup: This is somewhat of a specialty ingredient, but it's super sticky so it's the perfect binder in these bars. We used just enough to keep everything together without the bars being sticky to the touch. If you can't find brown rice syrup, you could also use honey, but the bars may not stick together as well as they would have if you used brown rice syrup.
- You can find brown rice syrup in many speciality food stores (like Whole Foods) or order it online.
- Puffed brown rice: We used a puffed brown rice cereal, you could also use regular puffed rice cereal.
- Dark chocolate: This is used to coat the bottom of the bars and to drizzle on top. You can also use semisweet or milk chocolate if preferred.
- Coconut oil: We add this to the chocolate to thin it out and to help it set more quickly.
- Vanilla: This is added to the brown rice syrup to add a bit of extra flavor to the bars.
- Salt: We add salt to the brown rice syrup, and we also sprinkle the tops of the bars with a flaky (Maldon) salt. If you're not a big fan of salty/sweet, you can skip the salt on top of the bars.
How to Make these Dark Chocolate and Sea Salt Nut Bars
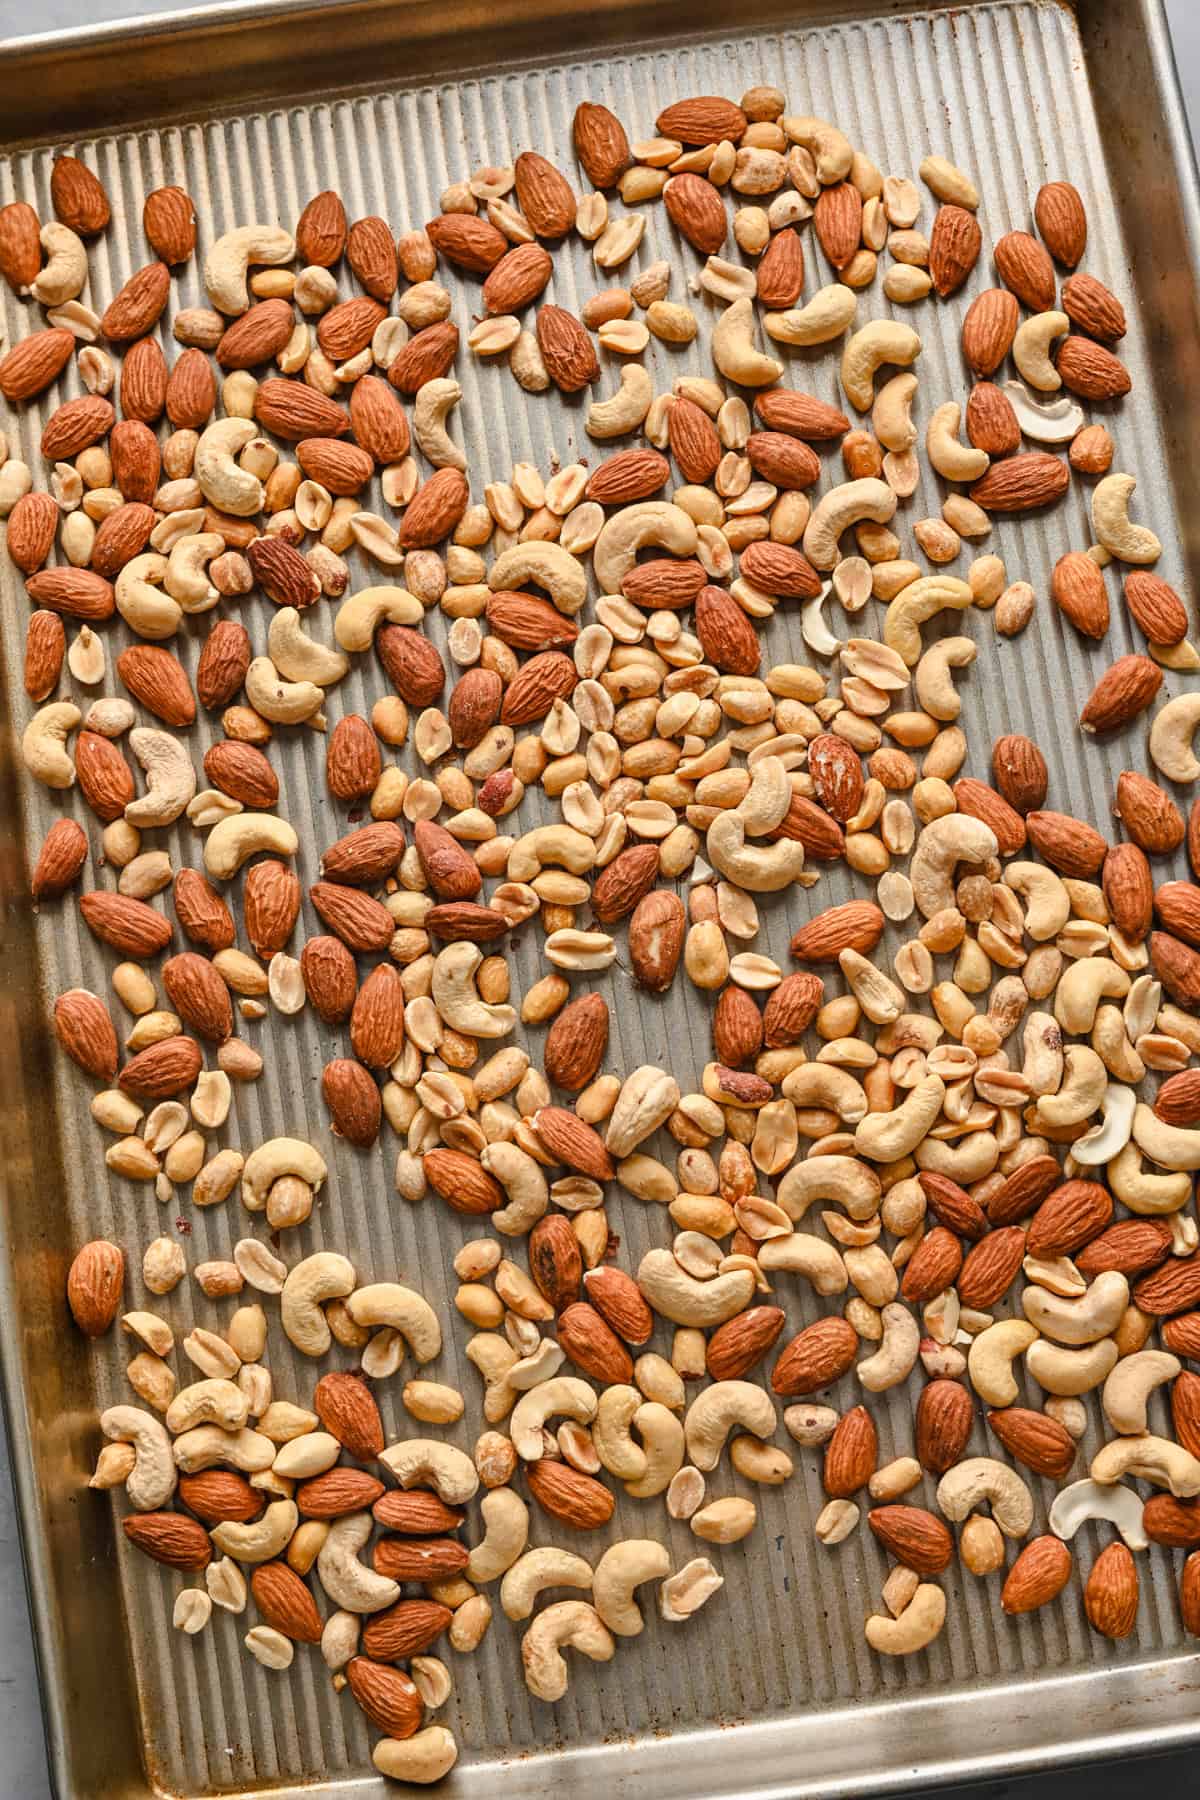
STEP 1: Preheat oven to 325˚F / 160˚C. Spread the nuts into a single layer on a rimmed sheet pan and bake for 5-8 minutes, until fragrant and lightly browned.
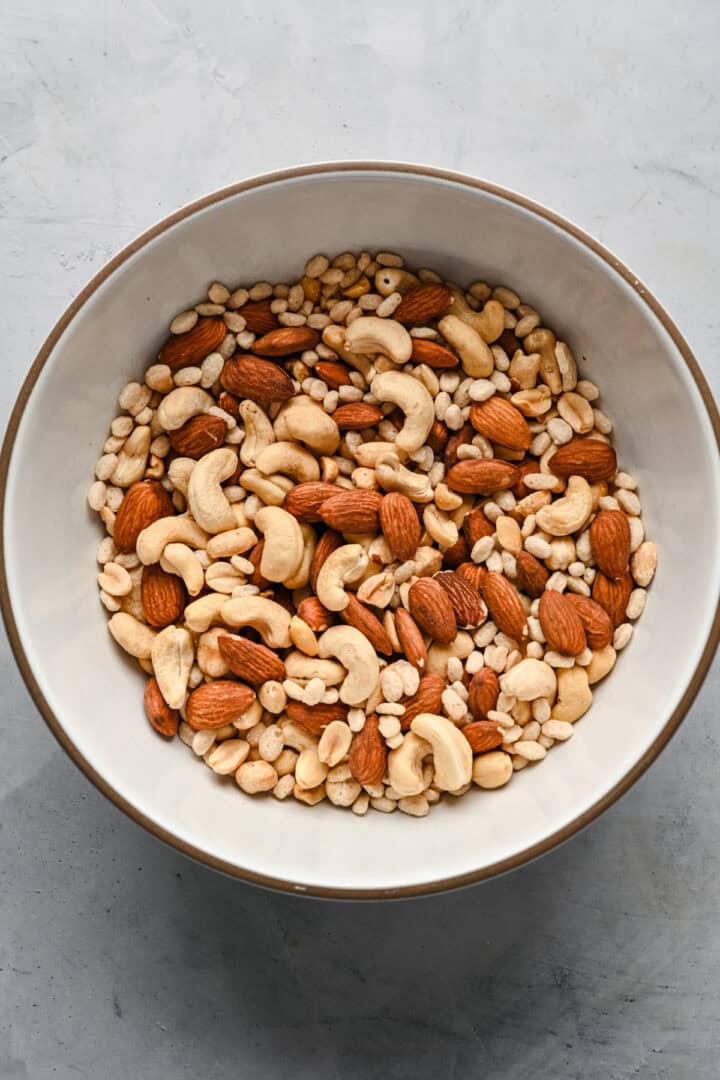
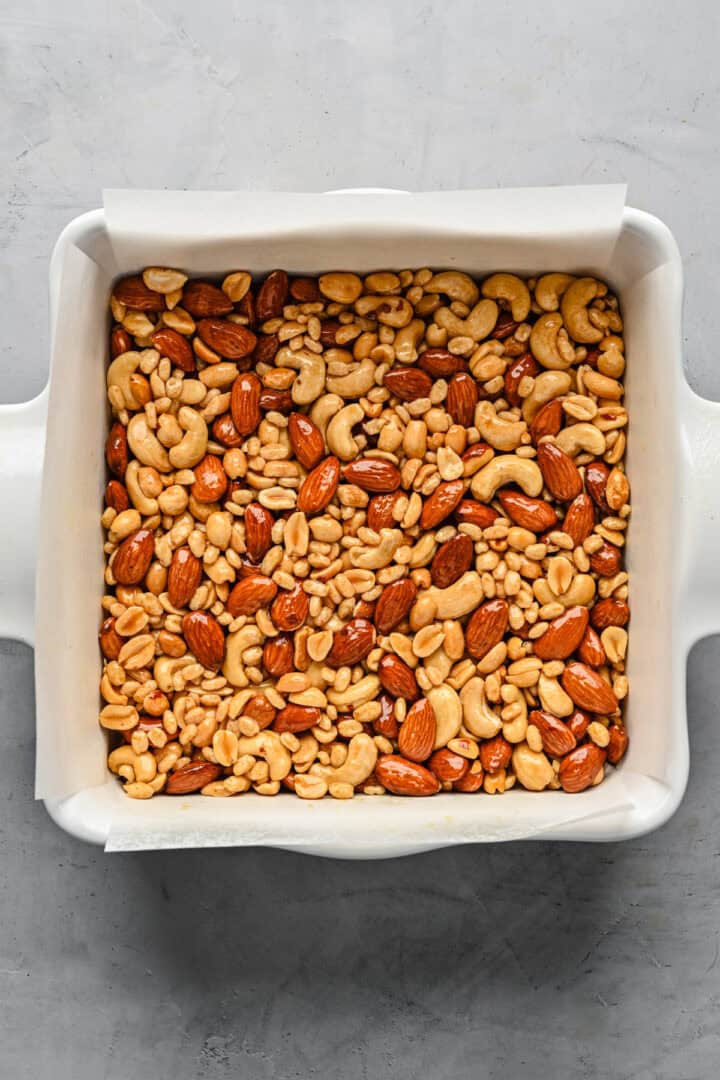
STEP 2: Line an 8x8-inch pan with parchment paper and set aside. In a large mixing bowl, combine the nuts and puffed rice and toss to combine.
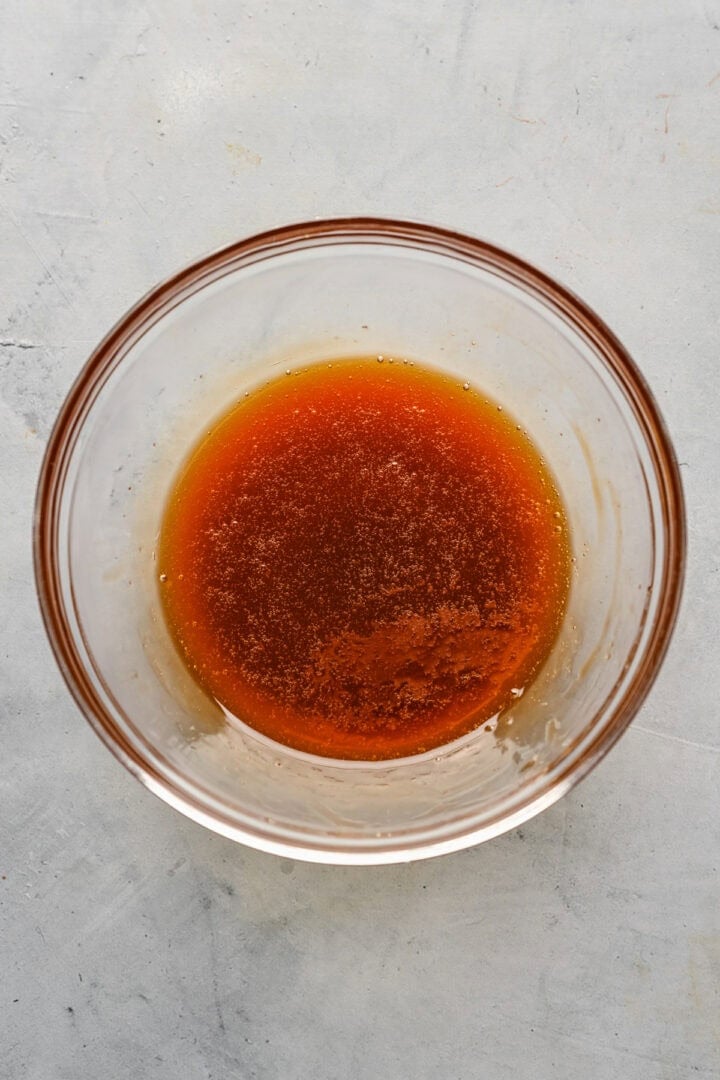
STEP 3: Add the brown rice syrup to a microwave-safe bowl and microwave for 30 seconds. (This loosens it up so it's easier to work with.) Whisk in the vanilla extract and salt until combined, then pour over the nut mixture and stir until evenly coated.
STEP 4: Transfer the nut mixture to the prepared pan and press into an even layer.
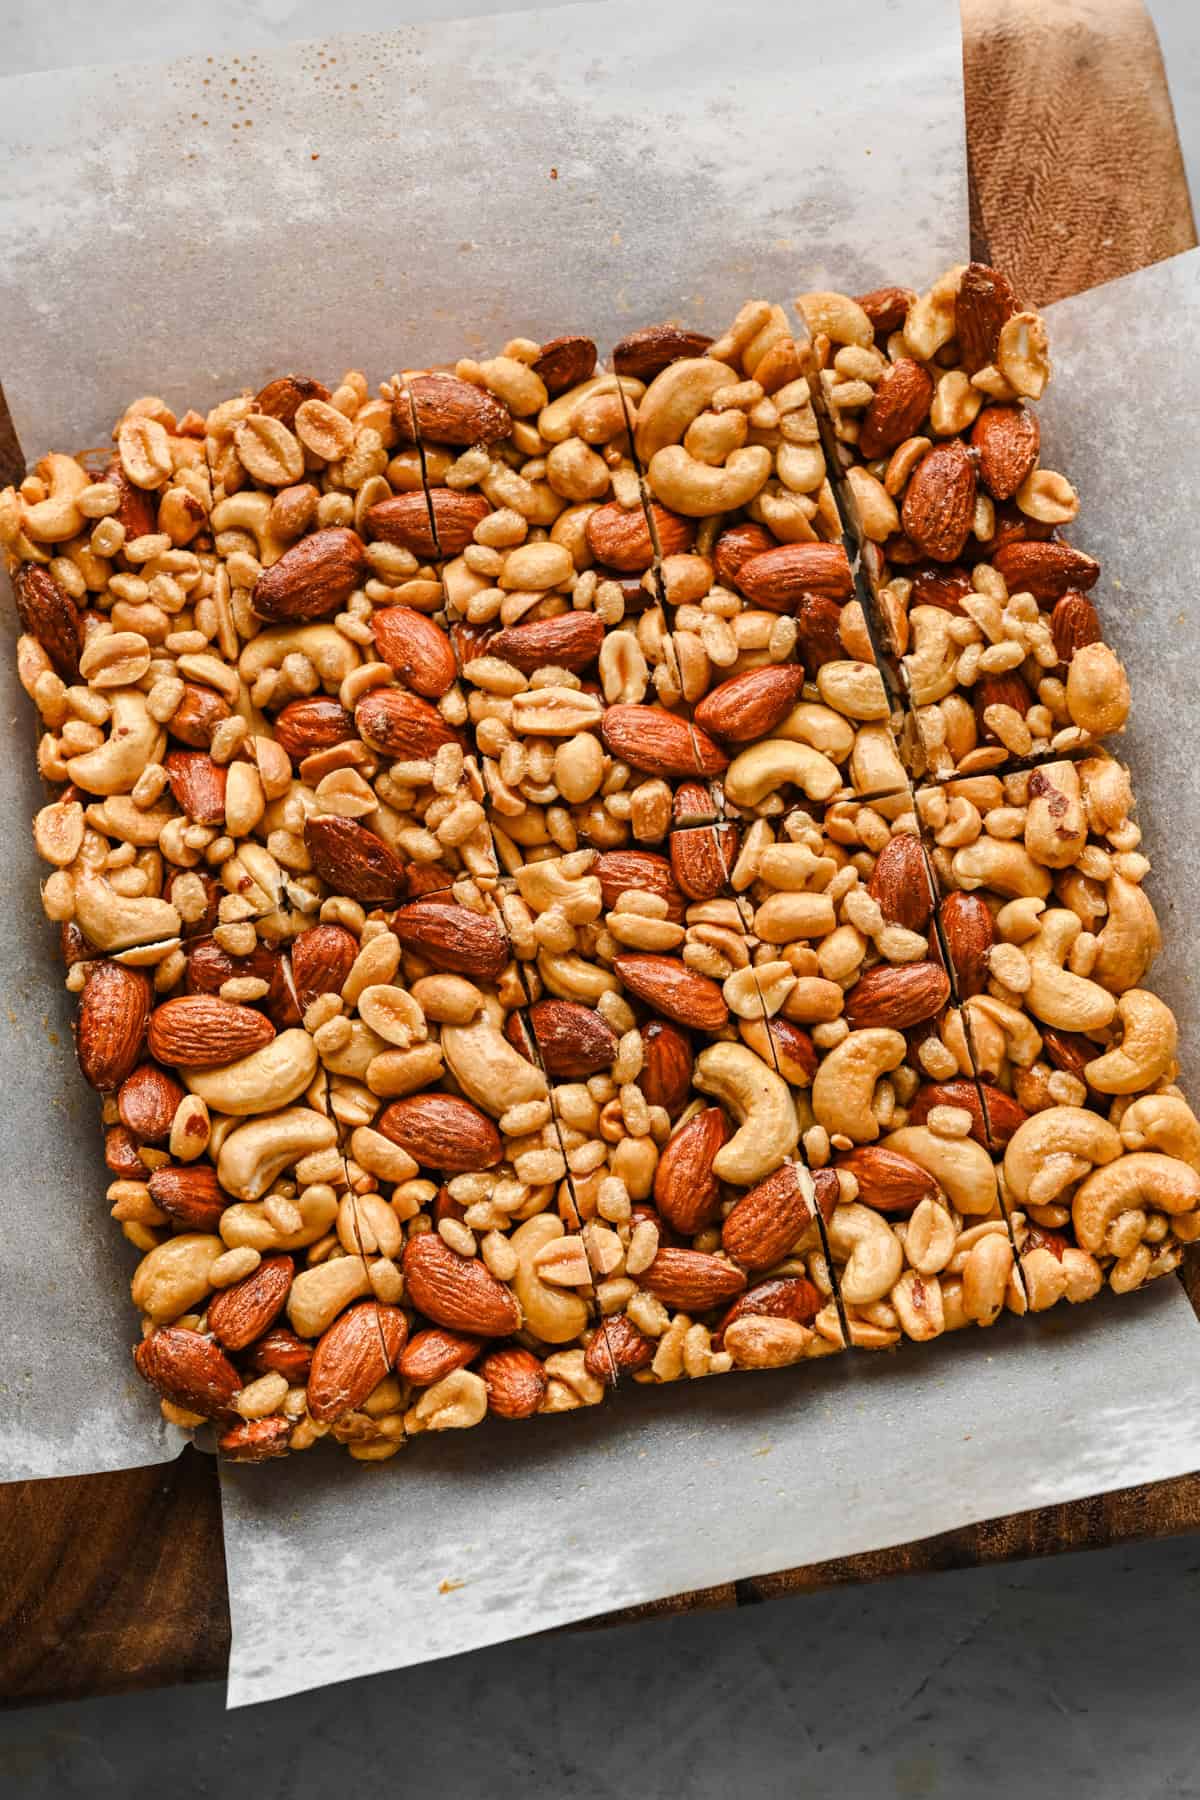
STEP 5: Bake for 18-20 minutes. Remove from the oven and let cool for ~30 minutes, then transfer to a cutting board. Cut in half lengthwise, then cut each half into 5-6 thin bars. Let cool completely.
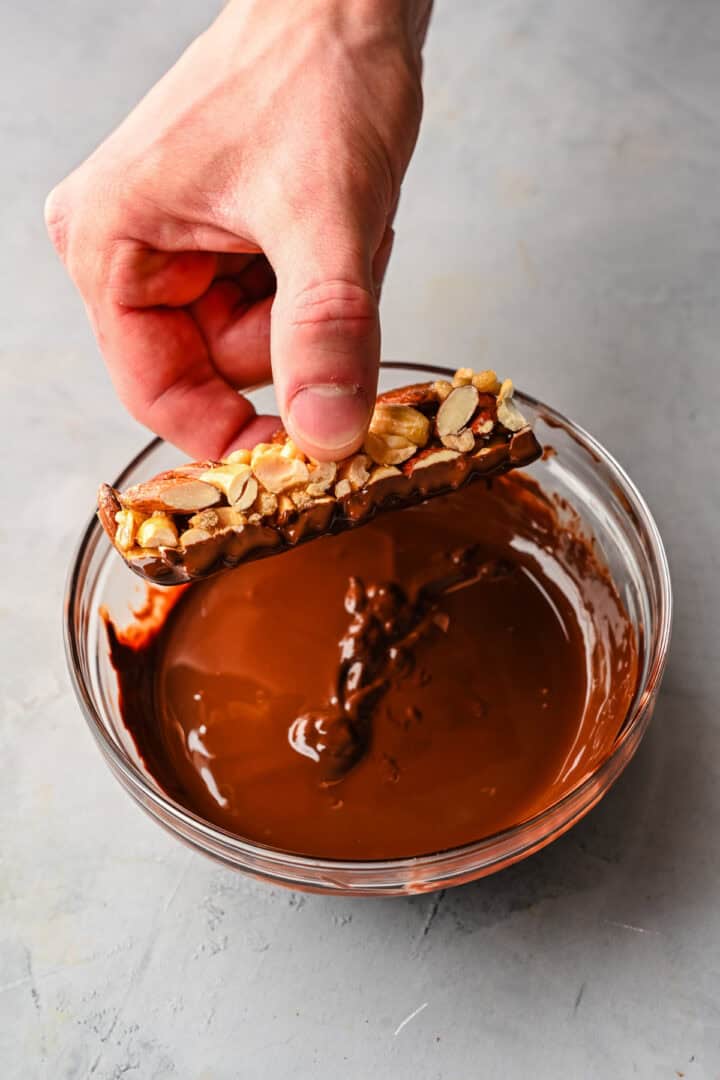
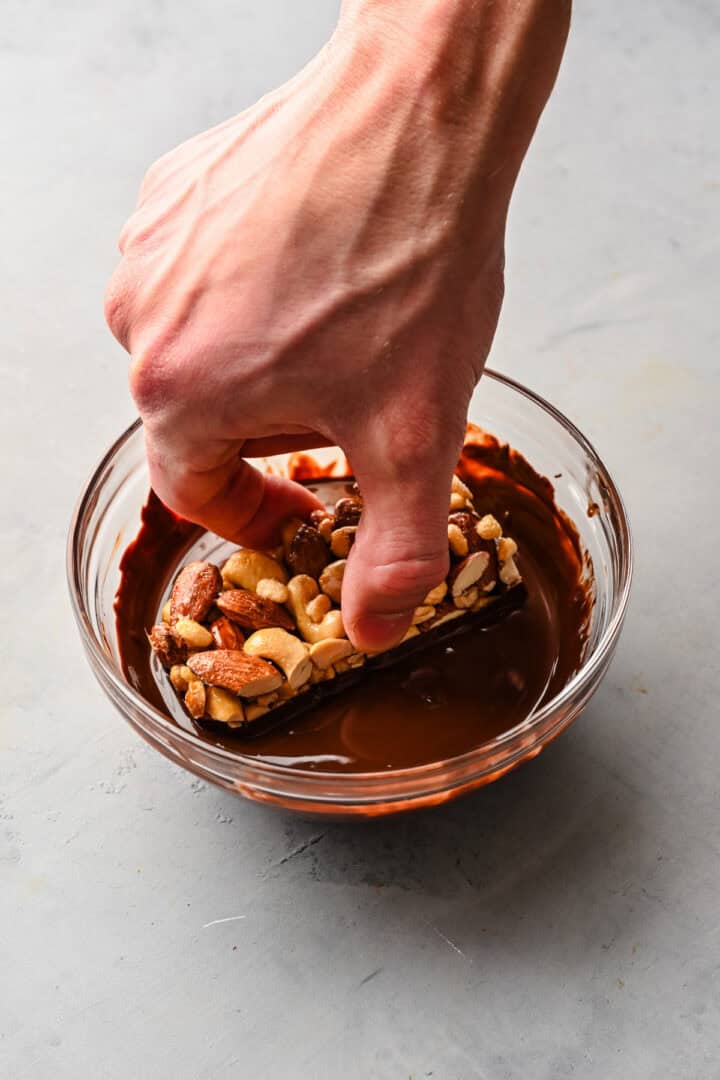
STEP 6: Add the chocolate chips and coconut oil to a microwave-safe bowl and microwave in 30 second intervals, stirring well between each interval, until fully melted. Dip the bottom of each bar into the melted chocolate, then transfer to a baking sheet lined with parchment paper.
Drizzle the top of each bar with melted chocolate, then top with flaky salt. Refrigerate until the chocolate is set, then enjoy!
Substitutions and Variations
- Nuts - We used almonds, cashews, and peanuts, but you can also use walnuts, pecans, pistachios, hazelnuts, or macadamia nuts.
- Chocolate free - If you don't like dark chocolate, you can use milk or semisweet chocolate or just leave out the chocolate entirely. They'll still be delicious.
- Brown rice syrup - You should be able to find this at a store near you or you can purchase it online. You could also use honey or maple syrup, though the bars might not bind as well and may end up a bit stickier.
Equipment
You'll need an 8x8" pan to bake the bars in, as well as some parchment paper to ensure they don't stick to the vessel.
Storage
The best way to store these is in an air tight container, with parchment paper placed in between layers of the bars to prevent them from sticking together. They should last about a week or slightly more when kept in an airtight container.
Tips and FAQ
Let the bars cool fully before slicing
Nuts take a long time to cool, so be sure to give them at least 30 minutes to an hour before trying to cut them into bars. When you cut the bars, try to go straight through in once slice to ensure even edges.
More tips
- Be sure to line your 8x8" pan with parchment paper and spray lightly with cooking spray to ensure the bars don't stick.
- Adding some coconut oil to your dark chocolate will thin it out a bit, and help it set faster.
- To make sure your bars don't have a large chocolate "foot", which happens when the chocolate runs off the bottom of the bars, make sure to let any excess chocolate drip off the bottom of the bar before placing it down.
- Sprinkle the tops of the bars with some flaky salt for a bit of extra flavor.
- If you can't find brown rice syrup, you can try honey instead.
Also called rice malt syrup or just rice syrup, brown rice syrup is a low-fructose sweetener that's made from the starches in brown rice. It's super sticky and works well as a binder in nut bars.
More homemade snack recipes
Looking for other recipes like this? Try these:


Tried this recipe?
Please leave a star ⭐️⭐️⭐️⭐️⭐️ rating below and/or a review in the comments section further down the page. You can also stay in touch with us through social media by following us on Instagram, Pinterest, TikTok, Facebook or by subscribing to our newsletter.
📖 Recipe
Dark Chocolate and Sea Salt Nut Bars
- Total Time: 1 hour 15 minutes
- Yield: 10-12 bars 1x
- Diet: Gluten Free
Description
These homemade Dark Chocolate and Sea Salt Nut Bars are crunchy, perfectly salty, and delicious. They have fewer than 10 ingredients, and the recipe is super simple and easy to follow! If you love KIND bars, this is the recipe for you!
Ingredients
- 2 ½ cups unsalted nuts of choice (we use ¾ cup cashews, ¾ cup peanuts and 1 cup almonds)
- ½ cup puffed rice
- ¼ cup brown rice syrup
- 1 ½ teaspoon vanilla extract
- ½ teaspoon sea salt
- 1 cup dark chocolate chips
- 2 teaspoons coconut oil
- Optional: flaky salt for topping
Instructions
- Preheat oven to 325˚F / 160˚C.
- Spread the nuts into a single layer on a rimmed sheet pan and bake for 5-8 minutes, until fragrant and lightly browned.
- Line an 8x8-inch pan with parchment paper and set aside.
- In a large mixing bowl, combine the nuts and puffed rice and toss to combine.
- Add the brown rice syrup to a microwave-safe bowl and microwave for 30 seconds. (This loosens it up so it's easier to work with.) Whisk in the vanilla extract and salt until combined, then pour over the nut mixture and stir until evenly coated.
- Transfer the nut mixture to the prepared pan and press into an even layer.
- Bake for 18-20 minutes. Remove from the oven and let cool for ~30 minutes, then transfer to a cutting board. Cut in half lengthwise, then cut each half into 5-6 thin bars. Let cool completely.
- Add the chocolate chips and coconut oil to a microwave-safe bowl and microwave in 30 second intervals, stirring well between each interval, until fully melted. Dip the bottom of each bar into the melted chocolate, then transfer to a baking sheet lined with parchment paper.
- Drizzle the top of each bar with melted chocolate, then top with flaky salt. Refrigerate until the chocolate is set, then enjoy!
Notes
Brown rice syrup: If you can't find any, you can try this recipe with honey instead. They may be a little stickier after baking.
Storage: Keep these stored in an airtight container at room temperature for up to a week, or in the freezer for up to several months. Separate the bars by layers of parchment paper to prevent sticking.
Be sure to line your 8x8" pan with parchment paper and spray lightly with cooking spray to ensure the bars don't stick.
Adding some coconut oil to your dark chocolate will thin it out a bit, and help it set faster.
To make sure your bars don't have a large chocolate "foot", which happens when the chocolate runs off the bottom of the bars, make sure to let any excess chocolate drip off the bottom of the bar before placing it down.
- Prep Time: 20 minutes
- Cook Time: 20 minutes
- Category: Snacks
- Method: Oven
- Cuisine: American
Nutrition
- Serving Size: 1 bar
- Calories: 248
- Sugar: 10.3 g
- Sodium: 68.2 mg
- Fat: 18.1 g
- Carbohydrates: 17.3 g
- Fiber: 3.2 g
- Protein: 6.9 g


Jaynie says
I followed the recipe exactly and baked for 18 min. They did not cut up nicely into bars bc they were too brittle. Is it really just the bake time that’s the issue? I will try for about 14 min next time and see how that goes. I’m just calling them granola nuggets at this point and they are very tasty!
Jaynie says
I cooked a second batch for less time and they came out perfect!
Jess says
Our family LOVES these with a walnut, cashew, and pecan combo! 10/10! I sub honey with a splash of maple syrup and they work perfectly every time!
Lexi says
Yay so glad to hear that!
ANDREA ARMSTRONG says
Unfortunately, they tasted great but completely fell apart. Currently back in fridge; hope I will be able to hold together at least 6bars for dipping.
I had to use honey; a small town problem to find brown rice syrup. Does the syrup really make that big of a difference?
Annika Stanley says
Yes, honey is not going to hold things together like brown rice syrup will. Please don’t give people’s recipes a lower rating if you don’t use the correct ingredients
Shelly says
Mine aren't holding together either. And I followed the recipe to the letter.
Craig says
When you suggested peanuts, did you use unsalted, skins on, roasted ?
Janice says
So delish & so easy! I didn’t have peanuts so I used walnuts and pecans. I also used maple syrup . They held together well. I can’t wait to bring these on my next holiday g & camping trip!
Rita says
These get 5-stars for taste! Delicious! I’m wondering, though, if you can tell me where I went wrong. My bars were brittle and crunchy, breaking to pieces when I cut them. I used 1/4 cup brown rice syrup and baked them for 19 minutes. I also allowed them to cool completely before cutting. Luckily, they were still tasty! Any ideas of what I can do next time? Maybe bake for 16 minutes? Thank you!
Lexi says
It could just be a difference in your oven, so yes, next time I might try 16 minutes! They should be fairly brittle and crunchy, but shouldn't break apart much when you cut them.
Pam Tucker says
I like this recipe and have made a similar one .
I find the melted chocolate messing around is a bit tiresome and would suggest after the oven stage just sprinkling the chips on top and smoothing them out with an angled spatula. I am a messy disaster with melted chocolate . I hope this helps .
I don't have access to the rice syrup in Canada and would also suggest " maple syrup works well as it sets after it is heated so would work as well.
Holly says
These are delicious! I was looking for a snack to boost milk supply so I used this recipe since nuts help, I added a tablespoon of brewers yeast and a tablespoon of chia seeds, I also swapped some nuts for half a cup of pumpkin seeds. They tasted perfect! I've been craving them so I'm making another batch!
Lexi says
So glad to hear that!!
Rebekah says
Can these freeze?
Lexi says
Definitely! Just make sure to defrost them before eating so you don't break a tooth!
Joy says
I made the recipe as written & all I can say is, “Wow”! These nut bars are delicious, much better than the store bought ones!
Lexi says
Yay, so glad to hear that!
Lisa says
These are awesome! I subbed the brown rice syrup for honey because I couldn't find it in the store. Most of my bars stayed together but a few broke in half. I ordered the syrup on line for next time. Thank you for a great recipe!