Ingredients
Method
- In a medium bowl, whisk together the flour, cornstarch and salt.
- In a separate large bowl, beat the butter and powdered sugar just until smooth. Don't over-beat it – it just needs to be incorporated. Add in the vanilla and mix just until incorporated.
- Add in the dry ingredients, again mixing just until the dough comes together. You can also use a spatula to mix this.
- Divide the dough into 3 equal portions. We weigh ours so it's exact. It should be about 565g total, so each section will be ~188g. Leave one portion plain, color one yellow and one orange, kneading a few drops of food color in until the color is even. Cover and refrigerate for about 30 minutes, until the dough is firm.
- On a floured surface, roll each color into a ¼-inch thick rectangle that's about 8x5 inches. Wrap in plastic wrap and return to the refrigerator or freezer until solid (1-2 hours in the fridge, 20 minutes in the freezer).
- Using a knife or a pizza cutter, cut each rectangle into 1-inch strips, so you have 5 strips of each color.
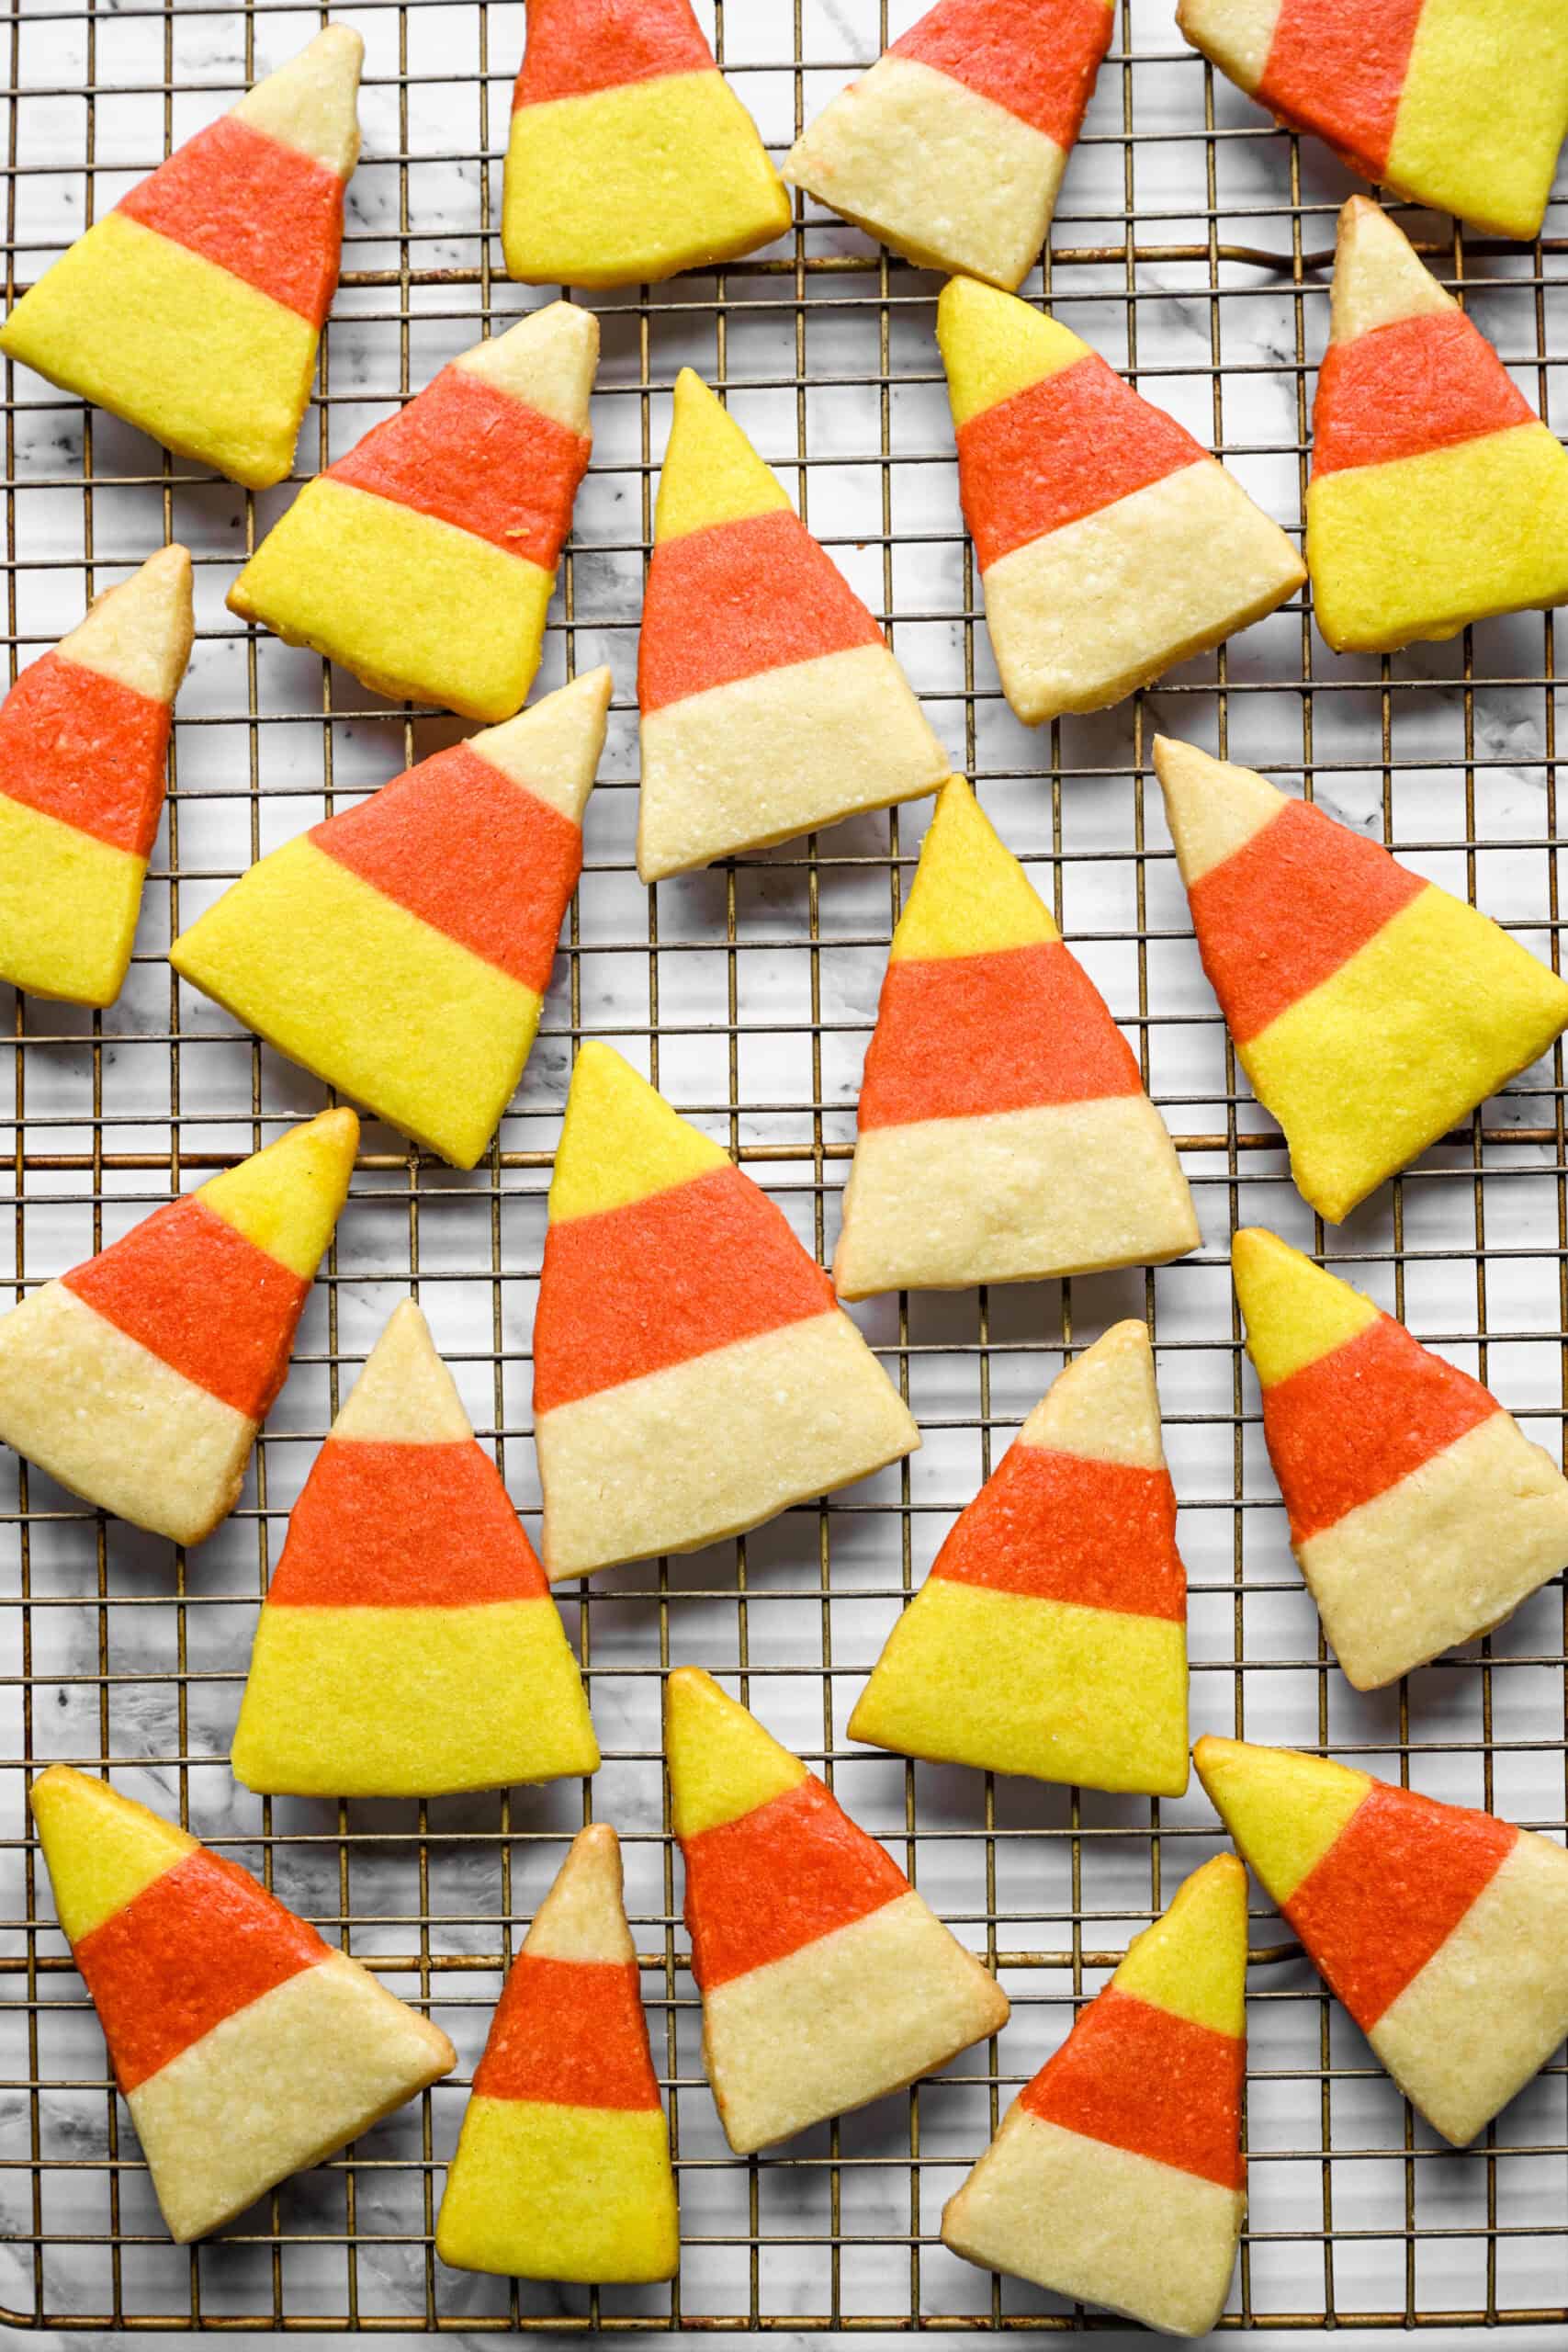
- Take one strip of each color, with yellow on the bottom, orange in the middle, and white on top, and lay them edge to edge. Place parchment paper over the top and gently roll with a rolling pin once or twice to fuse the edges together. If you apply too much pressure, the top and bottom will end up wider and they won't have clean lines.
- Repeat with all strips, then return to the fridge or freezer until the dough is set again (the dough is soft, so this ensures the candy corn holds its shape!).
- Preheat your oven to 325˚F and line two sheet pans with parchment paper.
- Cut the strips into alternating triangles to create the candy corn shape, then transfer each cookie to the sheet pans. (Note: half of the candy corn will have white on top, and half will have yellow on top.)
- Bake for 16-18 minutes, until the tops no longer look wet and the bottoms are pale golden brown. They should still be light in color – don't over-bake.
- Remove from the oven and let cool for a few minutes on the sheet pans, then transfer to a wire rack to cool completely. Enjoy!
Notes
*You can use natural food coloring, but keep in mind that you will need a LOT of it to get vibrant color. If you use regular gel food coloring, you'll just need a few drops.
Chilling: Don't skip or shorten the chill times. The freezer is the fastest option (about 20 minutes per chill).
Bake time: Start checking at 13 minutes, since smaller cookies and hotter ovens bake faster. If your oven runs hot, stack a second sheet pan underneath.
Storage: Store cooled cookies in an airtight container at room temperature for up to 1 week.
Freezing: Freeze baked cookies for up to 3 months. Thaw overnight at room temperature.
Make ahead: Refrigerate the dough for up to 3 days, or freeze the unbaked cookies for up to 3 months. Bake from frozen, adding 1 to 4 minutes.